Welcome to Eclectica Monday!
(If you’re new to EM: I worked with Paper Artsy to create a range of stamps. They’re designed to be used for art journaling and cardmaking…and whatever else you can think of! In this blog series, I want to share a few project ideas for using the stamps. Today we’ll explore with ESN06.)
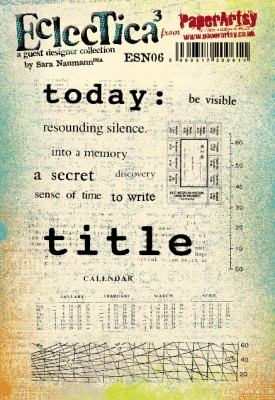
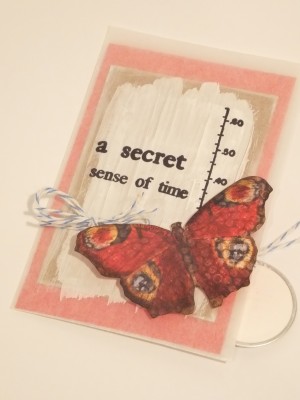
I love the backgrounds in this set but today I wanted to show how to use the words—not just stamping them, but combining them and integrating them along with your own words. I made a little decorated tag that fits right inside a glassine envelope, which I painted and stamped on. This project is super-simple to do, so let’s take a look!
This is the front:
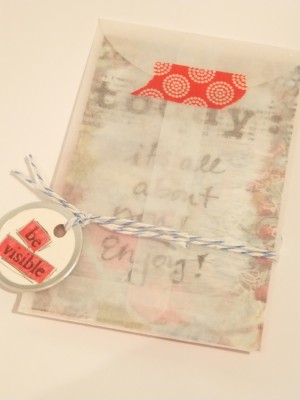
Here’s the back:
You’ll need—
– ESN06 Eclectica stamps from Paper Artsy
– Snow Cap Acrylic paint dabber
– Glassine envelope (mine is 3″x4 1/2″)
– Patterned paper (Que Sera Sera from K & Co)
– Kraft brown chipboard or lightweight cardboard piece
– Black pen
– Baker’s twine
– Round metal tag
– Pencil
– Washi tape
Here’s what I did:
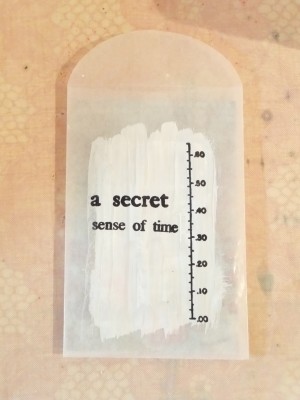
1. Use the paint dabber to paint a patch on the front of the glassine envelope. Let dry.
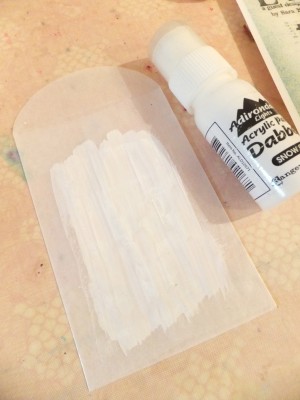
2. Stamp the border and the words onto the glassine envelope, using black ink. Let dry.
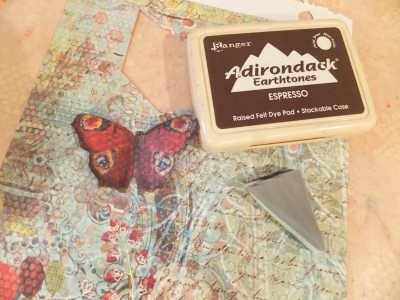
3. Cut out the butterfly from the patterned paper, then ink the edges with Espresso.
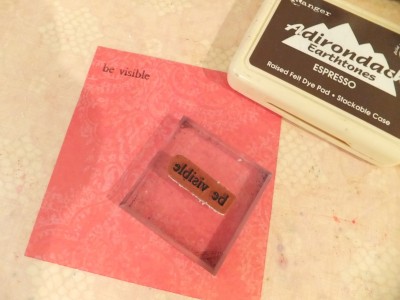
4. Stamp the phrase “be visible” with brown onto red patterned paper.
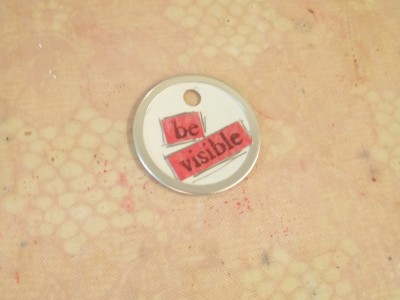
5. Cut the words apart, then glue onto the metal-rimmed tag. Outline with the pencil.
6. Paint around the edges of the 2 1/2″ x 3 1/2″ cardboard piece and in the center of a 4 1//8″ x 2 3/4″ piece of patterned paper. Let dry.
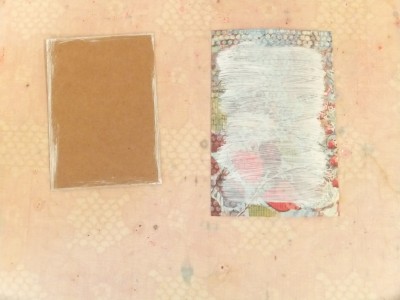
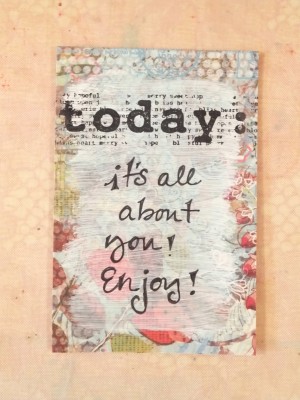
7. Stamp on the painted paper, then add your own message with black pen. Let the ink dry.
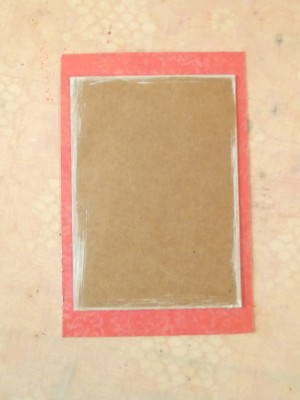
8. Turn the piece over (the reverse side of the paper is red) and add the cardboard.
9. Tuck the note inside the envelope. Wrap it with baker’s twine and tie on the metal-rimmed tag. Add the butterfly to the front with foam tape.
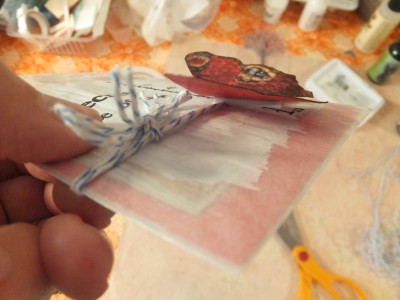
Again, here’s the front and back:


I secured the flap with a bit of washi tape. That’s it—super-easy, and a great way to make a card that’s a little bit different. I also like this idea because you could tuck in a gift card or a special tea bag or other small, flat treat for someone.
Oh, yes—the Eclectica stamps are available worldwide from Paper Artsy; if you’re in the UK or Europe you can also find them at Paper Artsy retailers.
Happy Monday!


Love this idea too! 🙂 x