How cool is this? Altenew is turning four and there’s so much going on with this blog hop. (If you came here from Anna Kossakovskaya‘s blog, you’re on the right track!)
To celebrate with us, keep reading for my card project featuring the Never Give Up stamp and die set…then keep hopping to see what other designers have created with different stamp and die sets. There are also prizes to be won, so definitely keep scrolling! Ready? Let’s go!
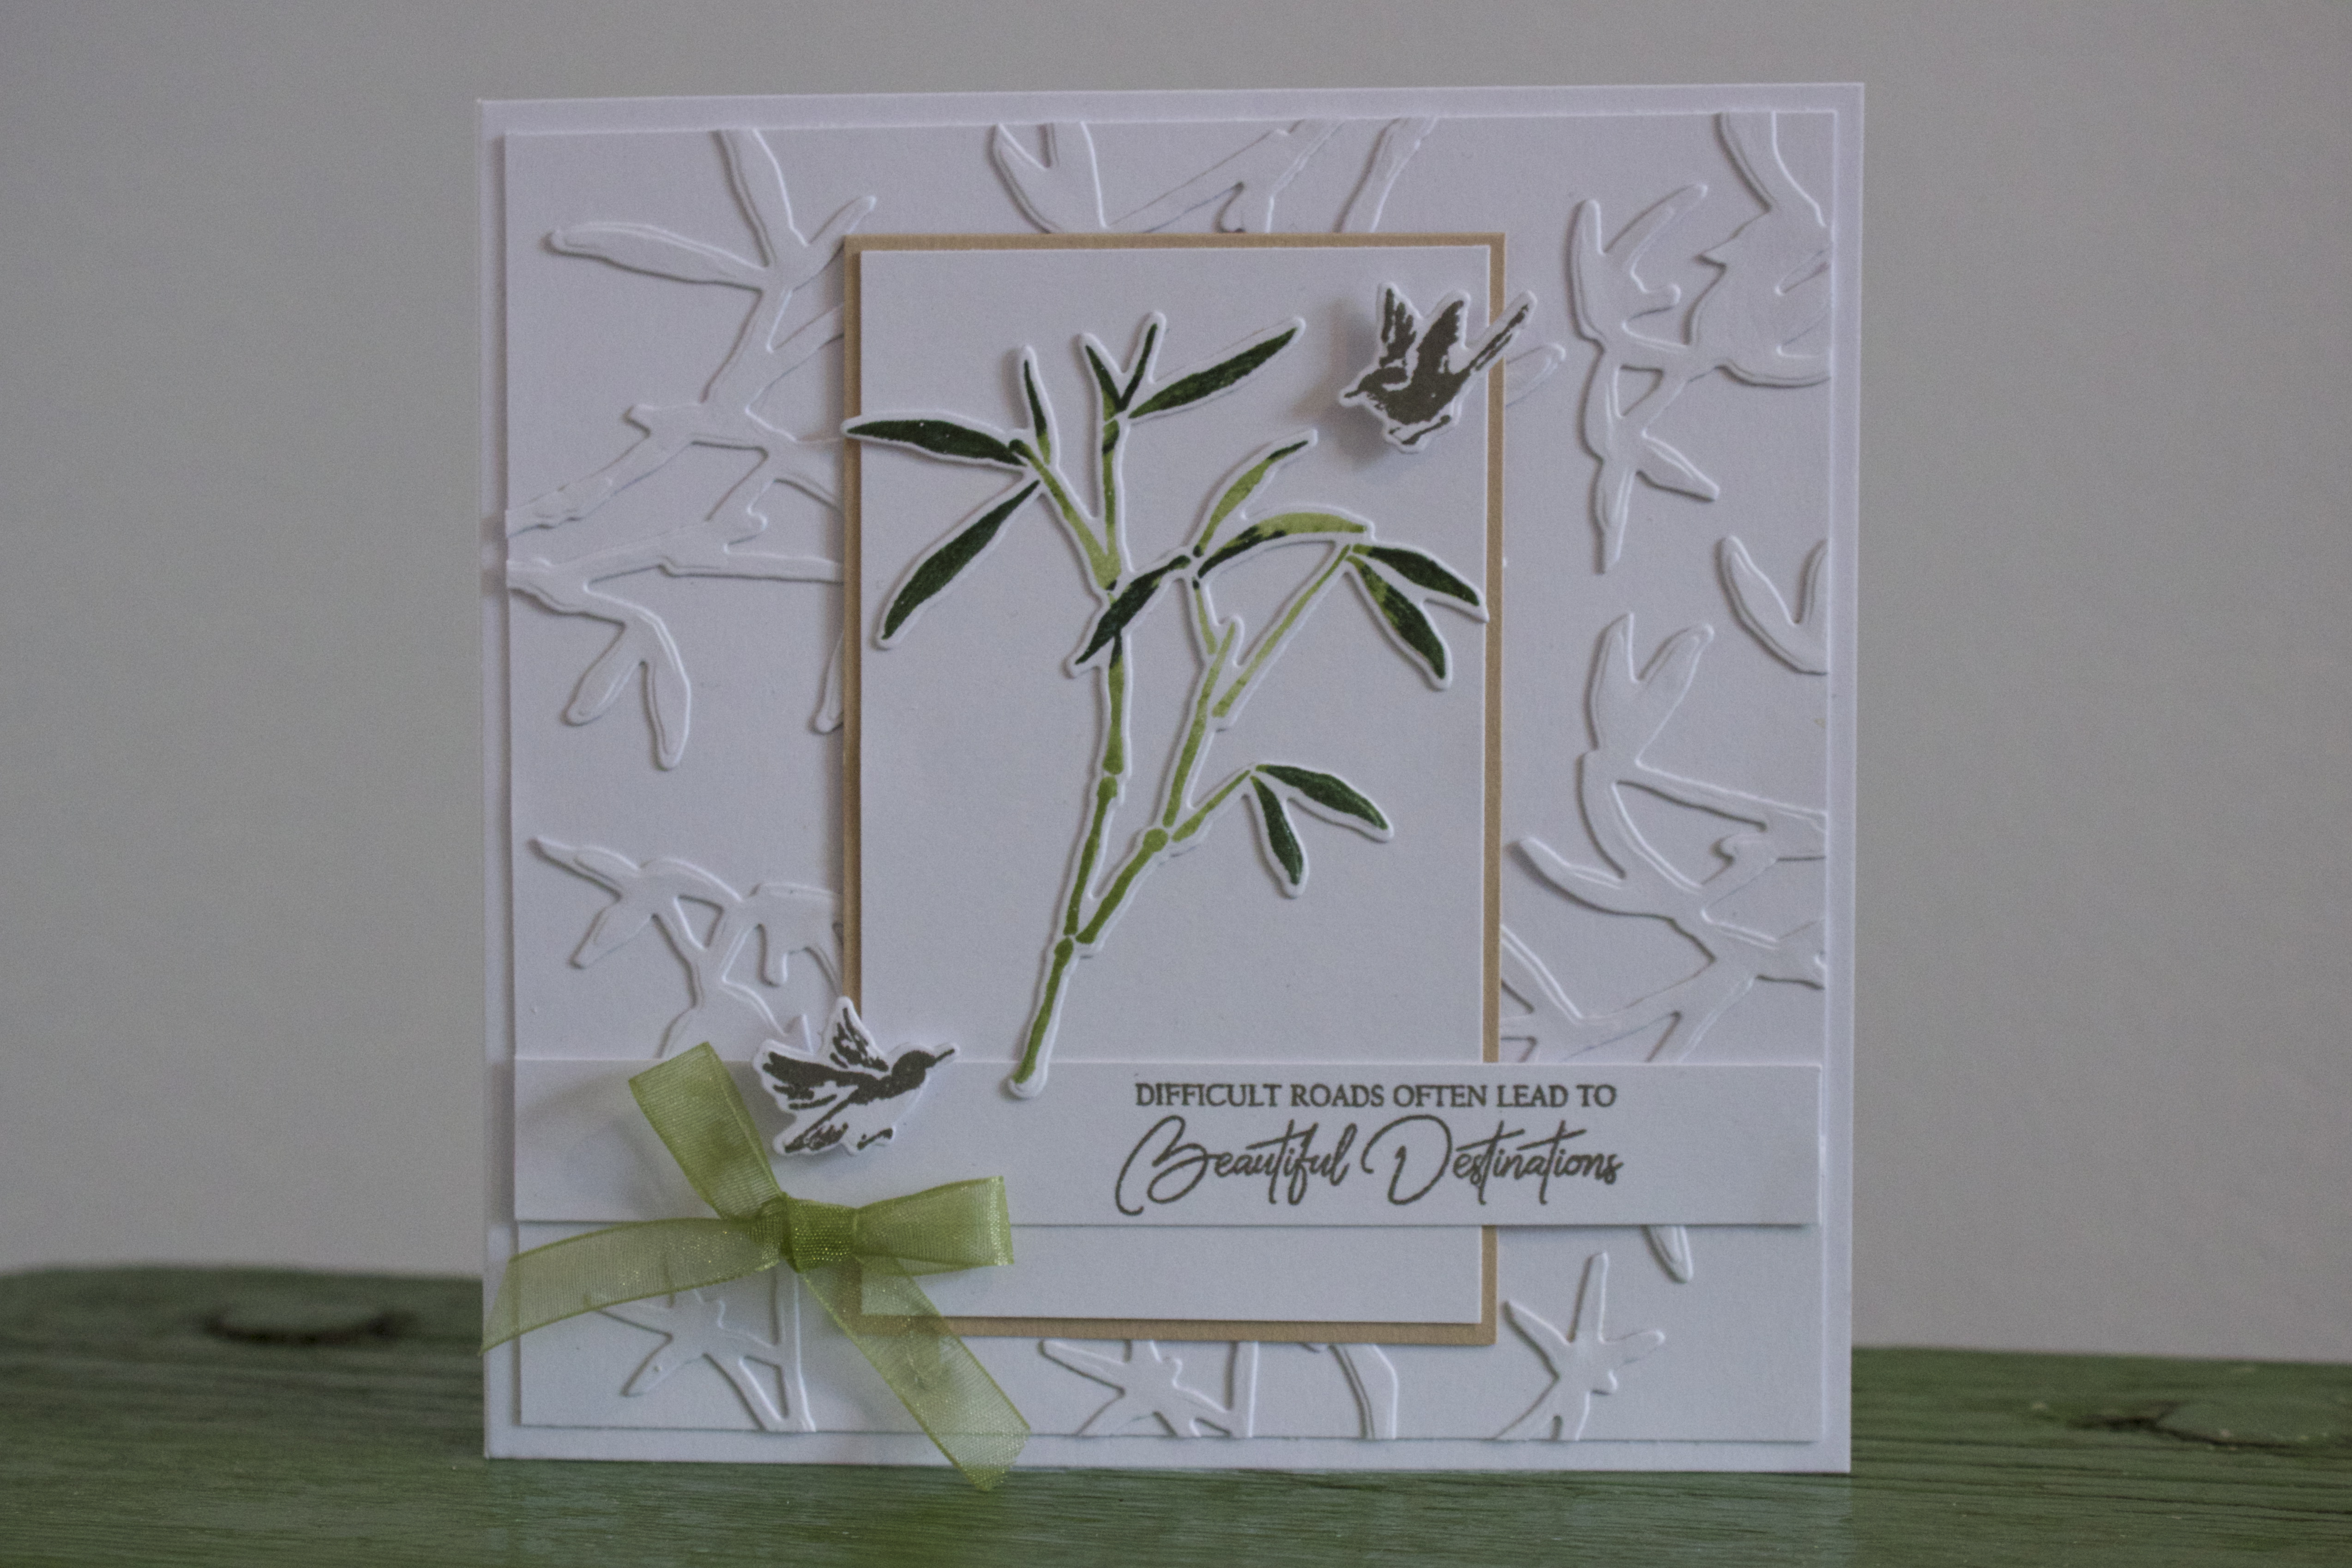
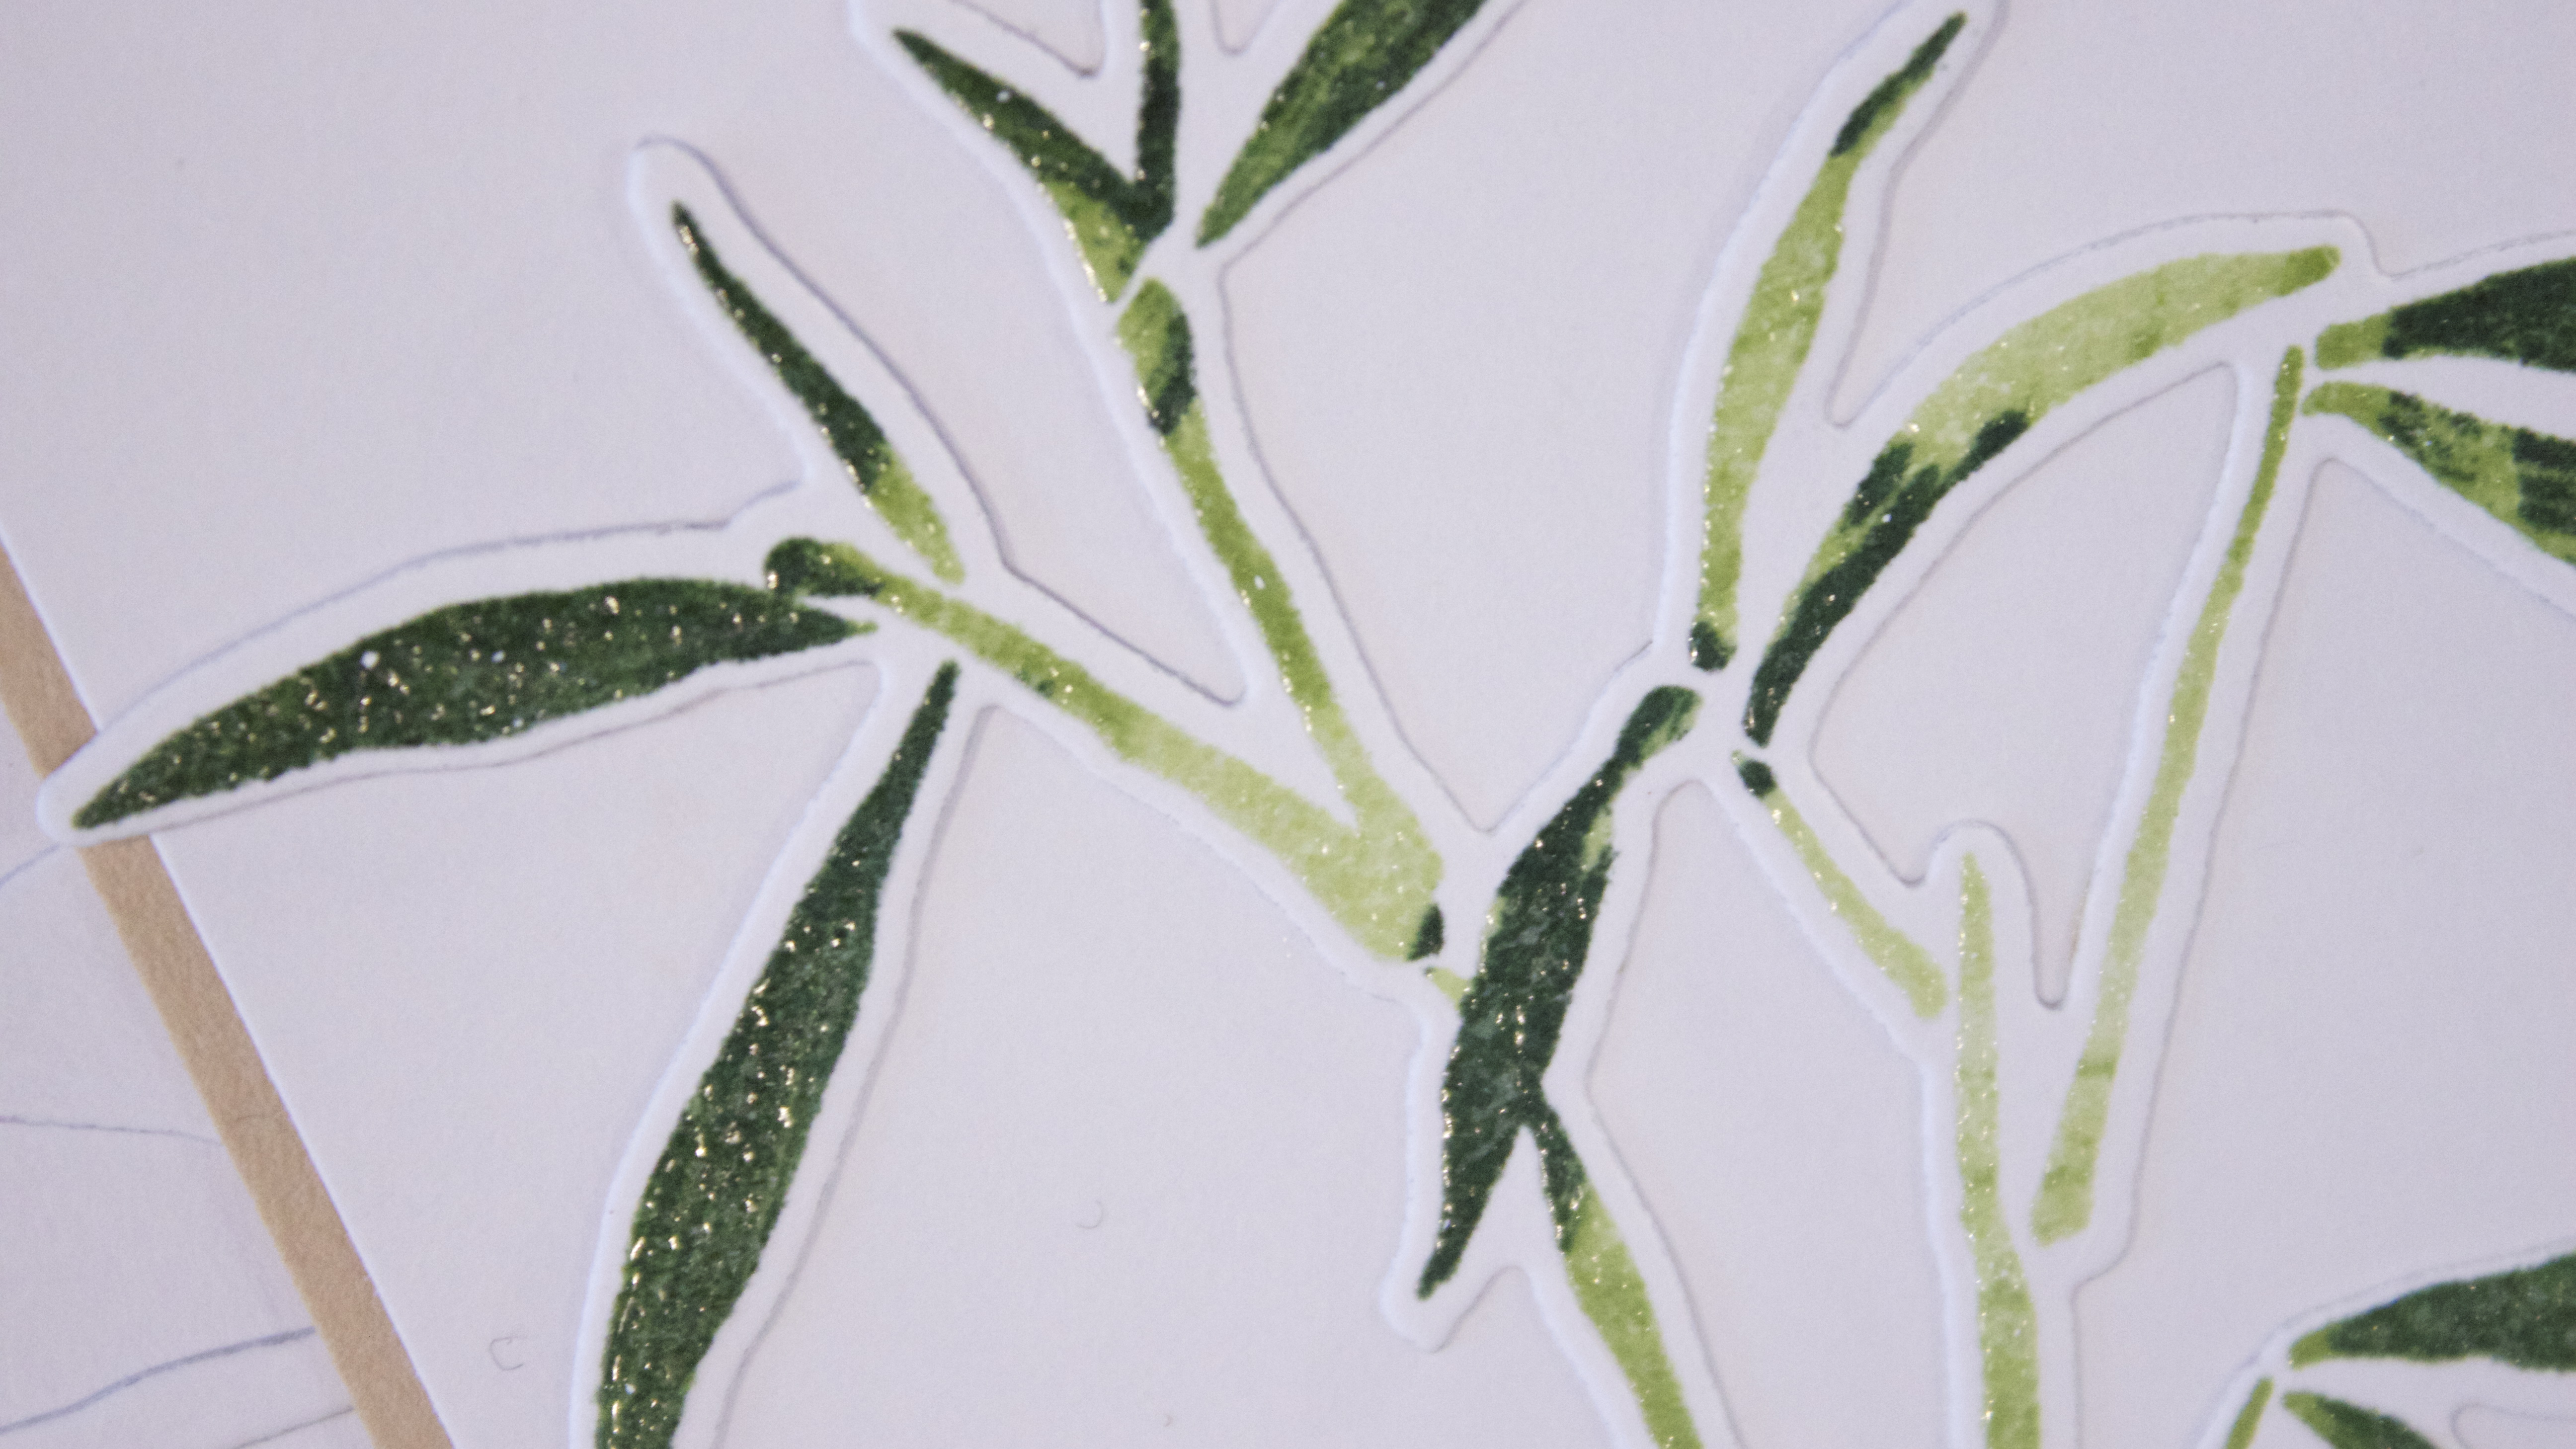
The technique I want to share is one that will give you a beautiful varied effect on your stamped image—you’ll have lovely gradations of green ink, plus a clear embossing powder effect will give the look of rain or dew on the bamboo leaves. See?
Let’s take a look at the process—
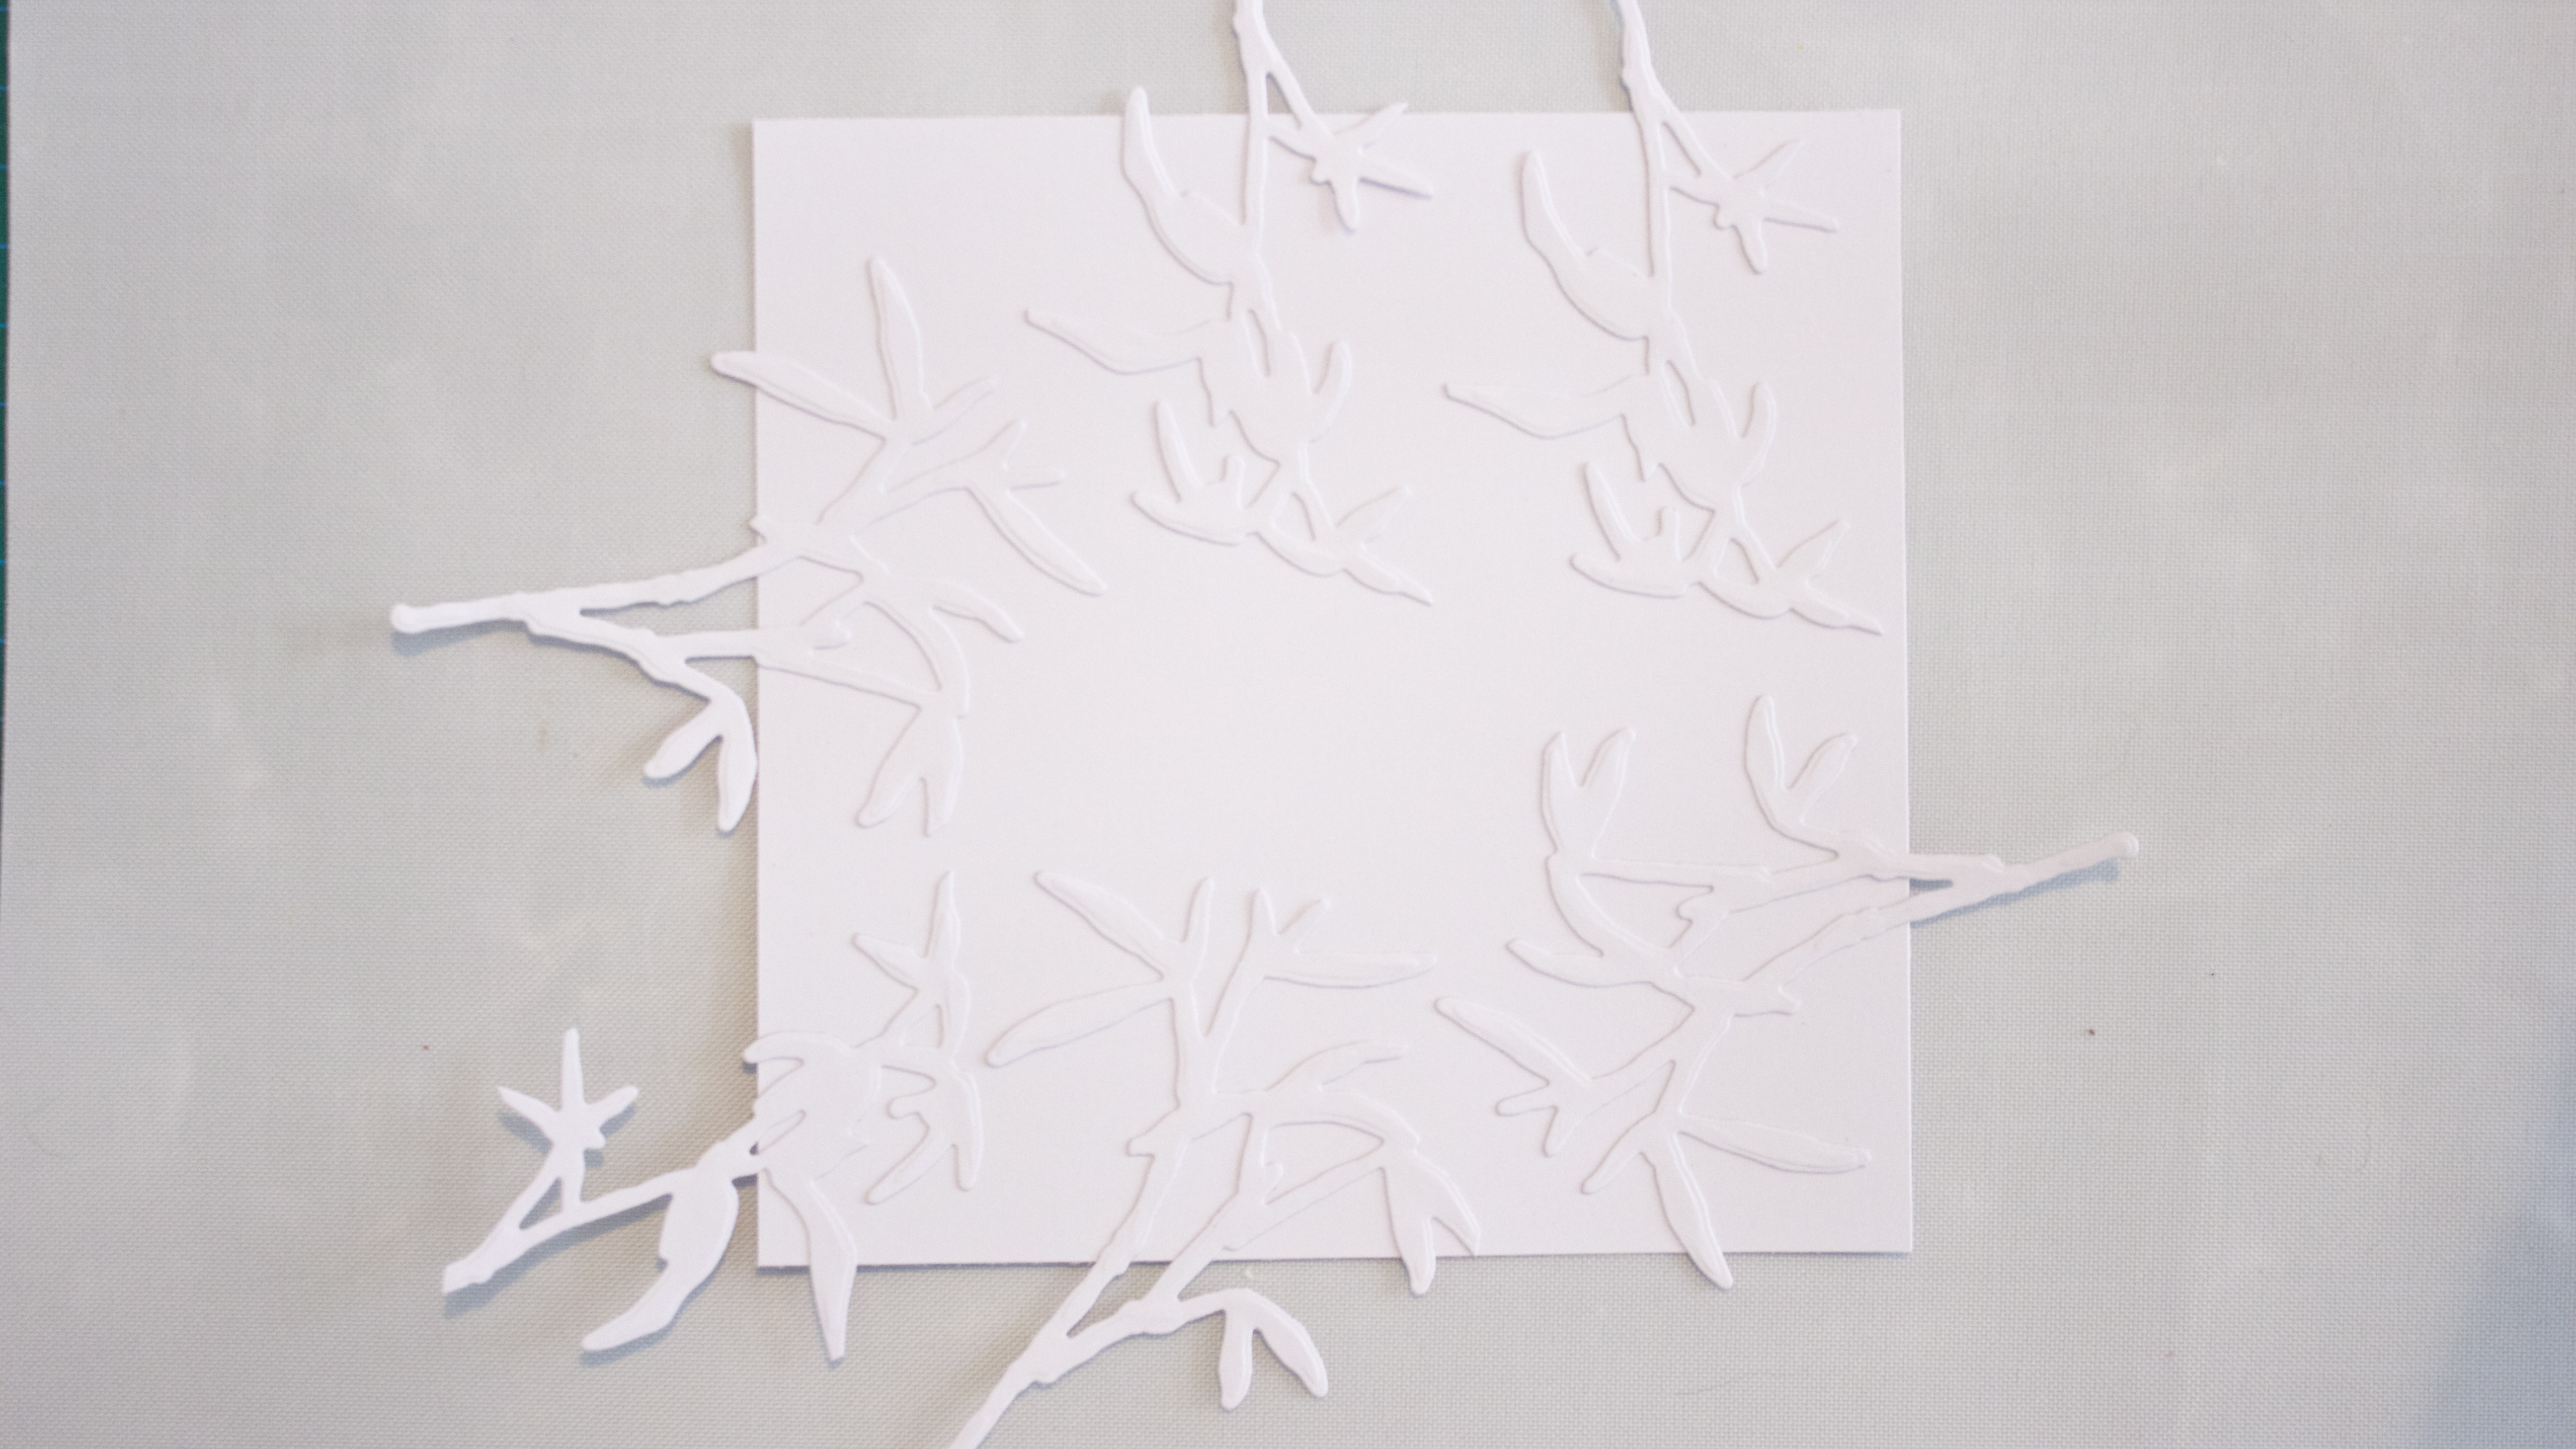 The background is made of white-on-white die cut pieces. Die cut 3 each of two different Never Give Up bamboo trees from white cardstock. Glue them to a 14.5cm square of white cardstock. (You can leave the center empty.)
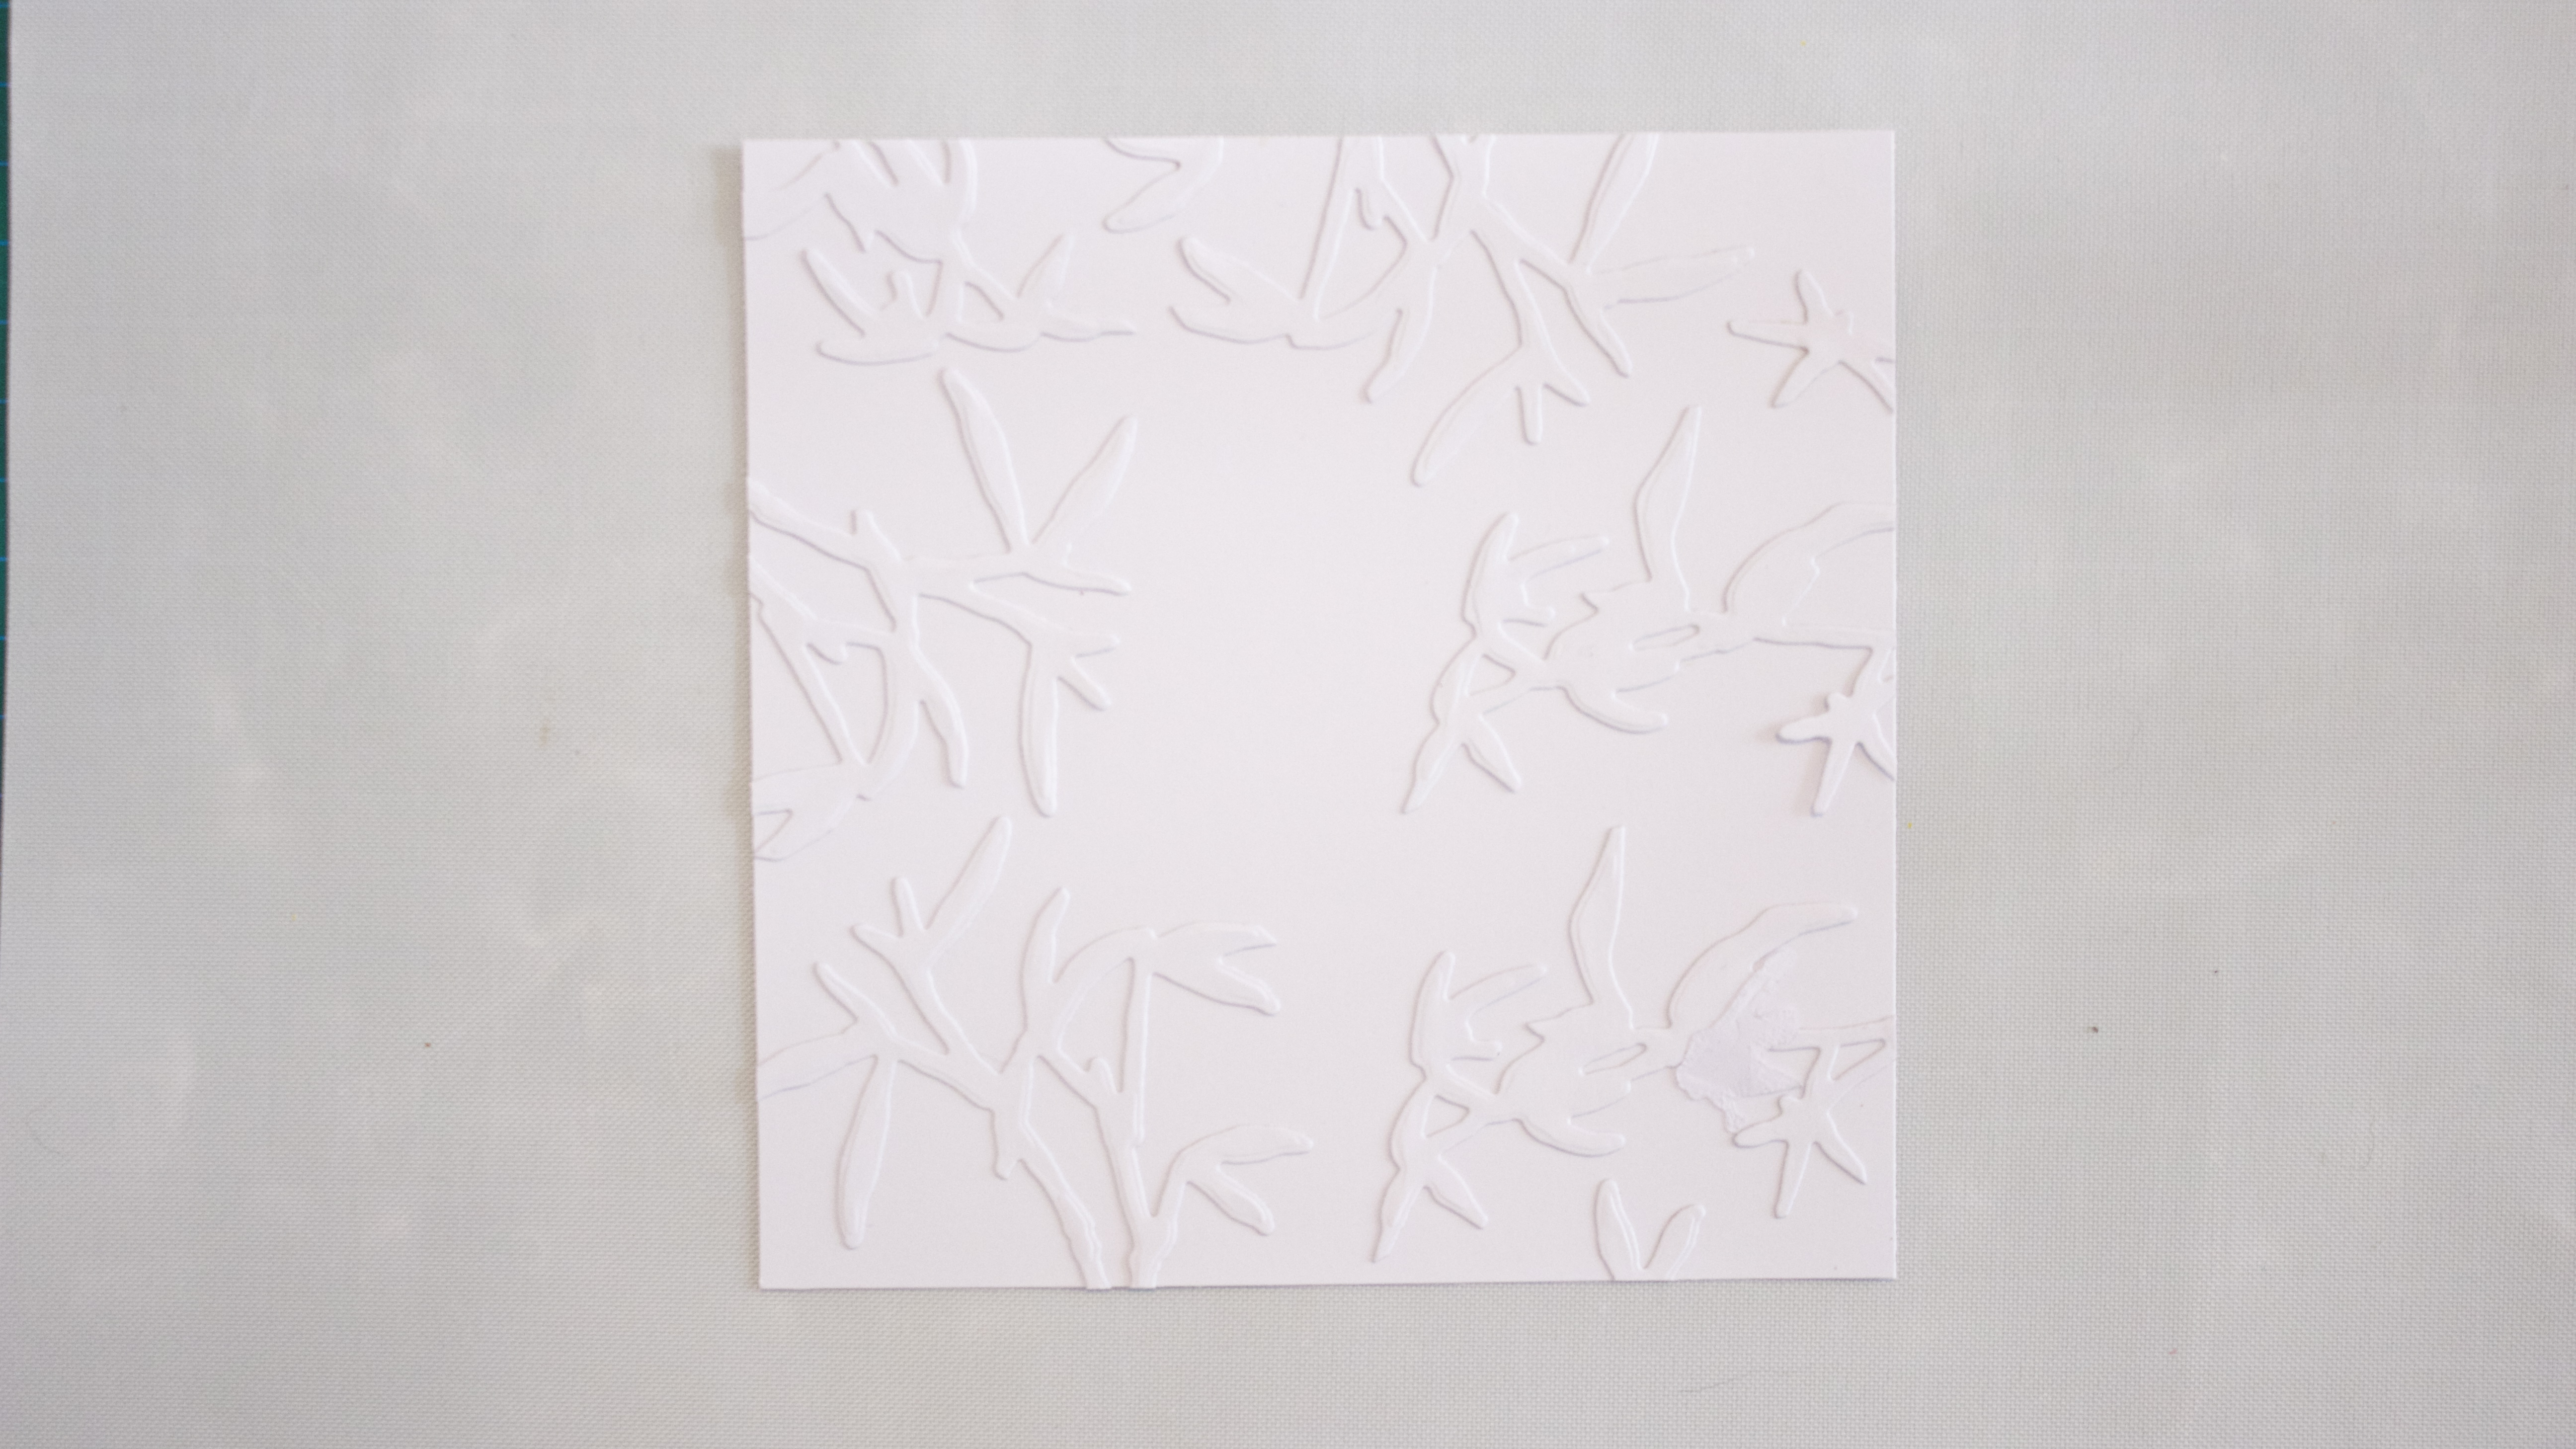
Trim off the excess from the edges. Use the trimmed-off pieces to fill in any blank areas around the edges.
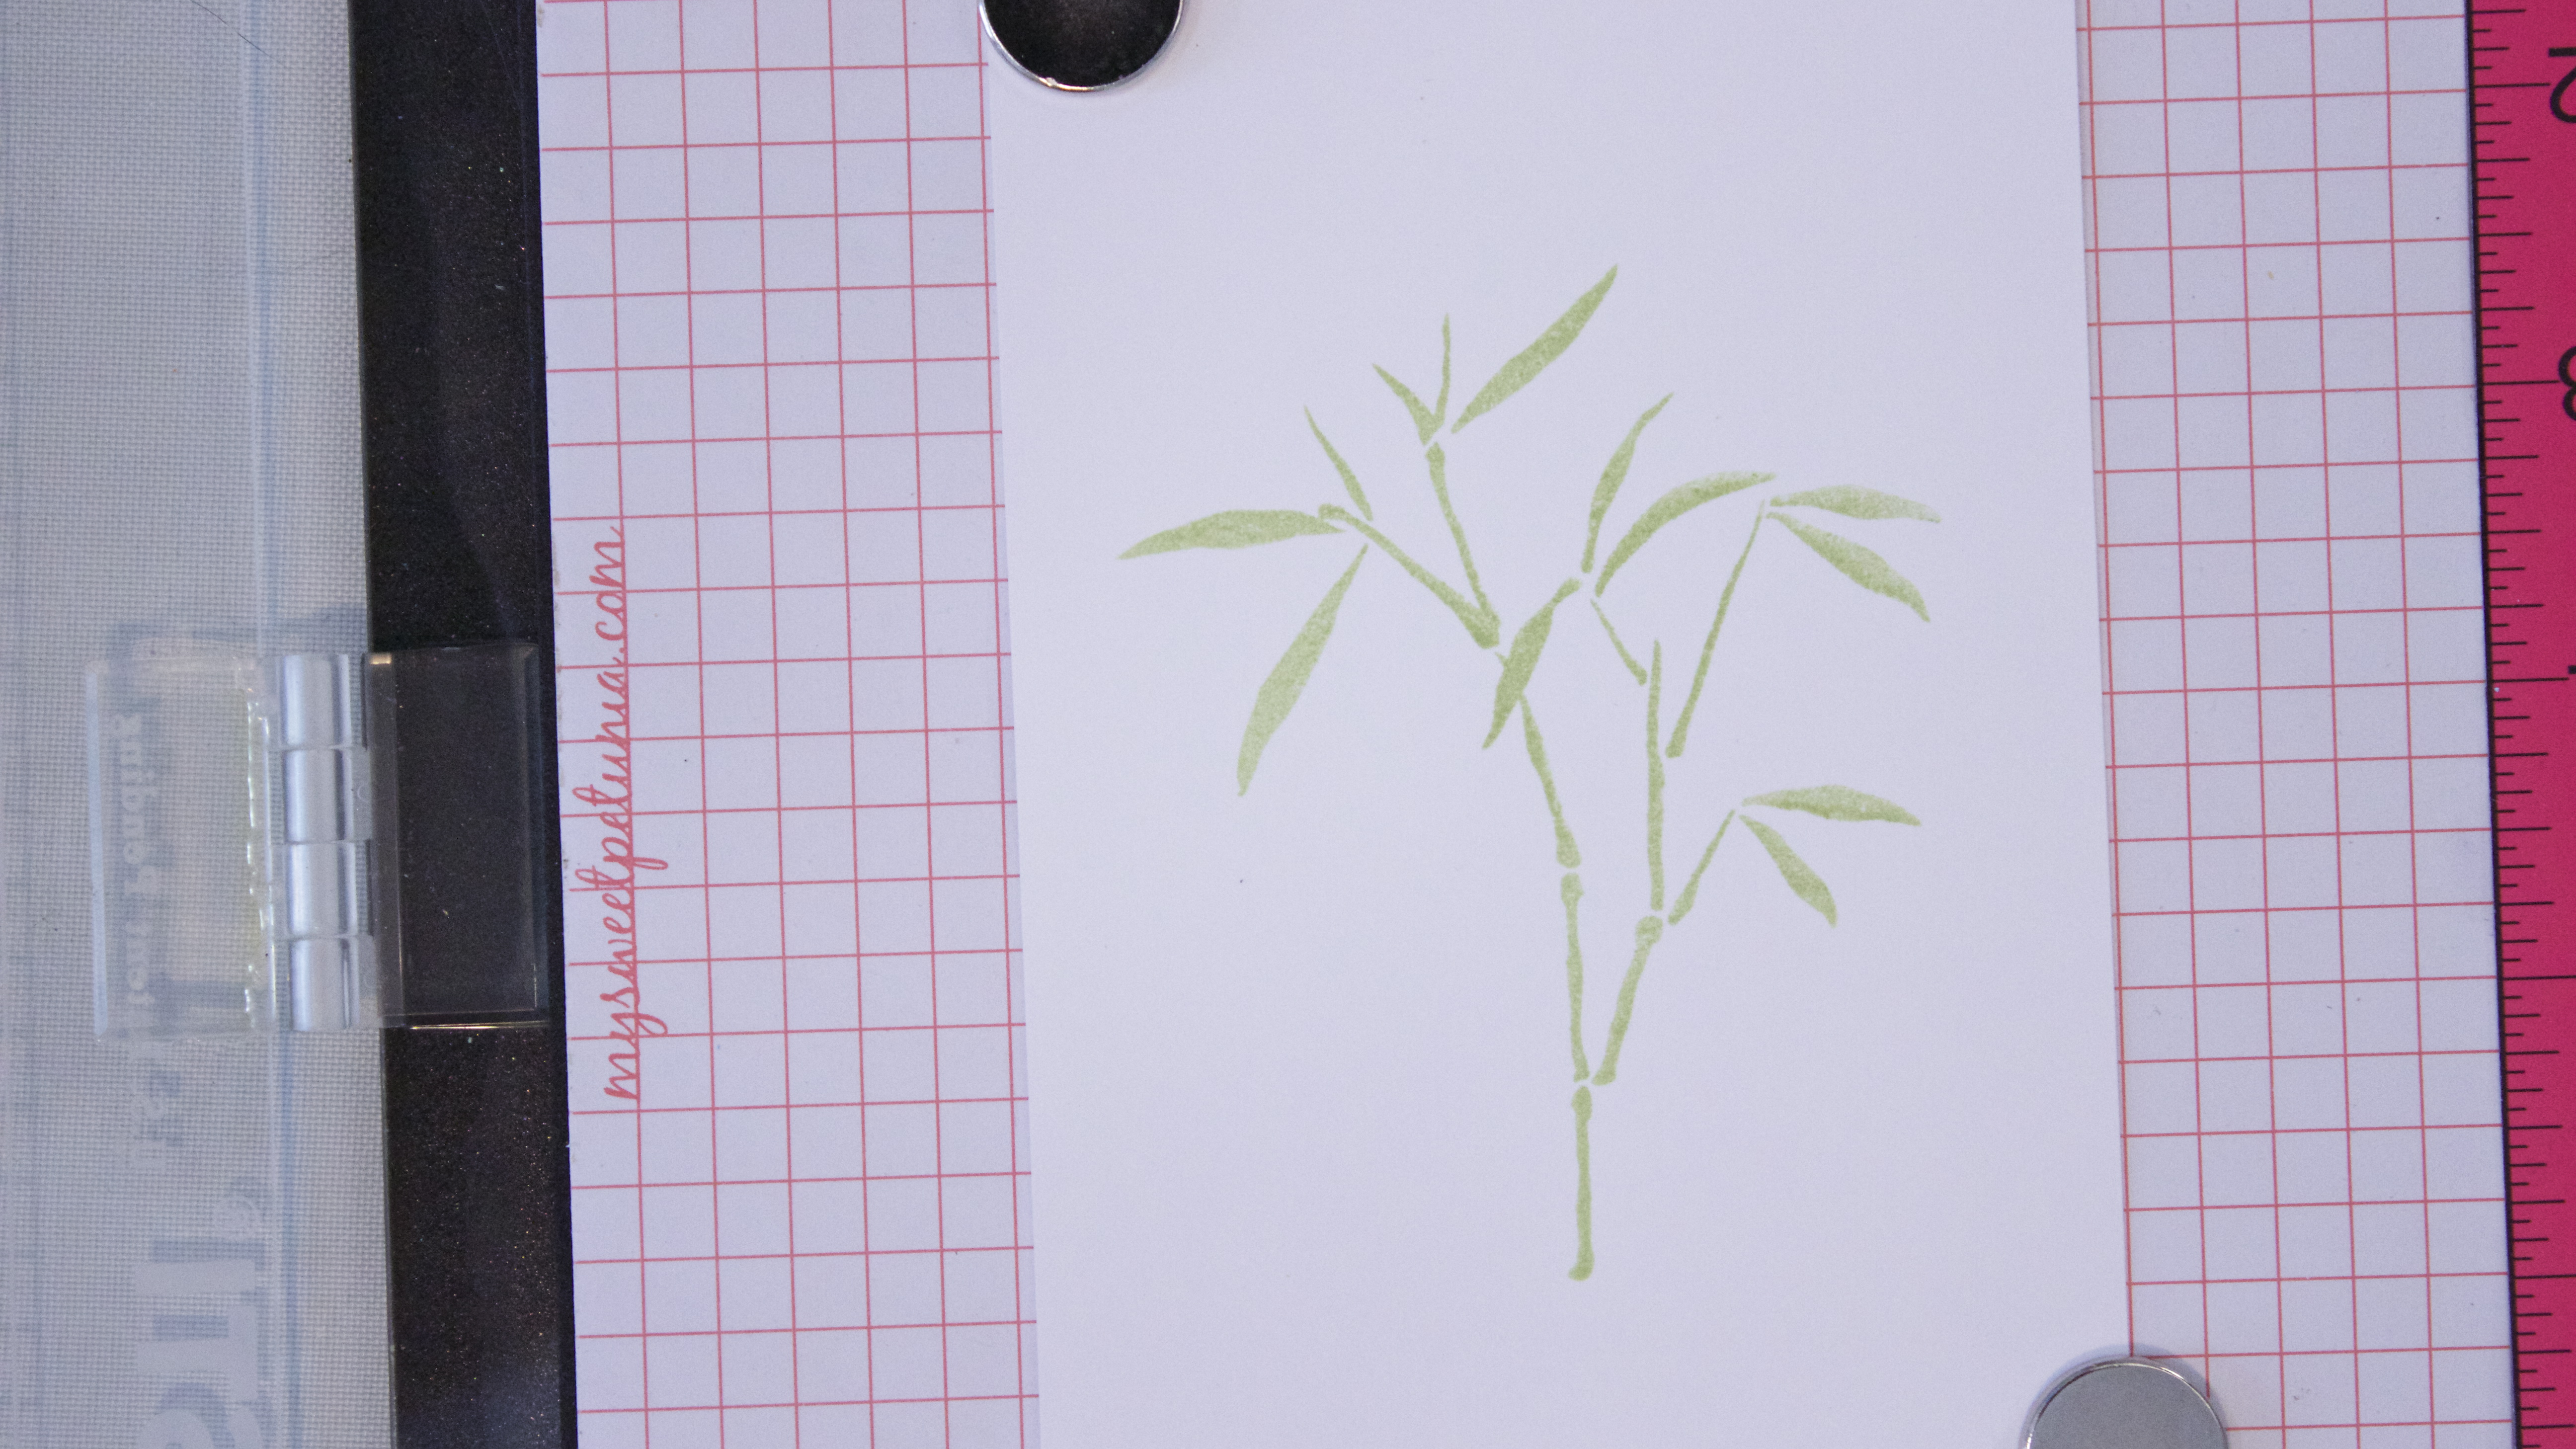 Use the MISTI to stamp the Never Give Up bamboo tree on white cardstock with Frayed Leaf.
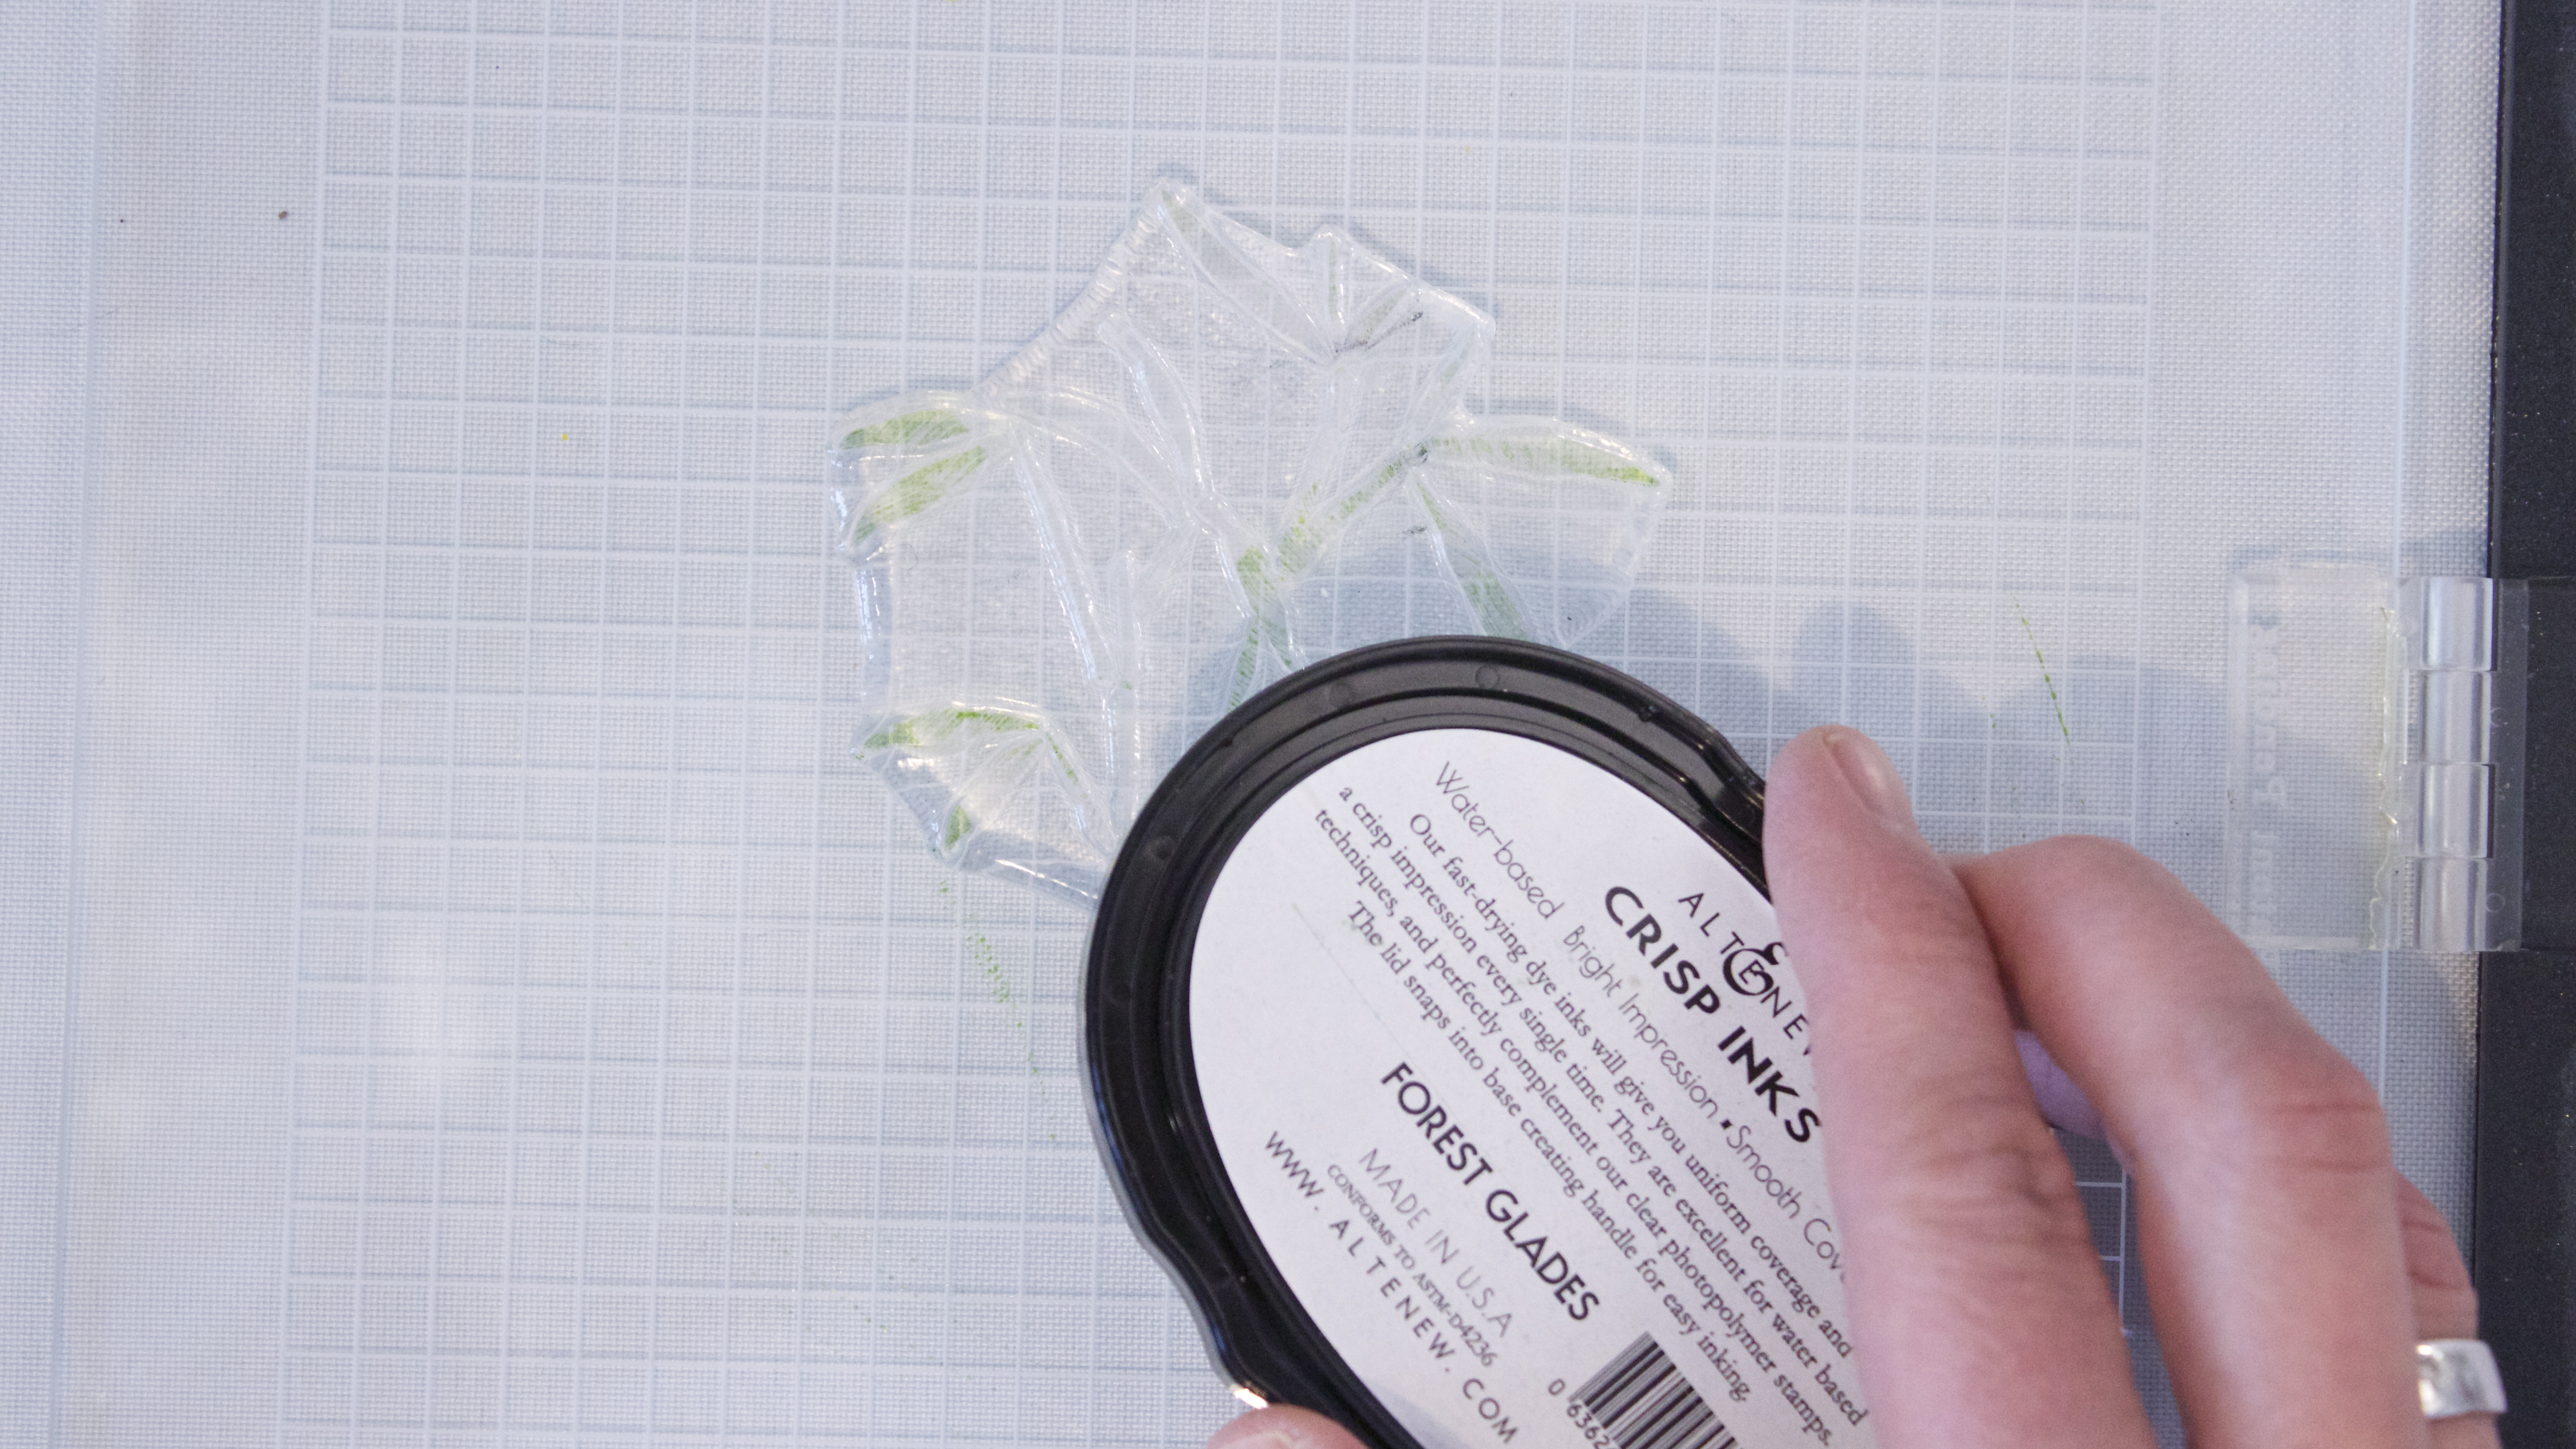
Keep the stamp and the white cardstock in place. Reink the stamp with Forest Glades, inking only the edges and part of the stalk.
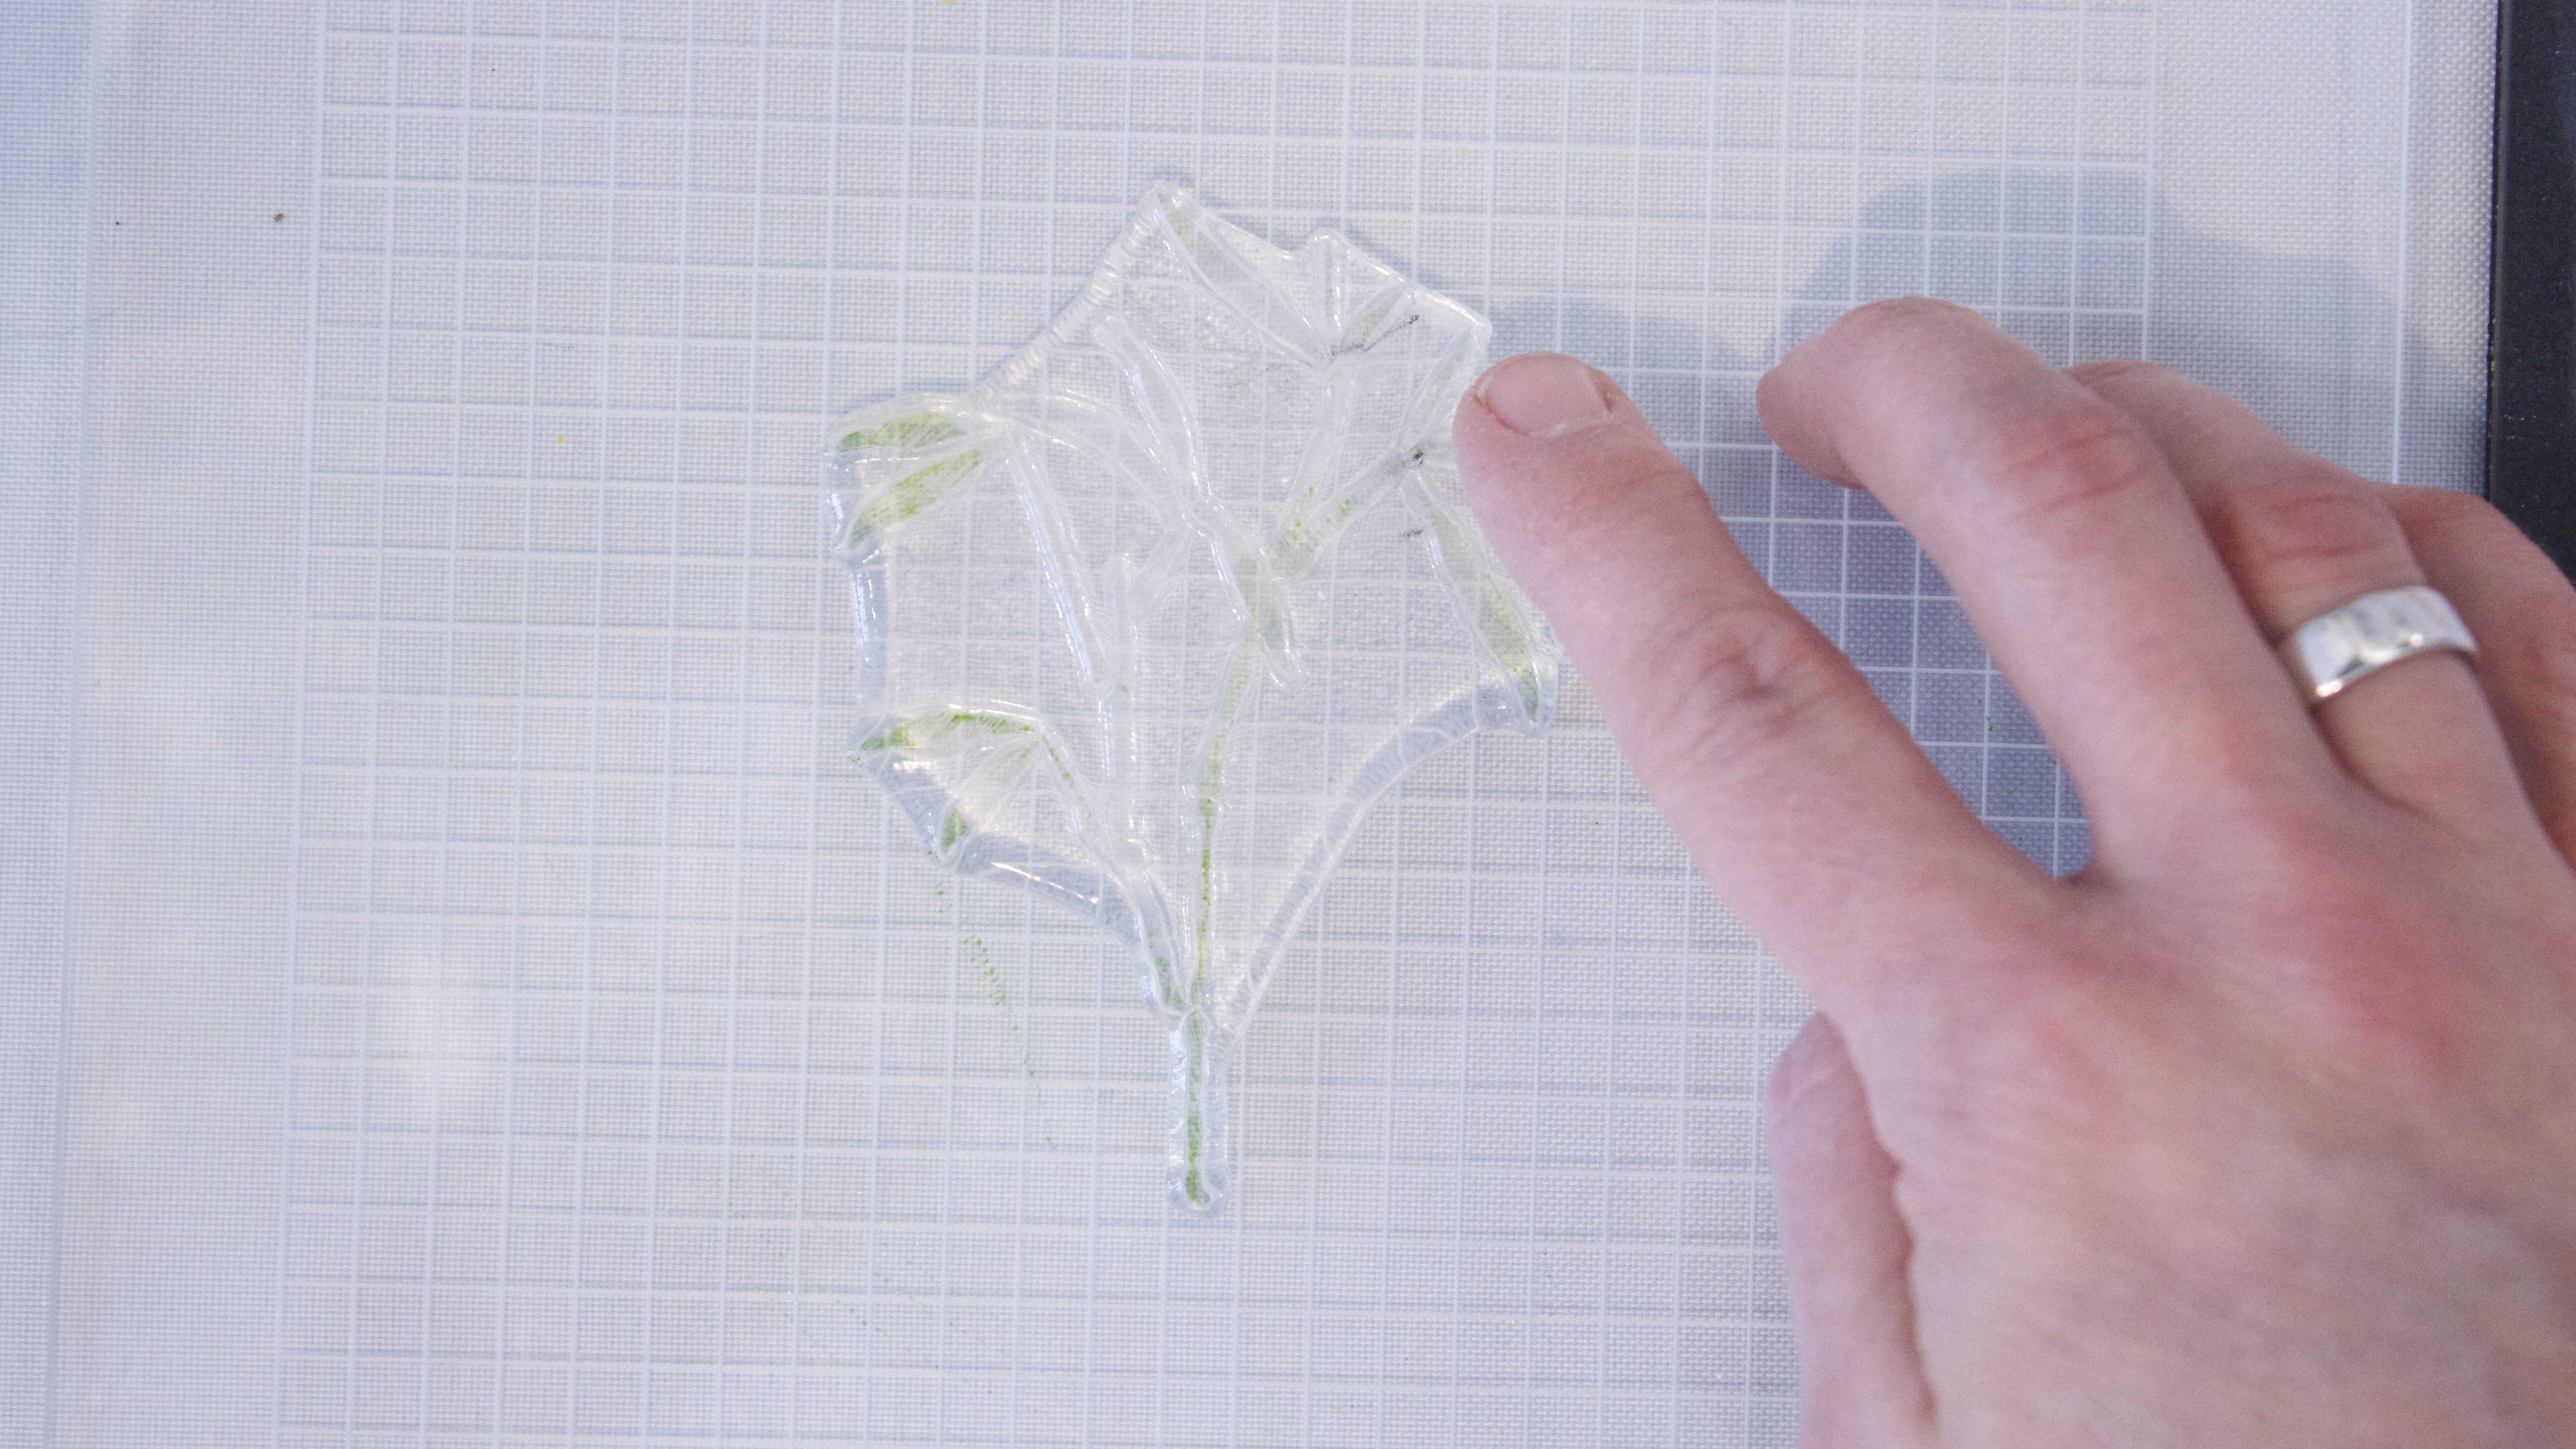
Use your finger to blend the ink on the stamp, then close the MISTI.
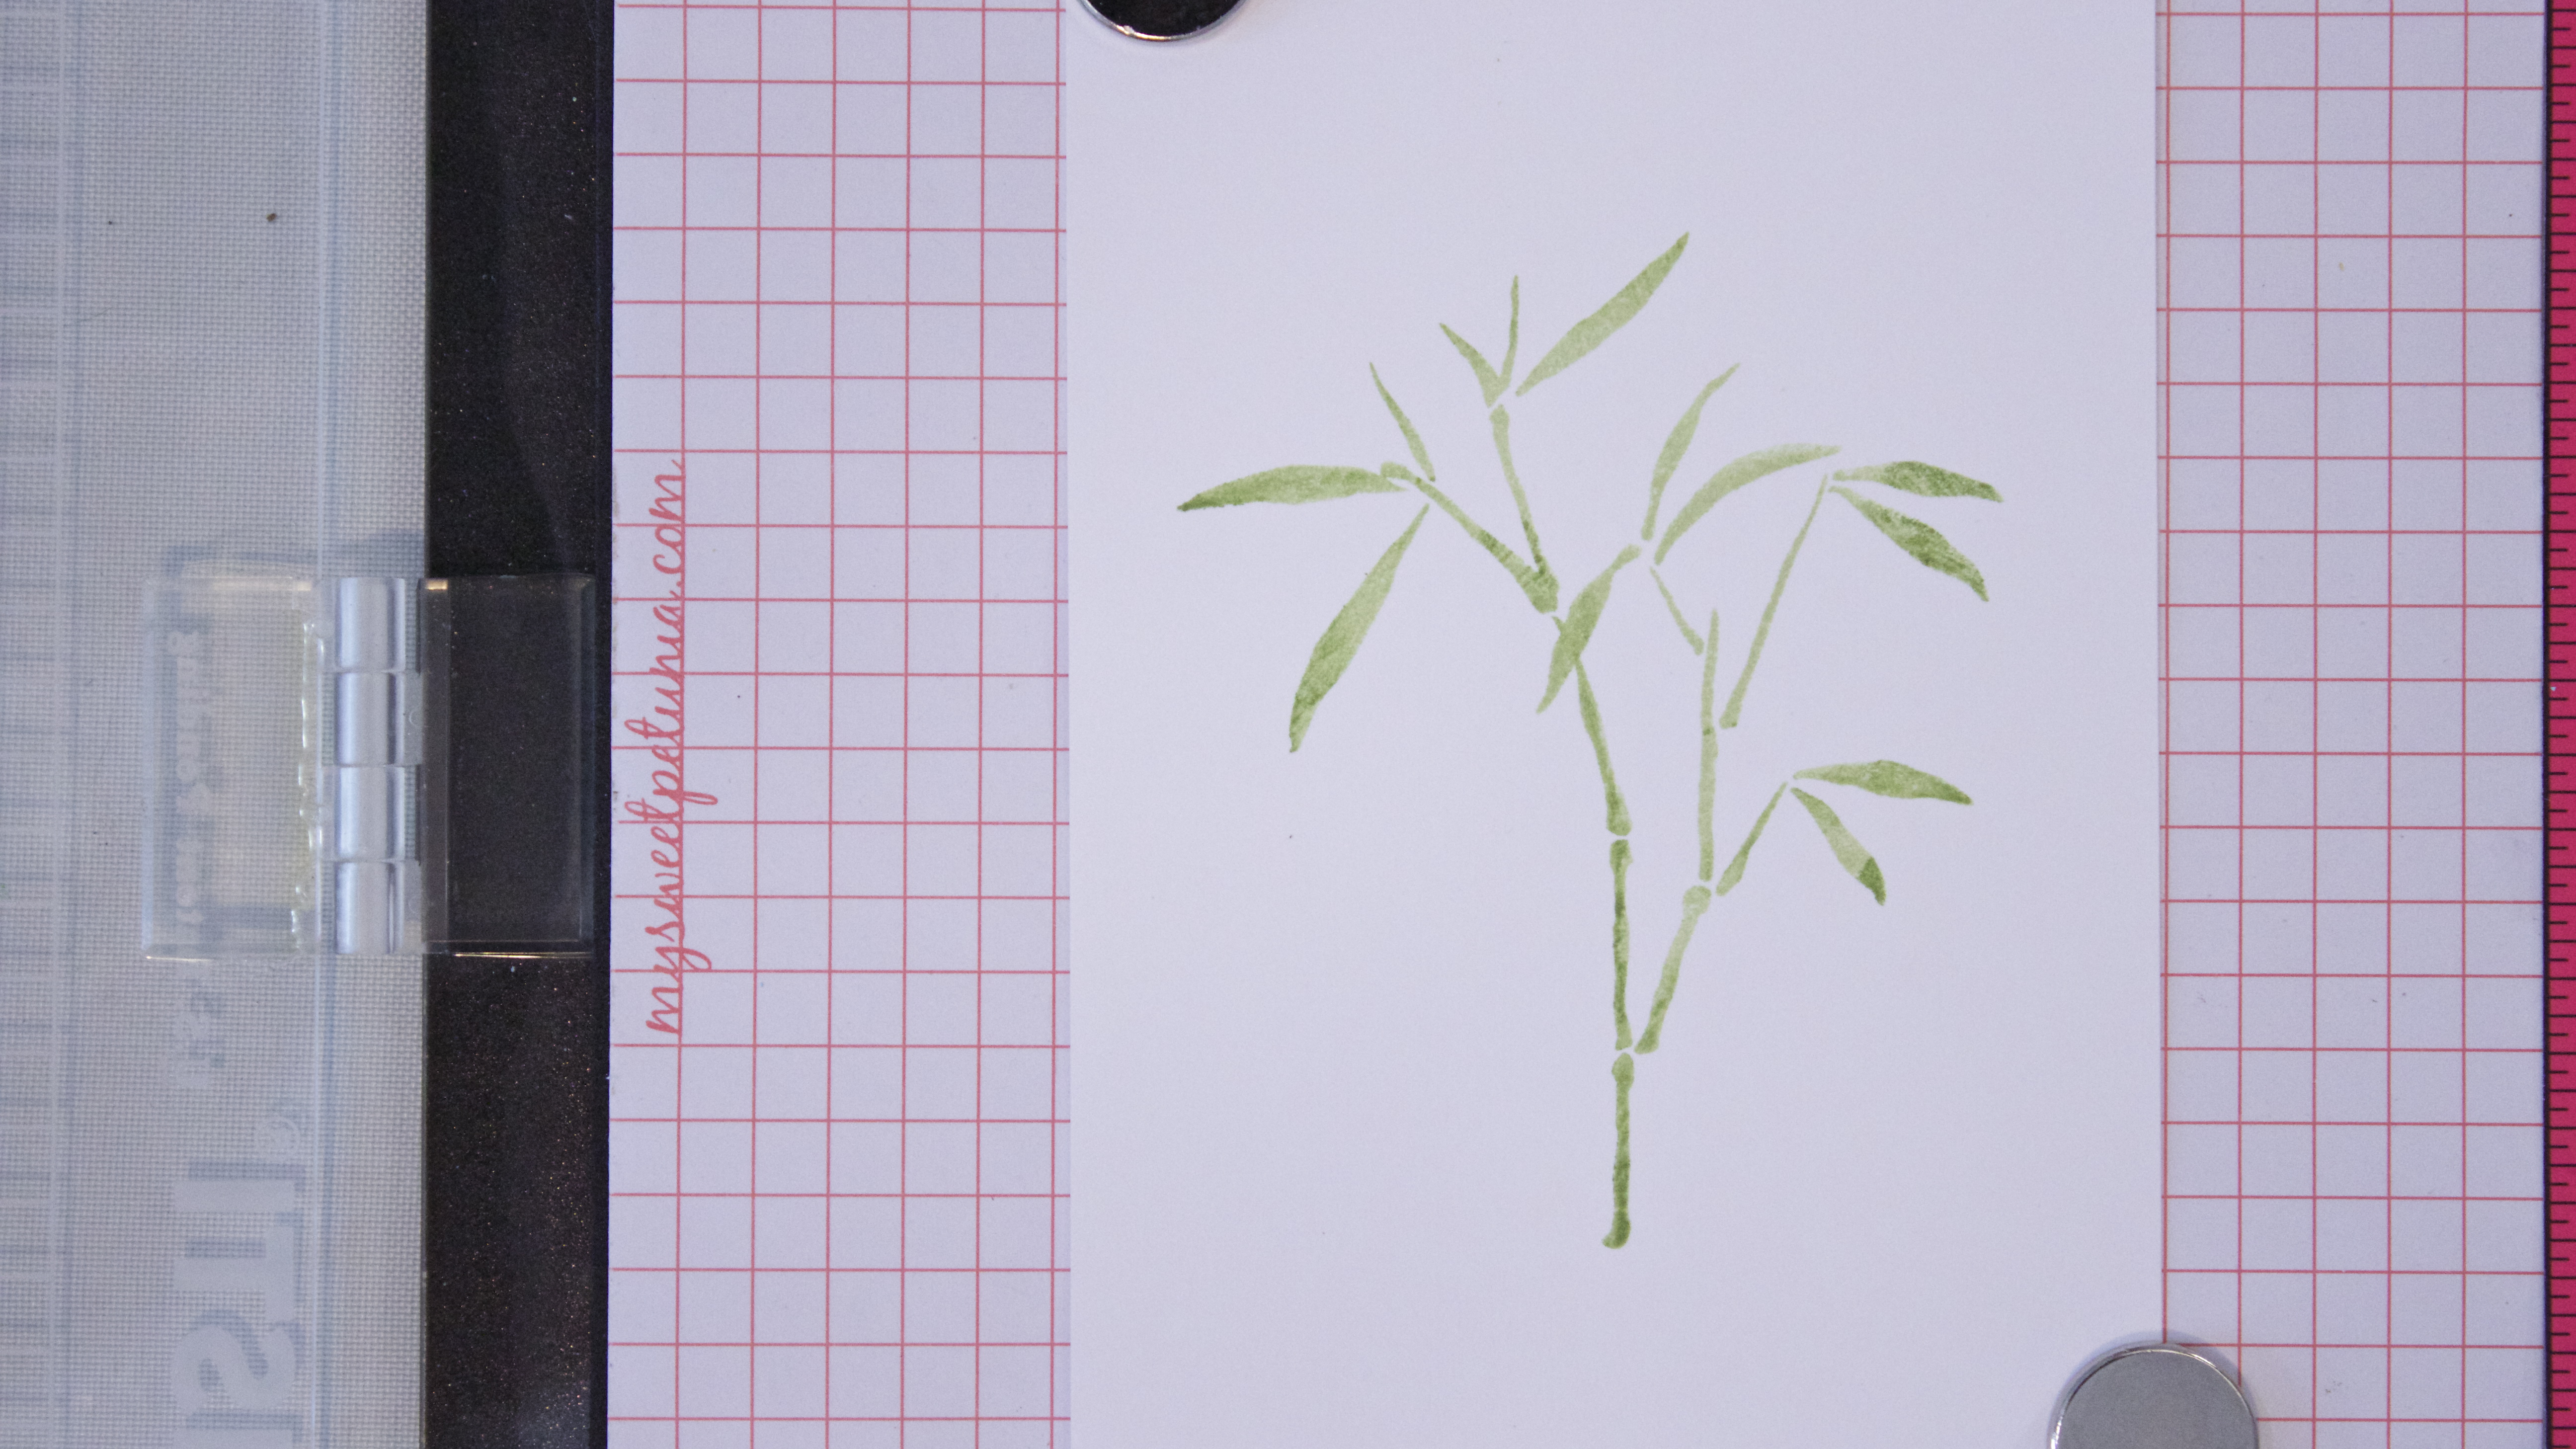
You’ll have two shades of green on portions of the bamboo.
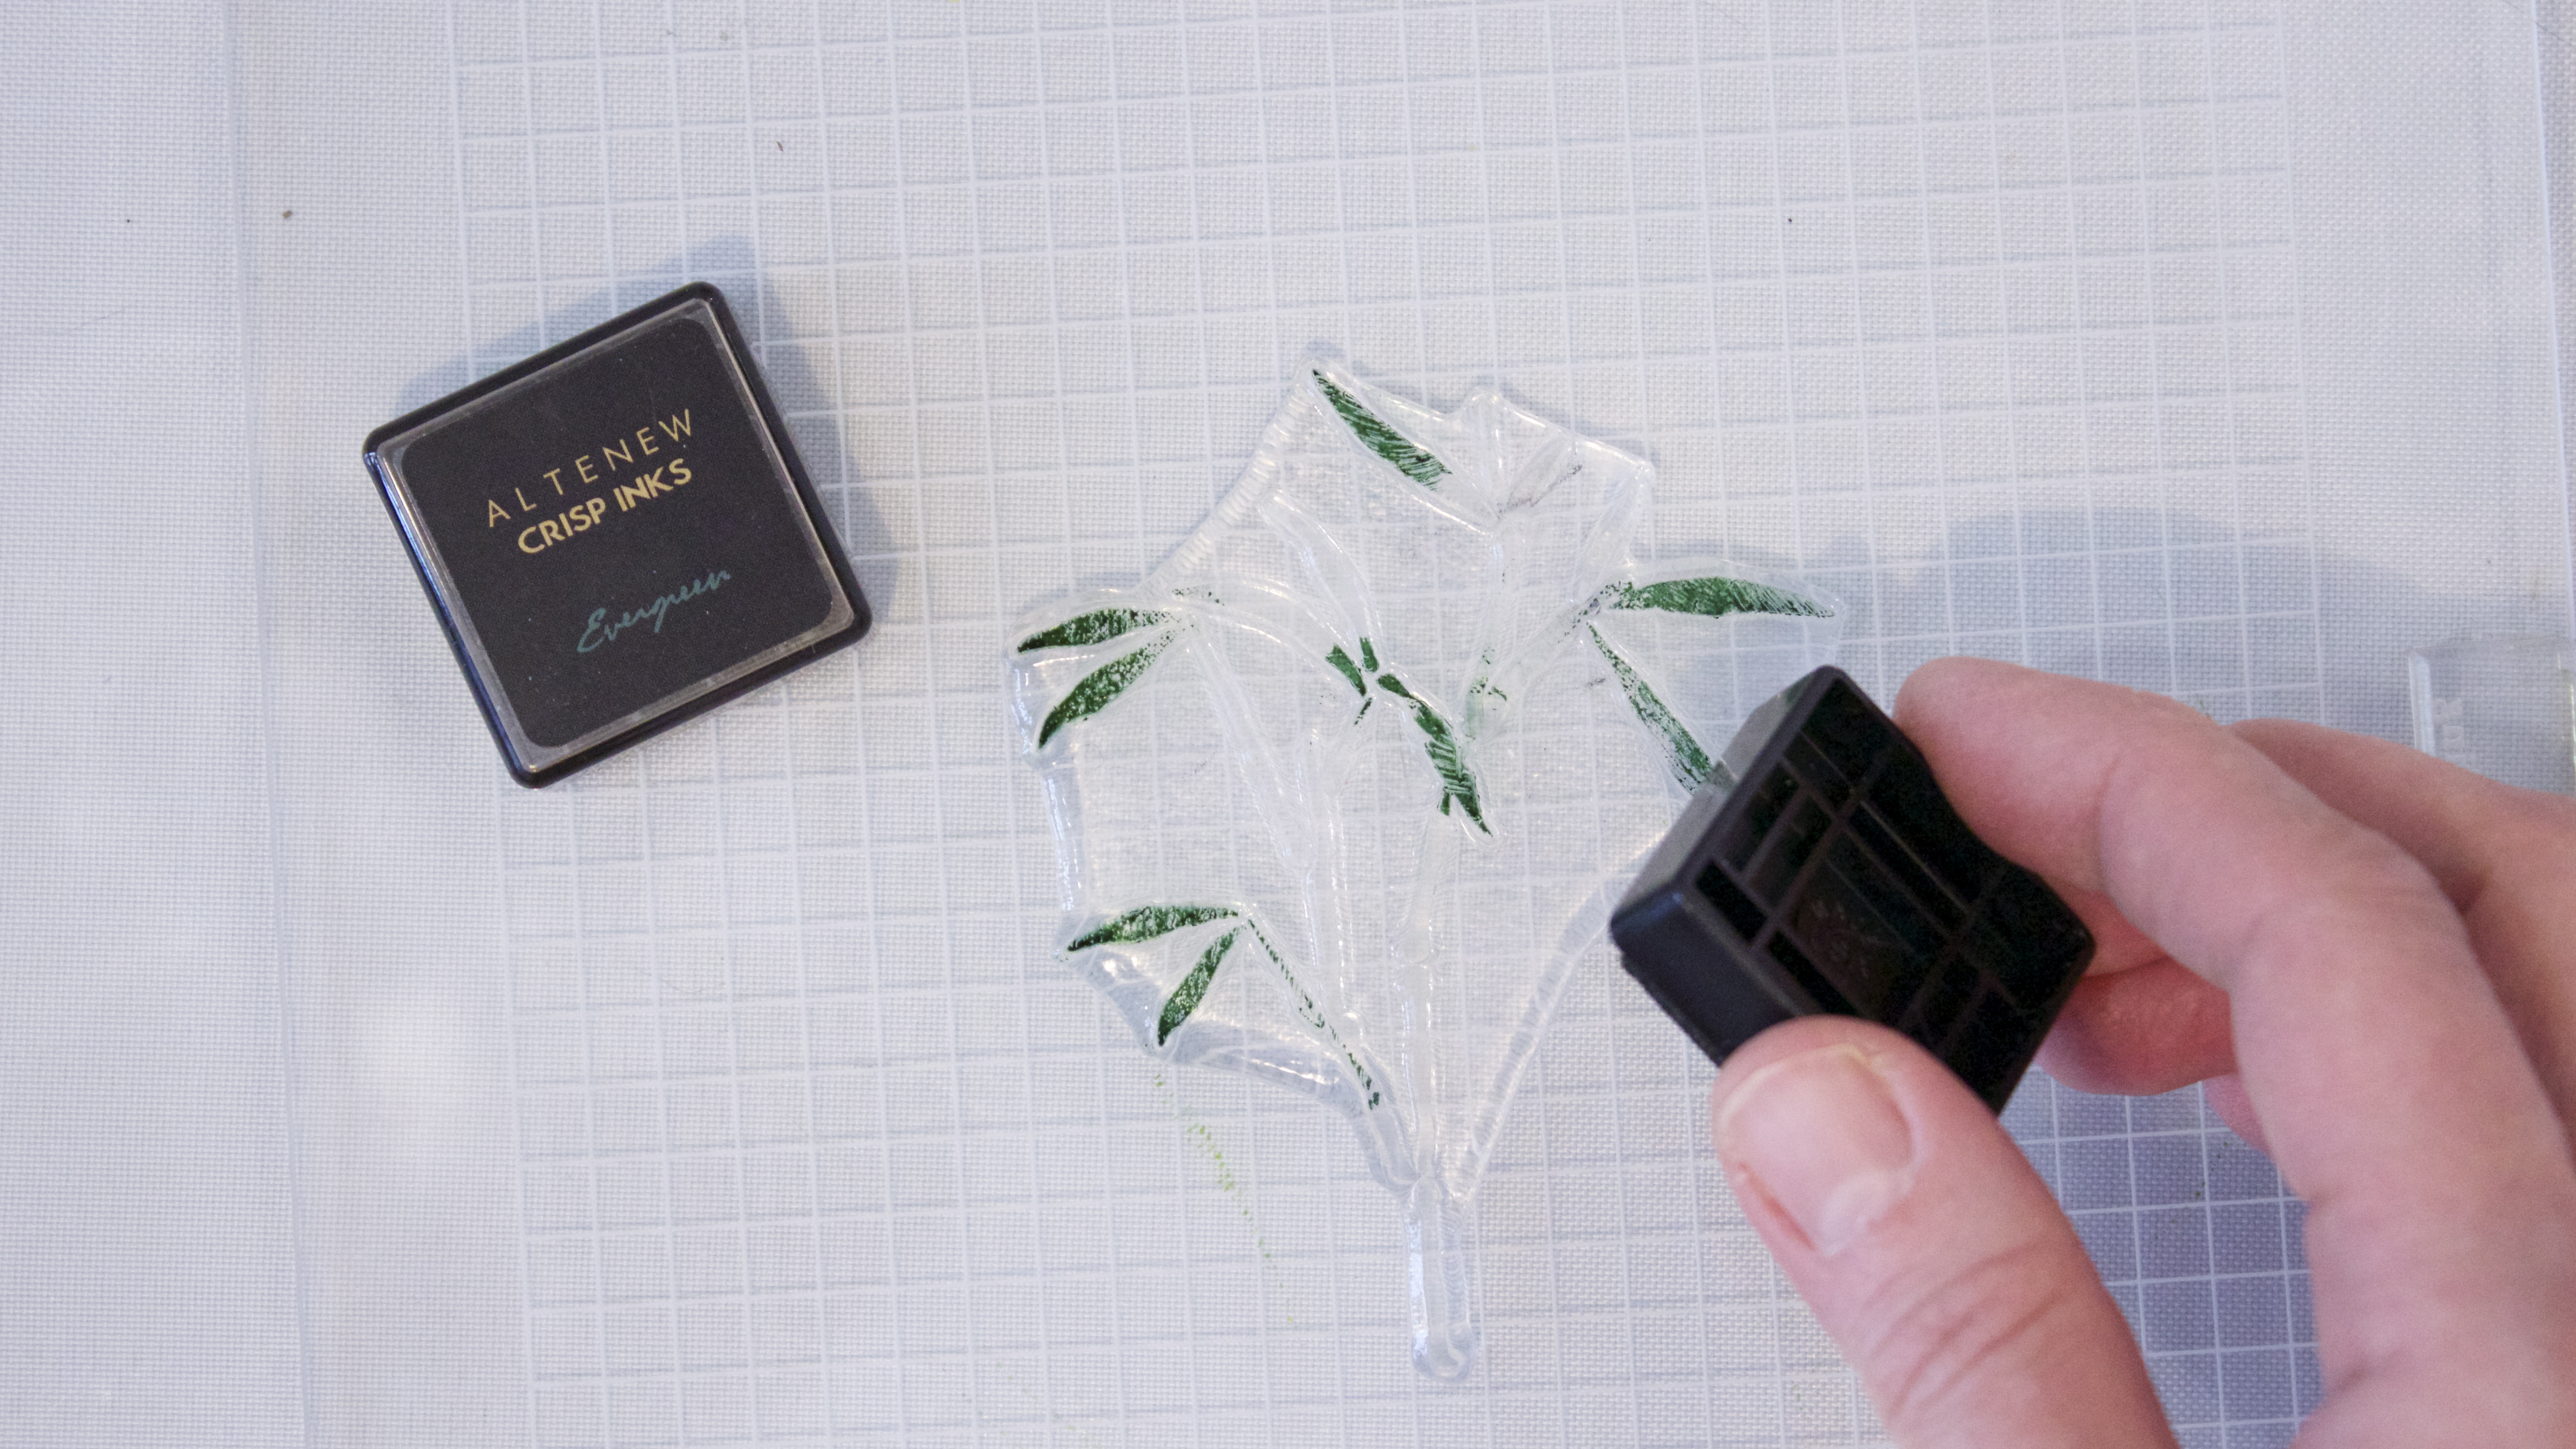
Ink the stamp again with Evergreen, inking only the bamboo edges. Close the MISTI.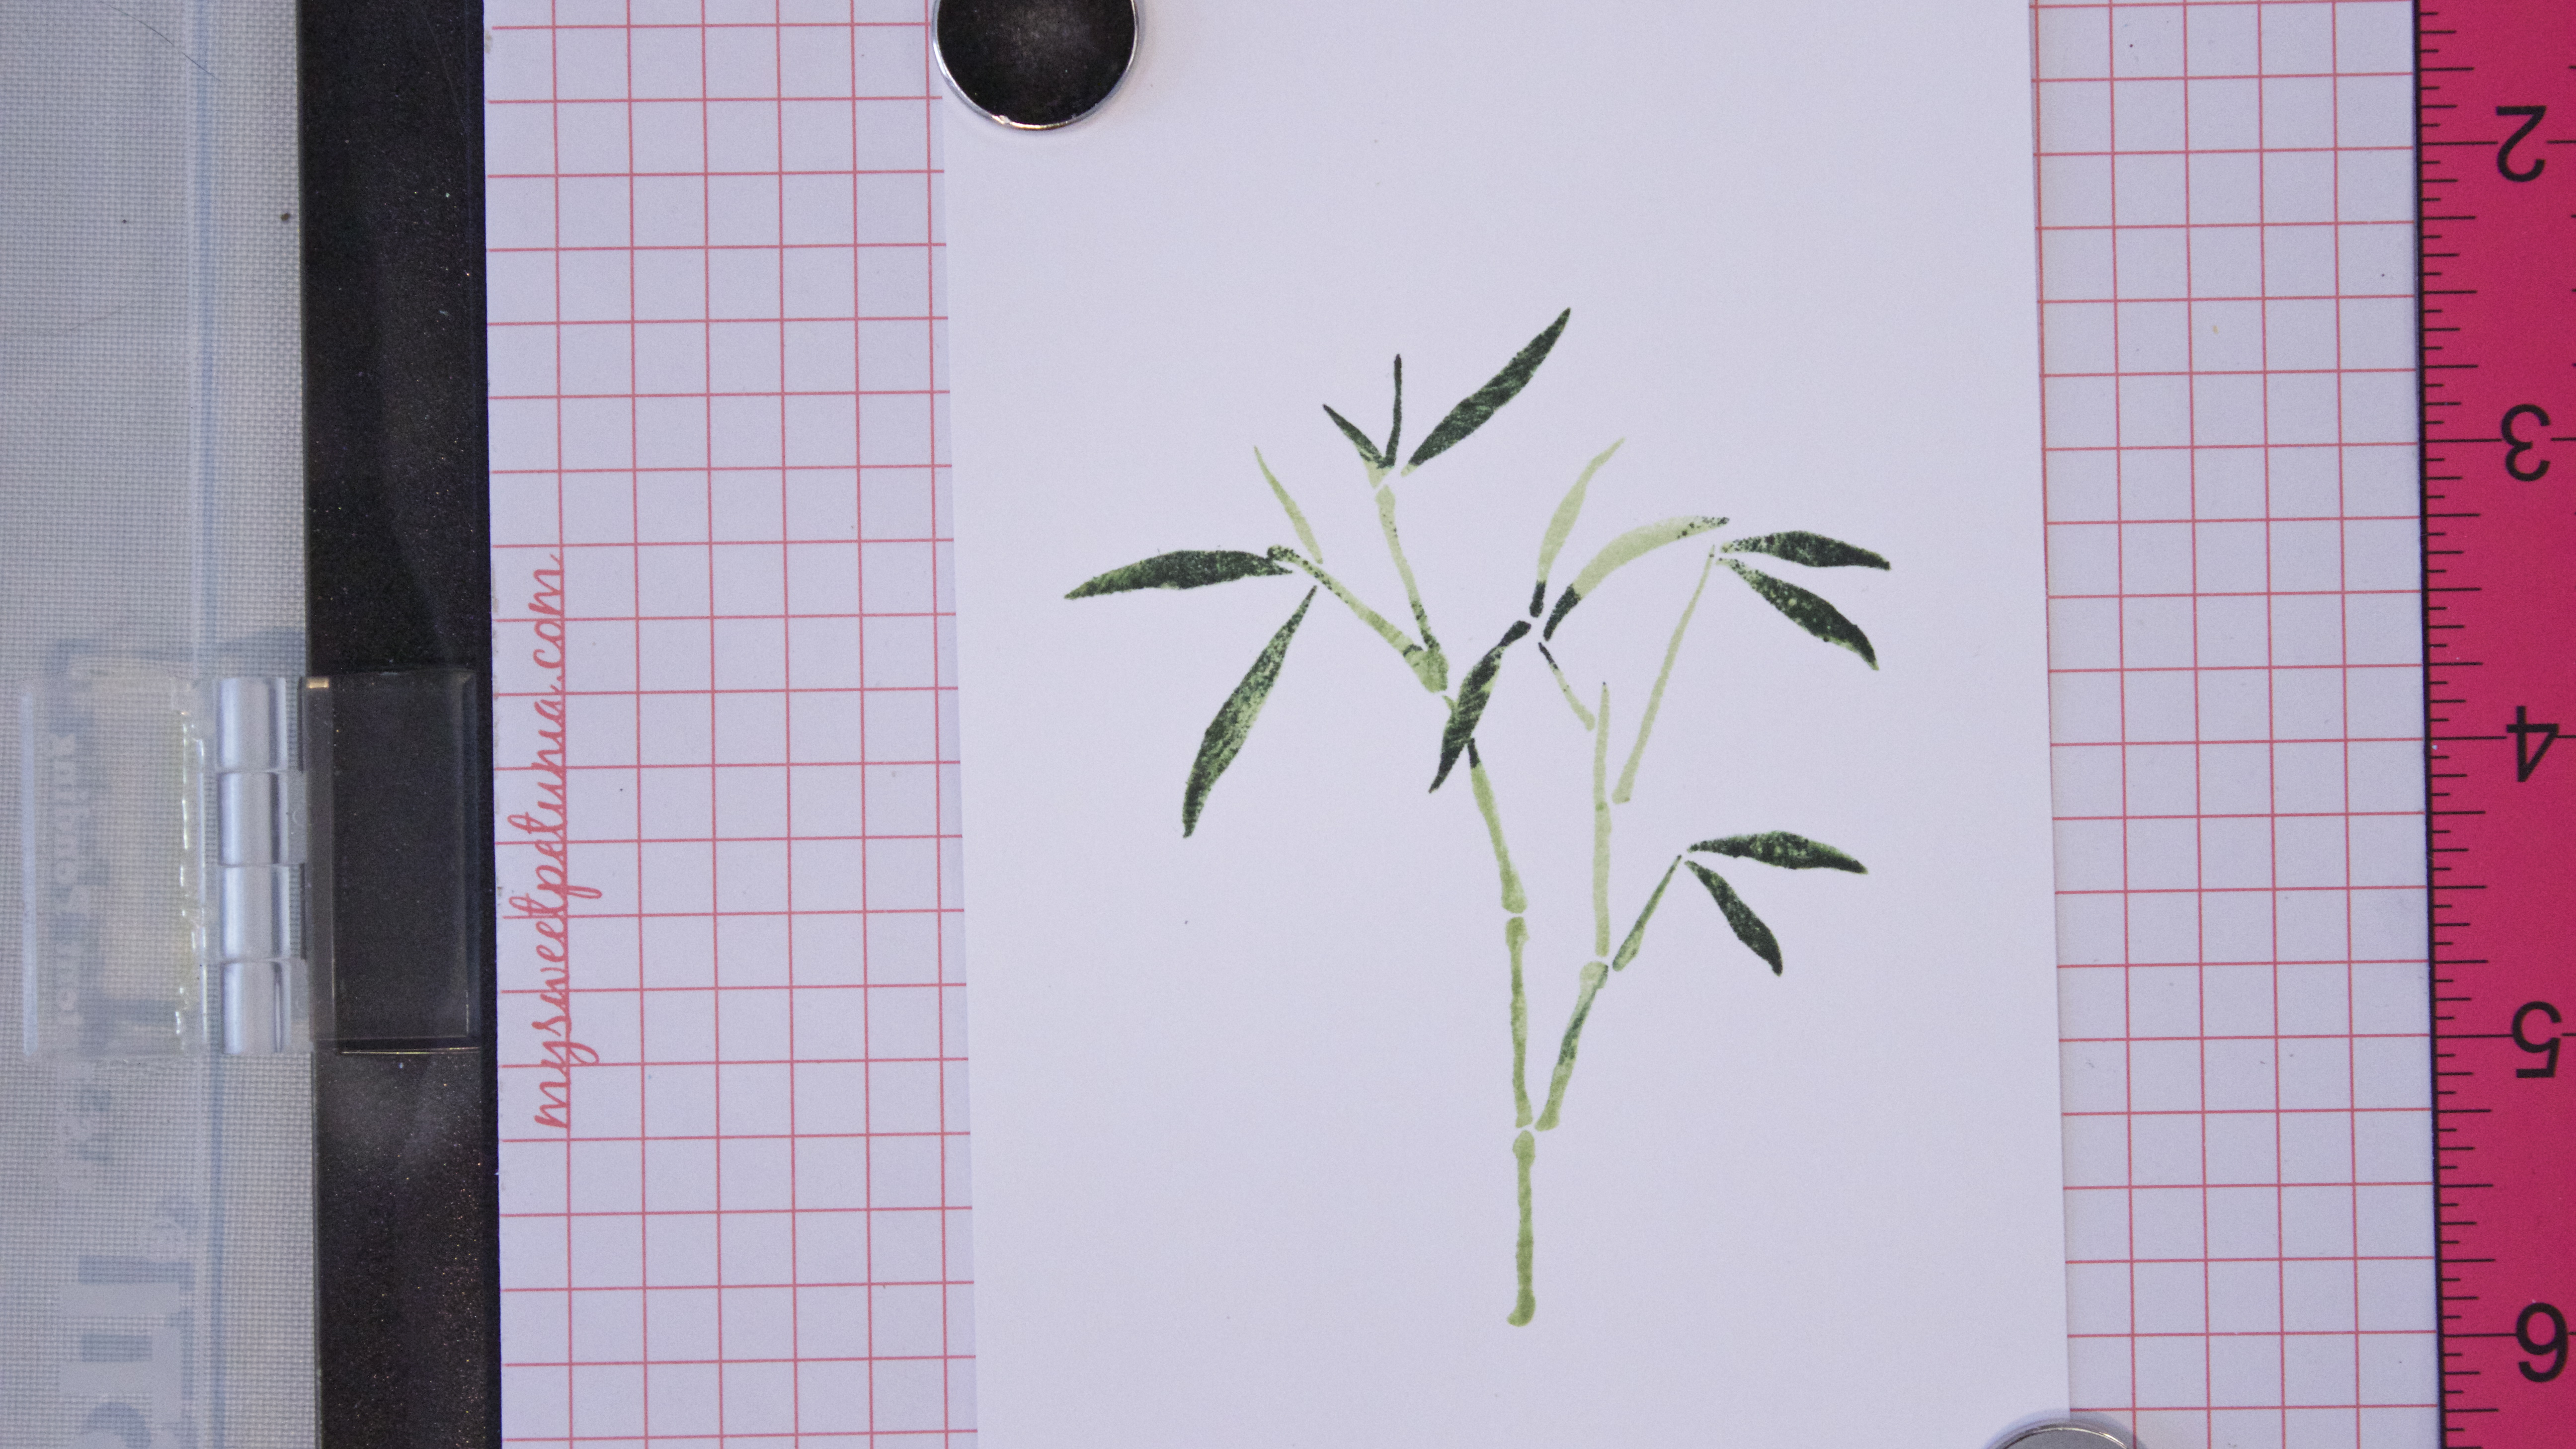
Now you’ll have three colors on the stamped image.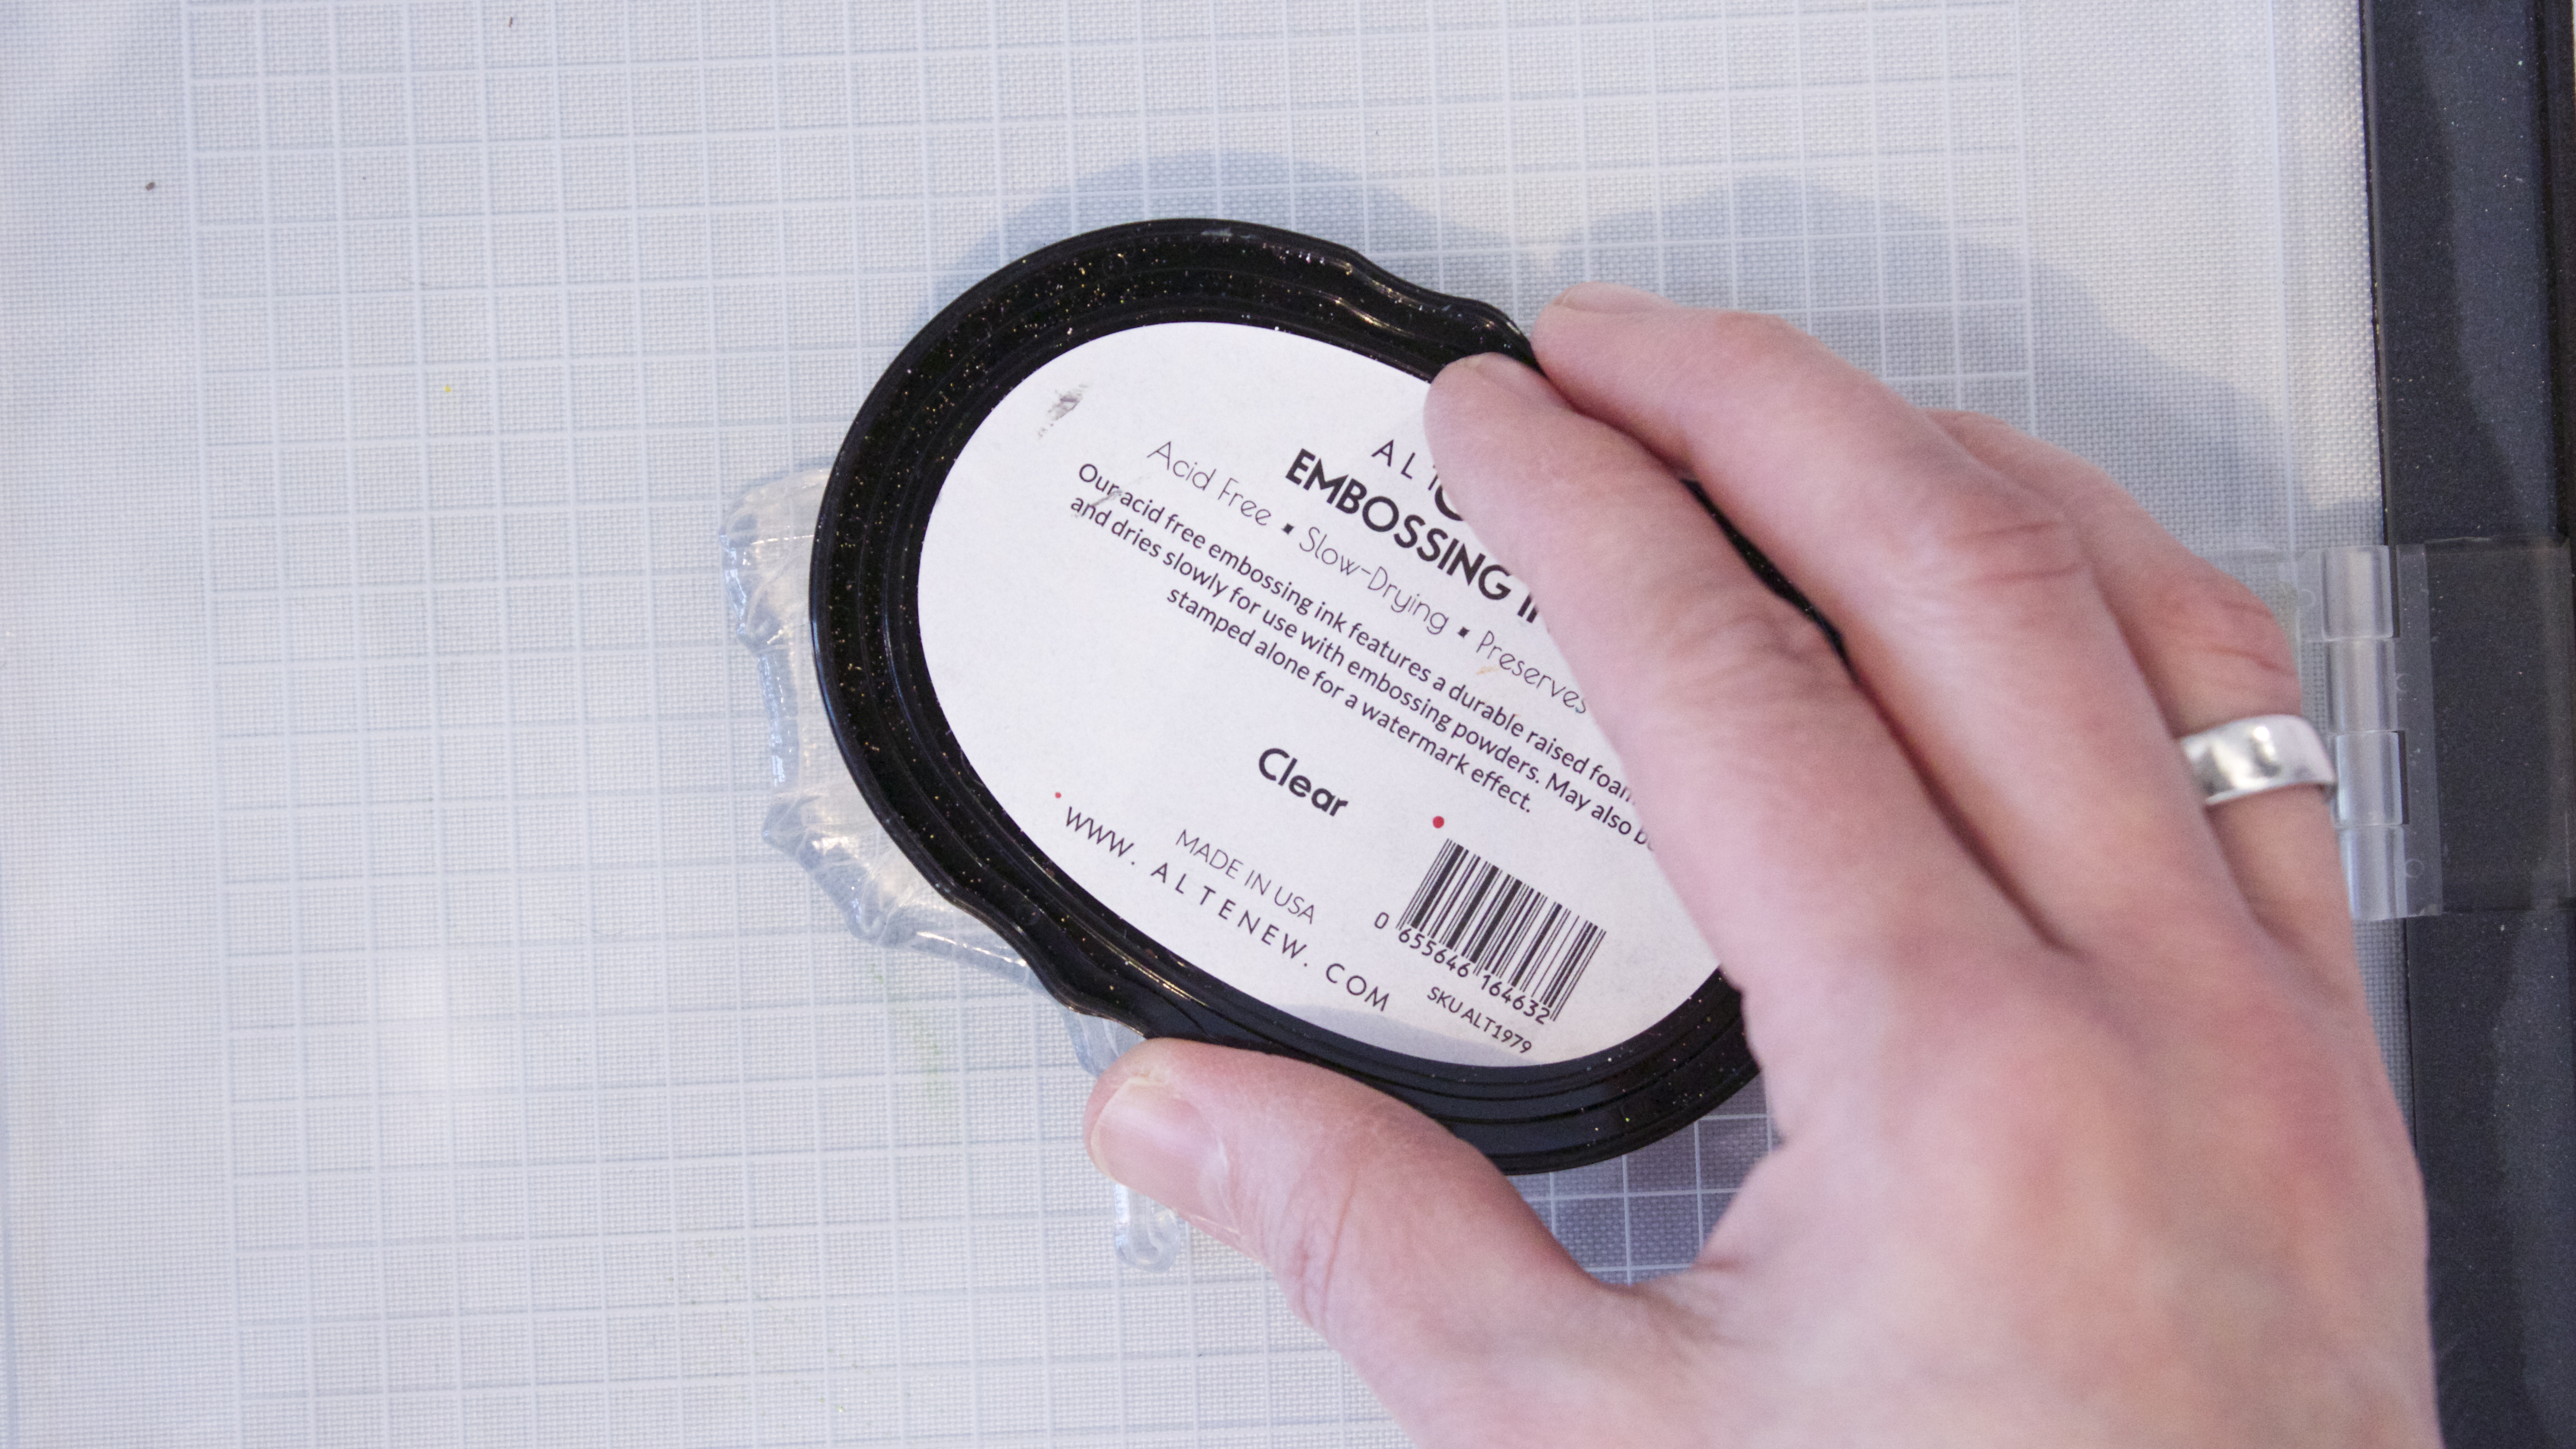
Clean the stamp thoroughly. Ink the stamp again with Embossing ink, then close the MISTI.
Lift the cardstock off the MISTI and immediately sprinkle with Clear Embossing powder.
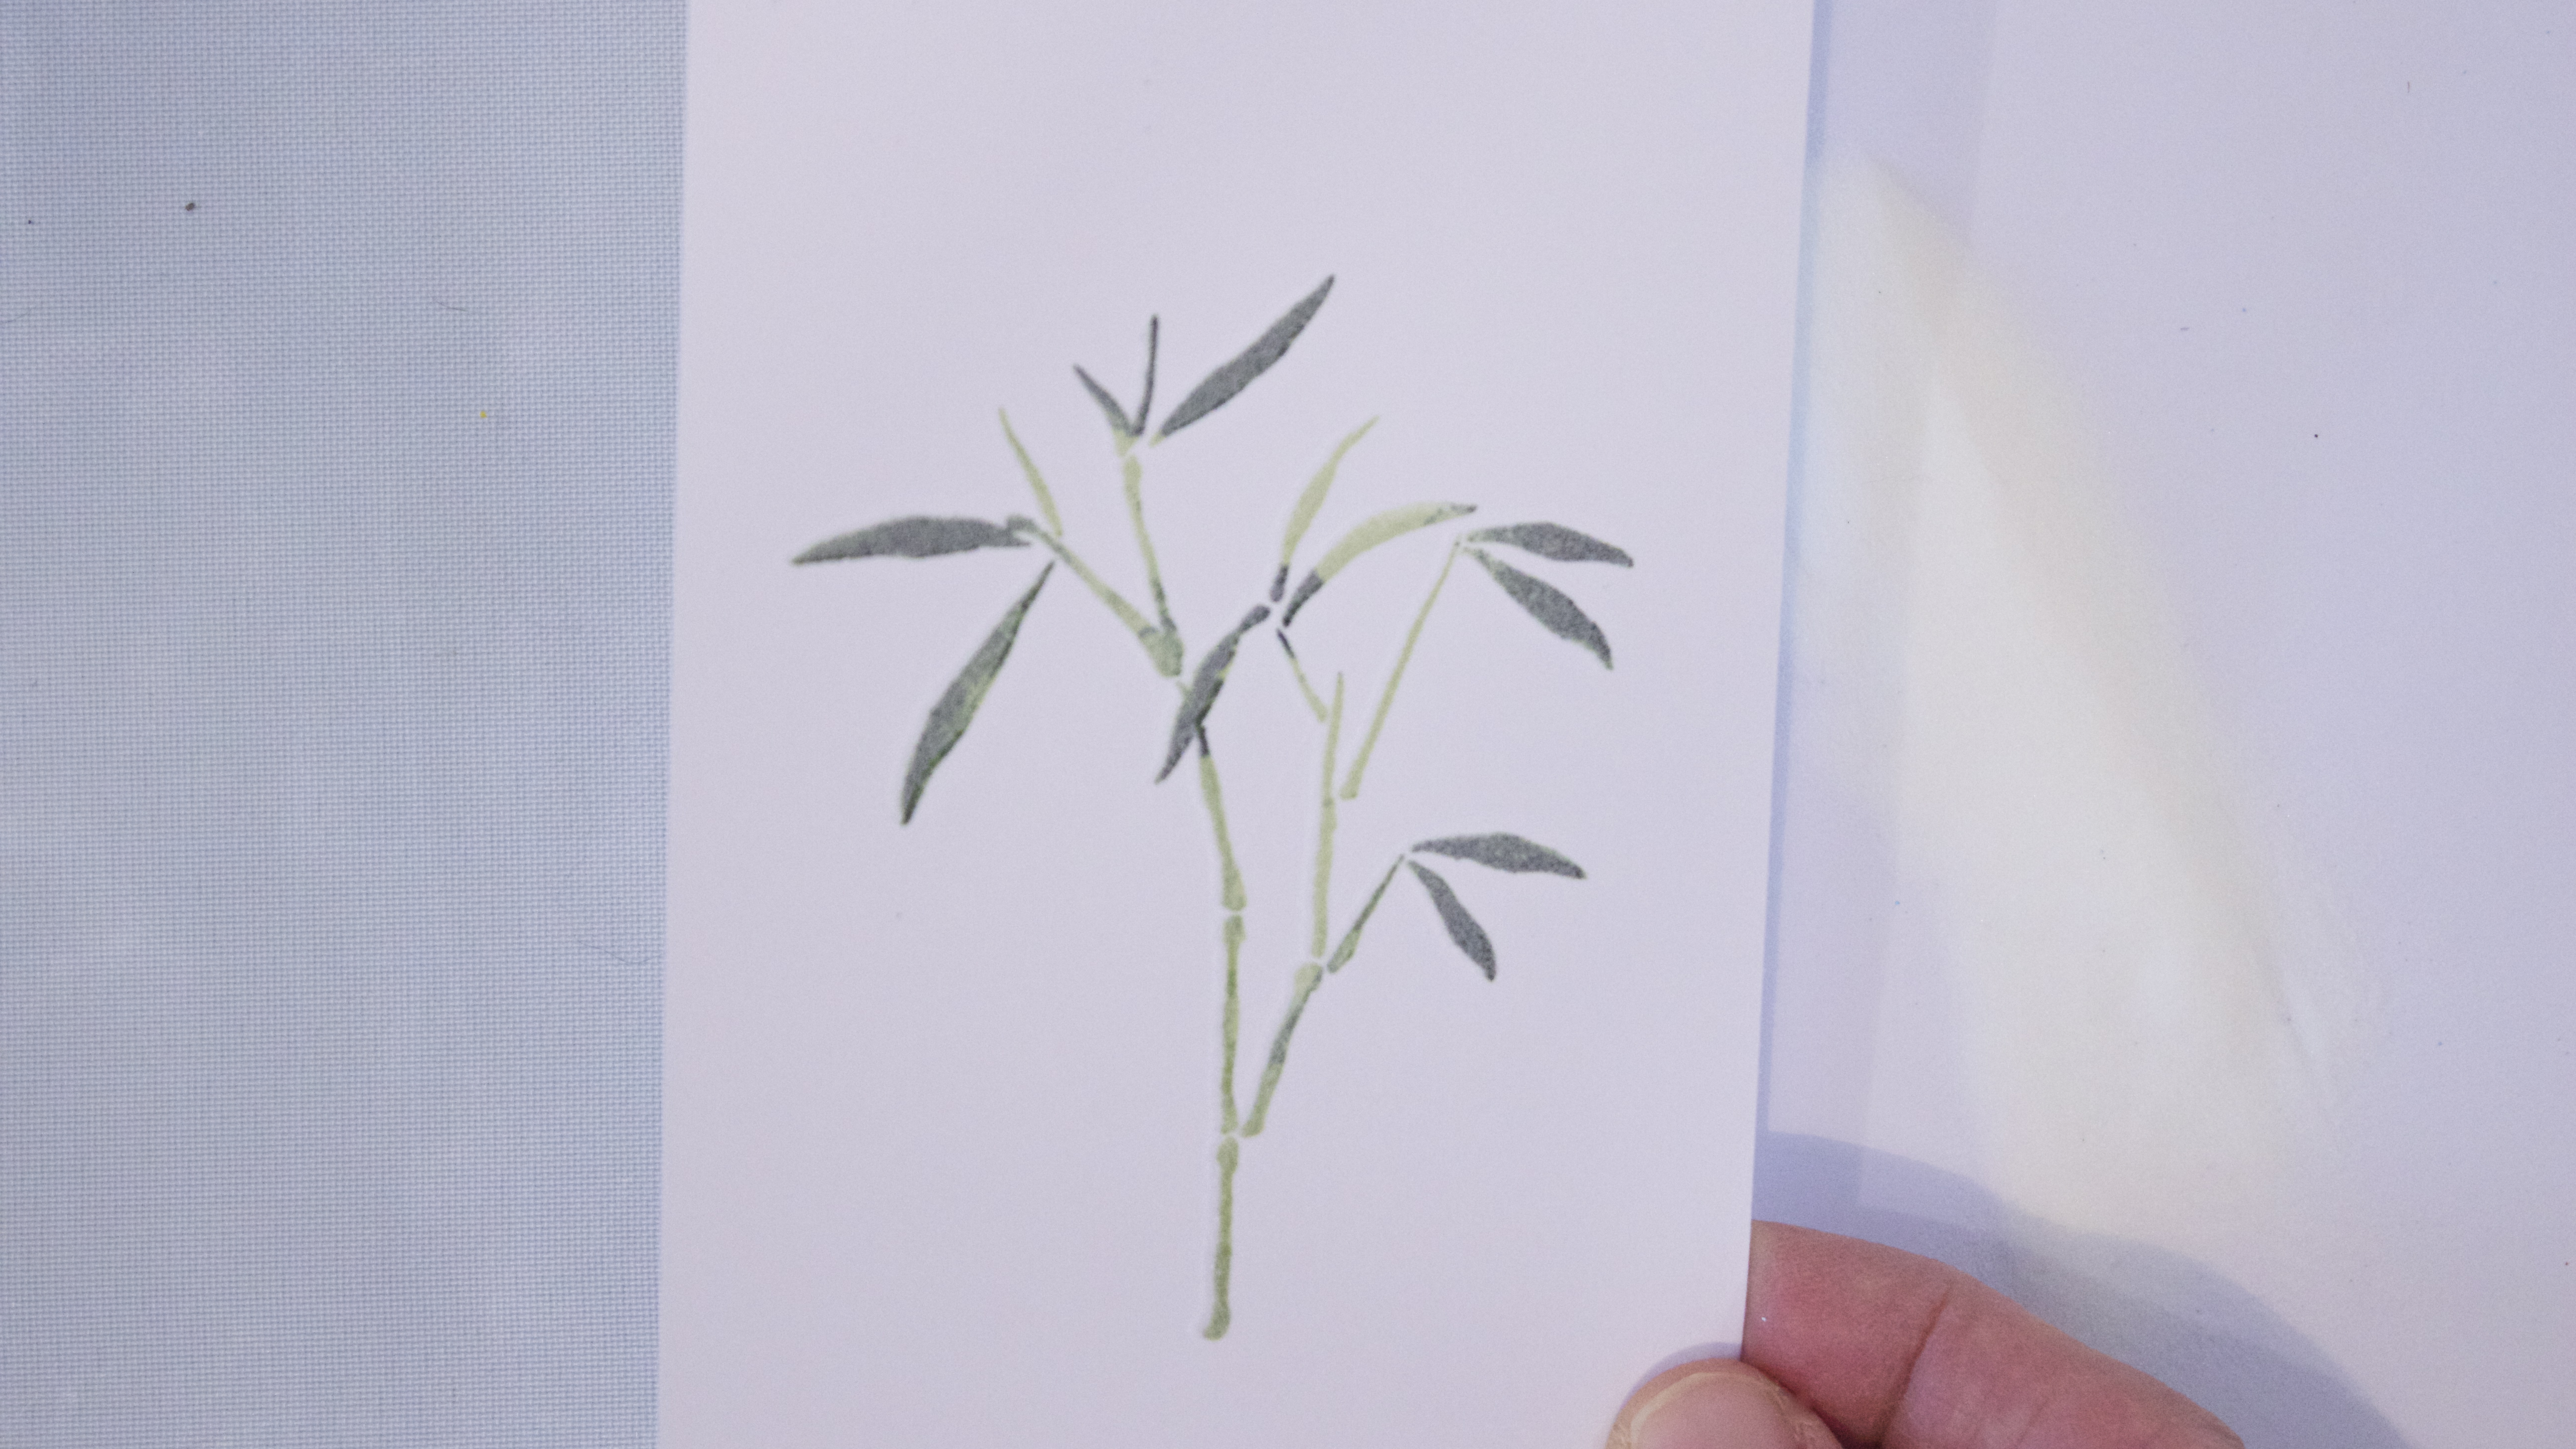
Tap off the excess and heat-set. 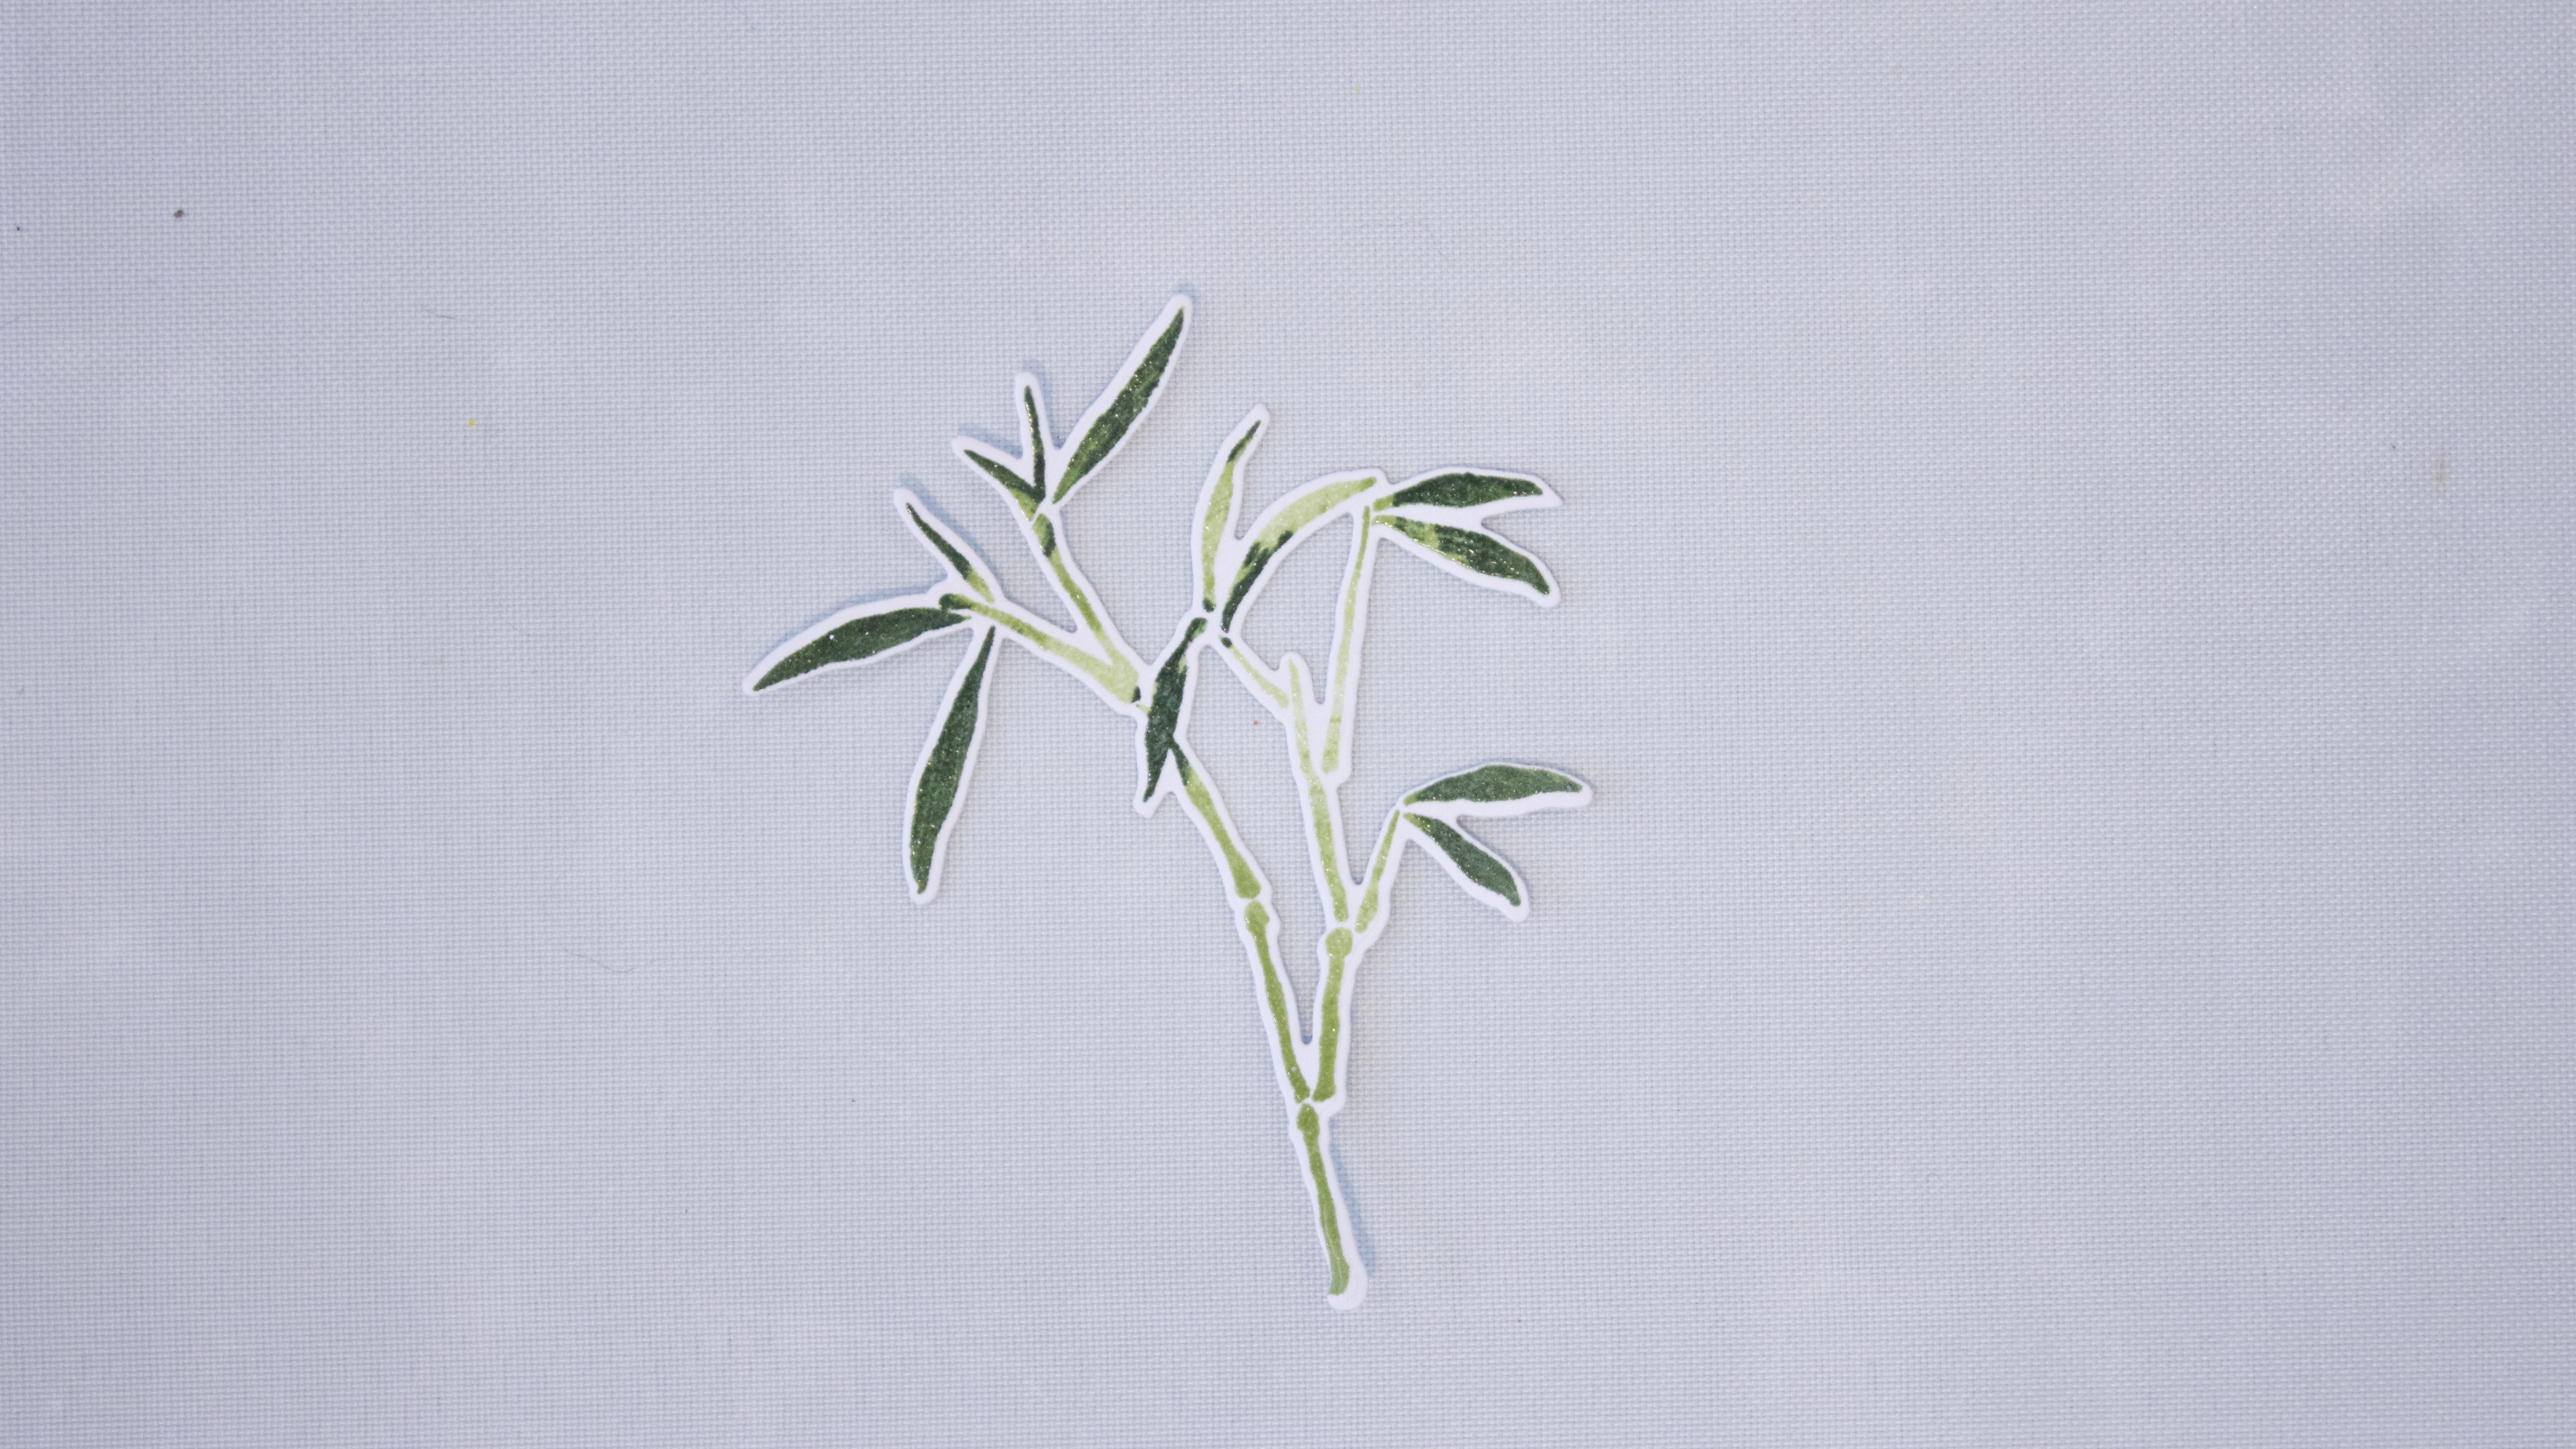
Die cut with the matching Never Give Up die.
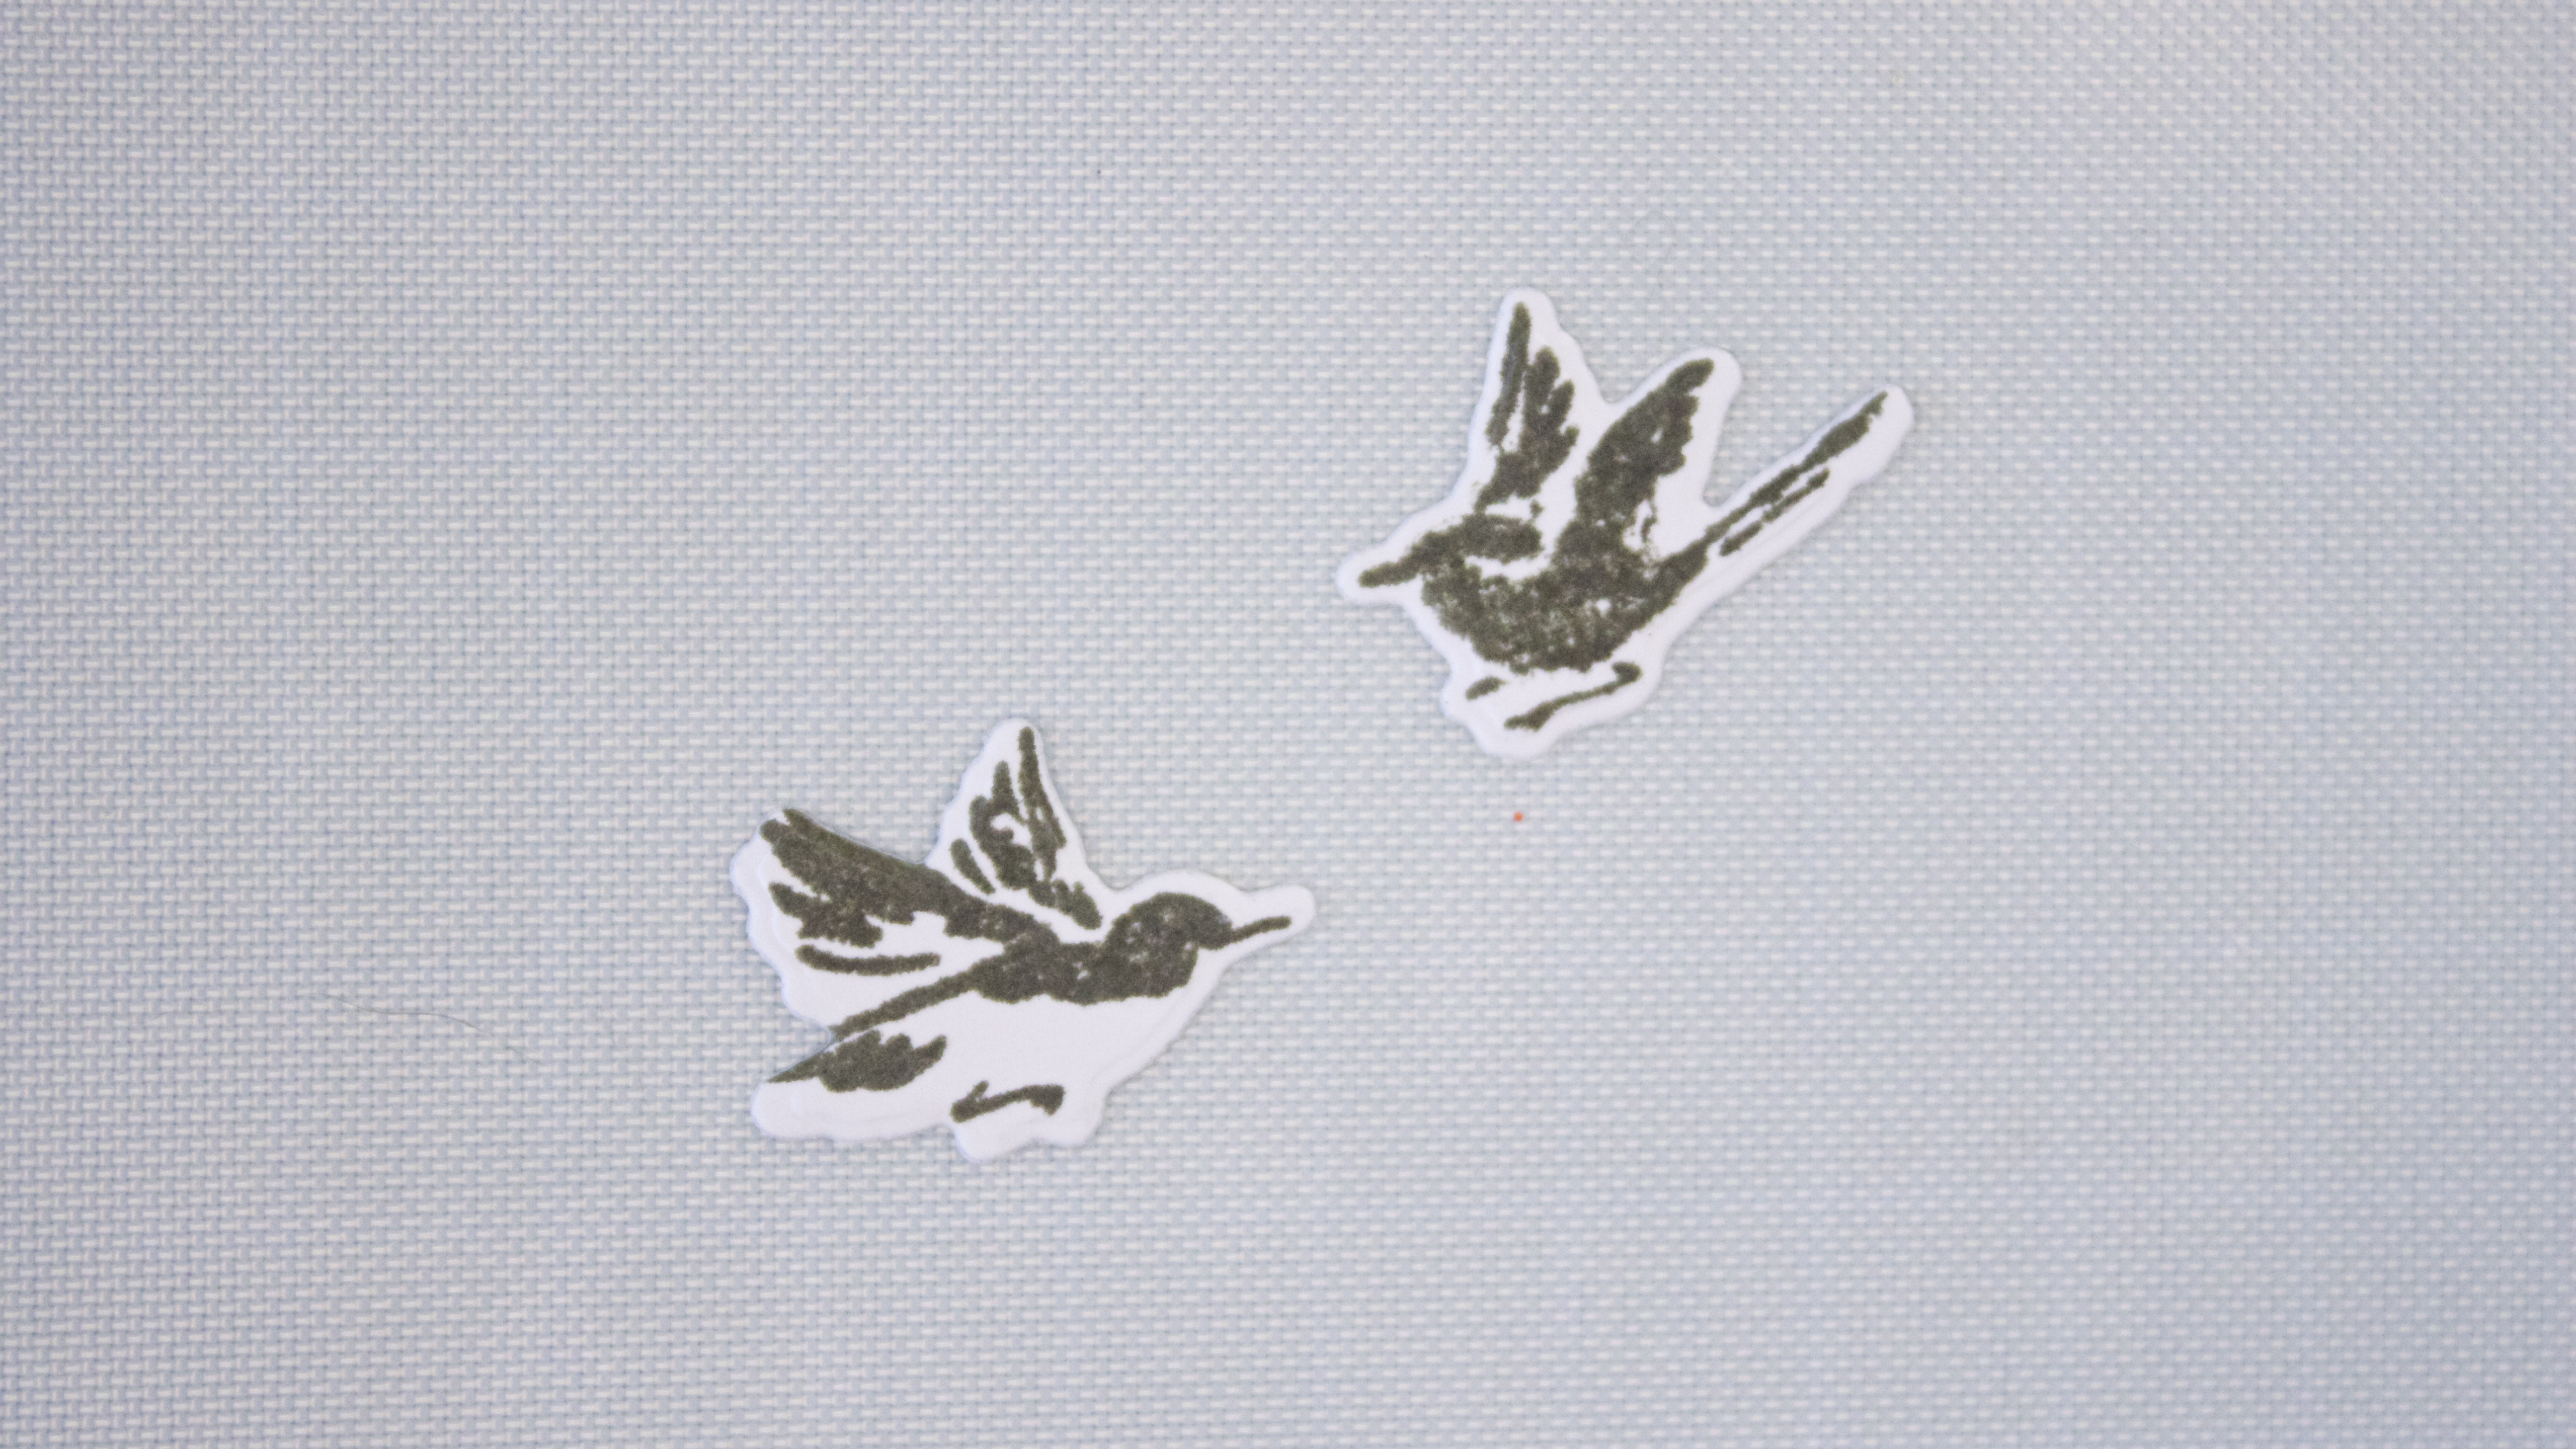
Stamp the two birds onto white card using Lava Rock. Die cut with the matching Never Give Up dies.
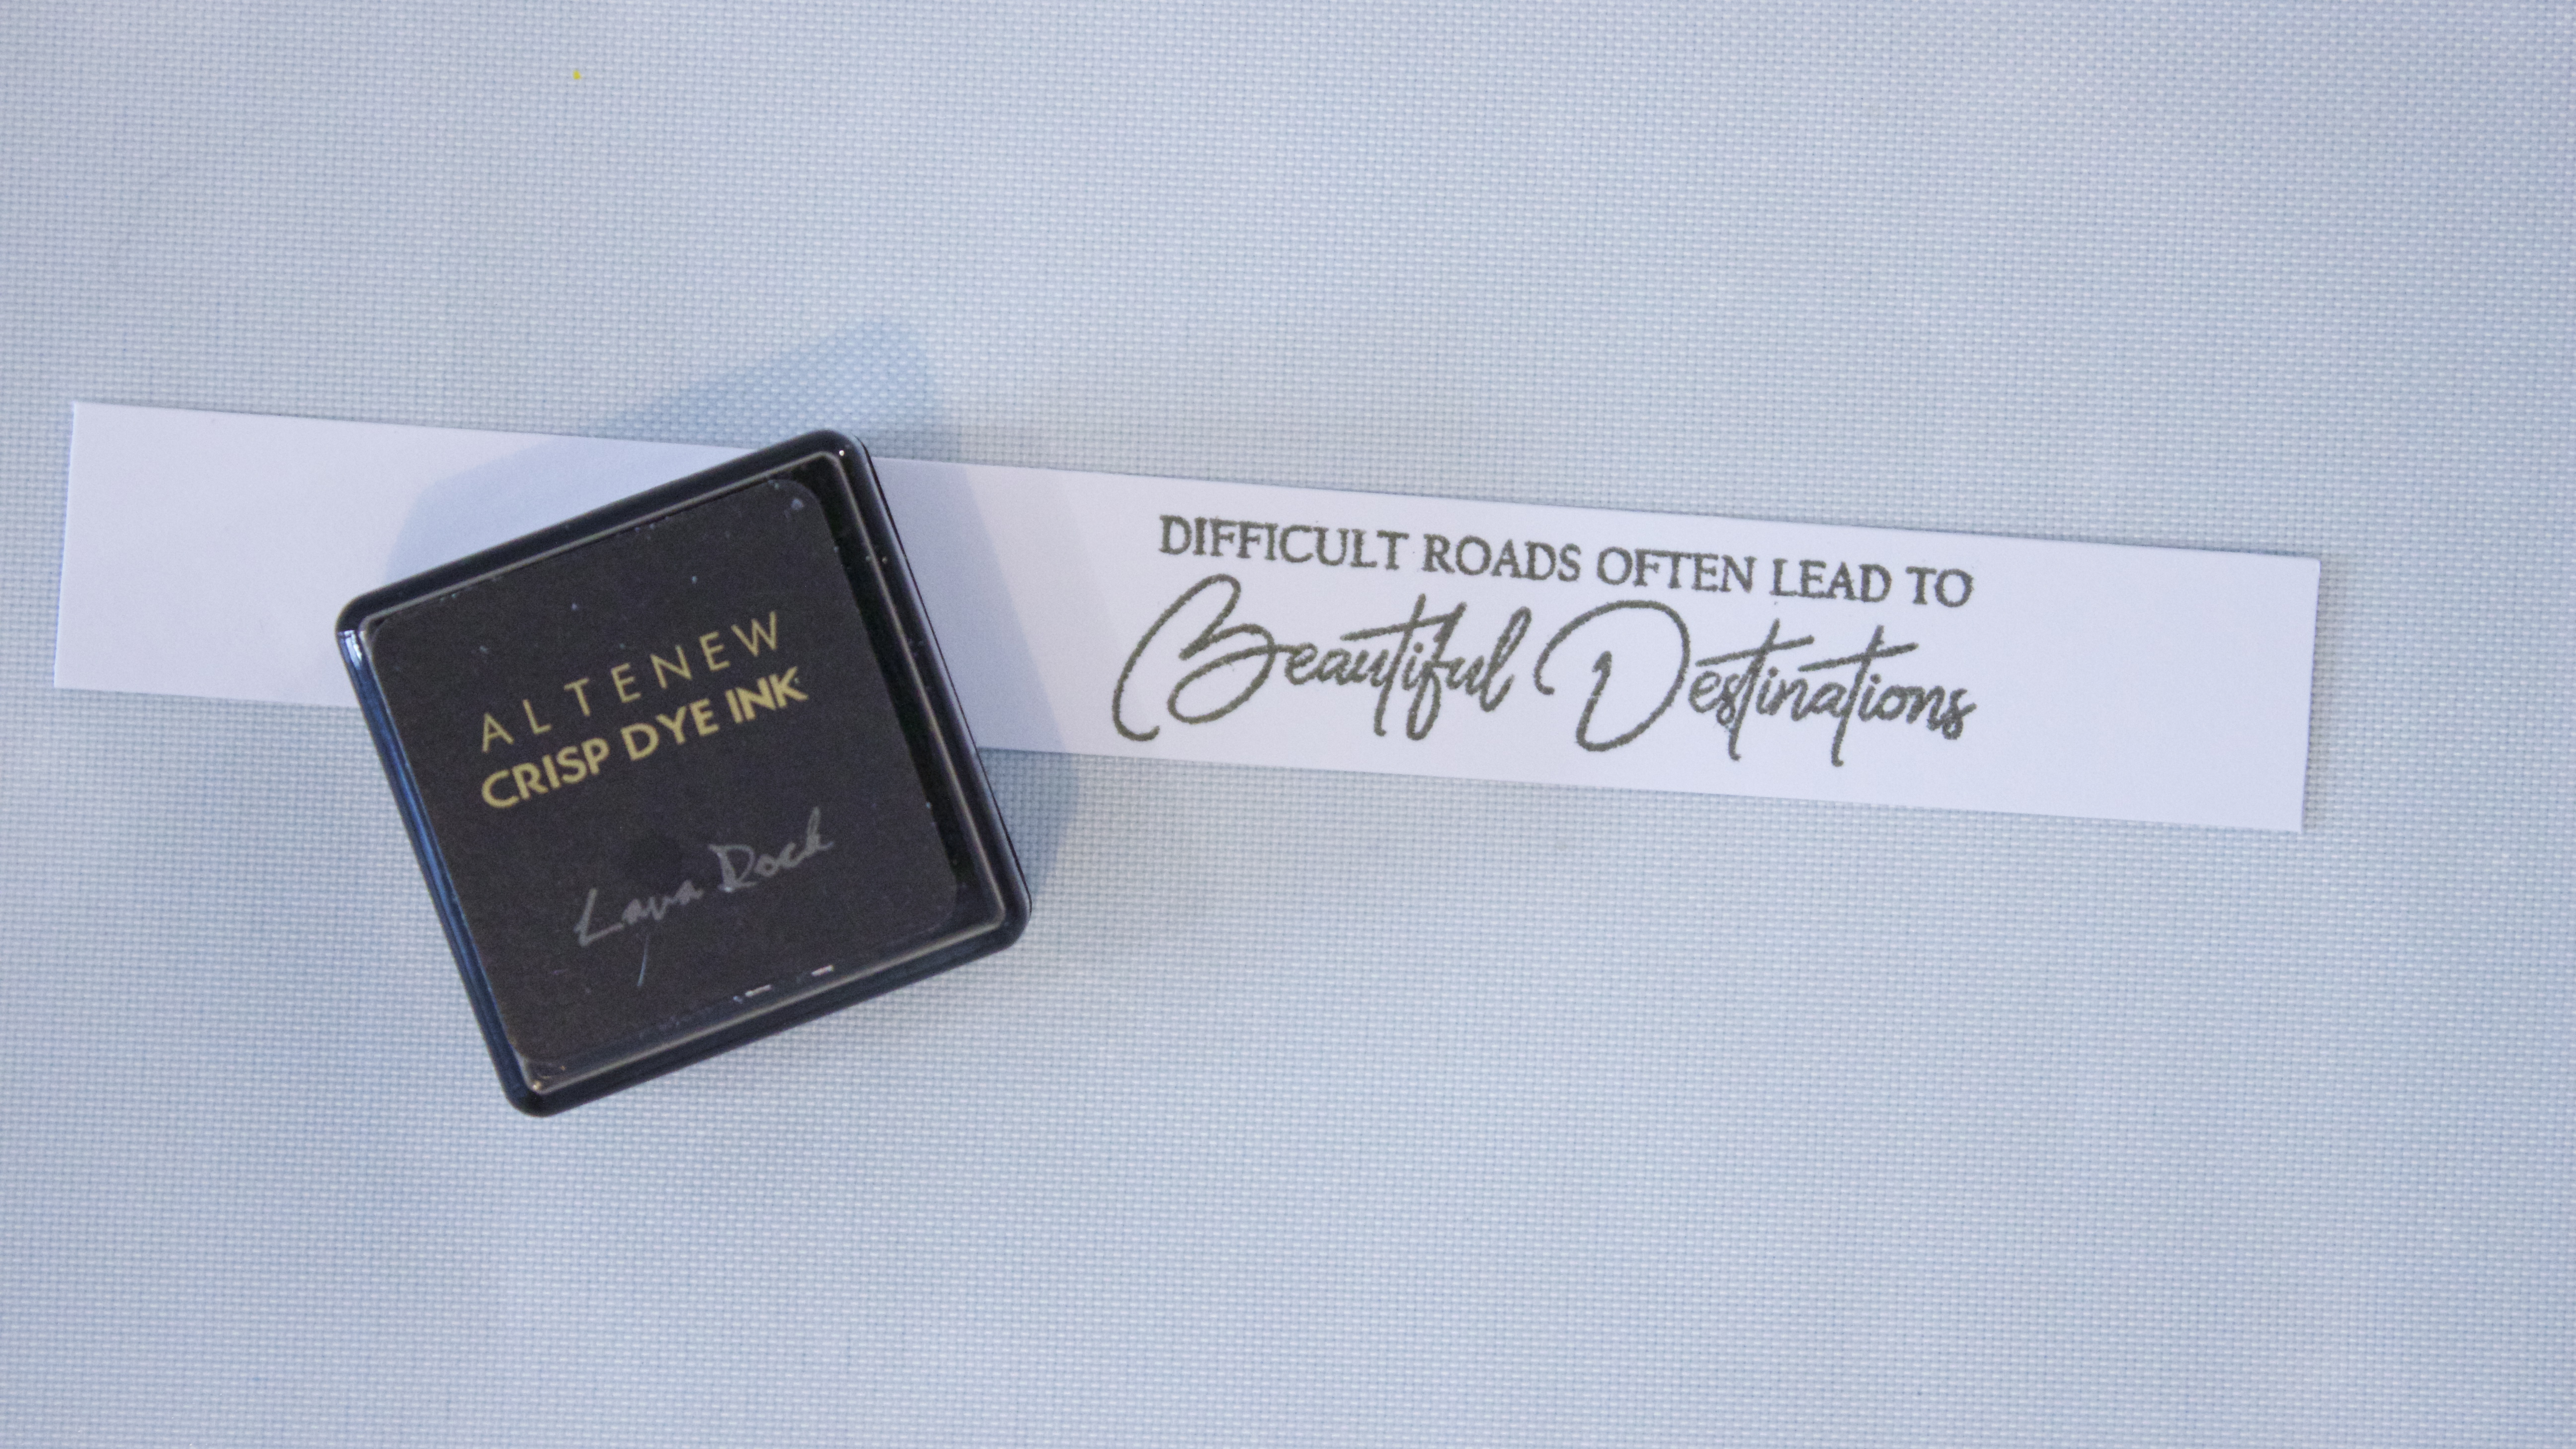
Use Lava Rock to stamp the sentiment on white card.
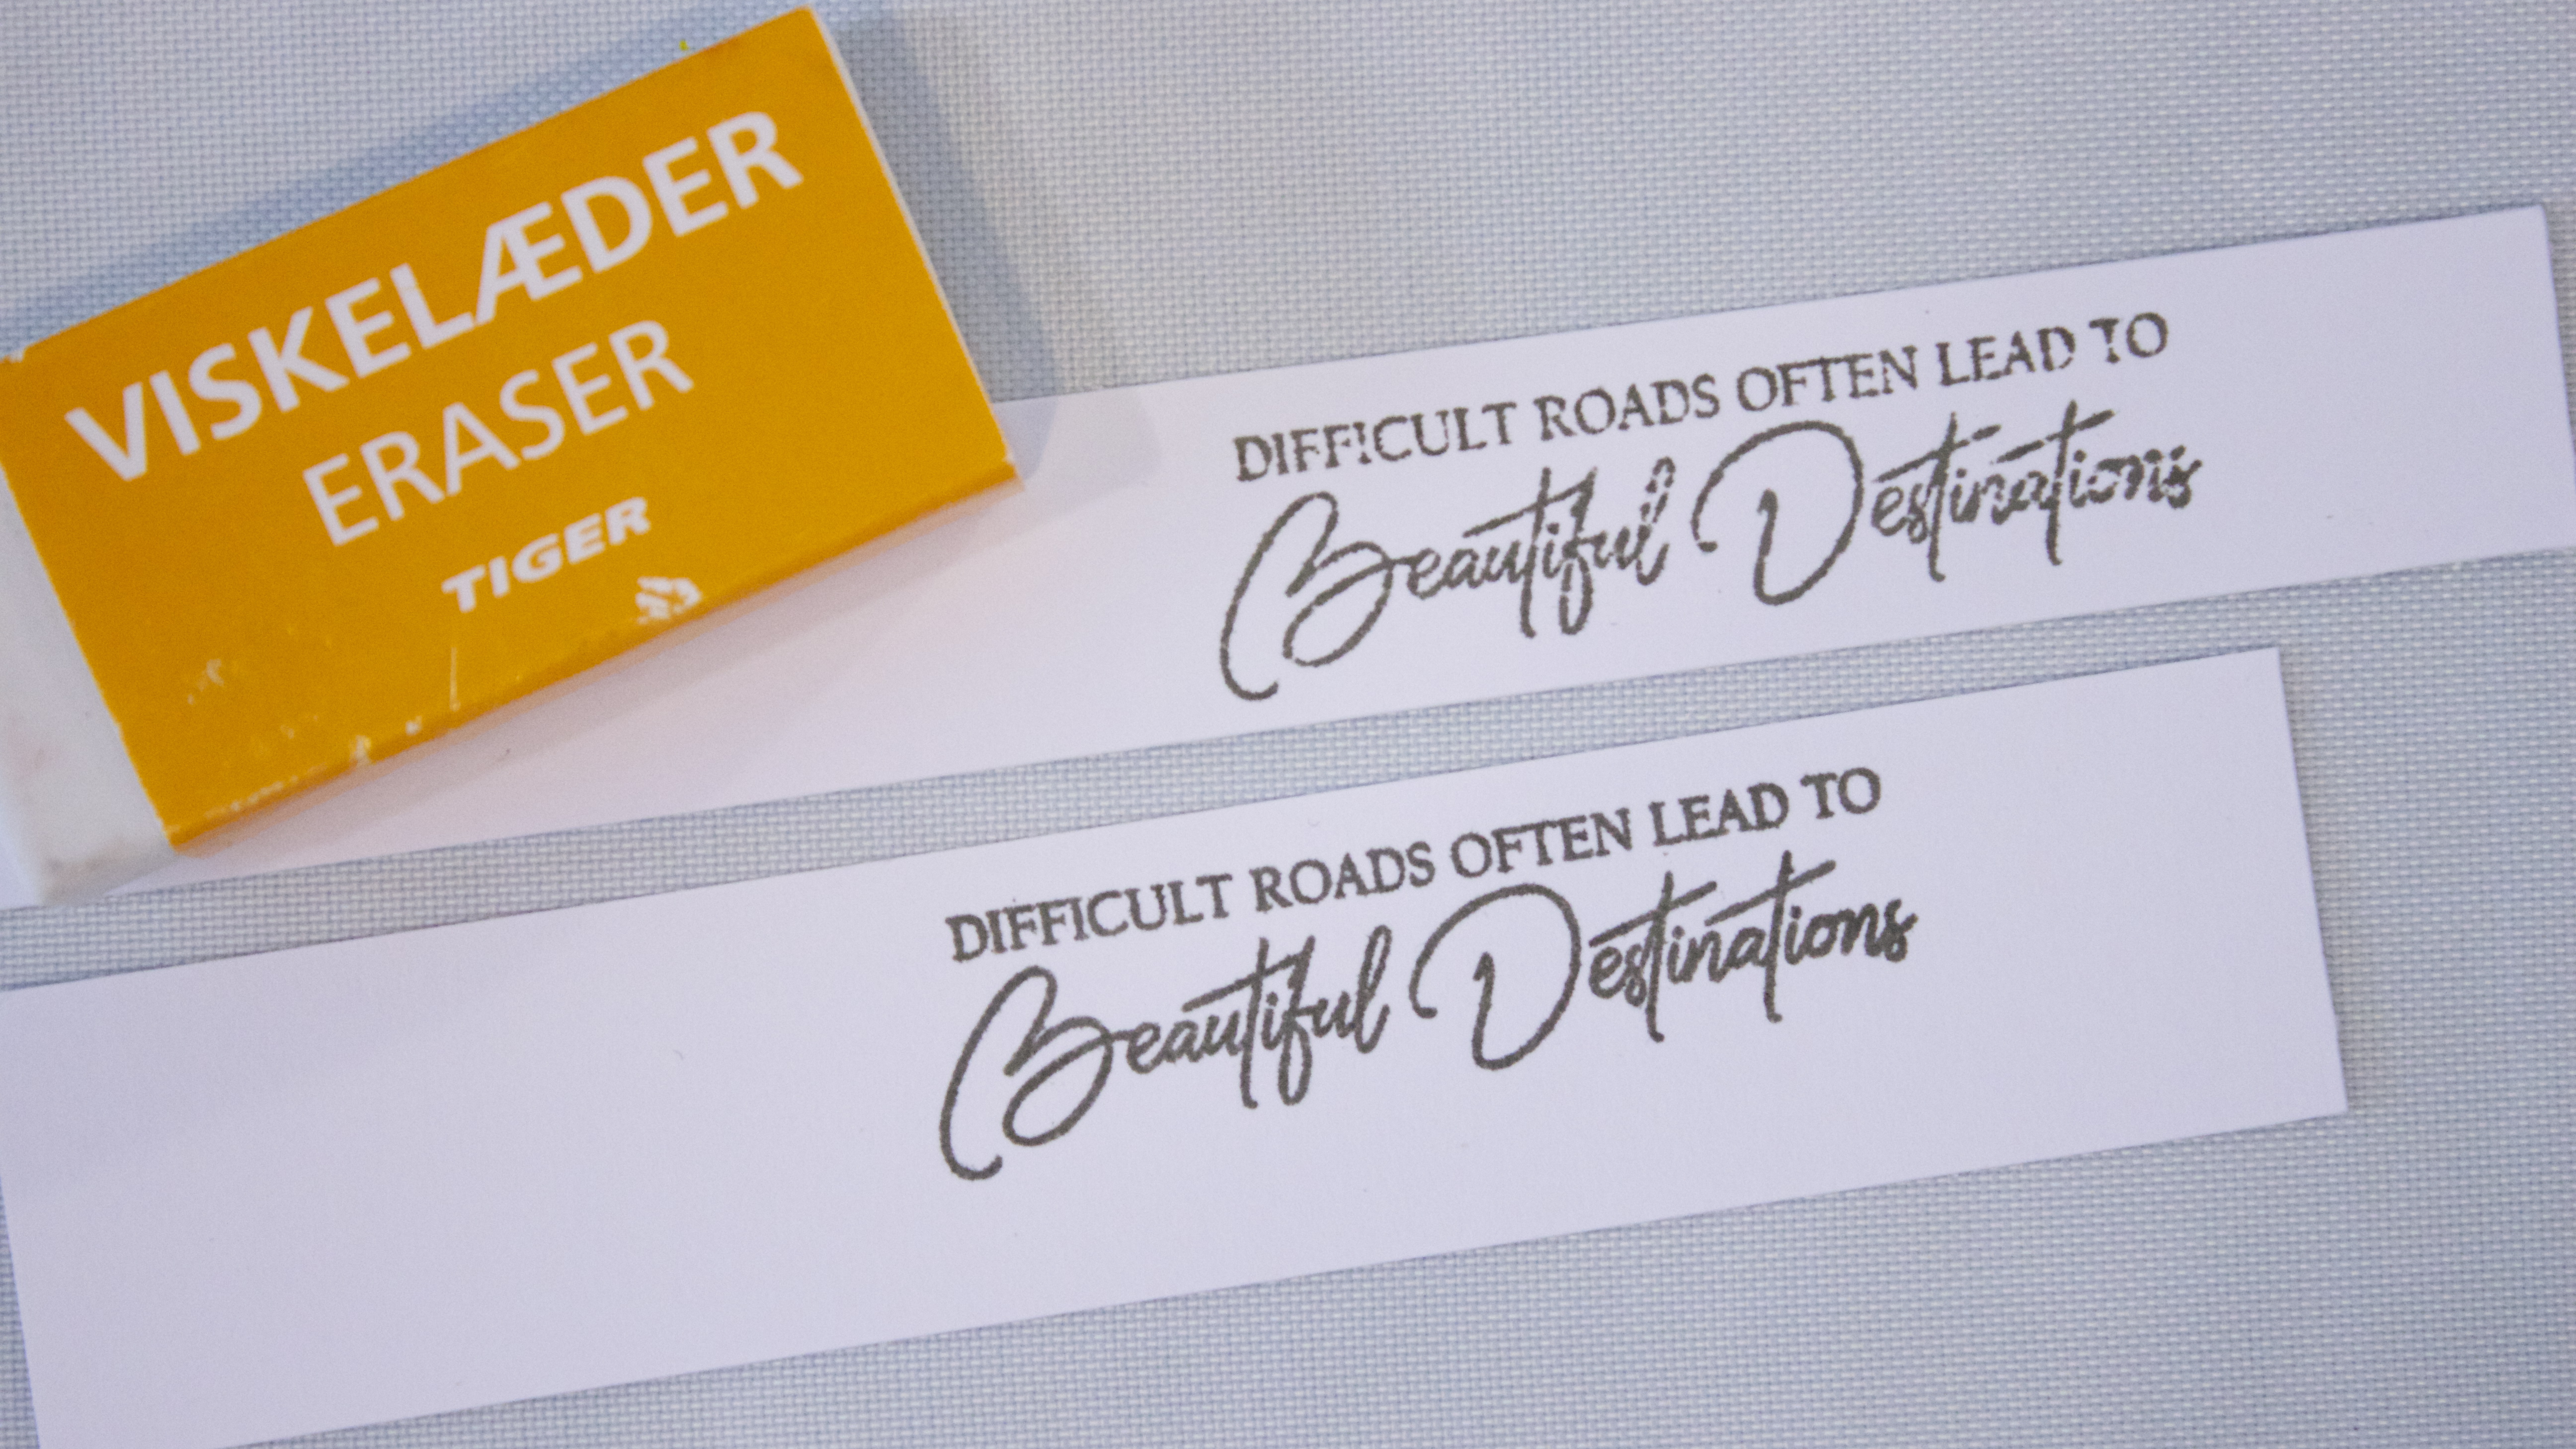
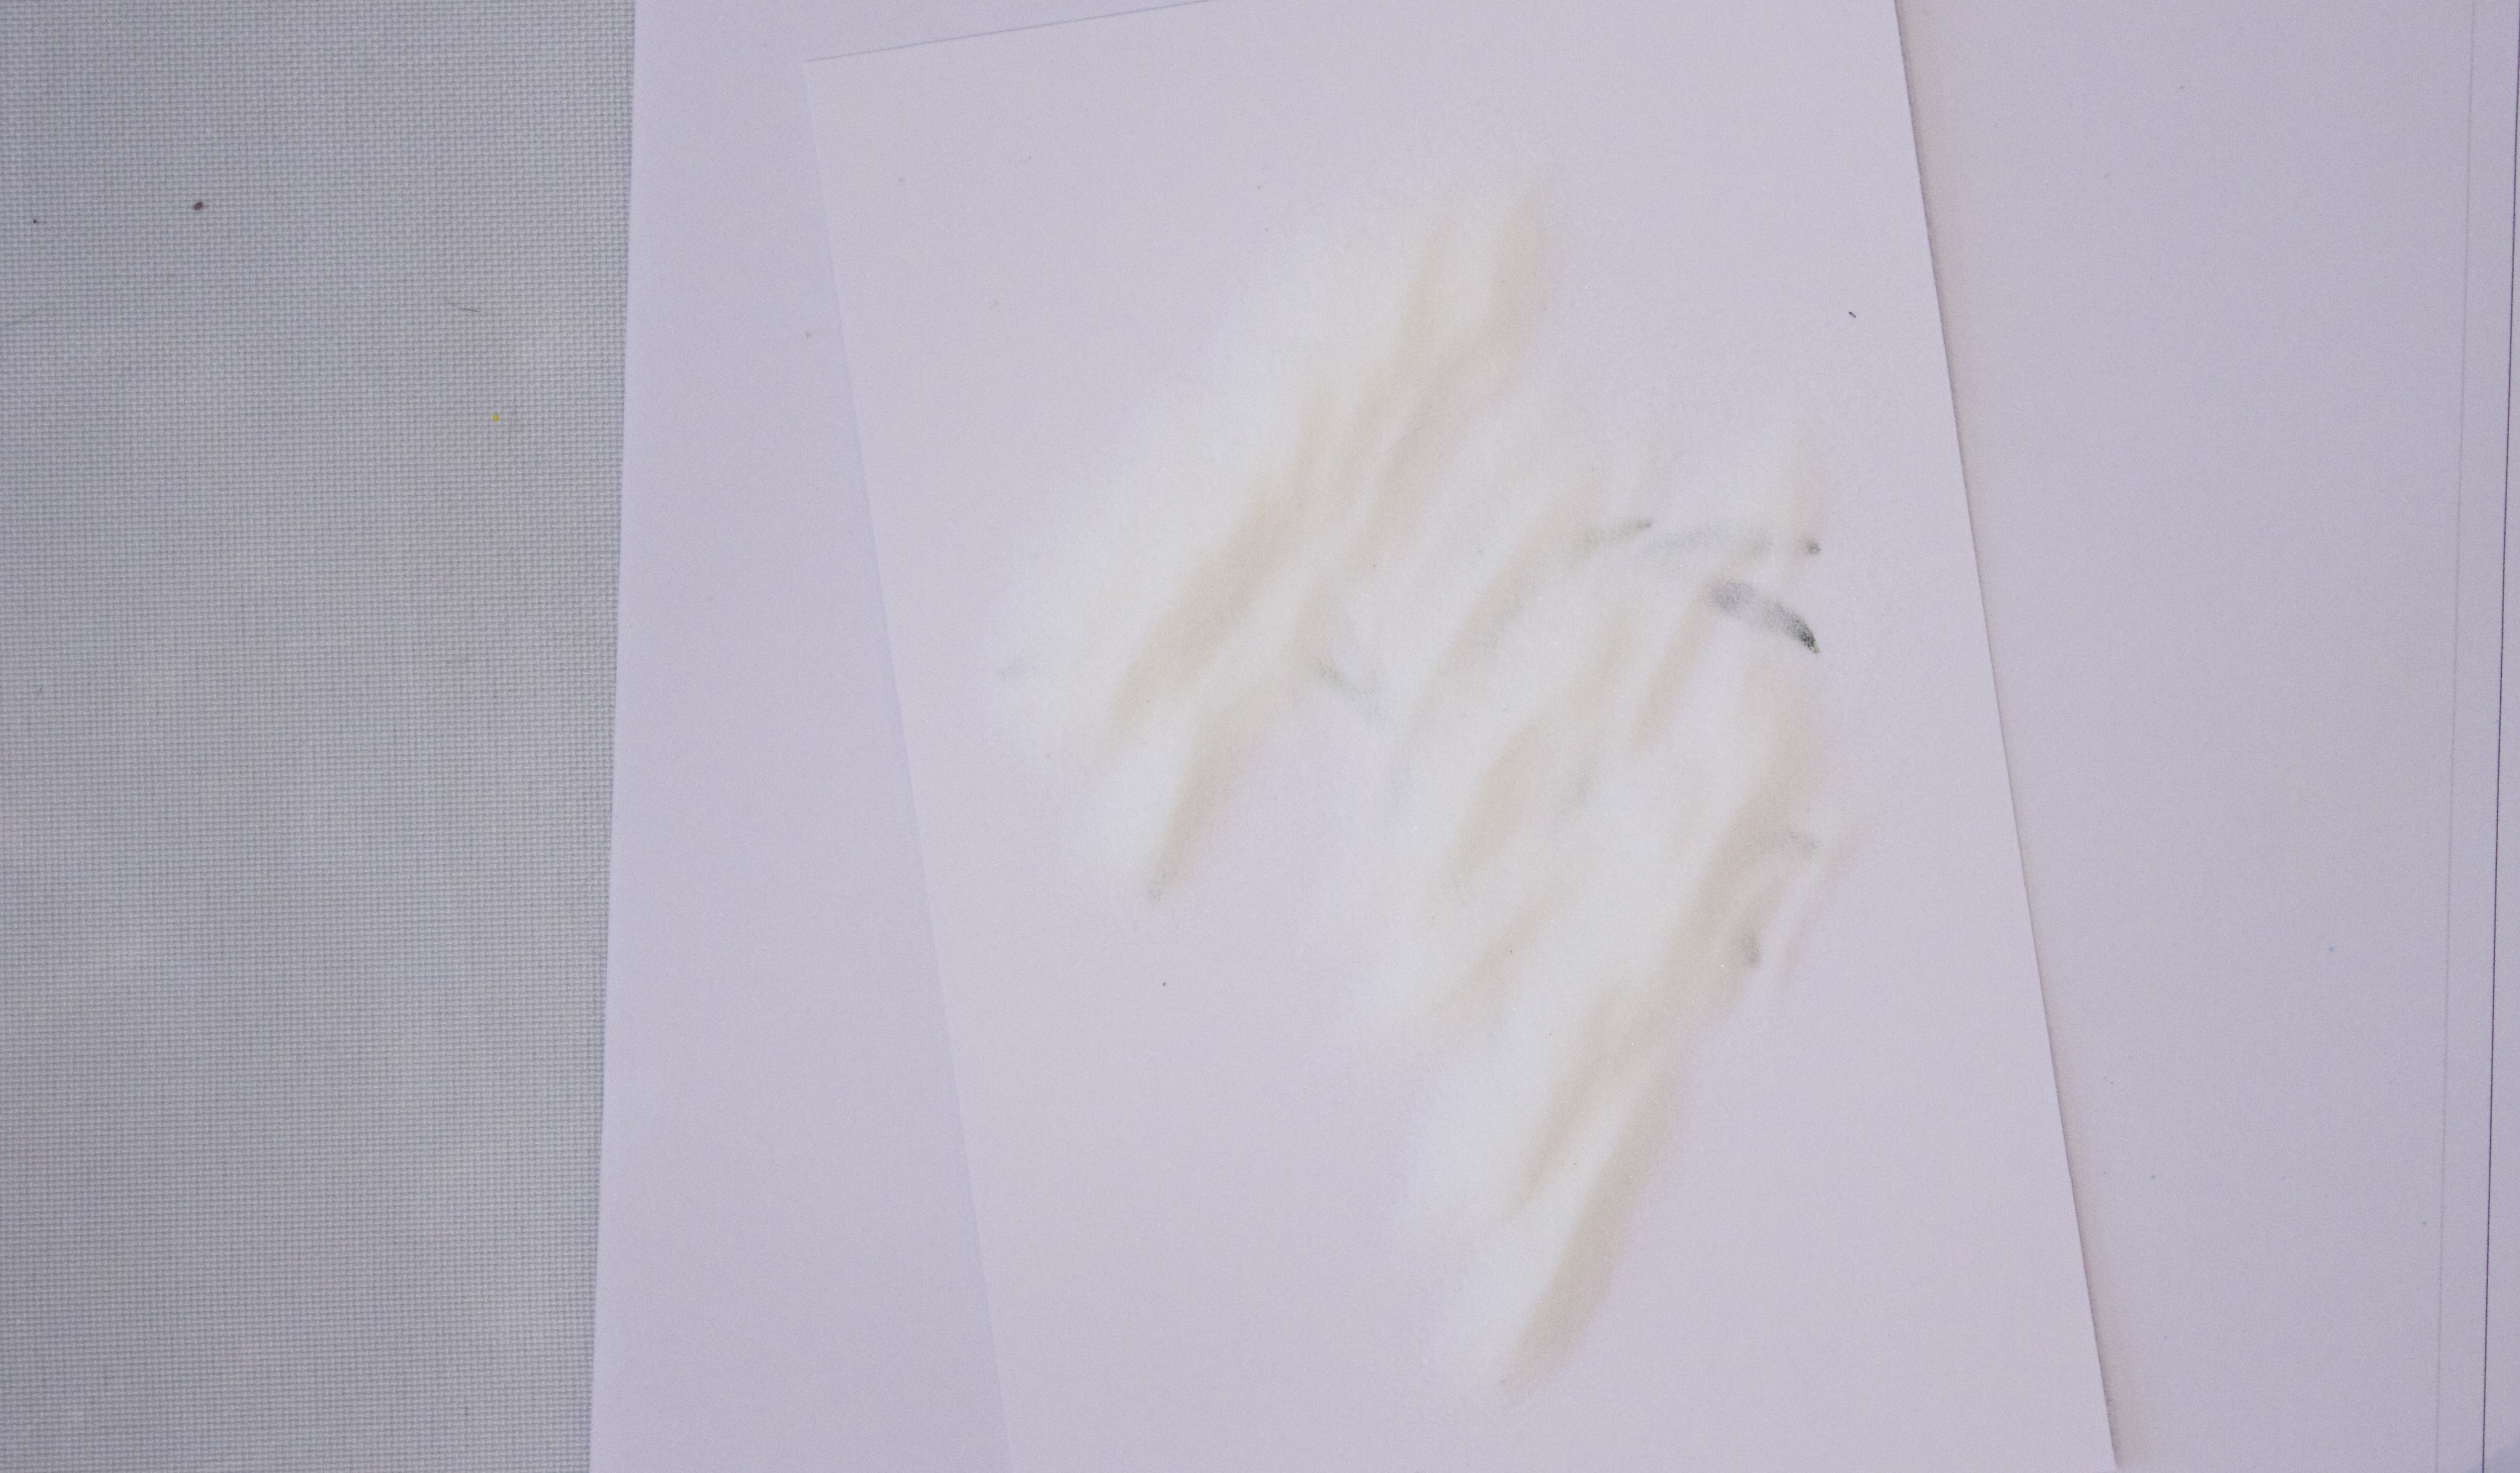
Tip: If this is the first time you’ve used this stamp, rub it with an eraser before stamping. This will condition the stamp and give you a crisper image. Thanks, Tasnim, for teaching me this little trick! (Take a look at my before and after examples above…can you see the difference between quality on the top and the bottom sentiments?)
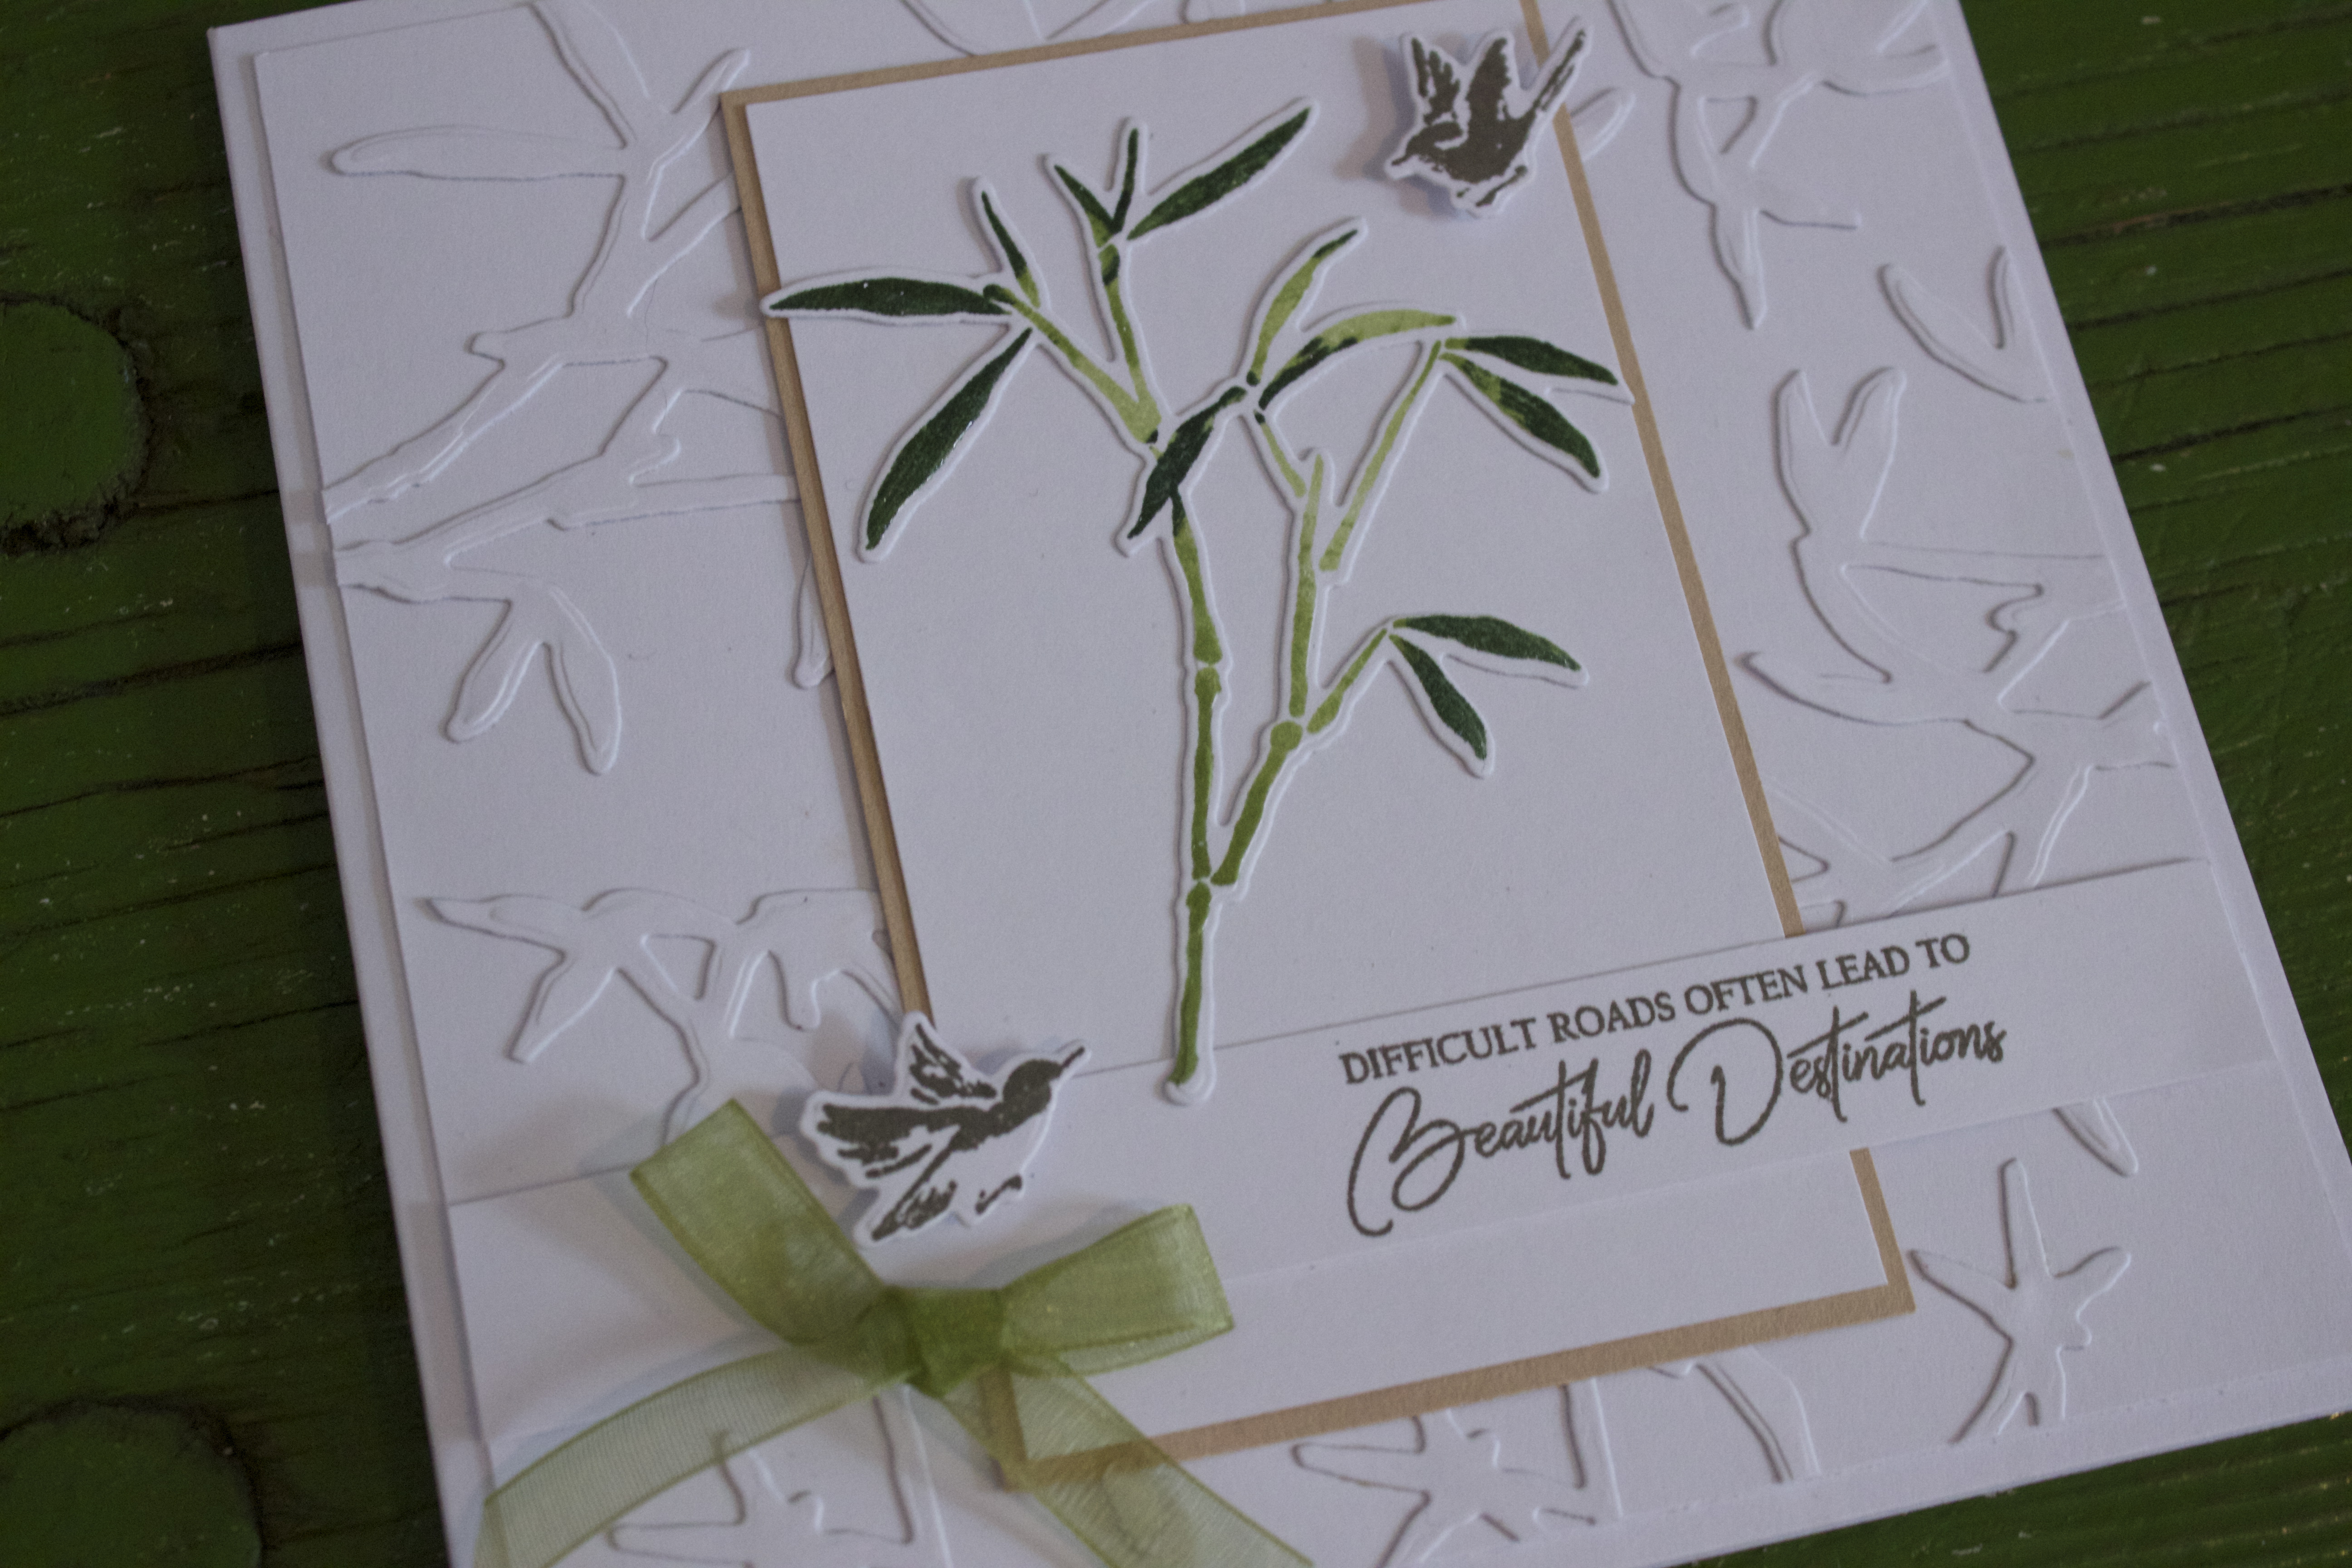
Assemble the card elements. Glue the die-cut background to the card front. Glue the stamped bamboo to a 6.5cm x11.5cm piece of white card, then mat on tan. Glue to the 15.24cm square (or 6″) card front, then add the sentiment across the front. Use foam tape to add the birds. Tie a bow in sheer green ribbon and glue as shown.
So what about PRIZES??? So glad you asked! 🙂 Here are the blog hop prize sponsors—

Altenew is giving away a $50 gift certificate to 5 lucky winners and one Altenew Academy class to 5 lucky winners. There are also 13 awesome companies/crafty friends celebrating with us, and they’re offering the following prizes:
-
Altenew: 5 $50 Altenew Gift Certificates
-
Altenew Academy: 5 Class Spots
-
Jennifer McGuire Ink: 2 $100 Altenew Gift Certificates
-
Online Card Classes: 3 Class Spots
-
Simon Says Stamp: $50 Gift Certificate
-
Scrapbook.com: $50 Gift Certificate
-
My Sweet Petunia: Mini MISTI Stamping Tool
-
Tombow USA: 2 Dual Brush Pen Sets(10 Colors) and 2 TwinTone Dual Tip Marker Sets (12 Colors)
-
WOW! Embossing Powder: $40 Gift Certificate
-
Create & Craft TV: £25 Gift Certificate
-
Ellen Hutson LLC: $25 Gift Certificate
-
Butterfly Reflections Ink: $25 Gift Certificate
-
Amy Tangerine: 2 Signed Copies of Craft a Life You Love
-
Chameleon Pens: 1 Pack of 5 Chameleon Pens
-
Scrapbook & Cards Today: 1 Copy of Scrapbook & Cards Today Spring 2018 Issue
Be sure to leave comments by April 15th, 2018 at 11:59 PM EDT for a chance to win! 30 WINNERS will be chosen at random from the comments left on any of the blogs listed below and will be announced on the Altenew blog on April 17th, 2018.
Altenew also has a Special Offer:

FREE U.S. shipping with code HAPPY4TH or $5 OFF international shipping with code ANNIV at checkout. Offer valid from April 3rd until April 8th at 11:59 pm EDT. Not valid on prior purchases. Cannot be combined with other promo codes.
Okay, ready to hop to the next blog? The talented Hussena Calcuttawala is next on the list—she makes such beautiful cards, I know you’ll be well inspired! The complete hop list for today is listed below, starting with the Altenew blog, our host.
Altenew Blog Hop Day 3:
Sara Naumann (you’re here!)
Don’t forget to leave your comment below for a chance to win! Thanks for joining me today—and thanks, Altenew, for the chance to play!


Your card is simply beautiful!
This is really stunning! I love the white on white bamboo. It adds such texture. Beautiful card!
Beautiful comforting card
Refreshing Techniques, Delicate Layout, Original Work
Keep me up with Altenew
Love the delicate bamboo layout
Love the delicate bamboo
Love the bamboo
? the bamboo ?
So simple and so lovely!
So pretty!
Simply beautiful. The addition of birds is the perfect touch.
I love how you accented with white dies. Very pretty!
Beautiful card and love the sentiment! Thanks so much for sharing!
Love your technique! The clear embossing is a great idea! TFS!
I like how you did the background. Very nice card.
I love the bamboo on this card. You make me want that stamp set now!
Oh, I love this stamp set. Its such a fun set to use. The leaves are so versatile to be combined with other stamps sets. That’s one thing I love about Altenew products, most can easily be combined. Lovely card projects! Happy Anniversary, Altenew.
Beautiful card, love, love the die cut background. Thanks for sharing and inspiring us.
Wow! Sara Naumann’s card using the stamps and dies from Never Give Up was stunning. Also, she gives very clear instruction and her tips are quite useful.
Lovely card !
So pretty. Great coloring, great tips, and a lovely design. Thanks for the inspiration!
I just love the bamboo design :0)
Beautiful card.
Thanks for sharing!
Love the bamboo!
What a simply beautiful card.
Great card and I love how you created the background. So pretty with the little bird too!
Wow! Never tried that technique but you know after seeing this that I am going to be trying it very soon.
Love your white-on-white bamboo background paired with the stamped one in front. Lovely.
Beautiful card. So elegant
and refined. Love the
white on white.
thanks for sharing
txmlhl(at)yahoo(dot)com
Such a pretty card! Love the background and the embossed focal image is really beautiful!
Love this card. Really like the bamboo stamp.
I love the white on white background!
Your card is so pretty and “soft”. Love the look!
Oh, I just love this! I love the bamboo. My
hubby does Bonsai as a hobby, so it reminds
me of him. I need that set, too. Thanks for
all your tips, too.
Such a lovely card! Creative take to use diecuts, it gives a beautiful embossed effect! 🙂
This is such a pretty, serene card. Thank you for the video tutorial and the tips!!
Ooooh, lovely Sara! The tone on tone bamboo looks amazing for your background on this card. A fabulous job on it!
Gorgeous card…I love the white on white for the background. I need to try that more. Thanks so much for the inspiration!!
Such a beautiful card. Thanks so much for sharing…
sweet card – thanks for sharing 🙂
Lovely card! I have been looking for a good bamboo stamp set and I think I just found it! Thank you for sharing the details of constructing the card too.
love this card the the pieced background, great idea.
Love how you did the background, beautiful card. Thanks!
Beautiful and elegant card!!!
So inventive. I really like how this turned out. Kudos
Your card is simple and tranquil and now I want this stamp set!
I love how you created the background. Beautiful card!
Beautiful! Thanks for the inspiration!
Lovely card. Thanks for participating.
Awesome thanks
Very cool design, I really like how you used the white die cuts to create the background – clever!
Hi, Your card is GORGEOUS!!! I love the embossing on it and the white is just beautiful and pretty, love, love love this!!
Beautiful Technique,…loved ur card!!
Great card…..thank you so much for explaining how you made it…..
Love the embossed look of the white on white!
Beautiful!
LOVE your card and the techniques you used!! 🙂 I’ll definitely be trying your techniques! I really appreciate the eraser tip you gave us from Tasnim. I hadn’t heard about that before. Thanks so much!! 🙂
Fantastic card! Great texture in the background and technique for adding multiple colors and shine to the bamboo.
Lovely card and great technique!!!! Thank you!
Love the dimension on your card. Thanks so much for the inspiration. Happy Anniversary Altenew!
great technique ! thanks for sharing !! your card is lovely 🙂
So elegant and beautiful.
Such a pretty card. I especially like the white on white bamboo on the background!
Beautiful card! I love your white-on-white background.
Very pretty card!!
I love how you made the background on your bamboo card! So creative!
What an elegant card. So pretty.
This is STUNNING!!! I love the way you used the die cuts on this!!
This is stunning! I love the white on white. The sentiment is wonderful and I just love these bamboo trees. This set needs to go into my supply.
Oh wow. So simple & sophisticated. It really speaks to my Asian heart.
So elegant and pretty – thanks for sharing your inking technique.
This is so stunning!! I love how you created the background and the design!! Thanks for the amazing inspiration!!
Lovely design Sara,CAS and elegant. Thanks
For sharing!
love how you created the texture on the white and then the focal image in the center, thanks for sharing
Great card and fun to see you thought process. Beautiful!
I love everything about this card! It has so much detail, yet looks so clean and simple. Truly elegant!
White in white is a beautiful idea.
Beautiful card, LOVE that bamboo on your design.
Such a lovely card. I love the look of layering white on white.
Lovely card!
Sara, your card is such a great example of how stunning simplicity can be! Thank you for giving us detailed directions on how you created this beautiful work of art!!
Stunning card! Love the white die cuts on the background.
Absolutely stunning! I love everything about your card. Who knew that a simple stamp of bamboo would make such a lovely card.
Very interesting was to use these great products.
What a beautifully constructed CAS card!
Beautiful card!! Great technique. Thanks for sharing!
I love the background. Nice card idea if you need a masculine card.
What a beautiful card, so elegant!!
What a pretty card! Love the background and how you used the same die! Great tip using an eraser.
I love the bamboo texture in the background and the multi-layering of color on the leaves, they look so real! Thanks for sharing the instructions of how to recreate it,
I love learning new techniques!!! Thanks –
Beautiful CAS card with embossing!
This is a stunning and elegant card. Love the background dimension you created.
What a wonderful card! I love the idea of using the white die cuts
Love the ink variation on the bamboo. Thanks for the tips.
The dimension and details in your card are just gorgeous.
Lovely and elegant! Thanks for sharing.
I love the idea of glueing the die cuts to the paper. Beautiful card.
What a stunning creation! I have been on the fence over purchasing the Never Give Up bundle but after seeing your card today I know I NEED this set ASAP! TFS!
Beautiful images and a very elegant design.
Totally stunning – and the instructions were an added blessing!
Very pretty card!
Like how you made the textured background.
Love the simplicity of this card!
Awesome card! Beautiful design ♥
Pretty textures and layering! Beautiful card!
Love the white on white background – and the center bamboo is so clean and simple, but striking!
Beautiful card — love the way the background complements the design! Lovely.
Love how the card turned out from every detail, especially how you used the bamboo tree die cut into an embossed looking background!
Your work is beautiful! Thanks for sharing!
I really like the white on white textured background, thanks for the reminder of the process, and all the colouring tips. You created a lovely card and have given me lots of inspiration, thanks, Dx
Pretty bamboo card.
What a Pretty card!! I really Love the bamboo!! Thanks for sharing!!
Beautiful saying for a beautiful job
Delicate and stunning.?
I love your design which is clean and elegant. I especially love the white on white background. TFS.
You created a lovely card I so love the bamboo.
Happy Anniversary to Altenew.
A really elegant and restrained design which is so beautiful.
Best wishes
Ellie
Your card is so elegant and beautiful. I love the diecut background – so classy.
Love your card! 🙂
Love the Asian look of this card. I have 2 Asian grand daughters that would really enjoy getting this one.
Awesome creation, I love the die-cut background that mimics the lovely focal stamping!
I love the structure of your card and that you carried the theme throughout!! Love the embossing texture to add to the feel of it as well! Simply beautiful!
I love how you used the die to create a background that looks like it’s been embossed!
So Pretty! Loooooove the matching texture, very clever!
Such a simply elegant card. And thank you for the eraser tip! I’ve heard people mention before, but never saw a before and after example, so thank you!!!
Sara, I love your card, I find it very calming and peaceful. Thank y for sharing your stamping tips. Happy Anniversary Altenew!
Such a delicate looking card. So pretty. Great layout.
Very nice CAS card.
Your card is so pretty! I love how you created the background. Thanks for the eraser tip 🙂
Hi Sara, lovely card! I love how you used the die to create the background, ingenious! I will be sure to try this on my next card, thanks.
Lovely card. Simple, yet elegant.
Creative and Beautiful. Thank you for sharing.
So simple but so beautiful!
Love the white-on-white background, it adds lots of wonderful texture to the card design!
Beautiful! Love the clean look of this card.
Love the die cut bamboo background and the embossing on the leaves.
Lovely card – I love the layers, and the simple, elegant design!
Stunning and elegant!! Love the simple design. Thanks for the inspiration!
Oh! What a fantastic card. Using the die cut (white) bamboo for the background is super. And, thanks so much for the eraser tip, can definitely see the difference in the sentiment 🙂
Beautiful and very lovely card. 🙂
Love the embossed background with the stamp.
Lovely and delicate card!
This is lovely, and not at all what I was thinking when I first looked at the project. And actually something I might try, as the technique I thought it was has not worked real well for me! Thank you.
Lovely card!
Lovely card. Love that white on white background.
Beautiful card. Thanks for sharing your talents.
Such a serene and pretty card.
Your card is simply beautiful! One of my favorite cards of the entire hop!
Very pretty card!
Such a beautiful and gentle card! Thank you for the inspiration and great tips!
Such an elegant card with some great tips as well Thank you
stunning card. Just love the way you used the dies to make the background.
I love blog hops because they inspire me to create!!!
Love your bamboo card. The background is awesome!!!
Your card is so beautiful. Thanks for the tip about the eraser.
Beautiful card, and thank you for the detailed instructions on the stamping.
Great inspiration. Thanks for sharing.
Thanks for all the tips and techniques. Never thought of using cuts outs for backgrounds!
Such a simple and sweet card 🙂
Thank You so much for the inspiration! I enjoyed your project today.
Very nice card, clean ans elegant. Like the white on white diecuts. ?
Beautiful card with gorgeous products. Congratulations to my favourite stamp company! I’m so glad I discovered Altenew early on with one of my all-time favourite stamp sets – Vintage Roses. Since then I have been stunned again and again by their beautiful products – especially their layering flowers. Here’s to many more happy years!
This is a very simply but elegant card. Really like how you made the background. Thanks for sharing.
I’m borrowing your background idea/ It is very effective. I also like the stamping of the bamboo with 3 inks and embossing powder. Beautiful
Beautiful card that could be used for multiple occasions just by changing the sentiment. Thanks for the inspiration.
Beautiful card! Clean and simple card that is very comforting
Love your creative card idea.
What a beautiful card. I love the look of the white on white and then the pop of green. Thanks for sharing.
Very pretty card! Loved the bambo too!
Lovely card, Sara! Initially thought you’d embossed with die but see you used a white on white die cut technique- great idea! Love it. TFS! Happy 4th Altenew!
What an elegant card – I really love the sentiment. The bamboo and bird with the embossed background all tie together so beautifully! Thanks for the tip on getting better impressions with a brand new stamp! Happy Anniversary, Altenew!
This is just so elegant. I love the extra bit of dimension with the embossing powder on the leaves! Very pretty! TFS!
Really like that technique of using the die cuts for the background and stamp as focus! Will have to try this!
That tone on tone background is so pretty! Wonderful card!
So elegant! Thanks for giving us the details to your process. At first I thought you had embossed the background. Great technique. Thanks for sharing and Happy 4th Birthday Altenew!
Fabulous card! Love all the detail and dimensional background.
I love the way you used the dies to do a tone on tone background! What great texture! ?
What a neat card–I love the process you showed us each step and what a cool trick rubbing the eraser on the stamp to get a crisper image!
This is so elegant!
Love the card and your use of the embossing powder on the leaves. Great background too. Thanks for sharing!
Thanks for this great post and this gorgeous card !!
[margessw(at)icloud(dot)com]
Beautiful card! Thank you for the great tutorial too for an amazing look.
Simple and striking card…
Pretty card…love the use of embossing for dew and the tip and pictures about conditioning the stamp.
Your card is beautiful! Sara, I love how you made the background with white bamboo branches attached to the white cardstock! Your technique of stamping the bamboo with three different greens is so creative. It will be so easy to copy your technique with such great instructions!
Very pretty. I like the white on white background.
Beautiful card! I love the technique you used!
Great background Sara, I love white on white and then the great stamping, love the tip you gave. All together a gorgeous card. Thanks for your time and effort.
You have given some inspiration. Love your card.
Love how you used the bamboo in the background. Awesome project. TFS
Great card! I love the sentiment you used! Thanks for sharing!
What a pretty card! I love the texture that the background gives, thanks for sharing.
Very nice card! Love the combination of the die cut white bamboo and the stamped bamboo — created a clean, eye catching card.
Wow. What a clever way of using the stamp and it looks so effective too. The background looks embossed. Love this and card is beautiful
Beautiful card! I love the bamboo!
Wow, I love how you did your card! I don’t have a die cutter or a Misti so I can’t even try to replicate your card. I love how you did the 3 shades of green. I did something like that on a coloring page when I variegated the leaves on a page. I didn’t do it like you did because I didn’t know how to do that at the time but I used a lot of shades of green. It looks so cool when you do that, doesn’t it? I love all the green and the white. It looks like a very oriental card though and I like that.
Thank you for showing us your unusual card, unusual to me anyway, and for giving us the chance to win something. Everyone on this hop has done an amazing job and I am loving all the stops on this hop. Happy Anniversary Altenew!
So serene and beautiful.
I’m always so reticent to use my fingers in my ink because a) I’m afraid I’m going to make inky fingerprints on my panel and b) I hate having dirty fingers, but I do love how this blending turned out. I might have to try it (then remember to not touch the white panel). I also very much enjoy the white-on-white background that also has the bamboo. Very sophisticated and beautiful look. Thanks for sharing with us!
Gorgeous card! Thanks so much for sharing. ?
So beautiful, Sara! Love the background & the beautiful bamboo! One of my very favorites on the hop!
All those beautiful layers, yet so delicate and soft. Beautiful card!
Very beautiful and classy card. Love the background.
Beautiful card! Thanks for the inspiration.
This is such a classy minimalist design. Thanks for sharing your creativity.
What a stunning card that is so elegant! Love the white on white background and that main image is stamped so beautifully and the clear embossing really does add so much. Love love lovr that sentiment!!
I love the use of the bamboo die for your background. very effective & a lovely card.
Happy Birthday Altenew and many more! Very cool card and techniques!