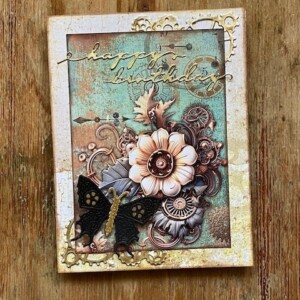
Why, yes you can.
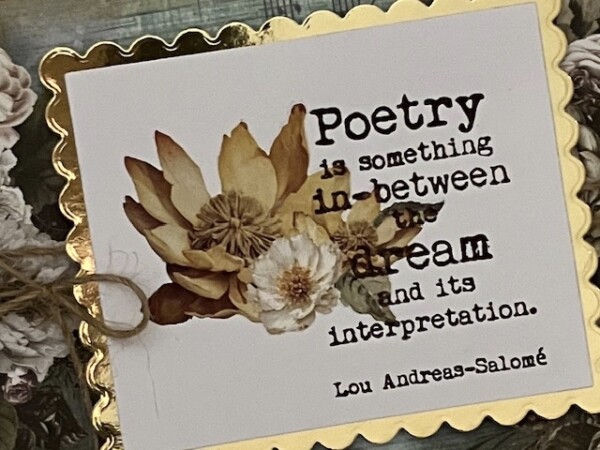
This week I’ve been playing with the Golden Harmony rub-ons from Stamperia, and wanted to overlap their beautiful floral images with a stamped sentiment. After stamping, I impulsively covered the sentiment (my PaperArtsy EM120 stamp) with clear embossing powder and then panicked, thinking the heat embossing would be an issue. Surprisingly—maybe?—it wasn’t. Yay!
The process I used was simple.
- Apply the rub-on to white cardstock. This will give a beautiful design that’s also non-porous. A good idea is to make sure there’s no static or sticky areas before you start stamping.
- Use embossing ink or pigment ink to stamp the sentiment. I’m using Versafine Clair in Pinecone.
- Immediately cover with clear embossing powder. Mine is Clear Gloss Regular from WOW.
- Tap off any excess and heat-set.
When you heat-set, do take care not to overheat. This is pretty standard advice but really important when you have non-porous surfaces. You don’t want any warping or buckling. And, I think using a fine-line stamp (as opposed to a silhouette design) is good, since it requires less melting time.
That’s it! Easy—and a nice way to add some texture to your project. Here’s the whole card:
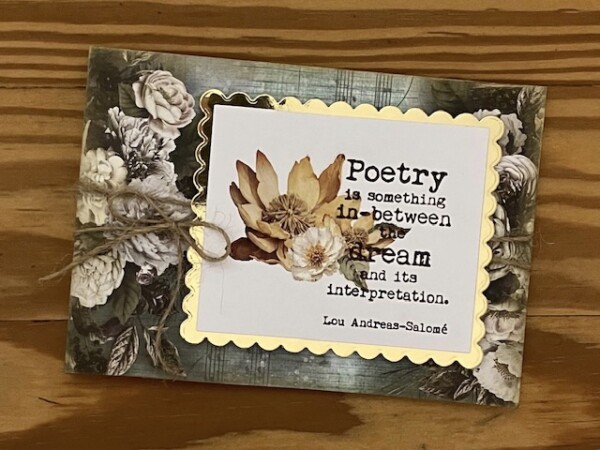
I also used background paper from Paper Wishes—this is from their 6″x6″ Ethereal Bouquets paper pack. Coincidentally, it matches the rub-ons really well. I layered the stamped focal with die-cut rectangles, using the 12 Rectangle & Scalloped dies and some gold metallic cardstock. Before gluing the focal to the card front, I wrapped it with twine, then added a bow. I really like the contrast of the rustic-style jute twine with the gold metallic.
I also made some tags!
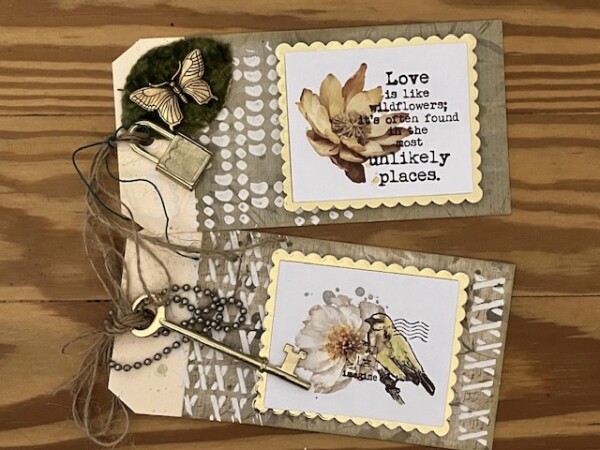
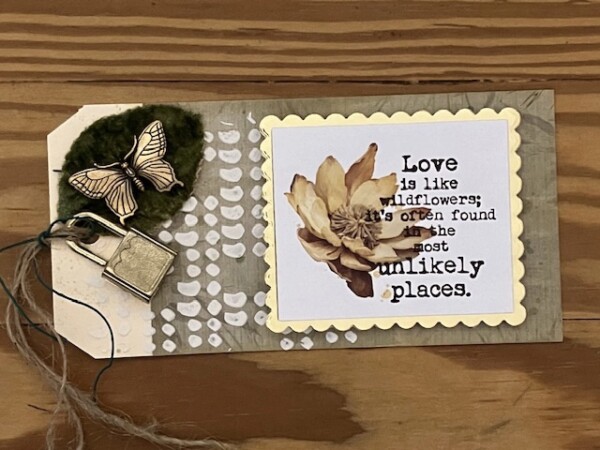
The tag on the top is the same technique—I’m using one of my newest PaperArtsy stamps (ESN119) for this.
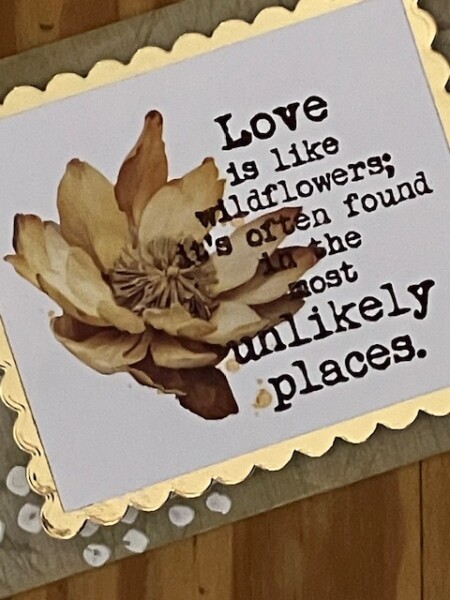
I also used my PM027 stencil, which looks like chubby commas, along with Grunge Paste. For this, I just hold the stencil down and use my finger to scrub the texture past through the design. It’s an imperfect look, which I love.

Here’s another look—
Then for the second tag, I added some paint.
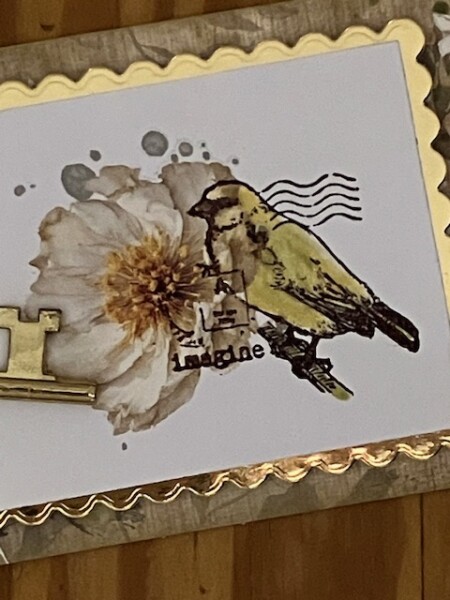
After I stamped and embossed the bird, I used some Glow and Fern Mattints to paint in the bird (from my EM115 stamp). The embossed edges of the design will hold in the watery medium, and because these paints are translucent, you’ll still see the rub-on image underneath as a shadowy layer.
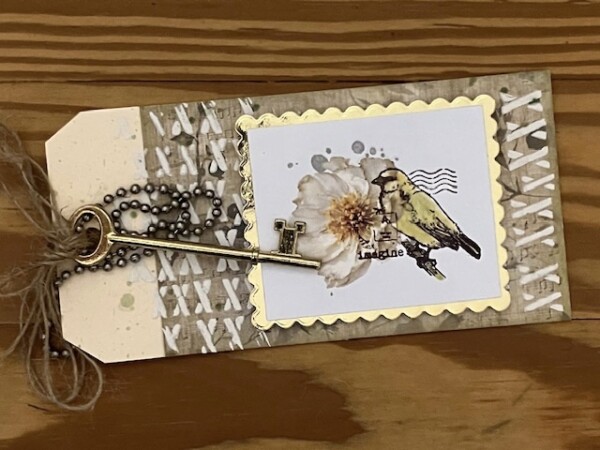
I also used Grunge Paste and a stencil here—it’s PM031.
For both tags, I added some junk journal ephemera to the tag tops. I have *so much* ephemera in my various stashes, from keys to chain to random bits of velvet leaves and flowers and locks. It always makes me happy to pick through my boxes for something to go at the top of a tag.
I hope you enjoyed today’s tutorial, thanks for joining me!

