This week’s technique is a staple for me—not so much a technique, per se, as a go-to part of my stamping process, when I’m working with paint. This can mean watercolor or acrylic paints, or using dye-based markers or ink pads as paint, or coloring with waterbrush markers.
Why? Because heat-embossing a stamped image makes it act as a resist. The raised, shiny lines of the image hold in a watery medium, making it easy to add paint without smearing the image or going outside the lines.
While this works great for outline images, you can also use this for adding color to more detailed images too. Let’s take a look—
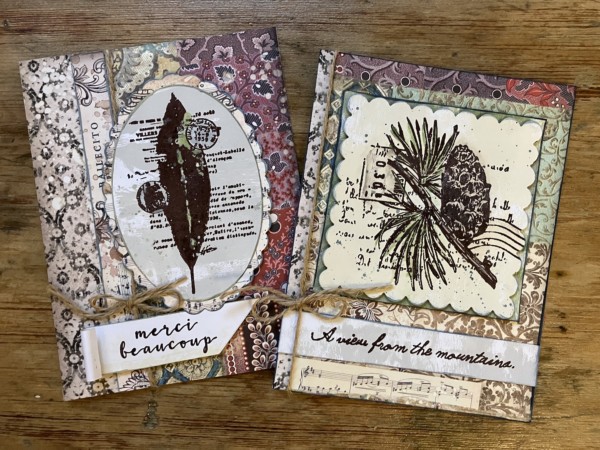
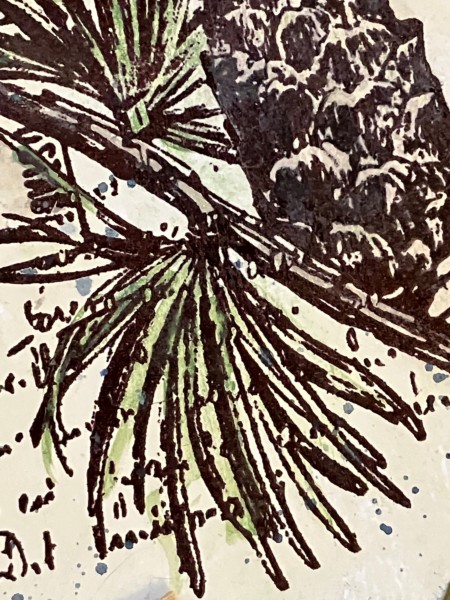
To create each of these two focal images, I first stamped each one with a dark brown pigment ink, then embossed it with clear embossing powder. Be sure to use a pigment ink, which is slow-drying. (Yes, you can use clear embossing ink and brown powder too.)
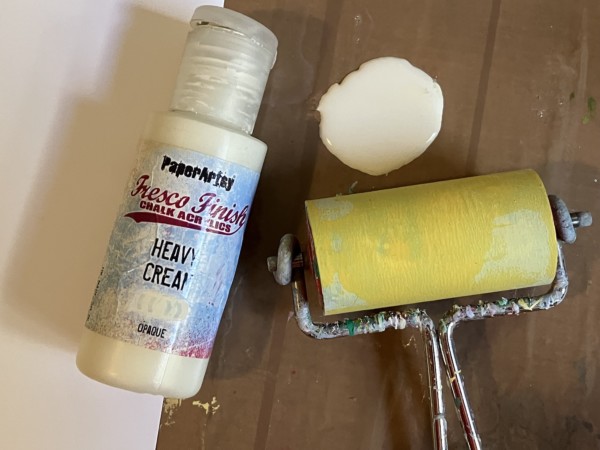
Before stamping, I first brayer-painted my background. For the Pinecone card, I used Heavy Cream paint on white cardstock.
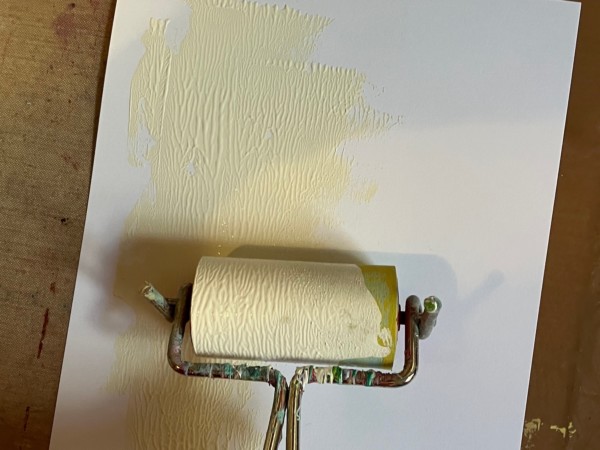
Don’t worry about covering the paper entirely, just get some paint on there. Let it dry thoroughly before moving to the next step.
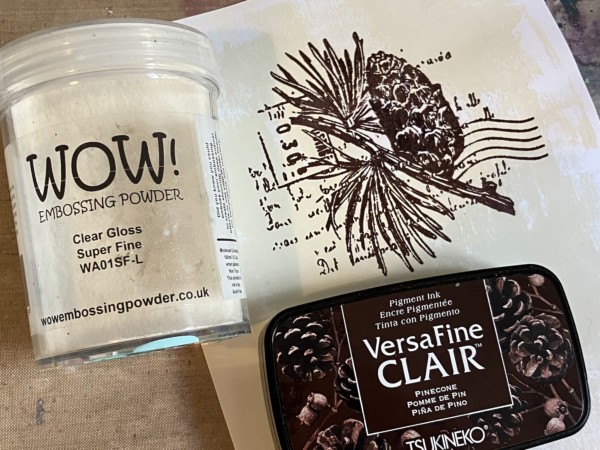
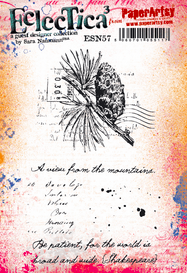
Stamp the image with pigment ink. I’m using VersaFine Clair in Pinecone, then embossing with WOW’s Clear Gloss Super Fine. (My go-to embossing powder.) The pinecone stamp is from PaperArtsy’s Eclectica ESN57 set.
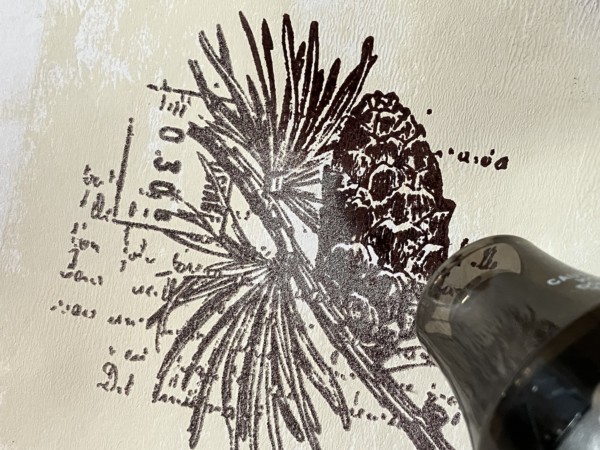
Heat-set the image until it’s raised and shiny.
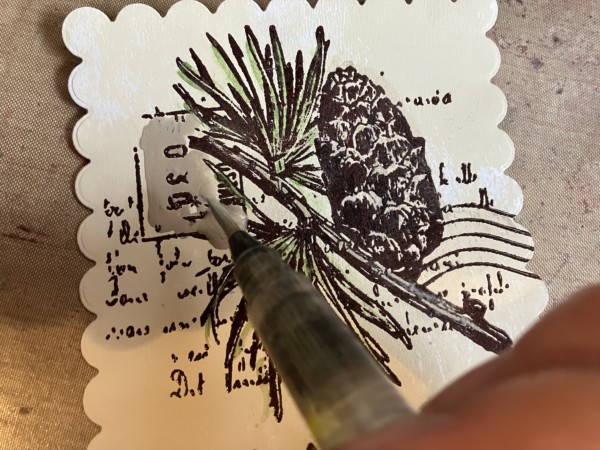
Then I use a bit of paint on a fine-tip waterbrush or paintbrush to color the image. Here I’m using PaperArtsy Fresco Finish Chalk Acrylic paints.
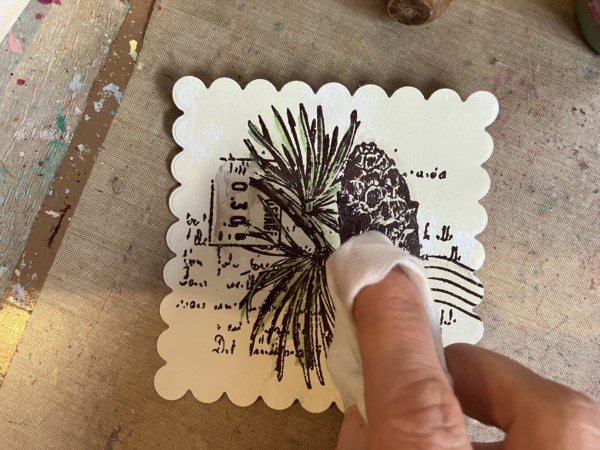
You can then use a damp baby wipe to dab off excess paint, allowing the embossed image to to show.
Here’s another look—
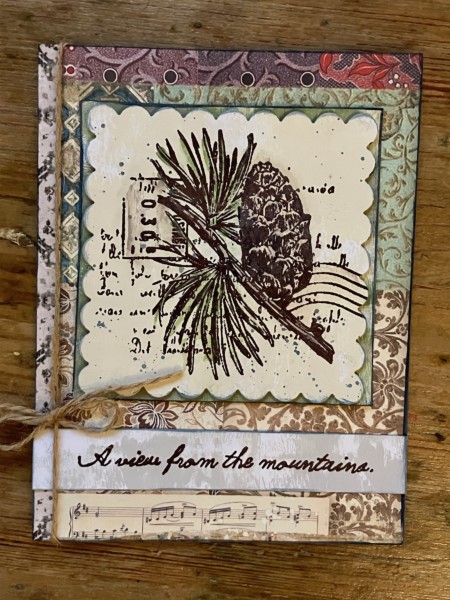
And a close-up—
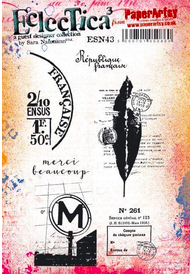
And the second card, this time using a less-detailed leaf image from the PaperArtsy Eclectica ESN43 set.
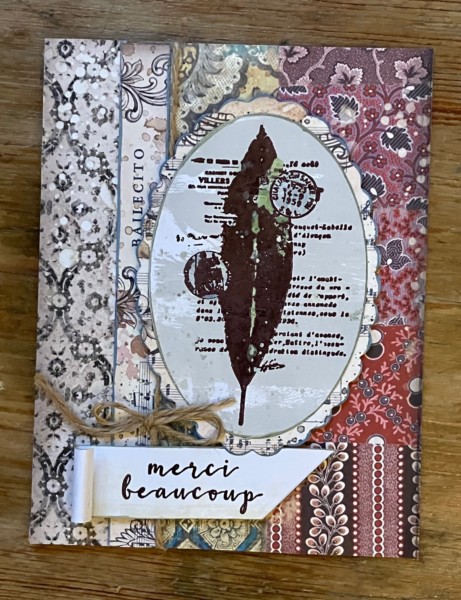
One other thing I love about this process? The finished result is really tactile… you get the raised, shiny and glossy embossing, plus the soft, matte effect of the paint.
Here are the two stamp sets I used today:
Please check your local PaperArtsy retailer for stamps!
Thanks for stopping by—don’t forget to stop by my Facebook page to see more.
See you next time!


