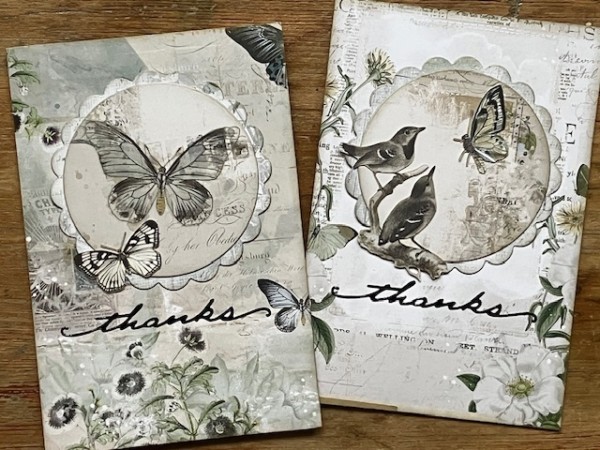
This week I’m mailing out a couple of thank-you cards to some friends—and with hints of spring in the air here in Hamburg, I wanted to create cards with soft florals and some spring-themed embellishments. Fortunately, I have this gorgeous stash of patterned papers, rub-ons and laser-cut embellishments from the Moonlit Garden collection from 49 and Market.
These cards feature the same clean and simple design, with the card bases covered with soft, neutral patterned papers. The paper has a subtle vintage-inspired print, providing a gorgeous backdrop for the thank-you message.
Focal Point: In the center of each card, there’s a die-cut scalloped nested circle. I love using these dies from Hot Off The Press to create a focal point. The circle helps spotlight the embellishment and the scallop layer creates a perfect frame.
Embellishments: To enhance the card, delicate and simple embellishments from 49 and Market’s collection are strategically placed in the card center. They feature a butterfly rub-on and laser-cut for one card, and a butterfly and bird duo for another.
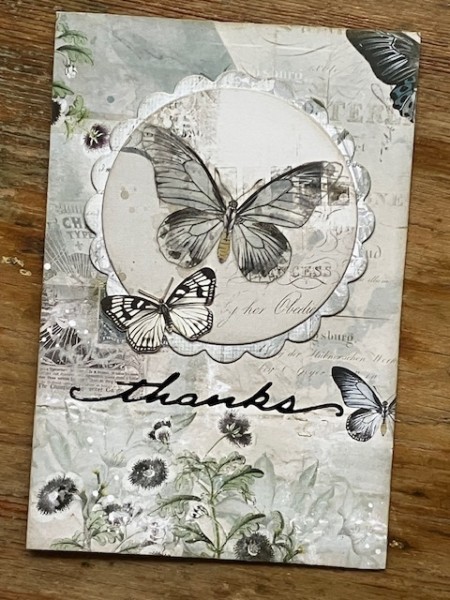
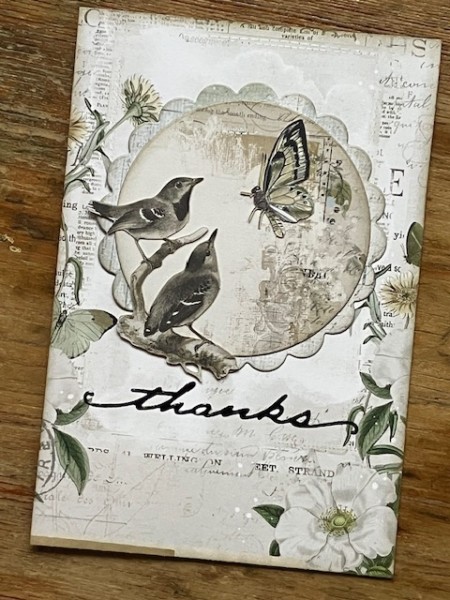
Sentiment: The sentiment is a Dazzle sticker from Hot Off The Press. These are some of my go-to messages for cards because they look elegant but are super-easy to add to the card. Great if you’re in a hurry or don’t have the right sentiment stamp. The sticker color complements the shades of the patterned paper.
Layered Elements: Because the collage patterned paper is so rich in depth and dimension, there’s not much else necessary here—though if you were making a “hand it over” card instead of a “mail it to them” design, then you could easily incorporate ribbons or other lumpy embellishments.
Finishing Touches: The final touch is a very gentle edging of the card bases and the die cuts with the Midas Gold inkpad from Crafter’s Companion. This is a pigment ink, which is normally very inky—but mine is old and well-loved and so it’s a bit on the dry side—this actually makes it perfect for edging, because the effect is so soft!
One More Card? Sure!
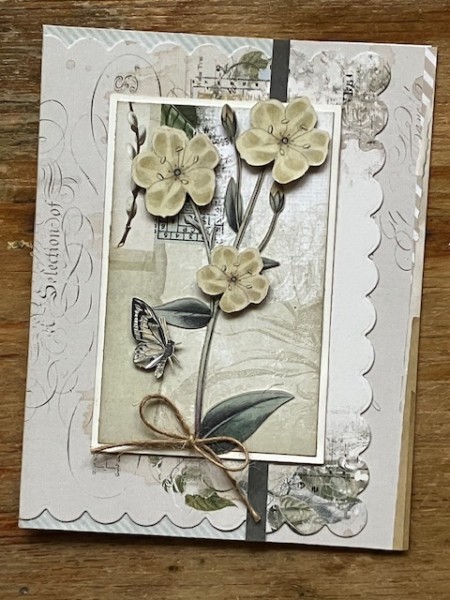
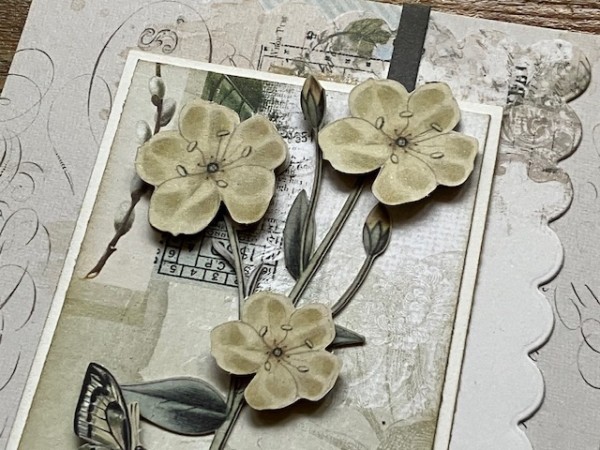
This design is all about using up the scraps of papers and card stock from my crafting stash—here, I have a layered laser cut flower and a collection of patterned papers in the background of the card. The scallop edge you see is one of the Square and Scallop dies: I die cut a square and then didn’t use it for another project, so I just glued a portion of it here, trimming the edge even with the fold side of the card.
The laser-cut embellishments can also be layered, using foam tape—
So simple and easy! And, keep an eye out for my Paper Wishes Webisode showing more cards (plus two spiral notebook projects!) using this collection. It airs March 23 at Paper Wishes!


