Super-simple to make, easy to decorate and great fun to give: A shaped, folded card base is a unique twist!
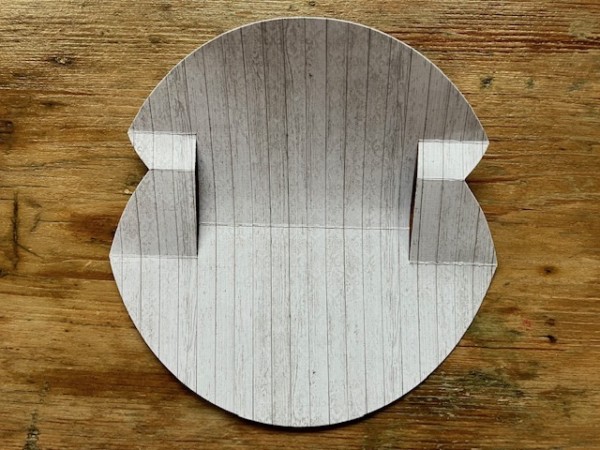
The secret is the Circular Step Card Cutting Die from Paper Wishes. This die is one large piece that will die-cut the outer edges of the shape, and create the score lines for folding.
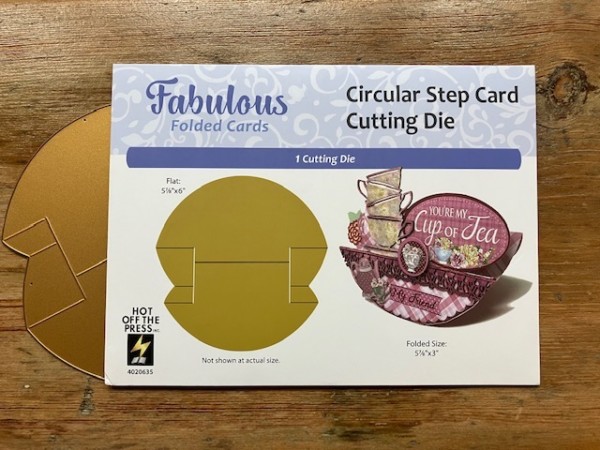
Place the die onto your patterned paper (it fits perfectly onto 6″x6″ papers) and secure with some low-tack tape, then run it through your die cutting machine.
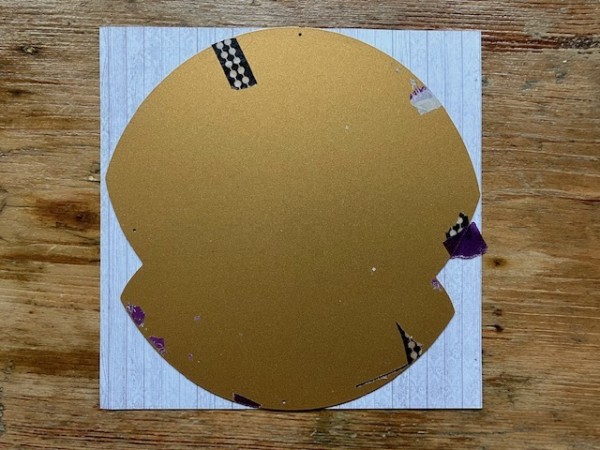
Score up the lines as indicated on the package. I use a bone folder to crease the folds well, which helps a lot if you’re using thicker cardstock. If you use double-sided paper, you can decide which pattern you want on the inside, or outside.
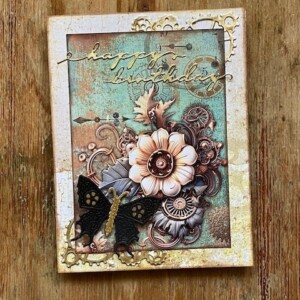
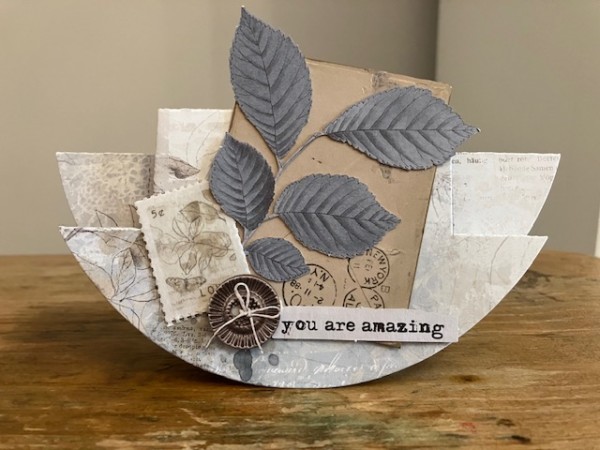
Then decorate the outside how you wish! I’m using rub-ons and floral die-cuts from Stamperia’s Create Happiness collection, and a Dazzle sentiment from Paper Wishes. The only limit is how tall you want your card to be—mine fits in an envelope for a standard 5 1/2″ x 6″ card. Just check your envelope before you glue things to the top portion.
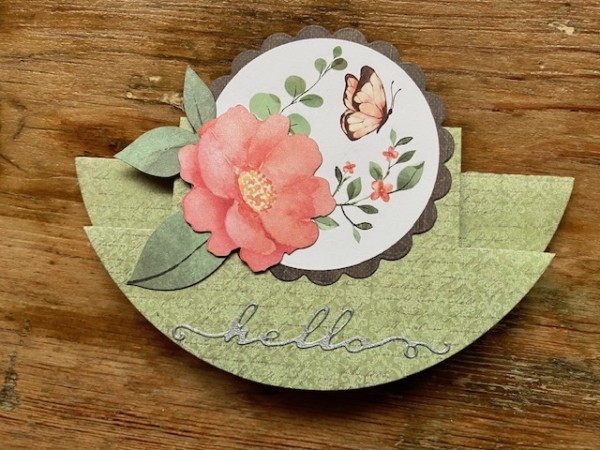
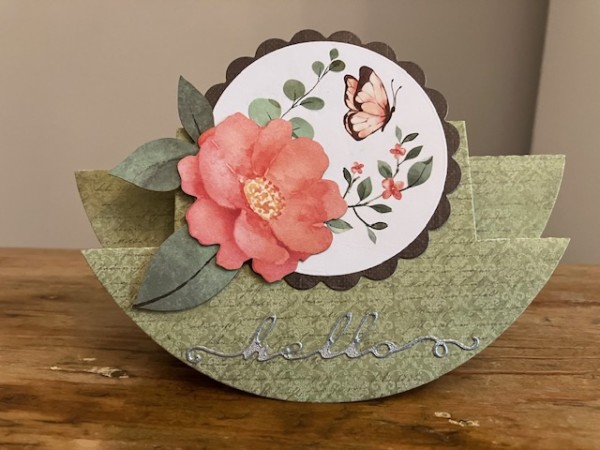
Even with the curved bottom, the card can stand upright.
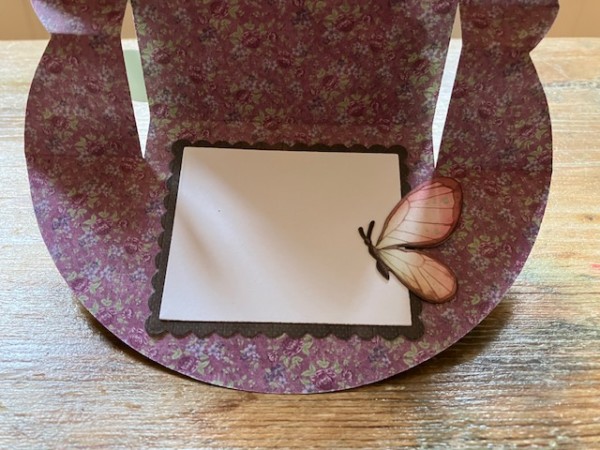
Here’s an idea for the card inside—
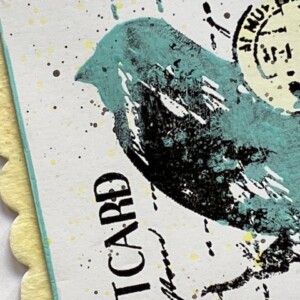
I love how easy it is to personalize the card shape, too—below, I’ve used the Serenity collection from 49 and Market. (You can see more in the Webisode.)
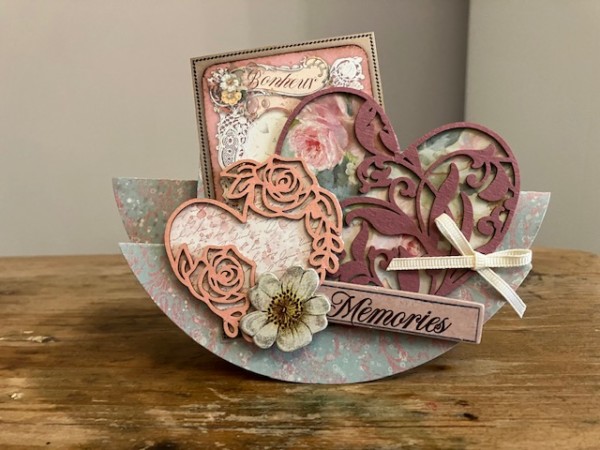
And here, with elements from Stamperia’s Rose Parfum collection. (Which can also be seen in a Webisode.)
This card format is so fun to work with—and great for new crafters as well as kids. (The fifth graders in my after-school Art Club last year had a ball die-cutting and decorating their cards.) Yet it’s also fun for more experienced card makers who like to work with different formats.
I hope you enjoyed the techniques today—see you next week!