Can you stamp and heat-emboss on top of a rub-on image? You sure can! You can heat emboss and add paint, too!
Today, we’re exploring a combo pack of techniques that combines rub-ons, Eclectica stamps, and clear embossing to create a layered butterfly card focal!
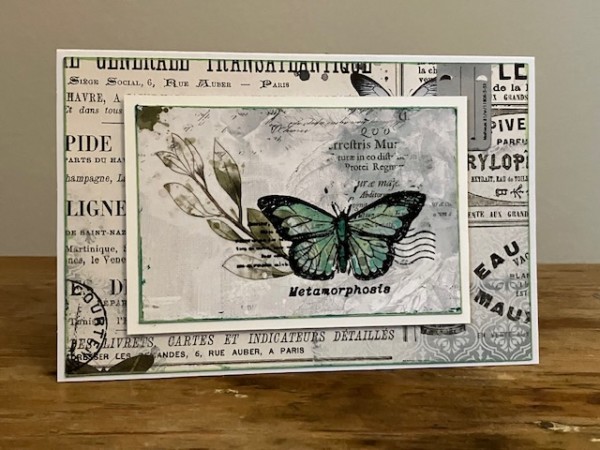
I love the look of layered images (one reason why I love rub-ons!)—so I was curious to see if you could stamp images on top of a rub-on that’s been applied to cardstock. Then I wondered if you could emboss the stamped image on top of the rub-on. And add paint? Well, I just had to experiment and it turns out you can do all of these techniques, which is great for creating depth and dimension.
Materials Needed:
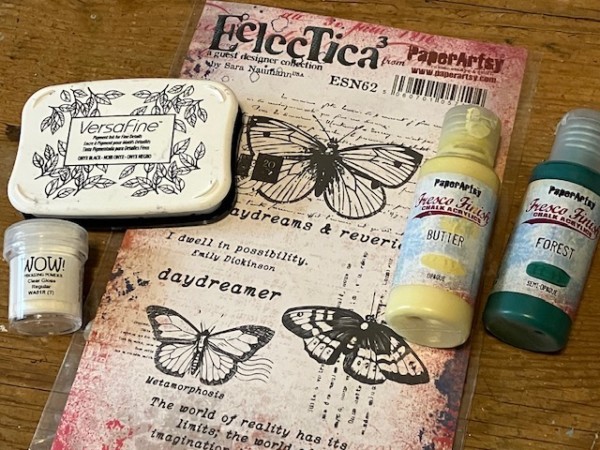
- Rub-on transfers: 49 and Market Moonlit Garden
- Patterned paper: Moonlit Garden
- Eclectica ESN62 stamp set: PaperArtsy
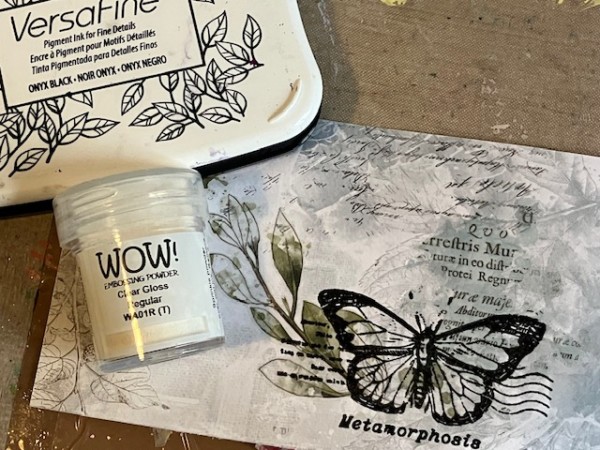
- Clear embossing powder: WOW! Embossing
- Heat tool
- Ink pad: Black Versafine pigment ink
- Acrylic paints: PaperArtsy (Forest, Butter)
Step 1: Prepare Your Card Base. Start by trimming a piece of patterned paper slightly smaller than the card front and using a small piece of sponge—or your finger—to add Forest paint around the edges. Let the paint dry, then glue the piece to the card front.
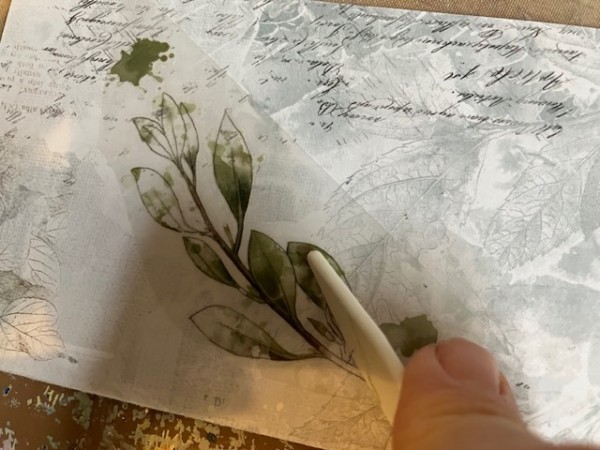
Step 2: Apply Rub-On Transfers. Select the rub-on leaf image and carefully cut it out from the main sheet of images. Remove the liner, then place the image onto a piece of patterned cardstock. Gently rub the design with a bone folder to transfer it onto the cardstock. Lift off the plastic sheet to reveal the transferred design.
Step 3: Stamp and Emboss Your Butterfly. Use the pigment ink to stamp the butterfly onto the cardstock, overlapping a portion of the leaf rub-on. Immediately cover with clear embossing powder, tap off the excess, and heat-set.
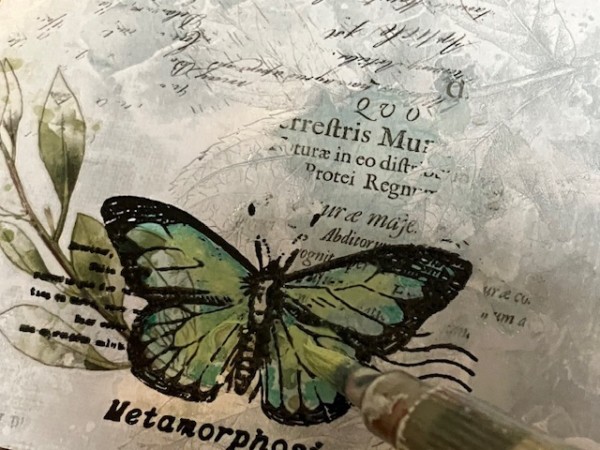
Step 5: Paint Your Layered Butterfly. Use a watery wash of paints to color in the embossed image. Let dry, then trim the cardstock down and edge with Forest. When that’s dry, mat onto white cardstock and add to the card front.
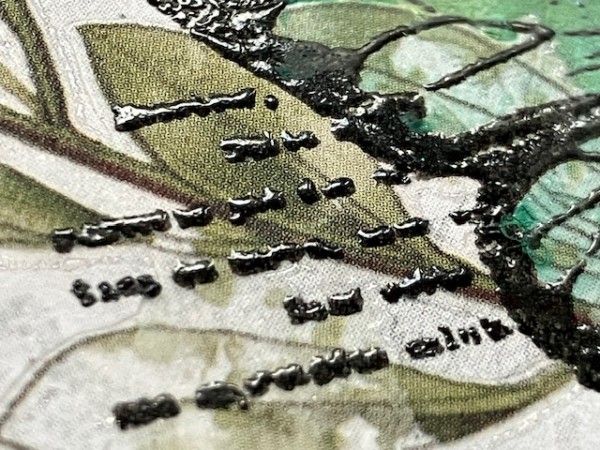
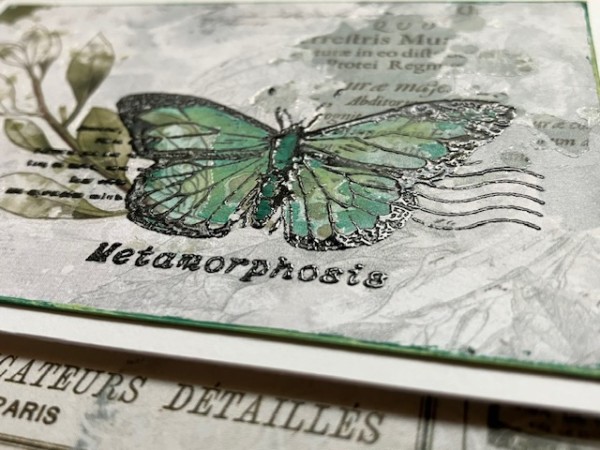
I love the depth and texture you can get from this technique! Here are some close-up looks—

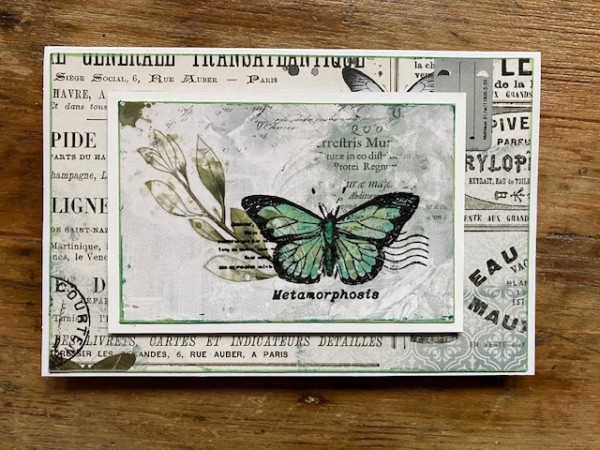
That’s it—so simple to do… and such a great way to create layers on a card without adding a lot of bulk.
I hope you enjoyed today’s card. See you next week!


