Rub-on transfers are a great way to add dimension to your cards and other paper crafts—they’re easy to use, and come in so many different looks and themes, from vintage florals and botanicals, to words and sentiments, to faux texture and more.
Lately I’ve been using a lot of rub-on transfers for the Webisodes I host for Paper Wishes. You’ll often see me demonstrating with 49 and Market rub-ons, so that’s what I’m using today for these card projects.
Now, if you’re like me, you might remember rub-ons from when you were a child. Good news is, the process is exactly the same—but the better news is that the quality (and for me, perhaps the user ability!) is much improved.
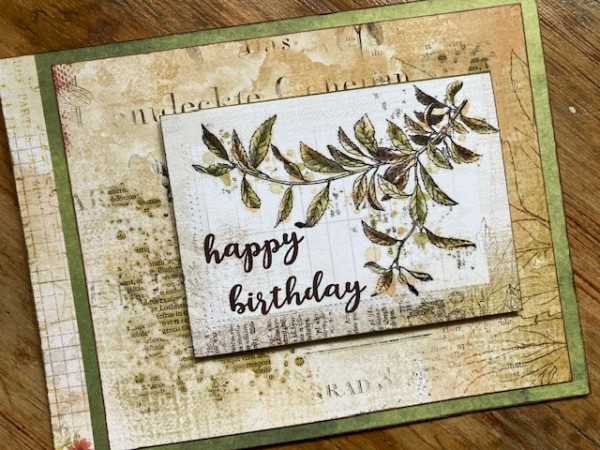
Above you see the card I made for my husband’s birthday. The foliage is a rub-on transfer, and the “happy birthday” is an Altenew stamp from their Birthday Builder set. The patterned papers are also from 49 and Market. All the 49 and Market supplies are from Paper Wishes.
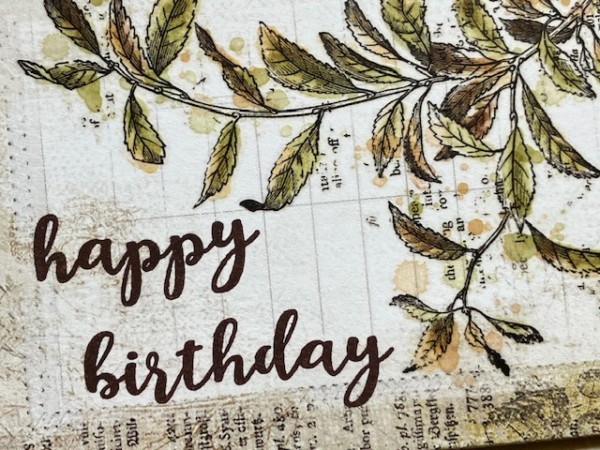
Here’s a look at the inside of the card—
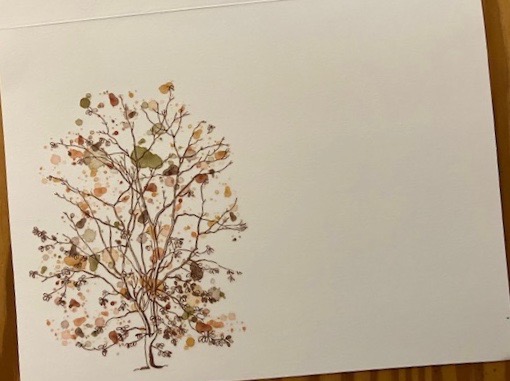
Super simple, and a nice way to decorate the inside—while still leaving room for a written message.
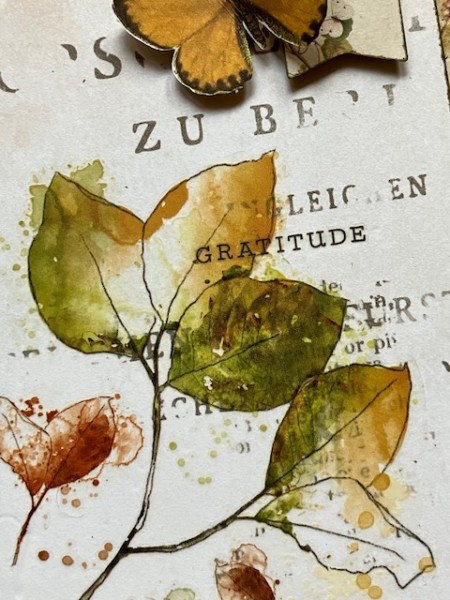
Here’s another card, this time with a rub-on transfer (the leaves) with a second rub-on (the “gratitude” word) applied on top. The patterned paper underneath also has some words printed on it, so this creates some interesting dimension!
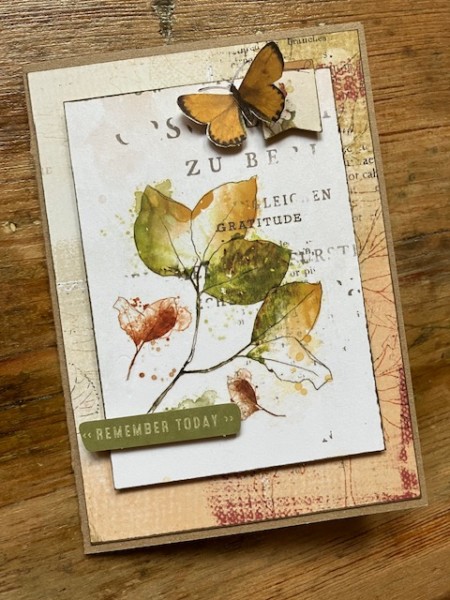
Have a closer look:
Here’s how to apply a rub-on transfer onto cardstock:
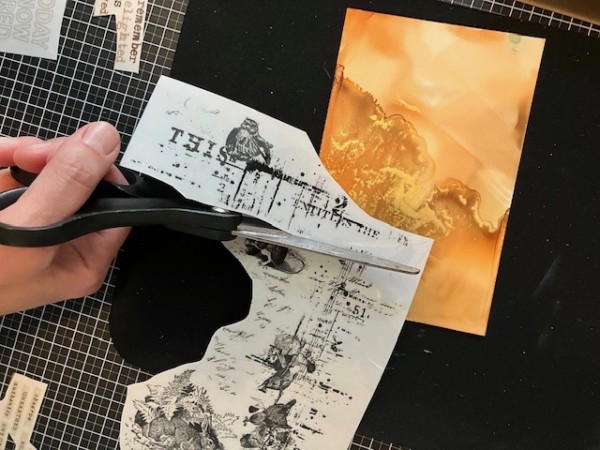
- Cut the image, and the liner, away from the rub-on transfer sheet. Don’t trim super-close to the image, as you want to be able to hold onto some of the plastic as you work.
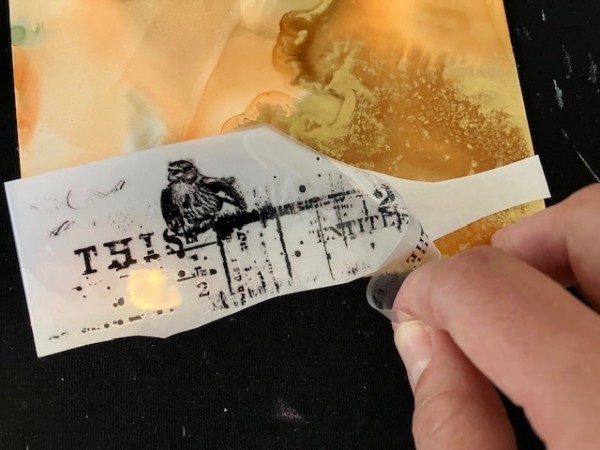
2. Gently peel the rub-on transfer from the liner piece, taking care not to touch the back side of the rub-on.
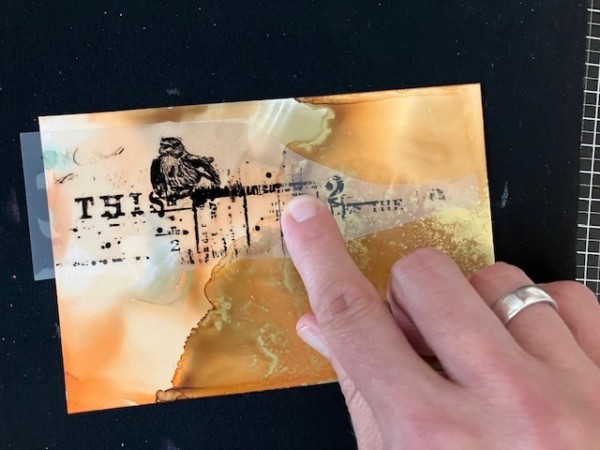
3. Place the rub-on transfer onto your paper or cardstock. Gently press it with your finger. The rub-on is slightly sticky so be sure you have it positioned where you want it to go! (The paper I’m working with is glossy cardstock that was colored with metallic and regular Ranger Alcohol Inks.)
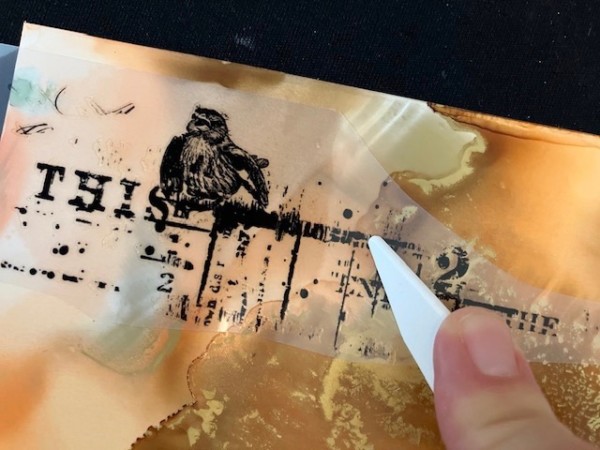
4. Use the applicator to gently but firmly burnish the rub-on. Most rub-on packs come with an applicator, but you can also use a bone folder or popscicle/craft stick.
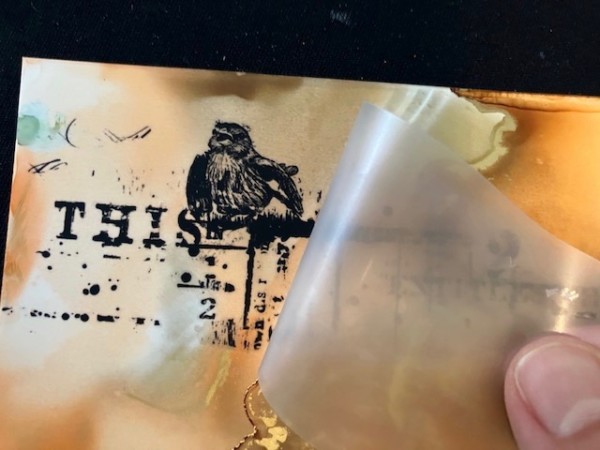
5. Slowly peel the plastic away from the image, checking to make sure all of the image has transferred onto the cardstock. If it hasn’t, simply place the plastic back down and continue burnishing.
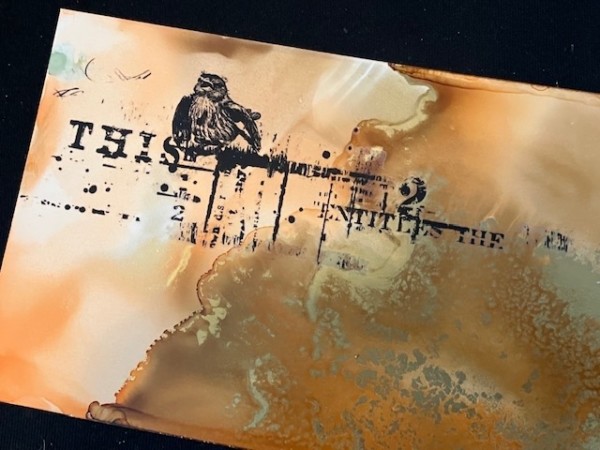
And there you go! I love the look of the black image on the metallic gold background.
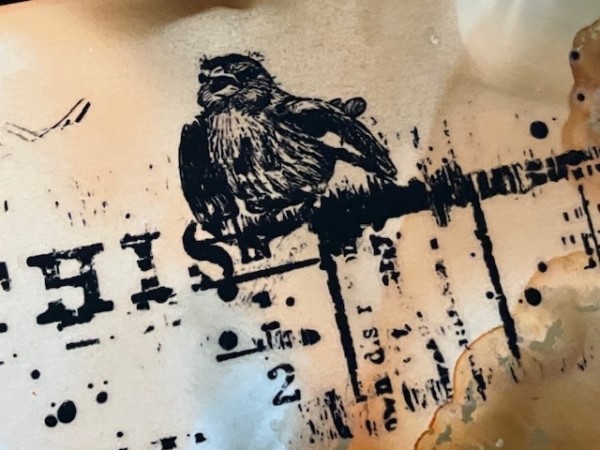
And there you have it—super-simple dimension with a classic papercrafting medium.
Enjoy!



Hi Sara,
Love your use of the rub ons. The step-by-step photos are great. I don’t suppose you have a tutorial/photos or at least ink details on that gorgeous background…??
Hi Catherine—do you mean the alcohol ink background? In that case, I’m not sure of the exact colors (I think it’s one I made a looooong time ago and had in my “scraps” stash) but they would definitely be Ranger Alcohol Inks, which come in individual bottles and in sets. Plus you can get metallic (gold, copper, silver, pearl) metallic inks.