Upcycle a glass jar as a fun and easy DIY vase project!
Last week I was looking for a way to present flower bouquets to a new group of people I volunteer with. Because our group often focuses on recycling and earth-friendly options, using glass jars as vases was my first thought—but how to personalize these vases—and incorporate a “welcome” message?
Easy! Cutting dies made it simple to batch-create colorful tags. Let’s take a look—
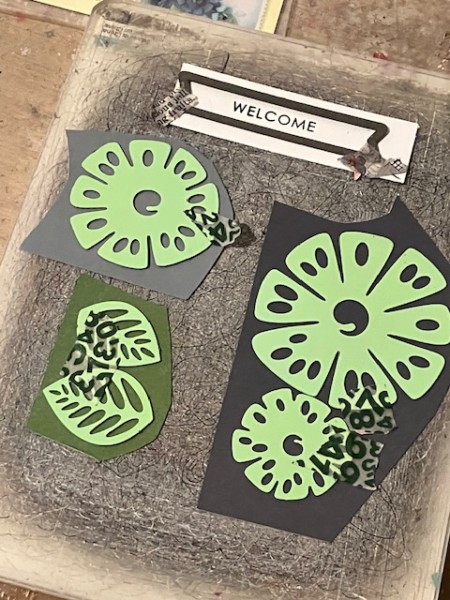
First, die cut the leaves, flowers and Welcome label. The flowers come in a layering set with the leaves. I bought this at a stamp show a very long time ago—they’re from a Dutch company called Leane Creatief. You can see the die set here—you could also easily substitute any layered flower die.
The label is from a set of small tag and label dies, from the French company Les Jolies. Again, you may have something in your stash that works!
The original stamp has more words than just the “welcome”—so, I masked off the stamp to use just the one word. Have a look—
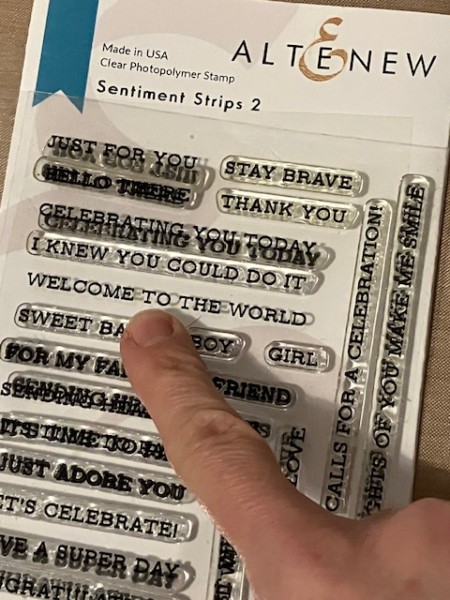
First, mount the stamp on a block as usual.
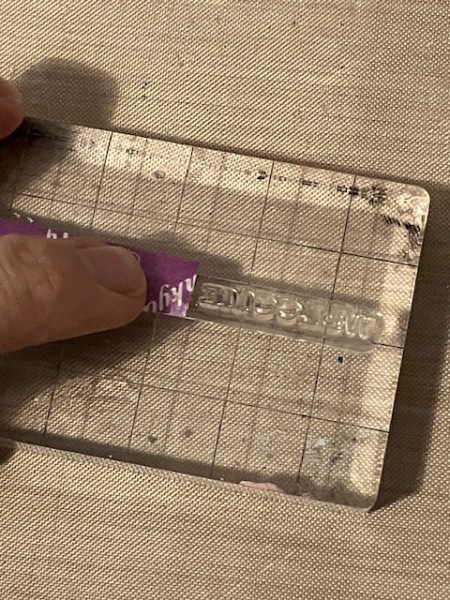
Then, use masking tape or other low-tack tape to cover the words you don’t want to stamp.
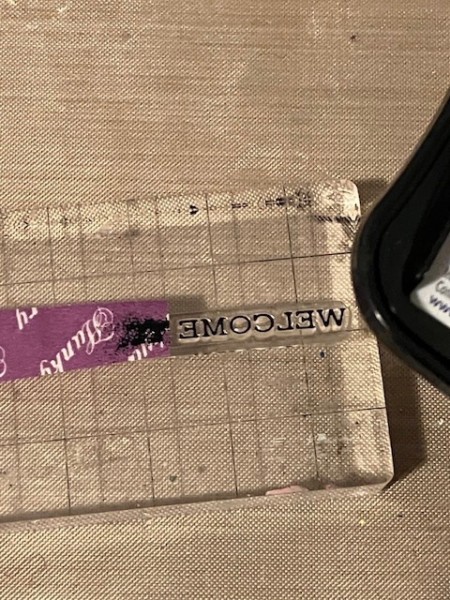
Ink the word you plan to stamp. It’s okay if some ink gets on the tape—that’s why it’s there!
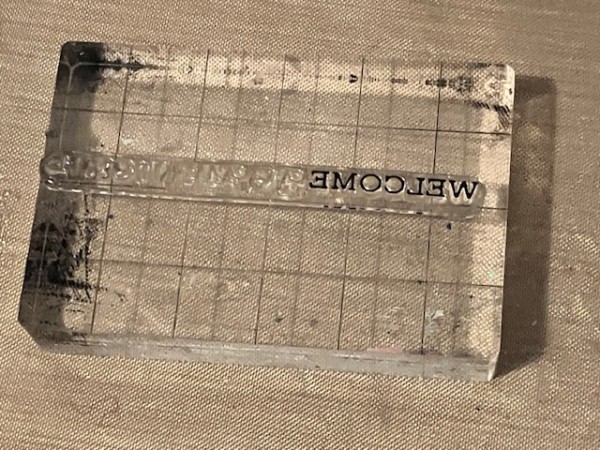
Then remove the tape.
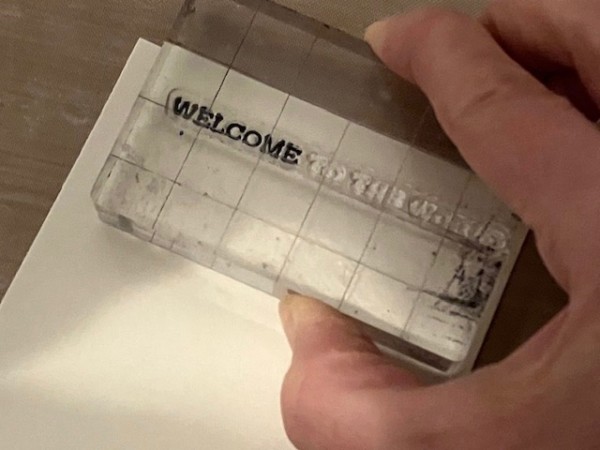
Stamp onto your paper. And: voila!
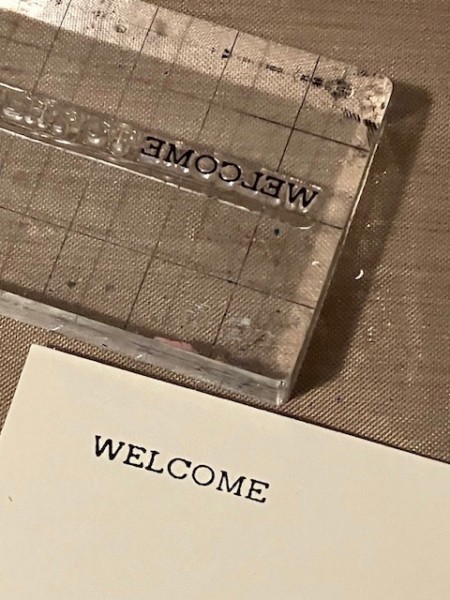
When batch-making, I like to create the design, make sure it all works and then get to assembly-line cutting and stamping.
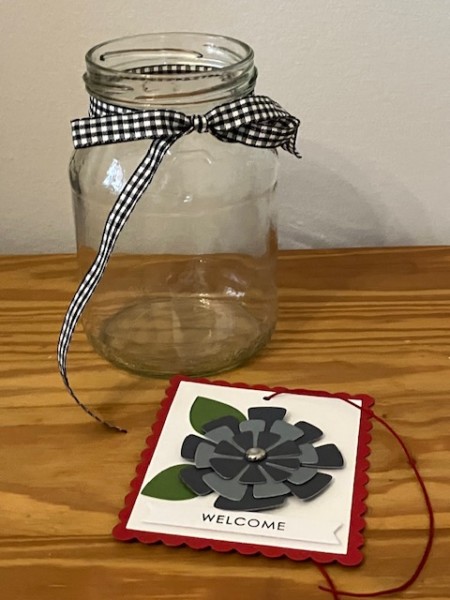
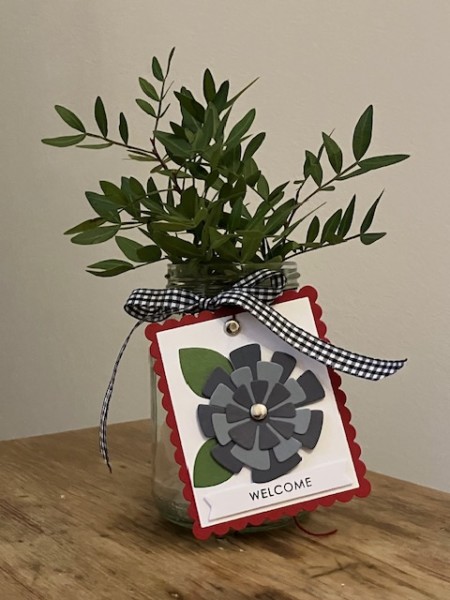
I used the Scallop Rectangle cutting dies from Hot Off The Press to cut the red and white pieces that became my “tag”. I punched a hole at the top and used thin red cord through the hole and tied it onto the gingham ribbon that goes around the jar.
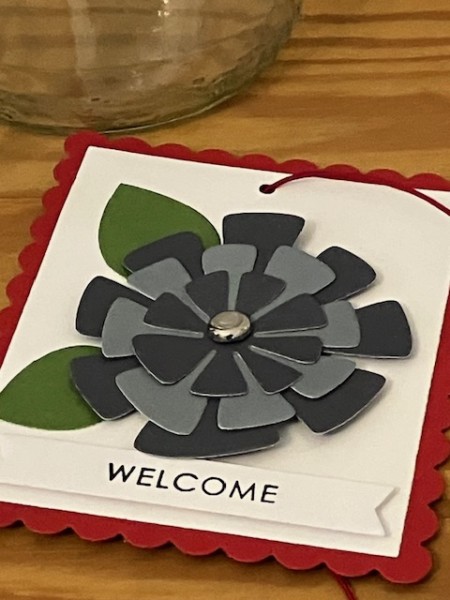
Here’s a closer look—I used a brad in the center and popped elements up on foam tape.
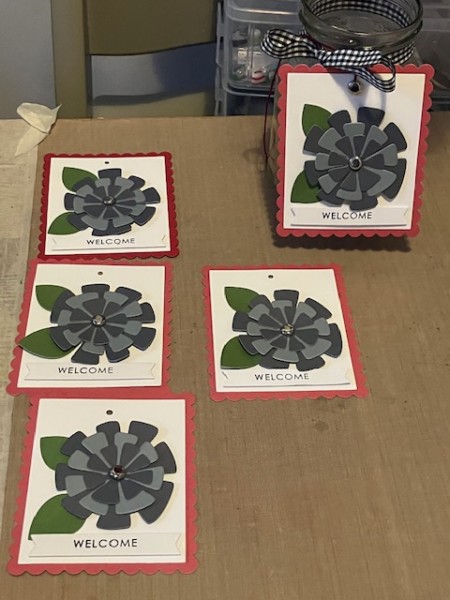
Then it’s batch-making time!
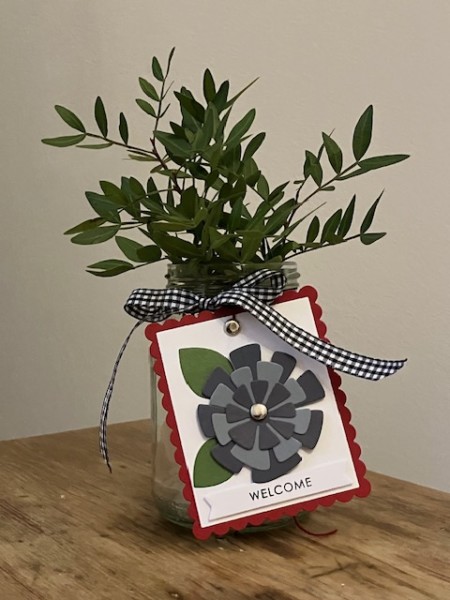
Here’s another look—I just put some greenery inside for the photo but some blossoms will look pretty too!
I hope you enjoyed this easy project!


