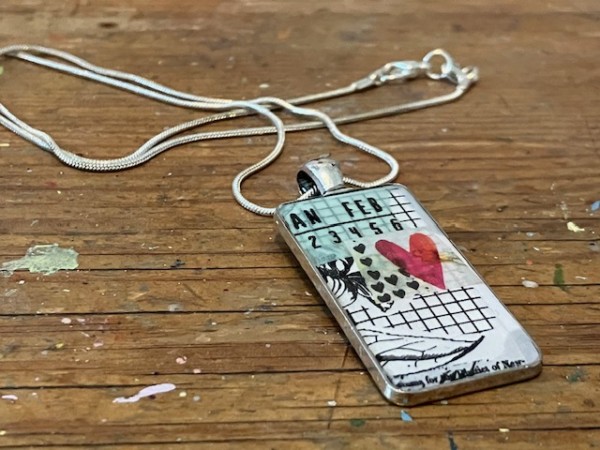
Hello friends! Today I have a fun and easy resin necklace project to share with you!
I love my washi tapes, and it’s great fun incorporating them in projects that take our papercrafting techniques off the page (or card!) and onto a bezel for a wearable piece of jewelry. I’ve turned this into a necklace, but you could also use it as a bag charm, or to embellish an art journal or hand-bound book or assemblage.
If you’ve never worked with a two-part resin epoxy before, I’ll step you through it below. Okay, let’s go!
Step One: Design Your Piece
I’m using washi tape with lightweight white cardstock. I simply apply the washi tape onto a piece of white card, then trim it down to fit inside the metal bezel.
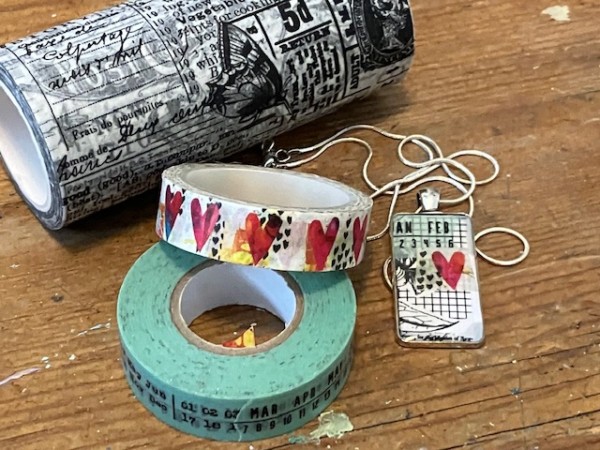
The black and white washi tape is the background, then I tore snippets from the other two narrower tapes and added them on top. The lightweight cardstock is just to give some stability to the piece.
Lightweight cardstock makes a stable base for the washi collage—don’t choose very heavy card, as it’s too thick for the bezel and can absorb excess resin. Opt for card that’s slightly heavier in weight than copier paper.
Step Two: Trim the Piece to Fit the Bezel
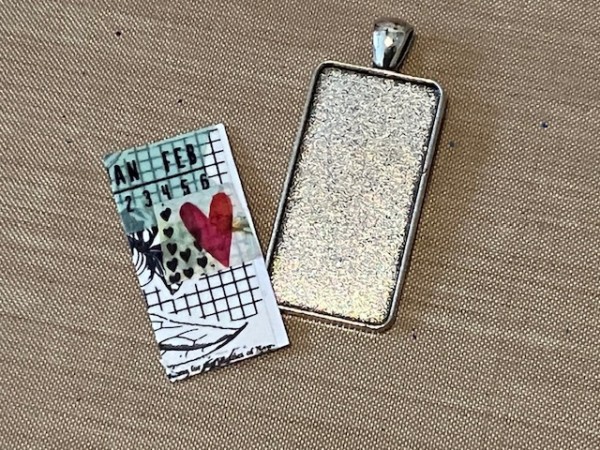
Sometimes you’ll have a paper punch or cutting die that fits perfectly—and sometimes you just have to measure and trim by hand, as I did with this piece.
But, since the washi tape is a non-porous surface, you don’t need to coat the piece with sealer before fitting it inside the bezel.
Step Three: Glue the Piece into the Bezel
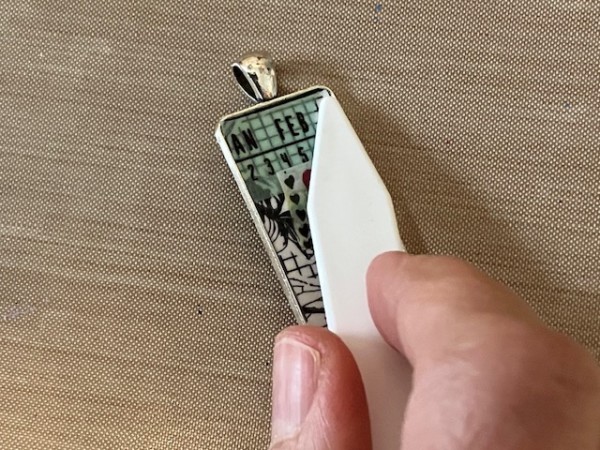
I use a glue stick on the back of the paper piece, then nest it into the bezel. Be sure the corners and edges are firmly glued down, so no resin goes underneath it. Let the glue dry thoroughly before adding resin.
Step Four: Place the Piece on a Level Surface
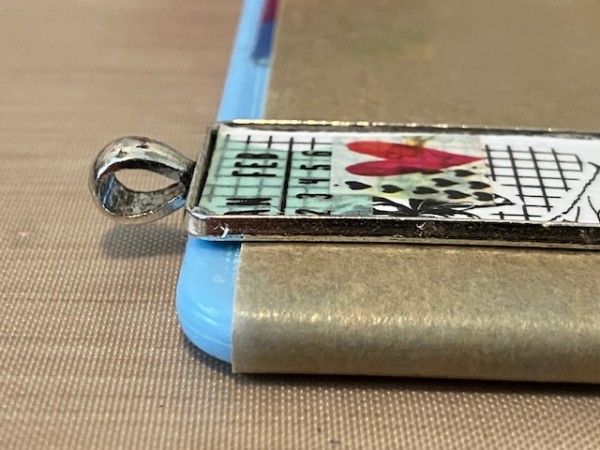
Because my bezel has a loop, I place it onto a plastic cutting board so the loop can hang over the edge, keeping the bezel totally flat and level. I’ve put a small piece of baking paper on the cutting board to make sure I don’t accidentally resin my bezel onto the cutting board.
Step Five: Gather Your Resin Supplies
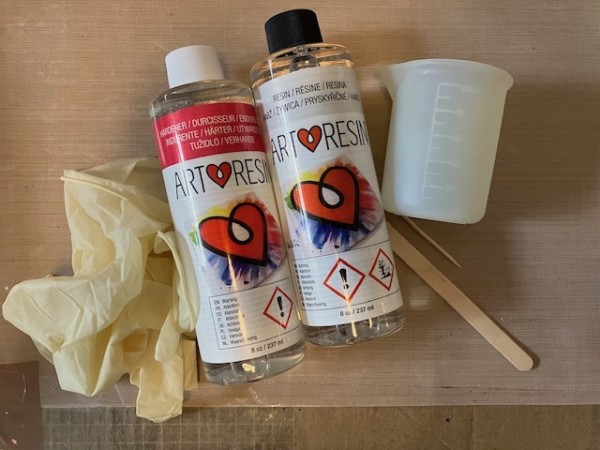
You’ll need your two-part resin epoxy (I’m using Art Resin), plus a mixing cup, stir stick, toothpick or something pointy that you can use to pop air bubbles, gloves to protect your hands and a craft mat to protect your work surface.
Be sure to read the manufacturer’s instructions before you mix and pour! Although many two-part resin epoxies are similar, there may be subtle variations on timing.
Step Six: Mix Your Resin
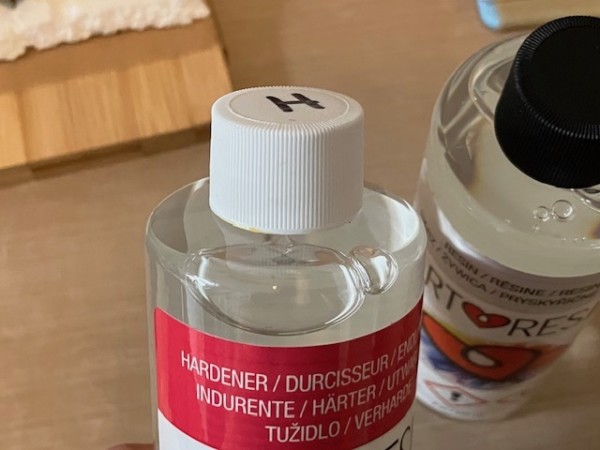
Two-part resin epoxy comes (guess what!) in two parts: One part resin, and one part hardener. You’ll need to mix the two right before pouring, because you have about a 45-minute open time once the two are mixed.
Tip: Design more than one jewellery piece before mixing your resin. You can’t save mixed resin, so it’s a good idea to design several pieces (I made seven with my batch) so you can put your resin to good use.
One tip: Be sure to replace the correct caps on each bottle! Otherwise the resin residue can mix and cure inside the cap and essentially glue your bottle forever closed. I mark mine with a Sharpie on the cap.
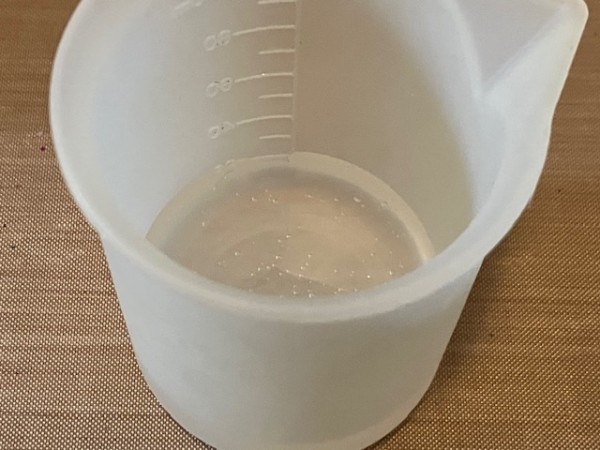
Pour Resin into a mixing cup. I usually make 40ml, so I’ll pour to the 20ml marker line on the measuring cup. Then add an equal amount of Hardener to the same cup—in this case, topping it up to the 40ml marker line.
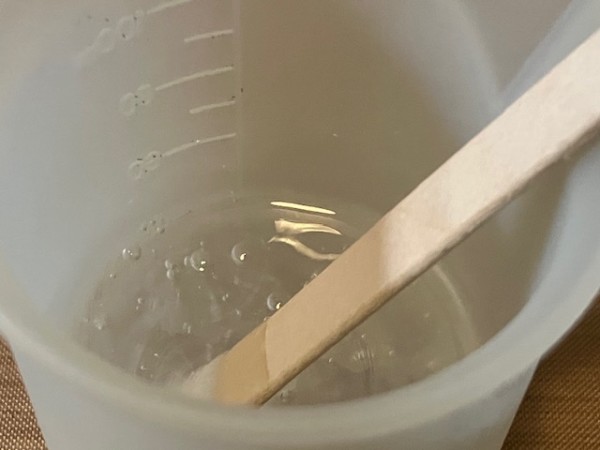
Stir thoroughly, scraping the mixture down the sides of the cup. Generally, you’ll stir for about 3-4 minutes, carefully folding the mixture together. A too-vigorous stirring motion will only increase the air bubbles, so work slowly and carefully.
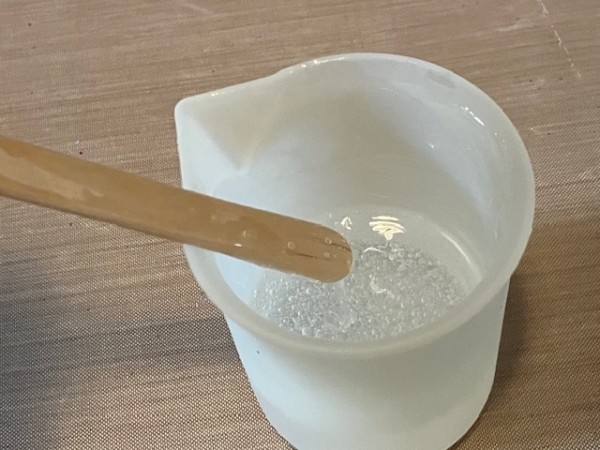
You’ll have some air bubbles regardless—let the mixture sit for a minute or two and many of them will dissipate.
Then, use the stir stick to drizzle some of the resin into the bezel.
Step Seven: Remove Air Bubbles
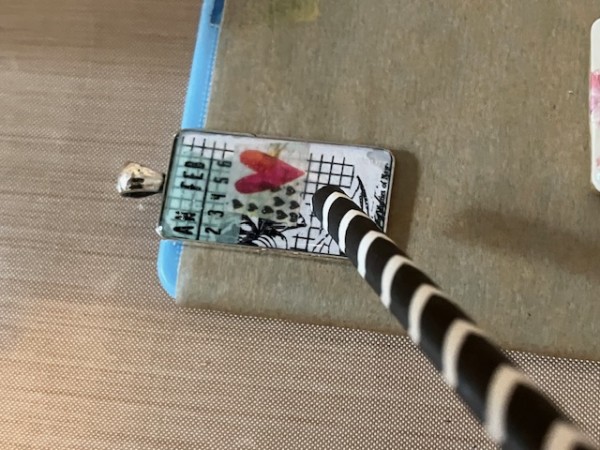
You may notice bubbles in the resin after you’ve filled the bezel. To pop them, you can use a toothpick. You can also point a straw at the resin and gently blow warm air through it. Check periodically in the next few hours to make sure no new bubbles arise. If they do, simply repeat the process. Art Resin resin becomes hard within 24 hours, and after 72 hours it’s cured. It’s a good idea to place your pieces out of the way and cover them with a cardboard box (nothing airtight!) while they cure, so you avoid dust particles/cat fur/sweater fuzzies/curious little hands.
Step Eight: String Your Piece
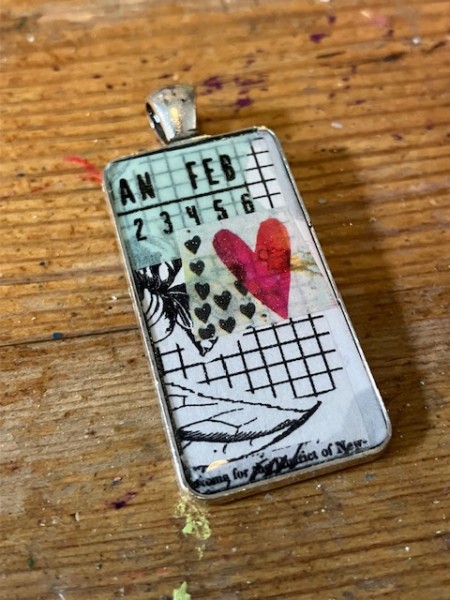
The completed piece can be strung in lots of different styles—with cord, chunky chain, fabric… it really depends on how you want to use it. In this case, I wanted a very simple necklace, so I opted for a sleek silver chain that comes with a clasp, so all I have to do is slide it on!
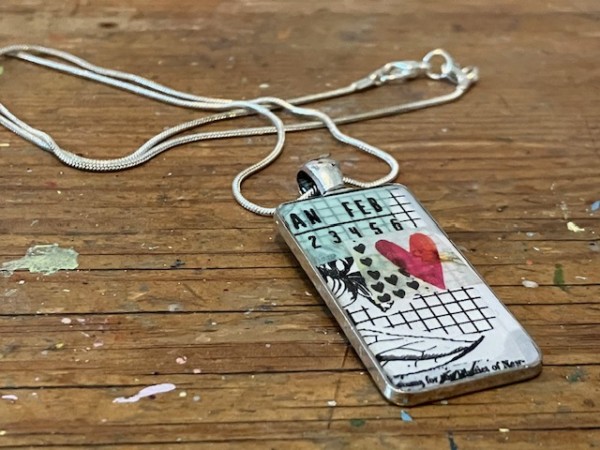
Ta-da! Easy, right?
To clean up, use baby wipes to wipe off wet resin from the stir stick and the cup and they can be re-used. Do not pour excess resin down the drain! Instead, have multiple jewellery pieces on hand so all resin can be put to use.
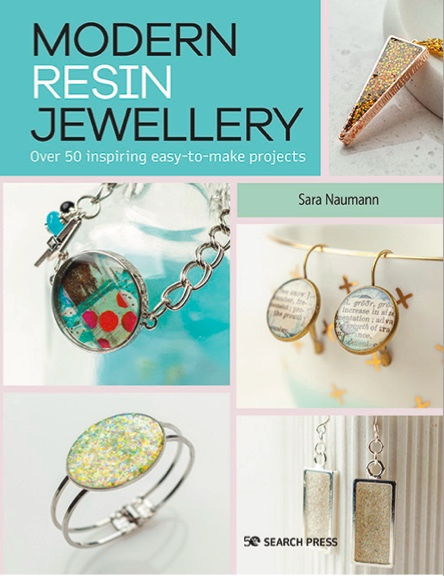
For more jewellery designs, have a look at my new book, Modern Resin Jewellery, out now from Search Press! The book is packed with jewellery pieces that are easy to make and timeless to wear. And I’ll step you through lots of different techniques, including adding colorants, inclusions, working with moulds and much more.

