Hello friends! Today I want to show you one of my favorite techniques with stencils: Reverse stenciling:
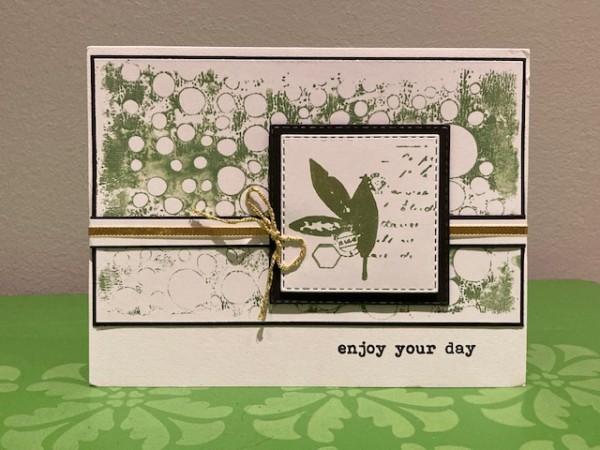
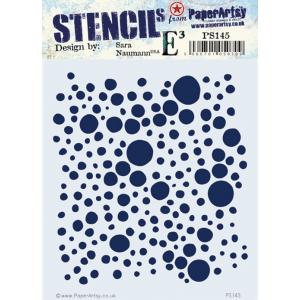
The background of this card uses the PaperArtsy PS145 stencil, which looks like this:
So normally when using a stencil, you color through the open areas—in this case, where the dark dots are. Reverse stenciling is putting your medium on top of the stencil rather than through it.
Here’s how:
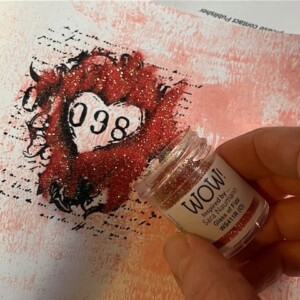
- I put my stencil onto scrap paper, then brayer acrylic paint on top of the stencil.
- Lift the stencil off the scrap paper, mist with water, then place onto another piece of scrap paper or on your craft mat.
- Place a piece of white cardstock on top of the painty stencil and gently press to make sure there’s contact.
Lift and you’ll have the reverse stenciled pattern on the cardstock.
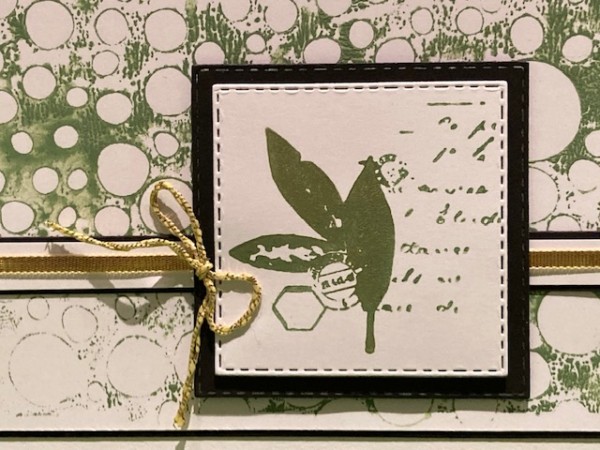
The focal stamp is from the Eclectica ESN35 stamp set, stamped in Lawn acrylic paint for a tone-on-tone look.
Hope you enjoy and see you next week!