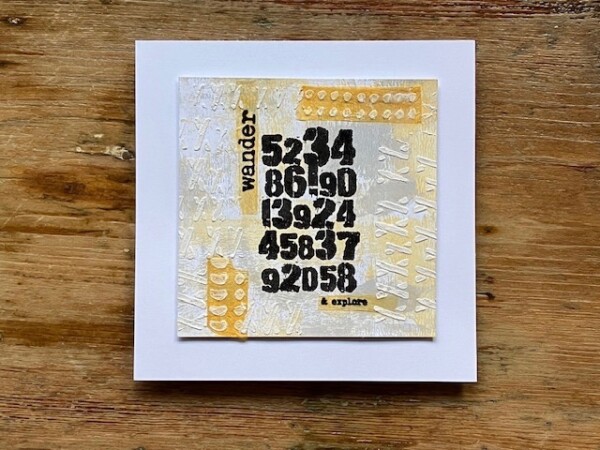
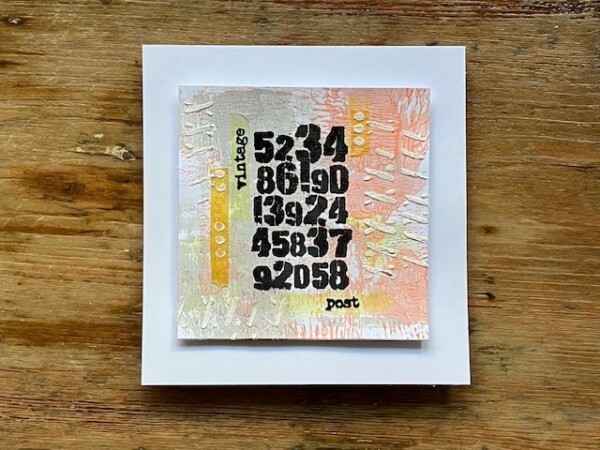
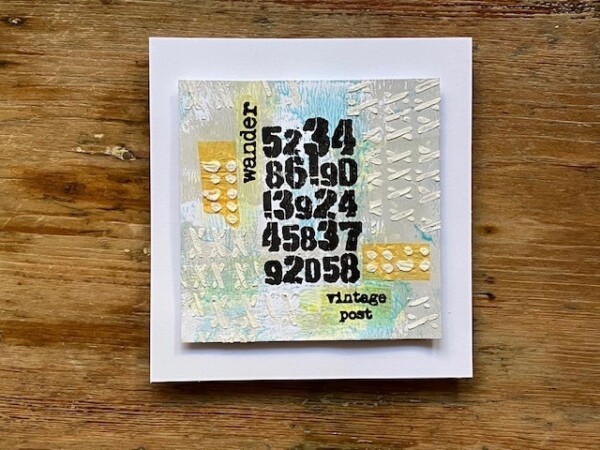
Hello friends! Today I want to share with you the collage I made at the Creative World trade show, for my demos at the PaperArtsy booth. This is a simple 4″x4″ square of white Smoothy cardstock, mounted on a larger 5″ square piece with foam tape.
For the collage, I’m using the following:
- Concrete Fresco Finish Chalk Acrylic paint
- Glow Mattints
- Grunge Paste
- White tissue paper from PaperArtsy
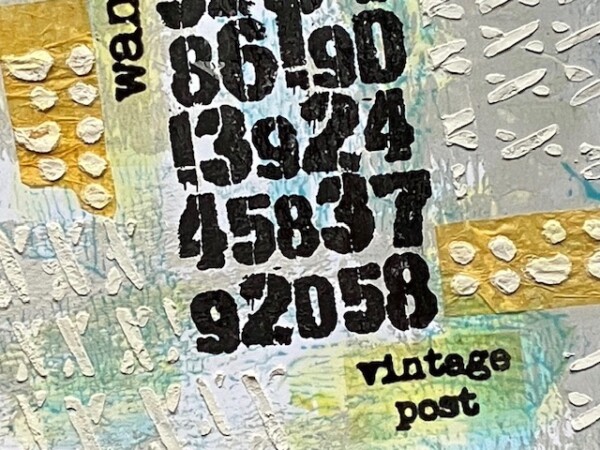
- EM116 Vintage Post stamp
- EM114 Numbers stamp
- PM027 Commas stencil
- PM031 X’s stencil
All supplies are from PaperArtsy, except the Gelli Plate. Please see this blog post at PaperArtsy for a list of stockists that carry the range.
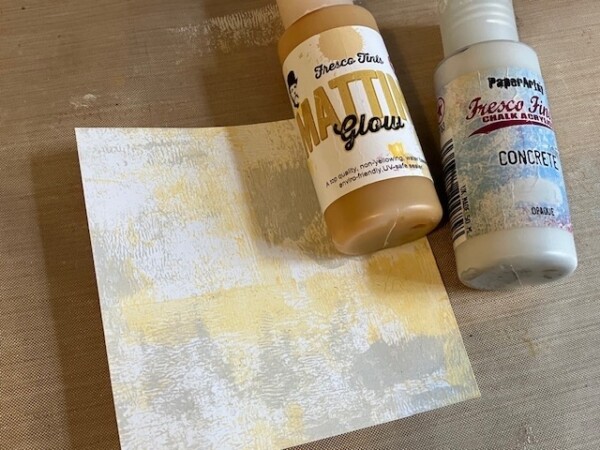
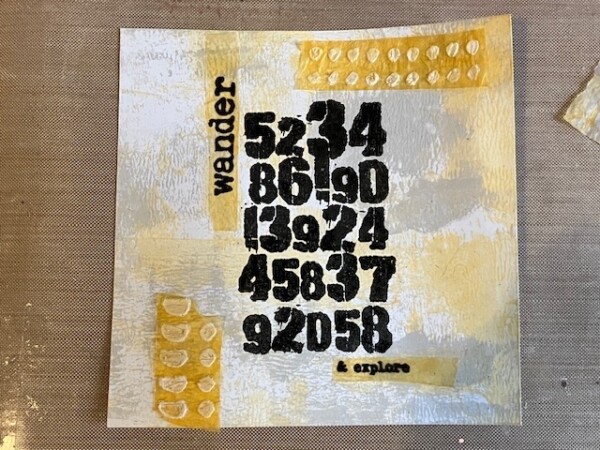
First, I brayered the Smoothy square with Concrete, then with Glow Mattints. Mattints are a translucent medium, so they create a nice layer of color without competing with a darker, heavier or more opaque medium, like acrylic paint. I’m leaving some white to show from the cardstock.
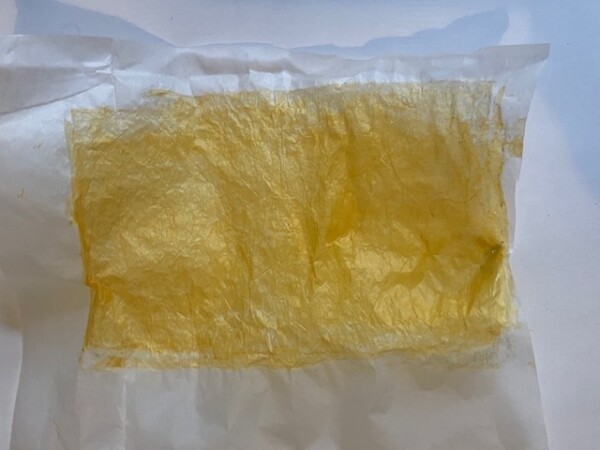
I used the Gelli Plate to apply Glow to a piece of white tissue paper. Brayering it directly to the tissue can cause the paper to get tangled in the brayer, so I instead brayer the Mattint onto the gel plate, then press the tissue paper on top. Let that dry.
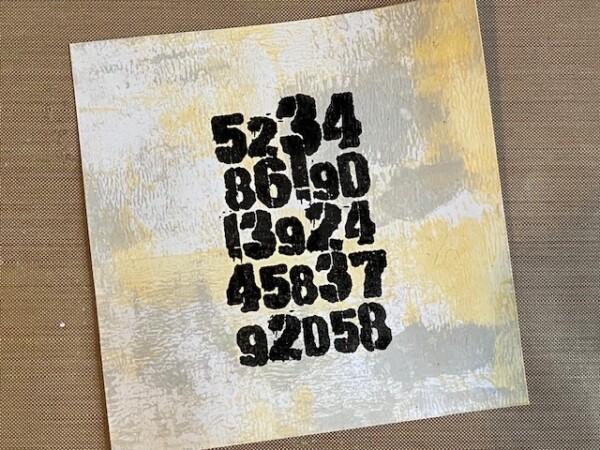
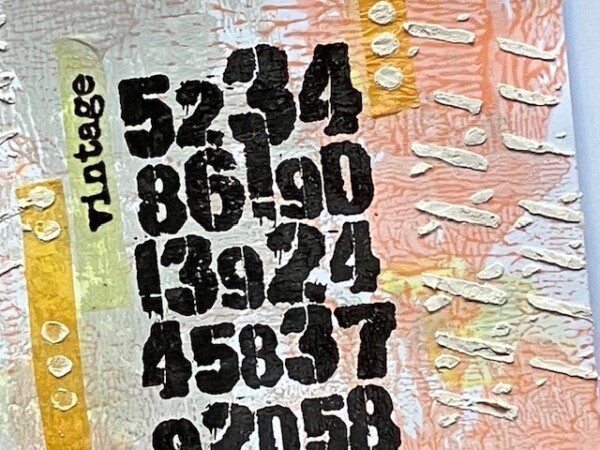
Use Versafine to stamp the main image. Here I’m using a cluster of numbers.
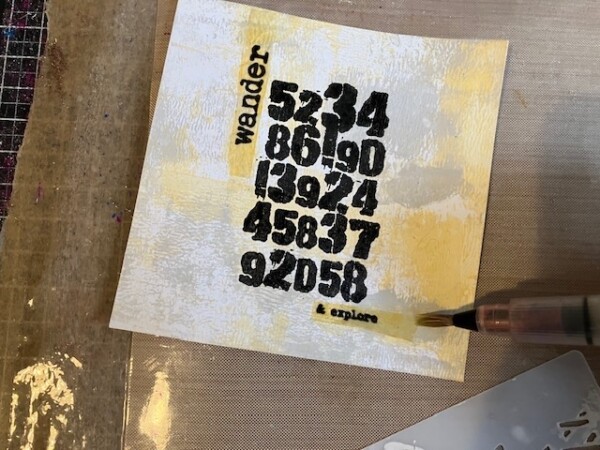
Stamp the words onto the Mattinted tissue paper and then cut them out and use Glow as an adhesive to glue them onto the cardstock. (Be sure the ink is very dry before gluing the pieces down—alternately, you can stamp in black pigment ink and clear-emboss the words.)
Use Grunge Paste to stencil the commas onto the Mattinted tissue. Cut out various pieces and use Glow to adhere to the surface.
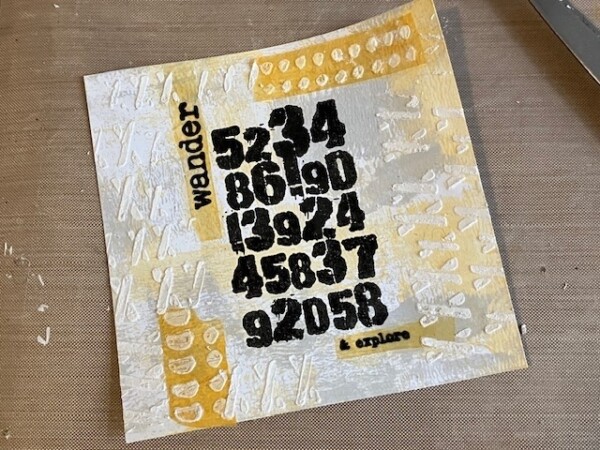
Stencil the X’s with Grunge Paste, overlapping some of the tissue pieces. Let dry and you can mount it onto a larger piece to create a “framed” piece! Here are more ideas:
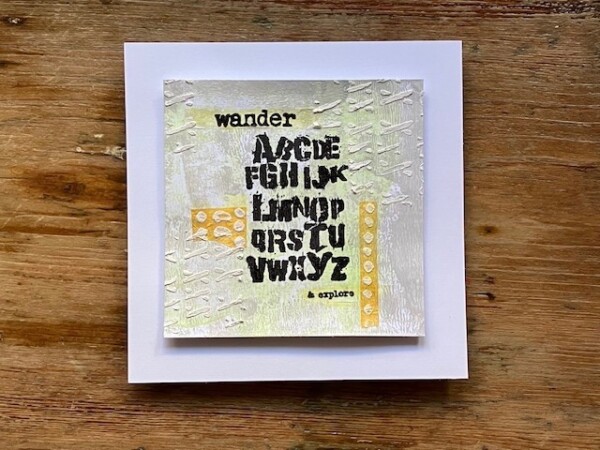
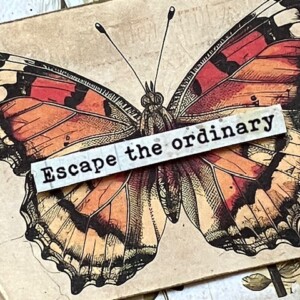
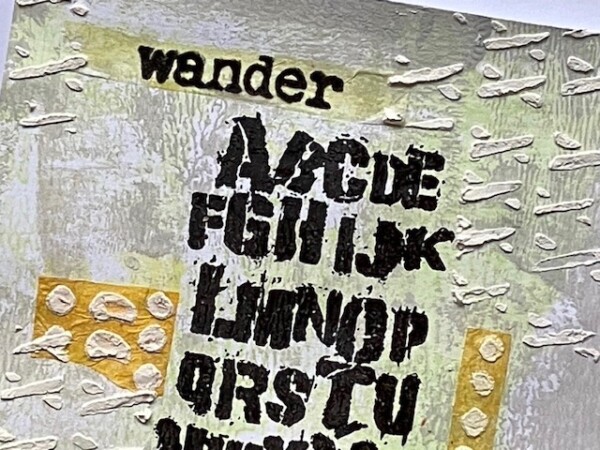
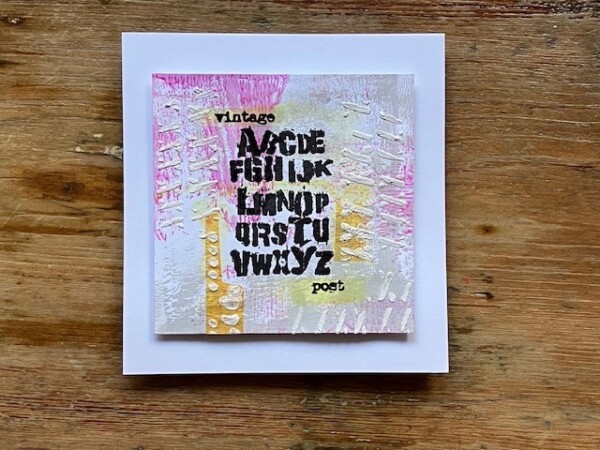
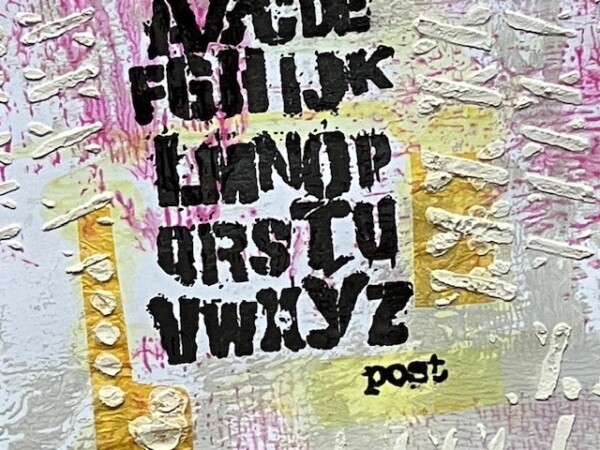
Try using the EM113 Alphabet stamp as a focal, with Mojito Mattints.
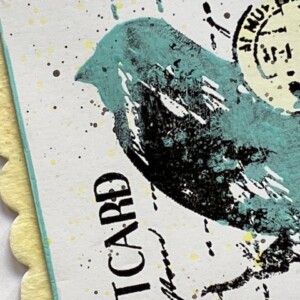
Or High Vis Mattints—
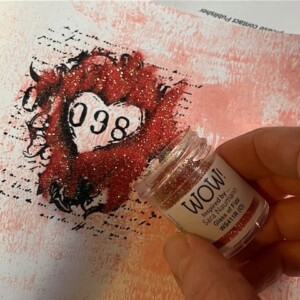
Or The Pink Mattints—
Or Dragonfly Mattints—
Mixing it up between the Mattints and the stencils, and swapping out focals or even changing the size or shape of the cardstock base can really give you a different effect. I hope you get a chance to play with this combo yourself sometime soon!