Give a lot of gift cards? Then you’ll know that sometimes you want to dress them up a bit and personalize them for the recipient and the occasion. I love making little gift card holders—not only are they practical, they’re also a great way to use your paper and embellishment stash.
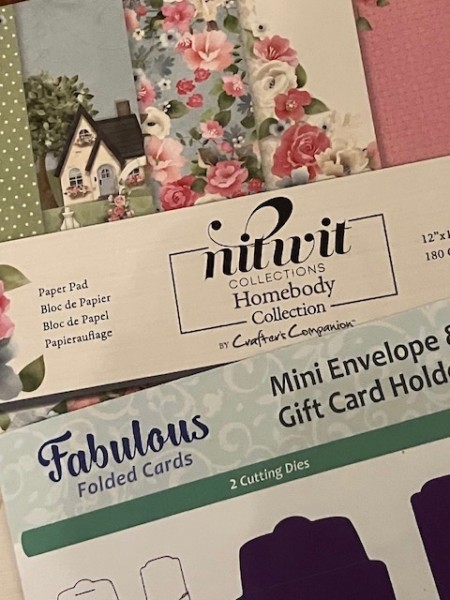
Another trick? Don’t forget your non-holiday patterned papers for this! The gift card holder I’m showing here is using a sheet of paper from a floral paper pad! (The Nitwit Homebody collection from Crafter’s Companion.)
I’m using the Mini Envelope & Gift Card Holder die from Hot Off The Press. This gives you two sizes of gift card holders, both of which will fit a standard-size (ie: credit card size) plastic gift card like the kind you get at most chain coffee shops, book stores and department stores.
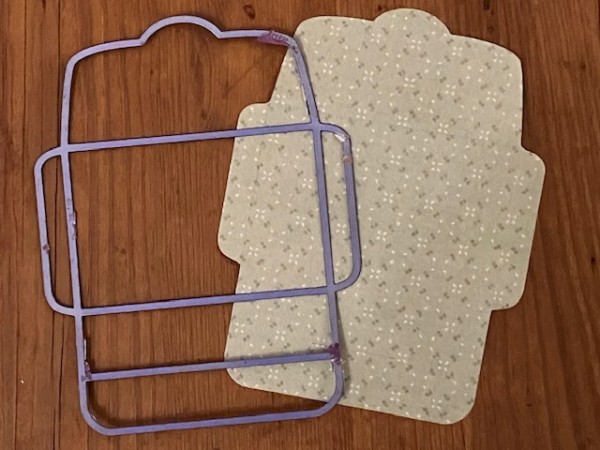
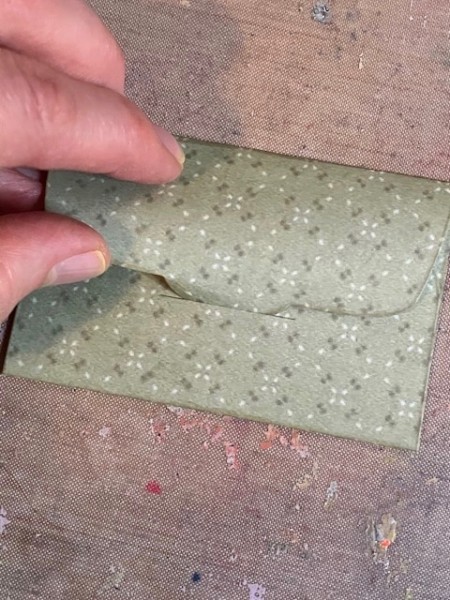
Simply position the cutting die on the patterned paper and run it through your die-cutting machine.
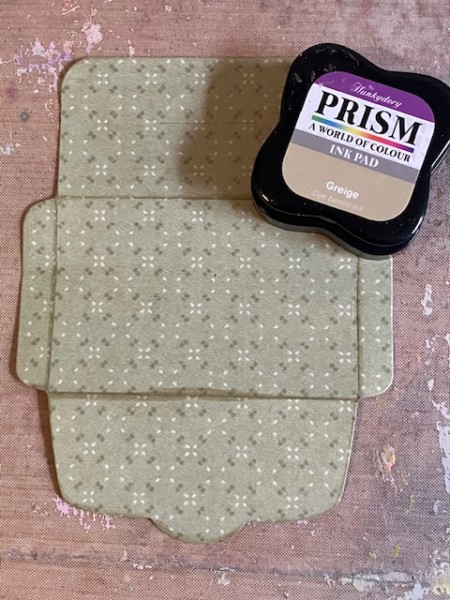
Fold the scored side flaps and ink the edges if you want. (I used Greige.)
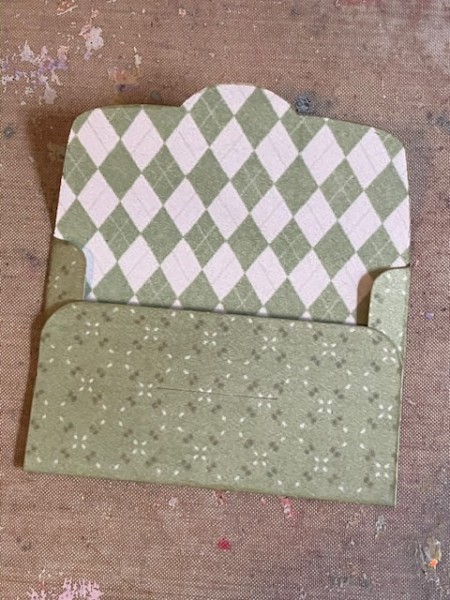
Use double-sided tape to secure the side flaps.

Then decorate as you wish!

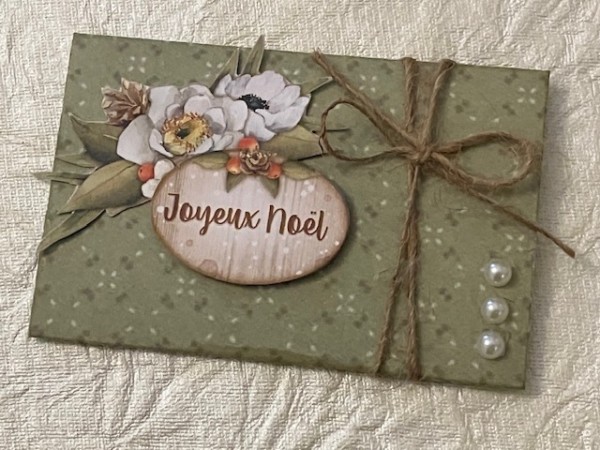
Here, I use cut outs from the Stamperia Winter Valley patterned paper pack. I wrapped the envelope with twine, and it can easily be slid off the envelope. A few self-adhesive pearls are on the edge.
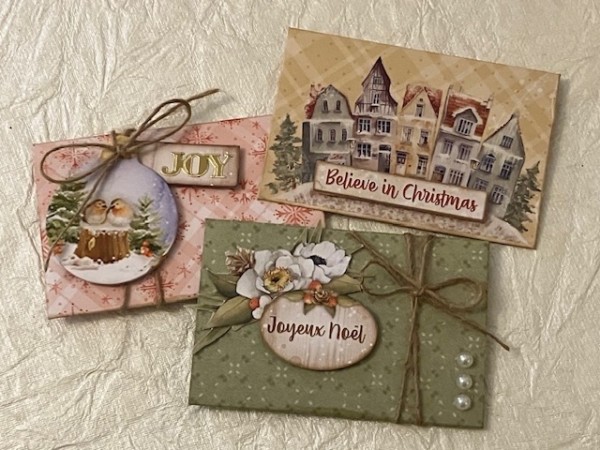
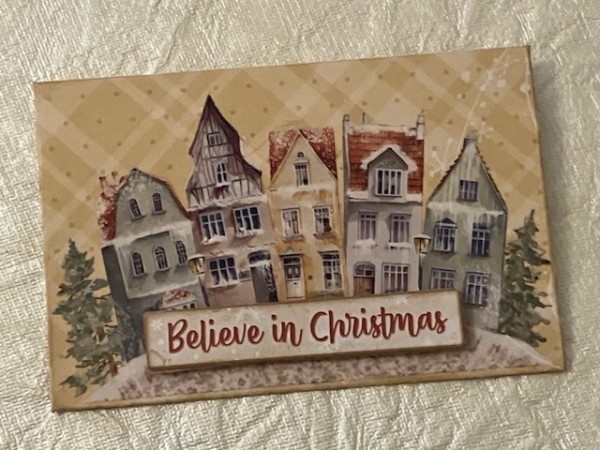
Here are two more options, both using scraps of patterned paper from various Christmas and non-Christmas packs I have in my stash. I’m dressing them up with rub-ons from the Winter Valley rub-on set and chipboard die-cut pieces.
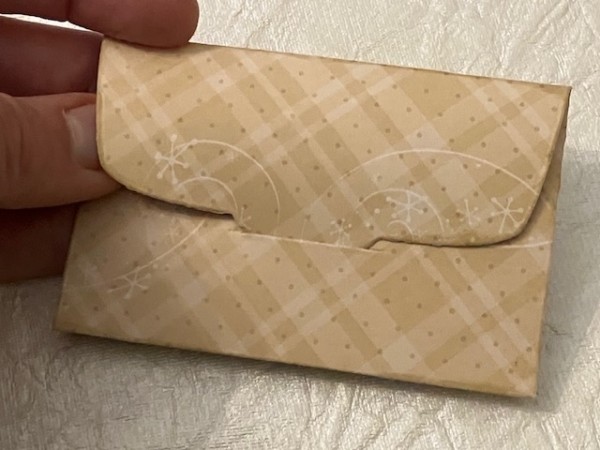
Here’s a look at the back—
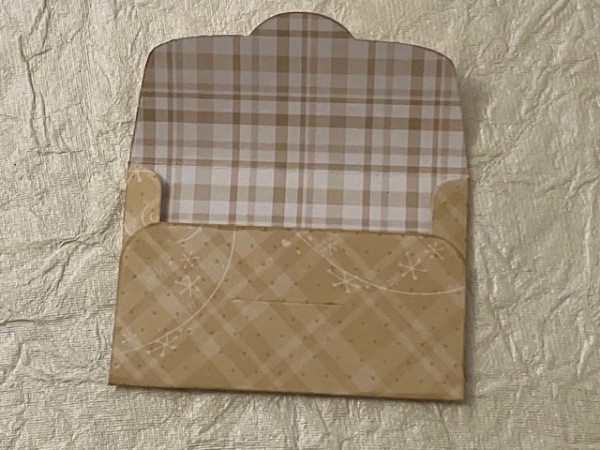
And the inside. Tip: Double-sided patterned paper is perfect for these mini envelopes—do be sure to double-check the pattern will “read” correctly on the inside. This is especially true of paper patterned with words, script or images that have a “right” way up.
Here’s another one:
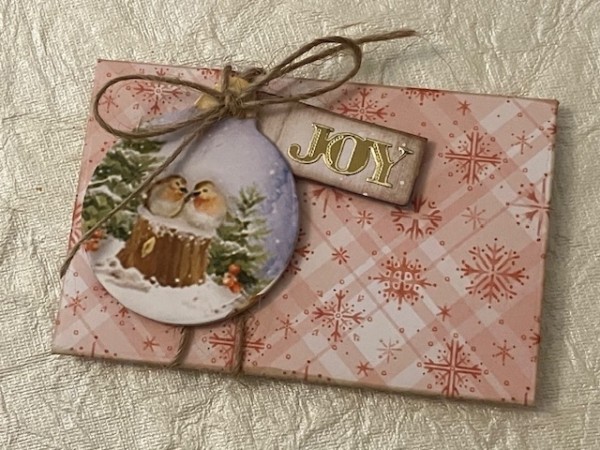
This one has a Dazzle “Joy” sticker on a little tag cut out.
I hope you enjoyed the projects and I’ll see you next week!