Hello friends! Today I have some sweet Christmas card projects for you, featuring the Jolly Holidays collection from Paper Rose.
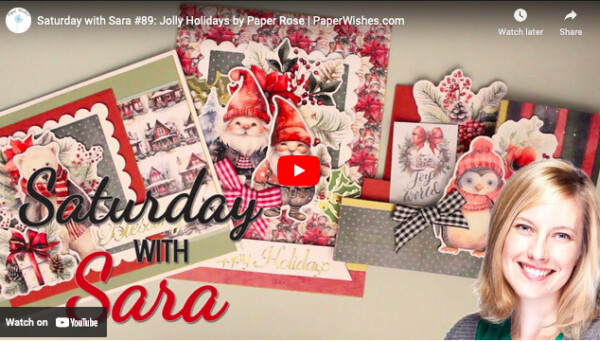
These cards are from the Jolly Holidays Saturday with Sara Webisode I did for Paper Wishes. You can watch the complete demo here, and scroll down to see a bit more with the projects.
The supplies I’m using are:
- Jolly Holidays Money Saver
- Christmas Greetings Dazzles
- Holly Dazzles
- Side Pop Up Card die
- 8 Labels For Your Greetings
- 10 Square and Scalloped Dies
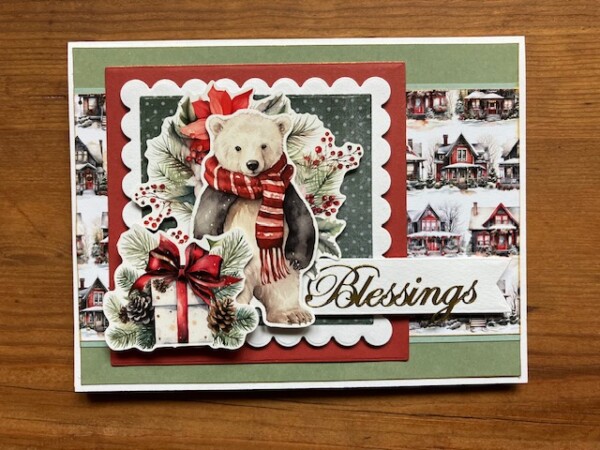
Let’s start with our sweet polar bear!
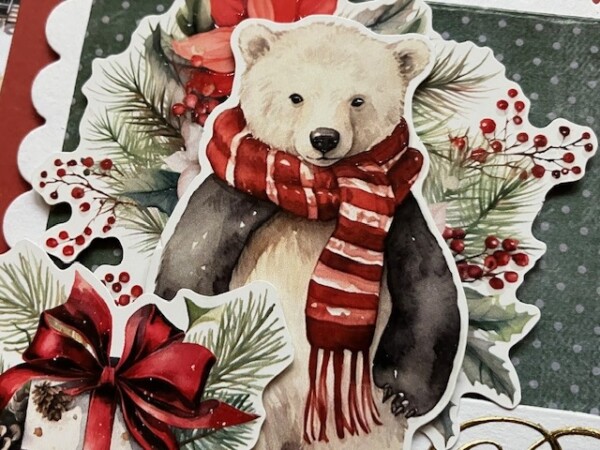
For this card, I layered three die-cut images with foam tape. In the front is the gift parcel, then underneath is our polar bear and finally, the floral image. By separating the layers with foam tape, I could add in extra dimension.
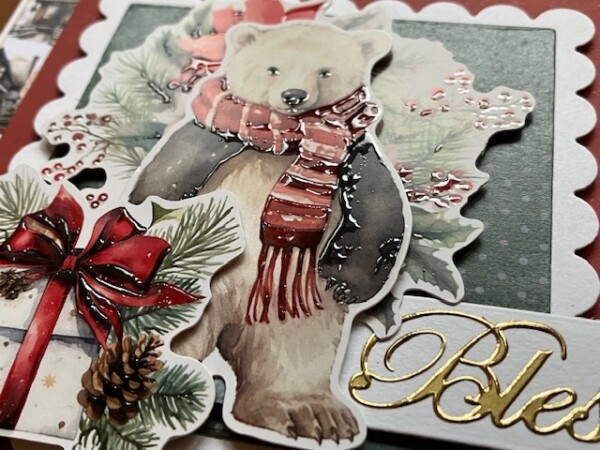
Can you see the raised, glossy embossing? That’s already on the die-cuts, and creates a really nice bit of texture.
I layered the elements on a square and scalloped focal made with green dot patterned paper and plain white cardstock. The label with the “Blessings” Dazzle is a white cardstock piece die cut using the 8 Labels For Your Greetings set.
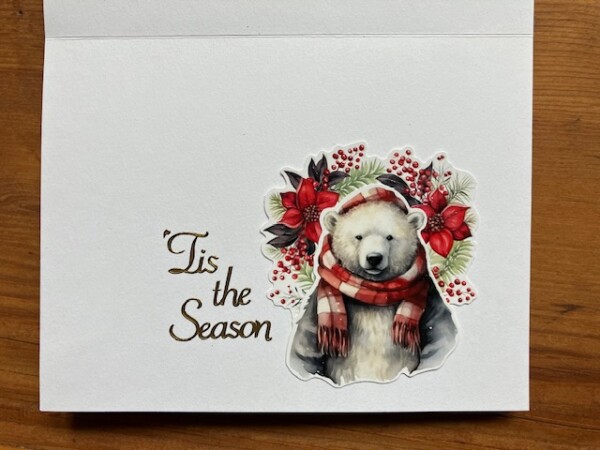
Here’s a look at the inside of the card—
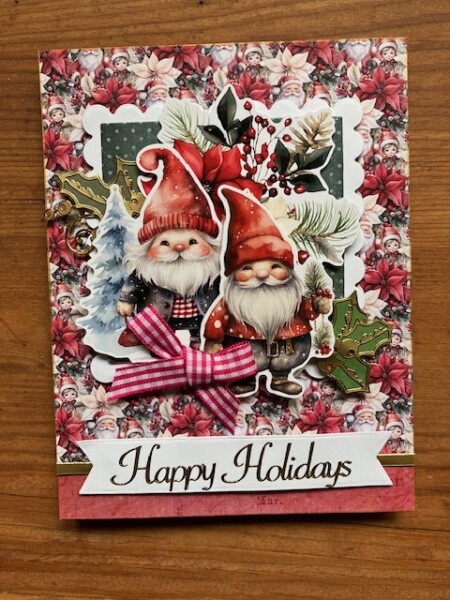
I used a similar layout design on the next card, but here I have adorable gnomes as the focal.
I’ve used the same square and scallop die to create the focal, then layered a large floral die-cut and the two gnomes—also with foam tape.
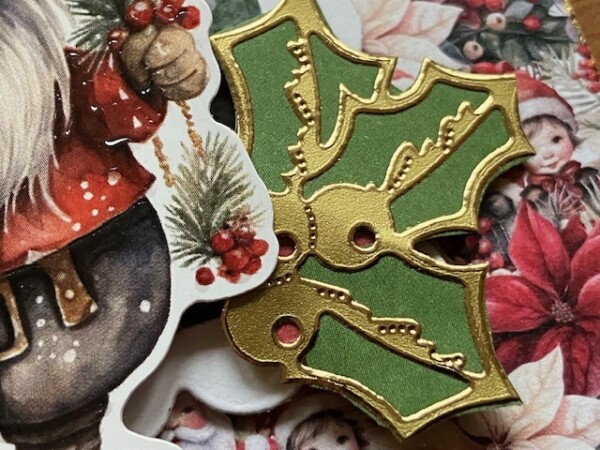
On this card, I’m also using a Holly Dazzle with a cardstock backing, to accent the focal.
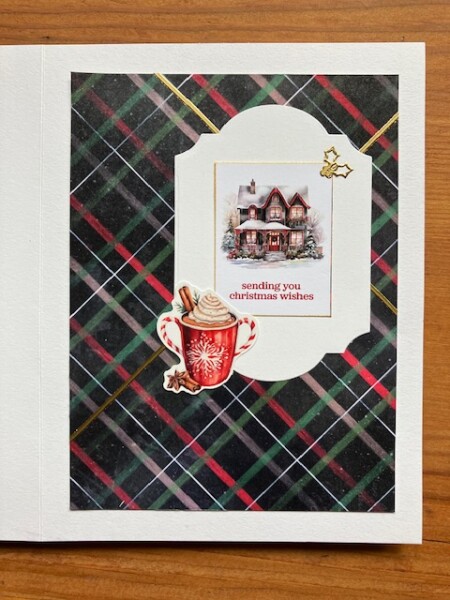
Want to see the card inside?
The plaid paper and cocoa die-cuts make a nice accent to the label shape (also from the 8 Labels For Your Greetings set).
Our third card is using a shaped die base. This is easy to create with the Side Pop Up Card die and I demo it in the Webisode. It gives you a fun card shape, with can be decorated for Christmas or any theme!
Here’s the front…
… and here’s the inside!

You can see the stair-step layout best from the inside view.
Here’s a close-up of those little penguins—
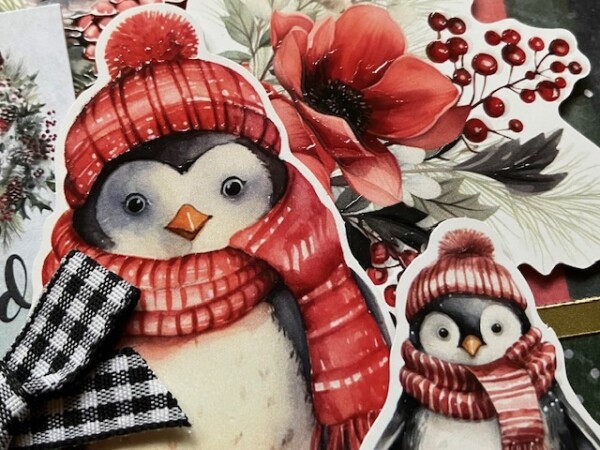
The penguins and floral die-cuts are all layered on the bottom front of the card, and the “joy to the world” and another floral are glued to the stair-steps.

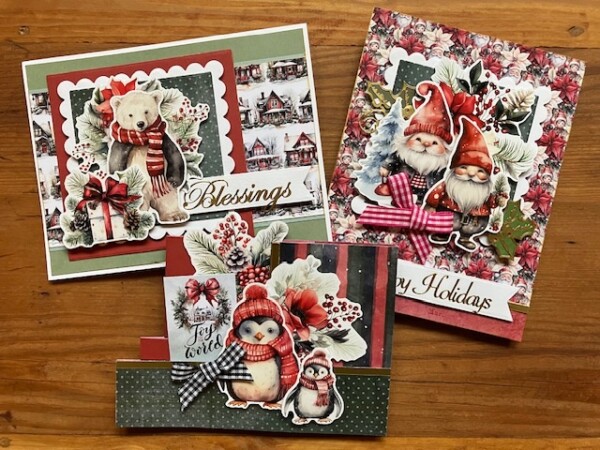
And finally, here are all three cards together—
I hope you enjoyed these easy ideas—and if you’d like to watch the video tutorial, please pop on over to the Saturday with Sara Webisode at Paper Wishes!

