Happy Monday, friends! Today I have a *new* technique that I absolutely adore: 3-D die-cut layering.
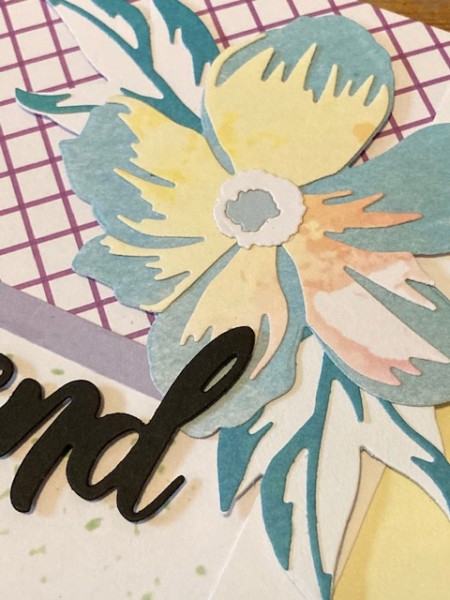
You’ll see the floral card focal here has been die cut from several layers of patterned paper. These are all from the Peony Hello Creativity Kit from Altenew, which has the Peony Dream 3D Die Set— my newest obsession.
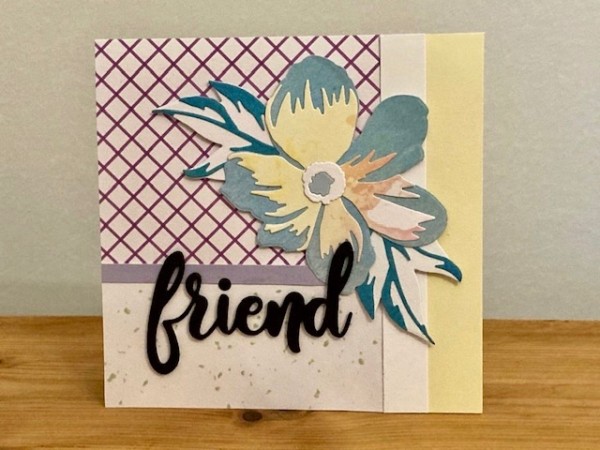
These dies are developed to create a layered effect—essentially, like the layering stamp technique, but with die-cut elements. So you cut the base of the flower from one patterned paper or cardstock, the next layer with a different paper, and so on. As with many layering designs, you can skip layers too.
For this card, I started out with a white card blank, and created a grid format with three papers: A strip of yellow on the right side, a purple check at the top, and white with green spatters on the bottom. I separated each of these sections with strips of solid cardstock. All the papers are from the Our Family 12 x 12 Patterned Cardstock collection—even the solid yellow and the strip of lavender, which are on a striped sheet.
Then I simply die cut the flower from different papers in the set. The base of the flower is a teal faux-texture design, and the detail layer is a yellow/orange pattern. The flower center is white cardstock, and blue. For the leaves, I’ve used teal and white cardstock layers.
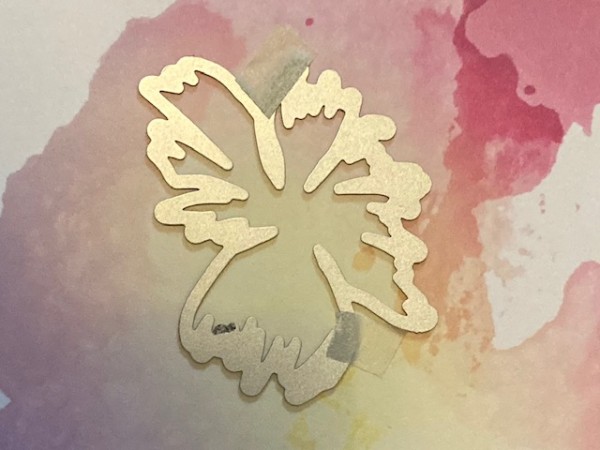
I love that patterned papers give you so many different options!
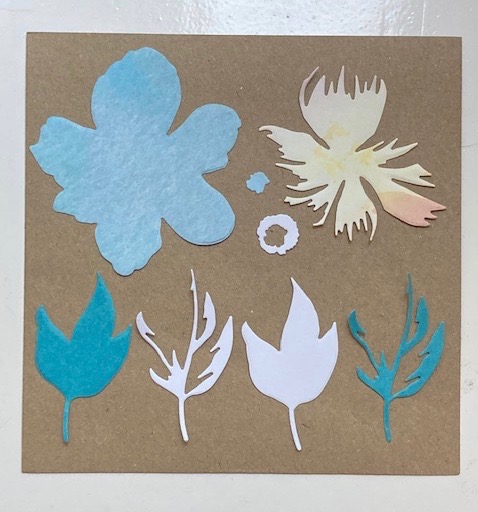
Here are all the elements, die cut.
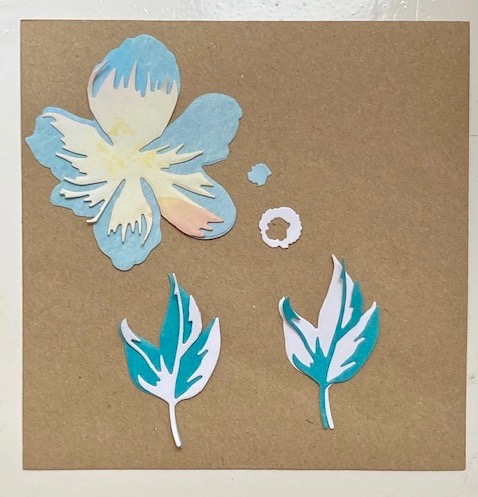
Then, simply layer the leaves together, and the yellow/orange part of the flower on top of the base.
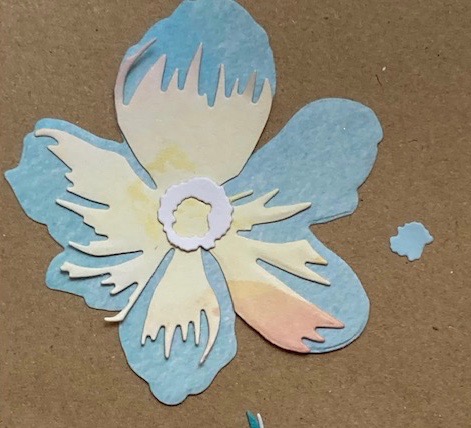
Next, layer the white flower center.
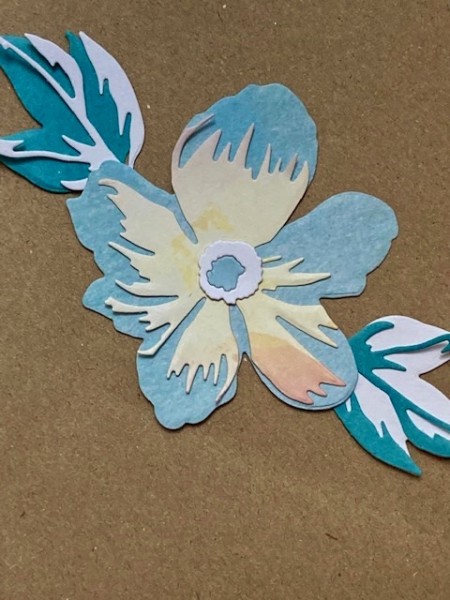
Finally, add the blue flower center, then tuck the layered leaves under the flower.
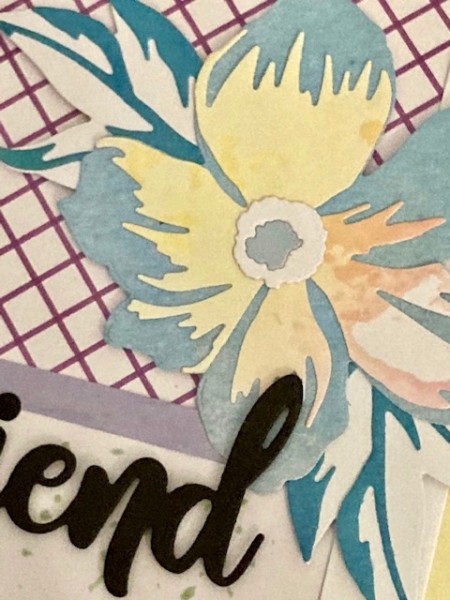
The “friend” word is a die that I use a lot called Simply Friend—while it’s not in the Creativity Kit, it is an Altenew die.
For adhesive, I use a white glue and a toothpick—I know some folks like spray adhesive, or tape roller. Whatever you normally use for fiddly bits should work.
Enjoy!


