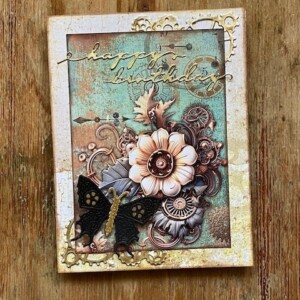
Happy New Year, friends! I am so glad to be back, and with a simple and effective way to add color to stamped designs. Keep scrolling to see the steps—or pop over to Facebook to see the live demo.
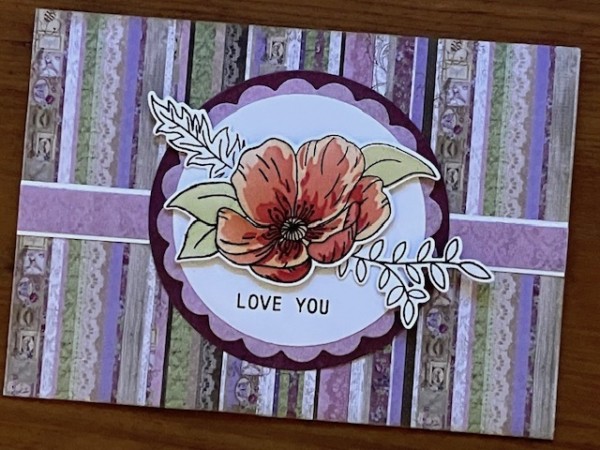
For this, I’m using Altenew’s Poppy Arrangement stamp, die and stencil collection. They’re designed to go together, so you can create the ink-layered look you see above.
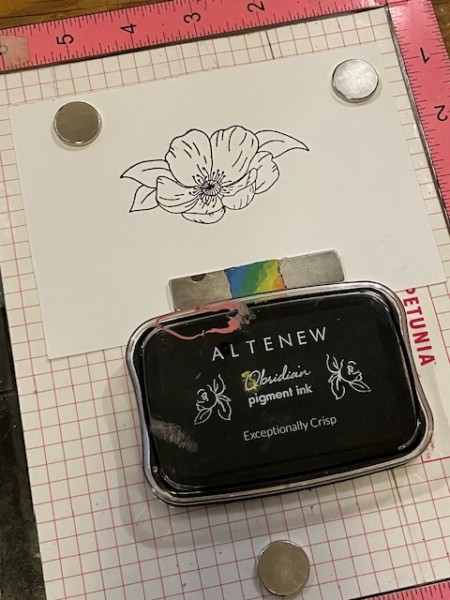
First, stamp the image. I’m using Altenew’s Obsidian Black.
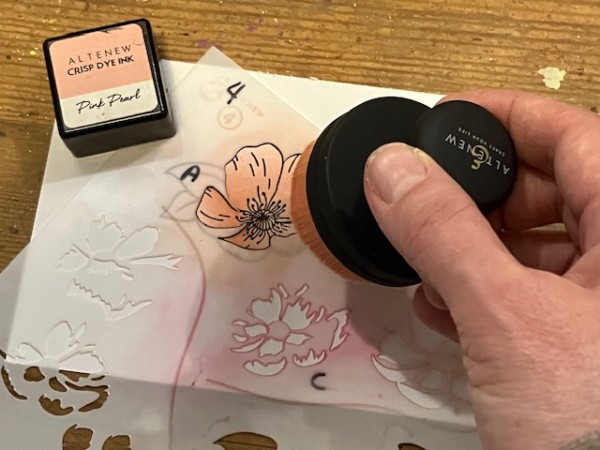
Then, gather your inks and brushes. You’ll need three shades of a color (I’m using Pink Pearl, Coral Berry and Ruby Red) plus a blending tool.
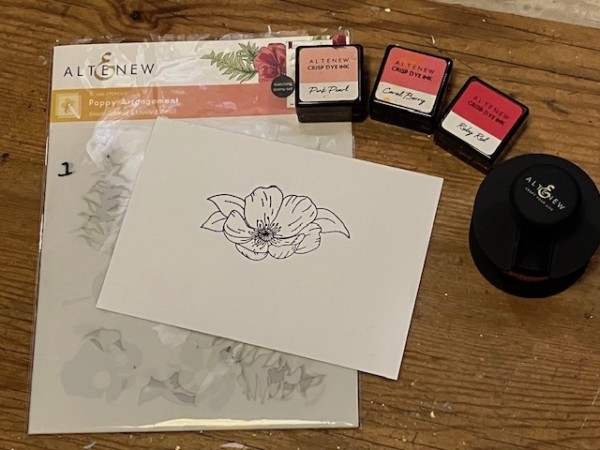
Then, position the first image on the stencil over the corresponding portion of the flower. Color with the lightest color of ink. The instructions in the stencil package show you exactly which shape to begin with—if you’re like me, it can also help to uses a Sharpie to label them.
Tip: You might want to secure the stencil in place with stencil, washi or low-tack tape before inking!
Remove the stencil.
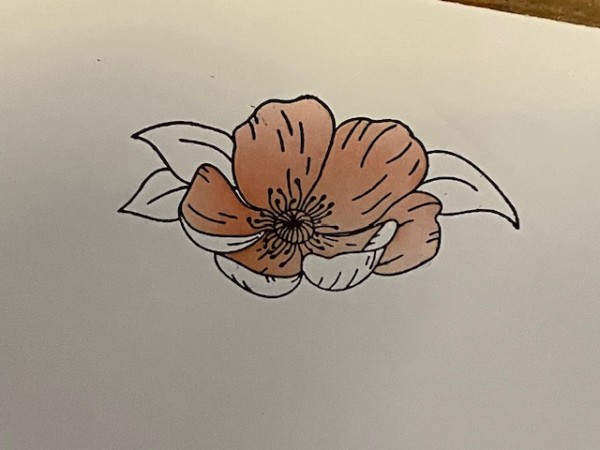
Then, repeat the process with the next layer of the flower stencil, using the middle color.
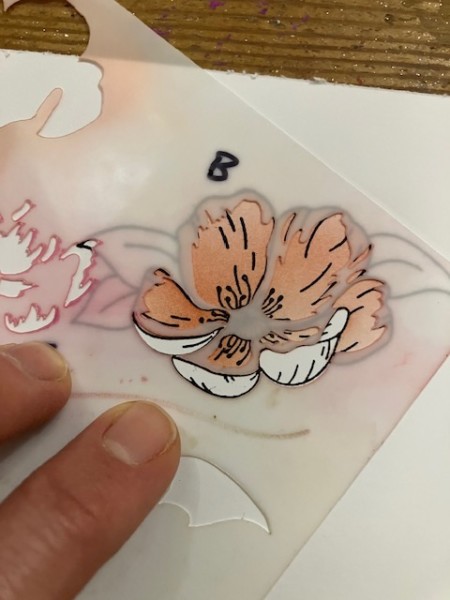
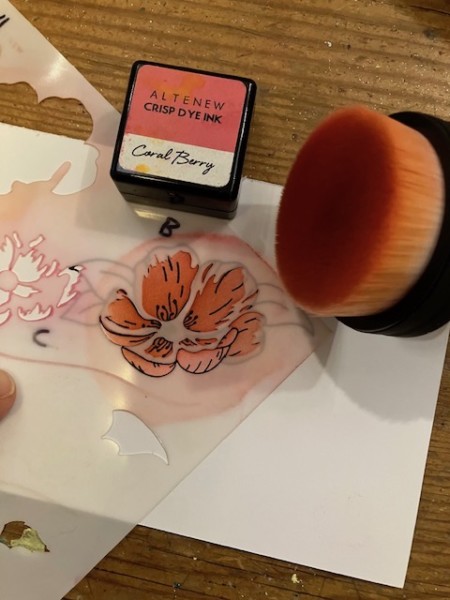
And here’s your second layer!
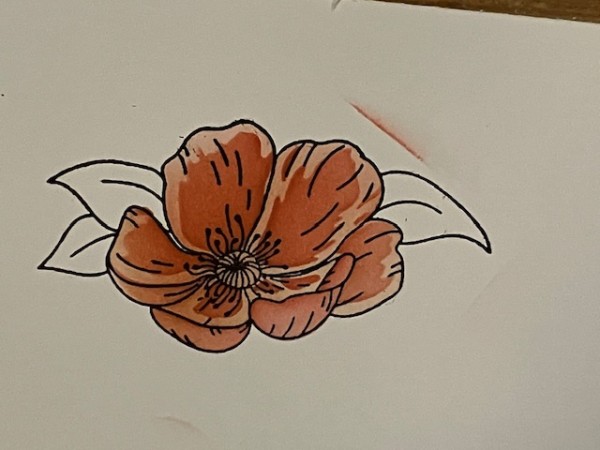
Notice the smudge of ink at the top right? Not a problem if you plan to die-cut the flower, but if you don’t want to, I suggest using scrap paper or sticky notes to mask off the edges or any other shapes on the stencil.
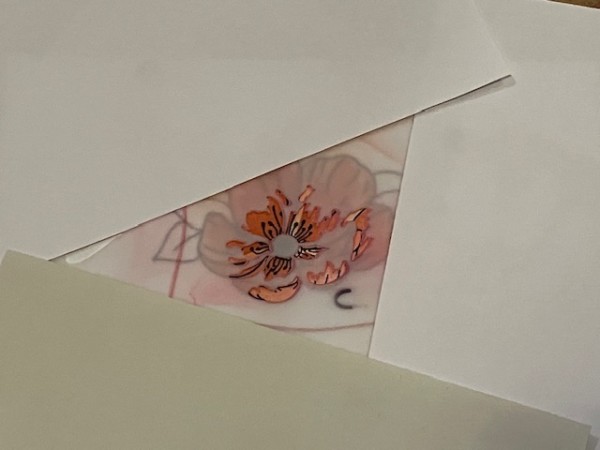
And finally, the last layer!
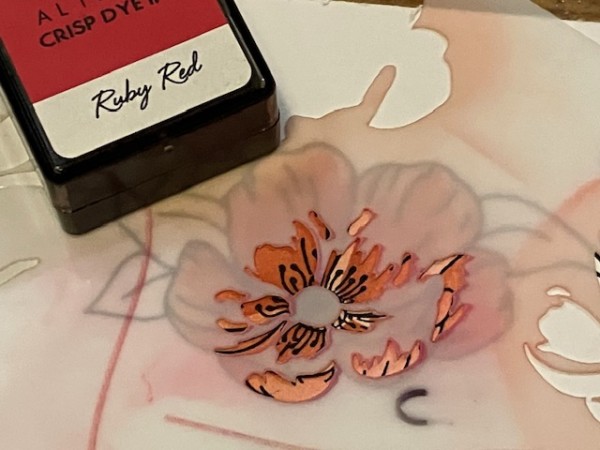
And you’re done with the blossom! Then, you can move on to the leaves. I’m inking them with Forest Glades.
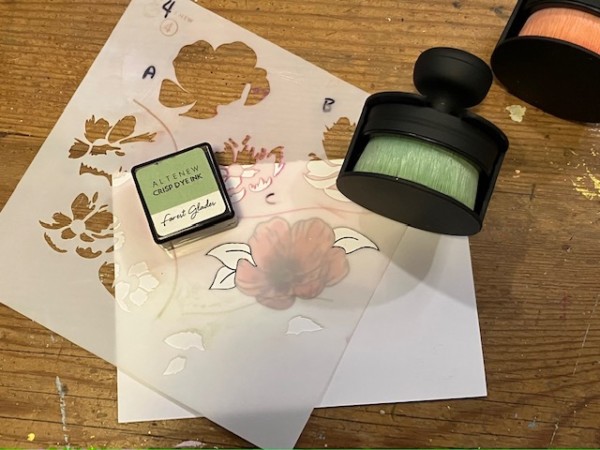
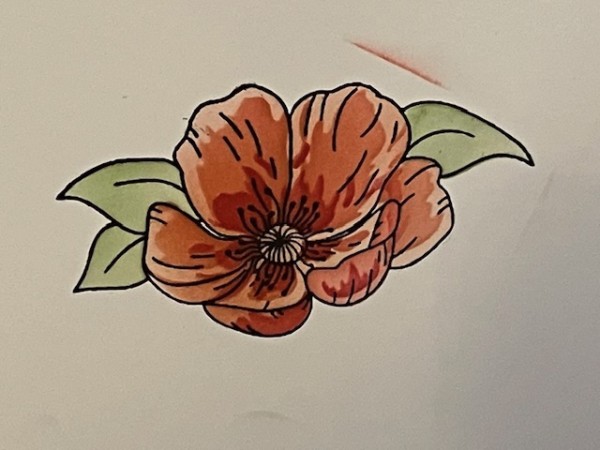
There you have it! I die-cut my flower and added it to a layered, scalloped circle and then used it with patterned paper from Paper Wishes.
Of course, the stamps and dies can also work without the stencils, and the images look lovely when simply colored in with pencils, markers or watercolor. You can also opt to use the stencil for base coloring only—ie, without the layering:
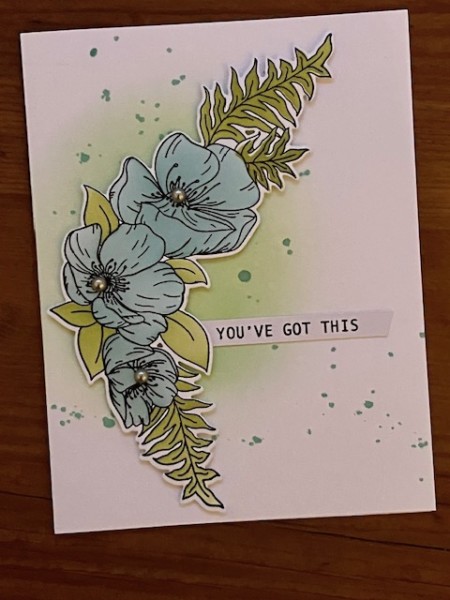
In this case, I only used one shade of blue ink on the flowers, and one layer of green on the leaves. It gives a totally different look! I used my blending tool to make a green blended background, then splattered shimmer ink on top. The flower is die-cut and layered on top with foam tape.
And there you are: Easy stenciling and a fun way to get precise coloring too!
I hope you enjoyed this, and I’ll see you again next week!

