I have a lot of craft products. What, you too? I’m sure between you and me we could open our own warehouse, but for this blog series I wanted to share with you some of the craft products I never put away. (Not because I’m that messy–but because I’m using them!)
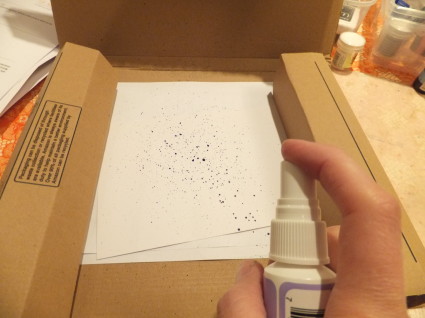
Today I’m all about color spray. (Or “colour” spray if you’re in the UK!) I have two favorite lines of color sprays: Dylusions from Ranger, and Stephanie Barnard sprays from Clearsnap.
They are both dye ink sprays and come in pure, rich colors. Both are in a spritzer bottle as you can see above; you can also unscrew the top and use the liquid to do detail painting or to brayer, flick or drop onto your surface. Bonus: They both clean up easily with water although if you’re like me, you’ll end up with green or purple fingers for a day or so. But that’s not so bad, is it?
I have a box of these fun sprays and love to use them for a quick background spritz or with stencils. If you’re spraying with them, make sure to have a cardboard piece on hand to protect your work surface, plus paper towel to blot excess ink. As you can see from the photo above, I use an Amazon box salvaged from the recycling. I put some scrap paper on the bottom to soak up excess ink.
Let’s take a look at some swatches. Here’s Stephanie Barnard Sky spritzed lightly on matte cardstock:
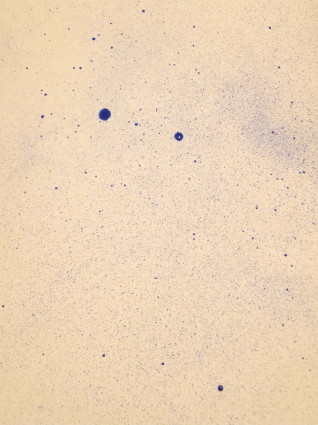
Stephanie Barnard Spearmint spritzed lightly on matte cardstock:
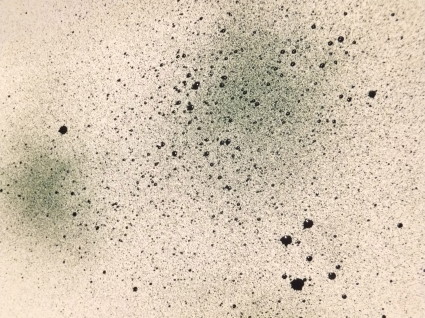
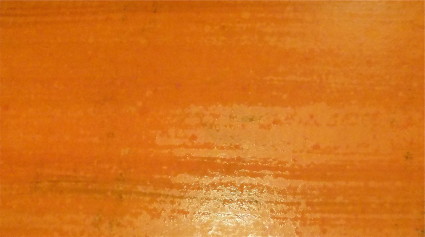
This is Stephanie Barnard Tangerine spritzed heavily on glossy cardstock:
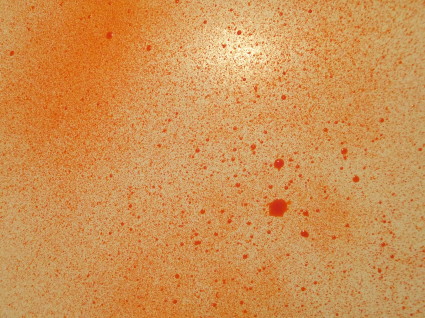
Which I then brayered for this effect:
Here’s Dylusions Polished Jade spritzed on glossy cardstock:
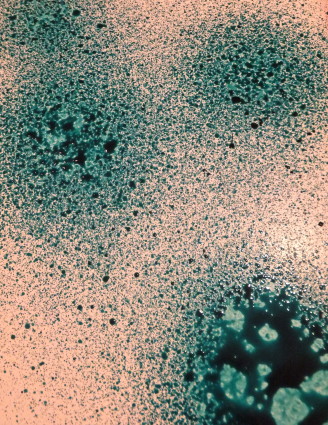
I then blotted it with a dry tissue to get a softer look that still retained the spatter pattern.
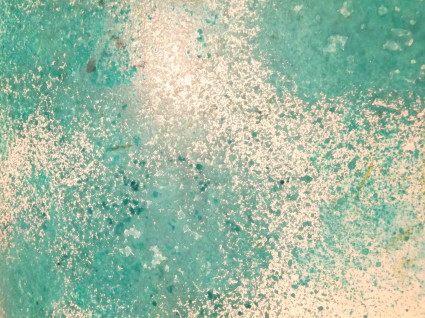
You can play with different types of paper. This is Dylusions Lemon Zest on glossy cardstock.
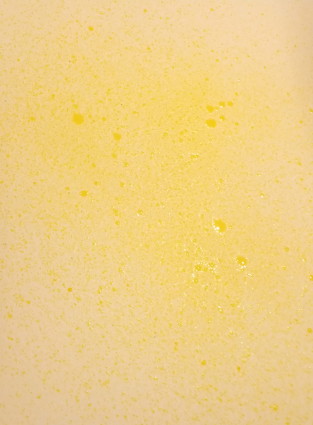
And on matte:
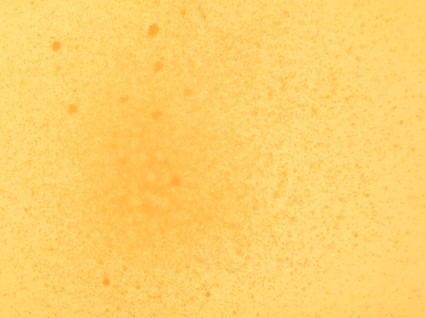
And this is Stephanie Barnard Spearmint spritzed on, then blotted with a damp baby wipe.
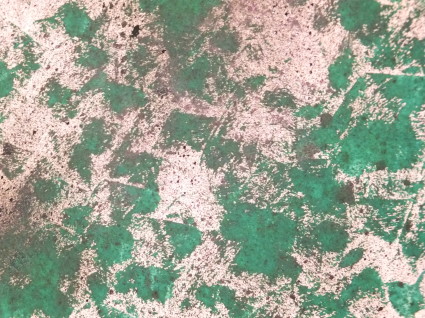
I could spray and spray and show you tons of examples, but I think you can see why these are such staples in my stash. A couple of tips:
1. Always cover your work surface and remember that even if you spray straight down, you can still get some misty spray on the sides. I unfold a cardboard box to catch the excess spray.
2. Hold the bottle about 8″ away and at an angle.
3. Make sure you know where the nozzle is pointing before you press!
4. Start with a light touch—you can always add more.
And finally, here’s a card example showing Cut Grass Dylusions with a candle wax resist. This is one example from my e-book, Irresistible Resists.
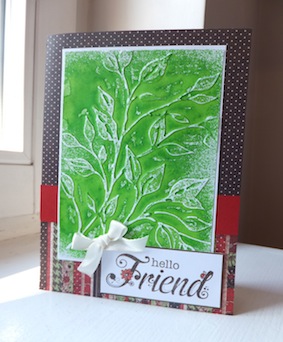
Want more ideas? Then pop on by Studio SN on You Tube and see how to use Dylusions with Embossing Paste, Clearsnap Spray with ICE Resin, Dylusions and Heat Embossing and many more!
Happy Monday!

