Happy Wednesday!
Last week I went to my local craft store here in Hamburg, Germany–it’s called Idee and it’s huge and clean and lovely and always gives me inspiration. It’s also really bad for my bank account…I went in for double-sided tape and somehow came out with a bag full of craft supplies. (Fortunately I remembered the tape; it’s too early in the month for a second trip.)
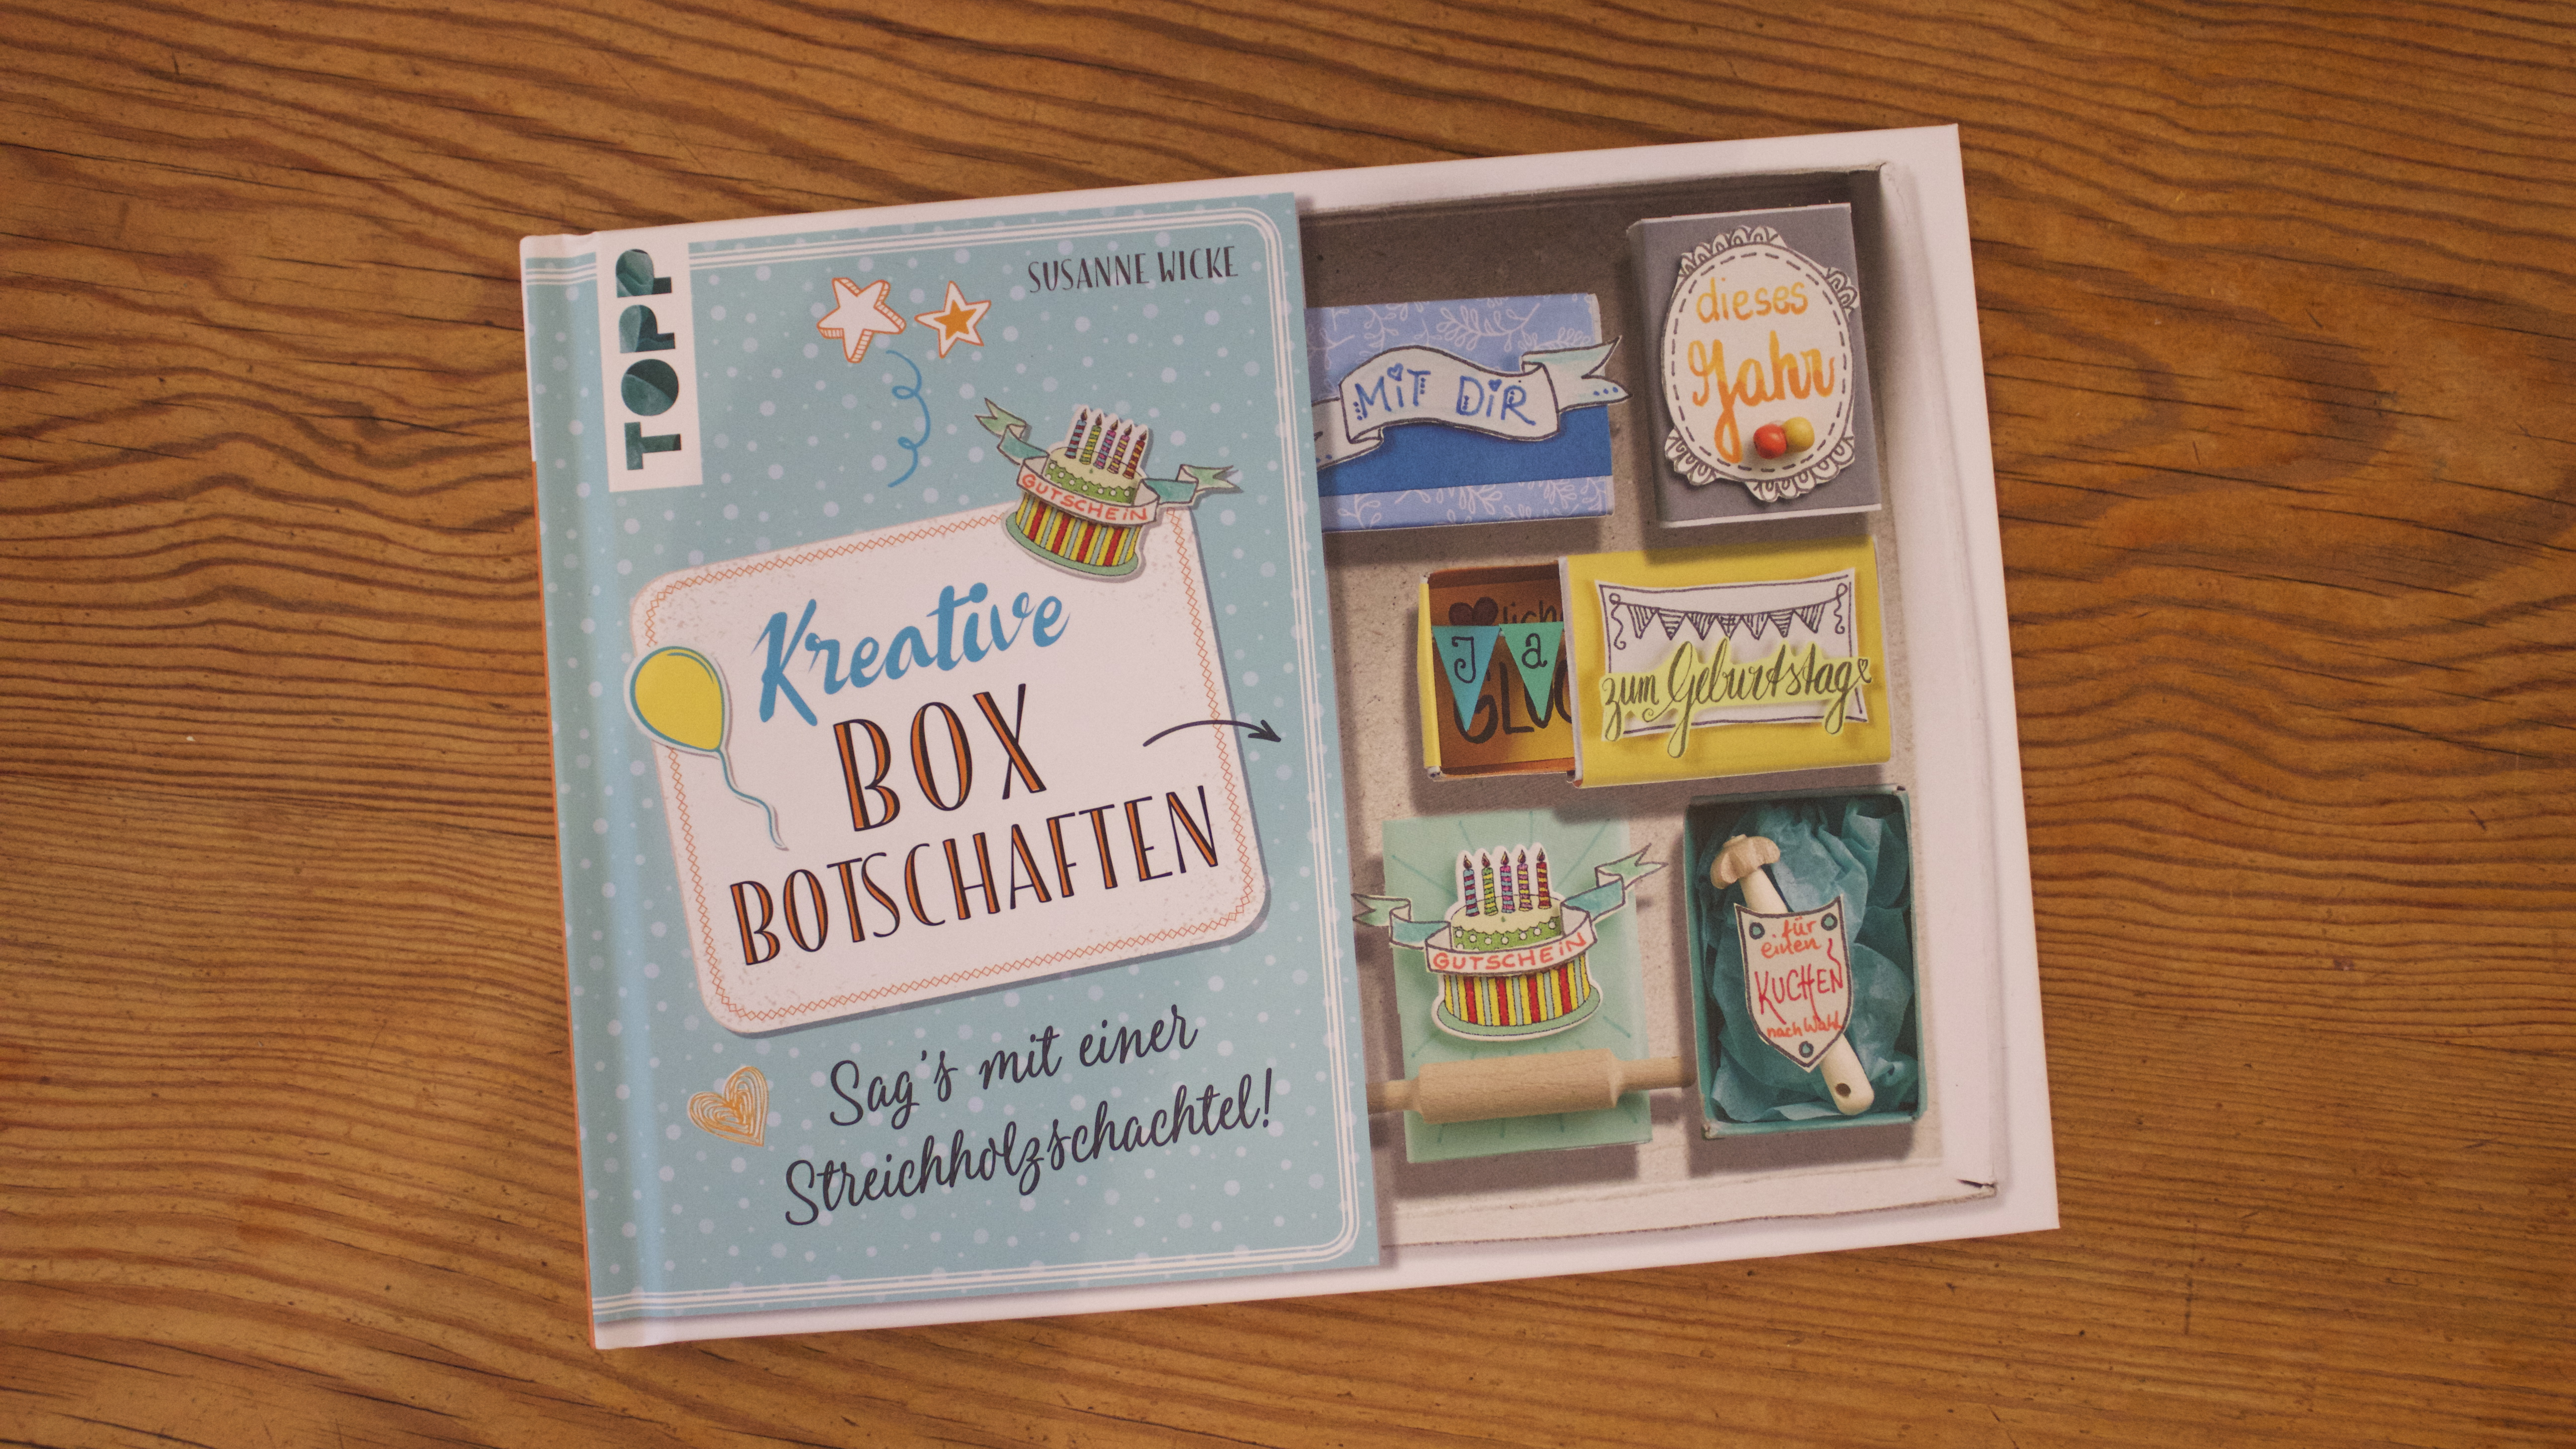
One thing I came upon was this fun book by Susanne Wicke, Kreative Box Botschaften. It’s published by Topp and it’s entirely in German but thano problem since the photos and projects are pretty easy to follow even if you can’t translate the instructions. (I am learning a lot of new words.) The projects are super-cute decorated matchboxes, perfect for holding little messages or gifts or invitations or little scenes created with stickers and other embellishments. And since the store had blank matchboxes in lots of sizes, I couldn’t resist.
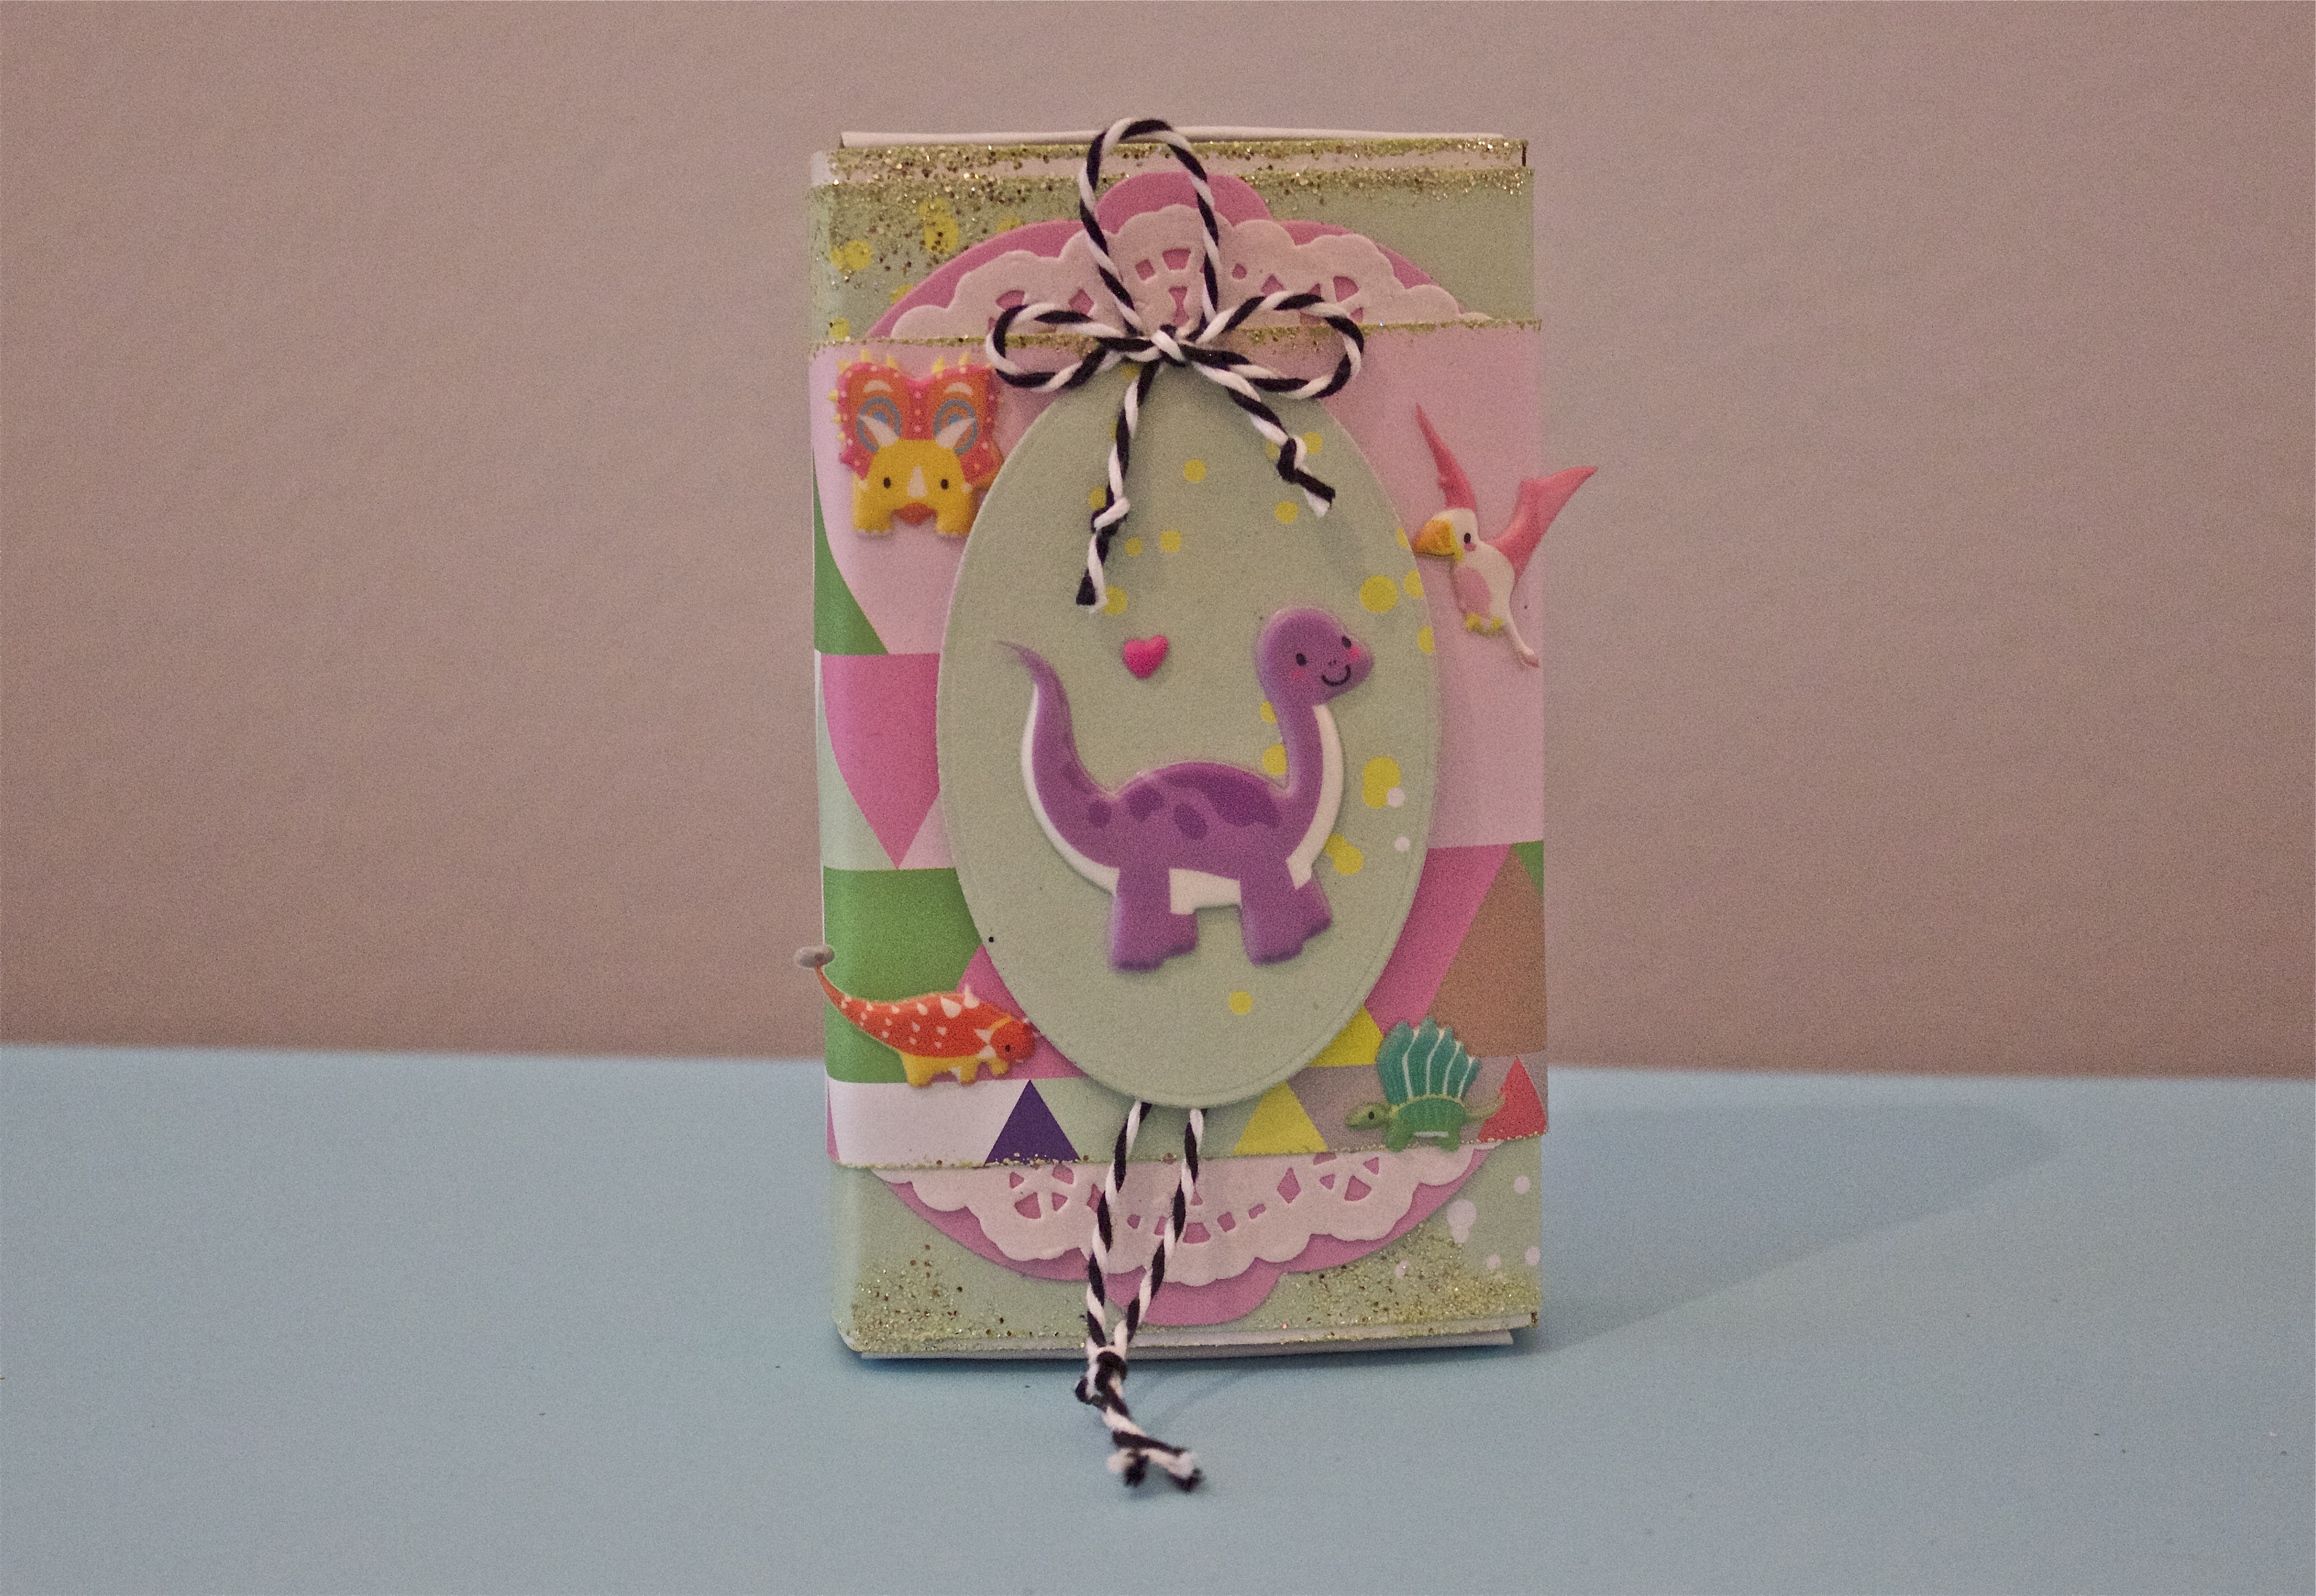
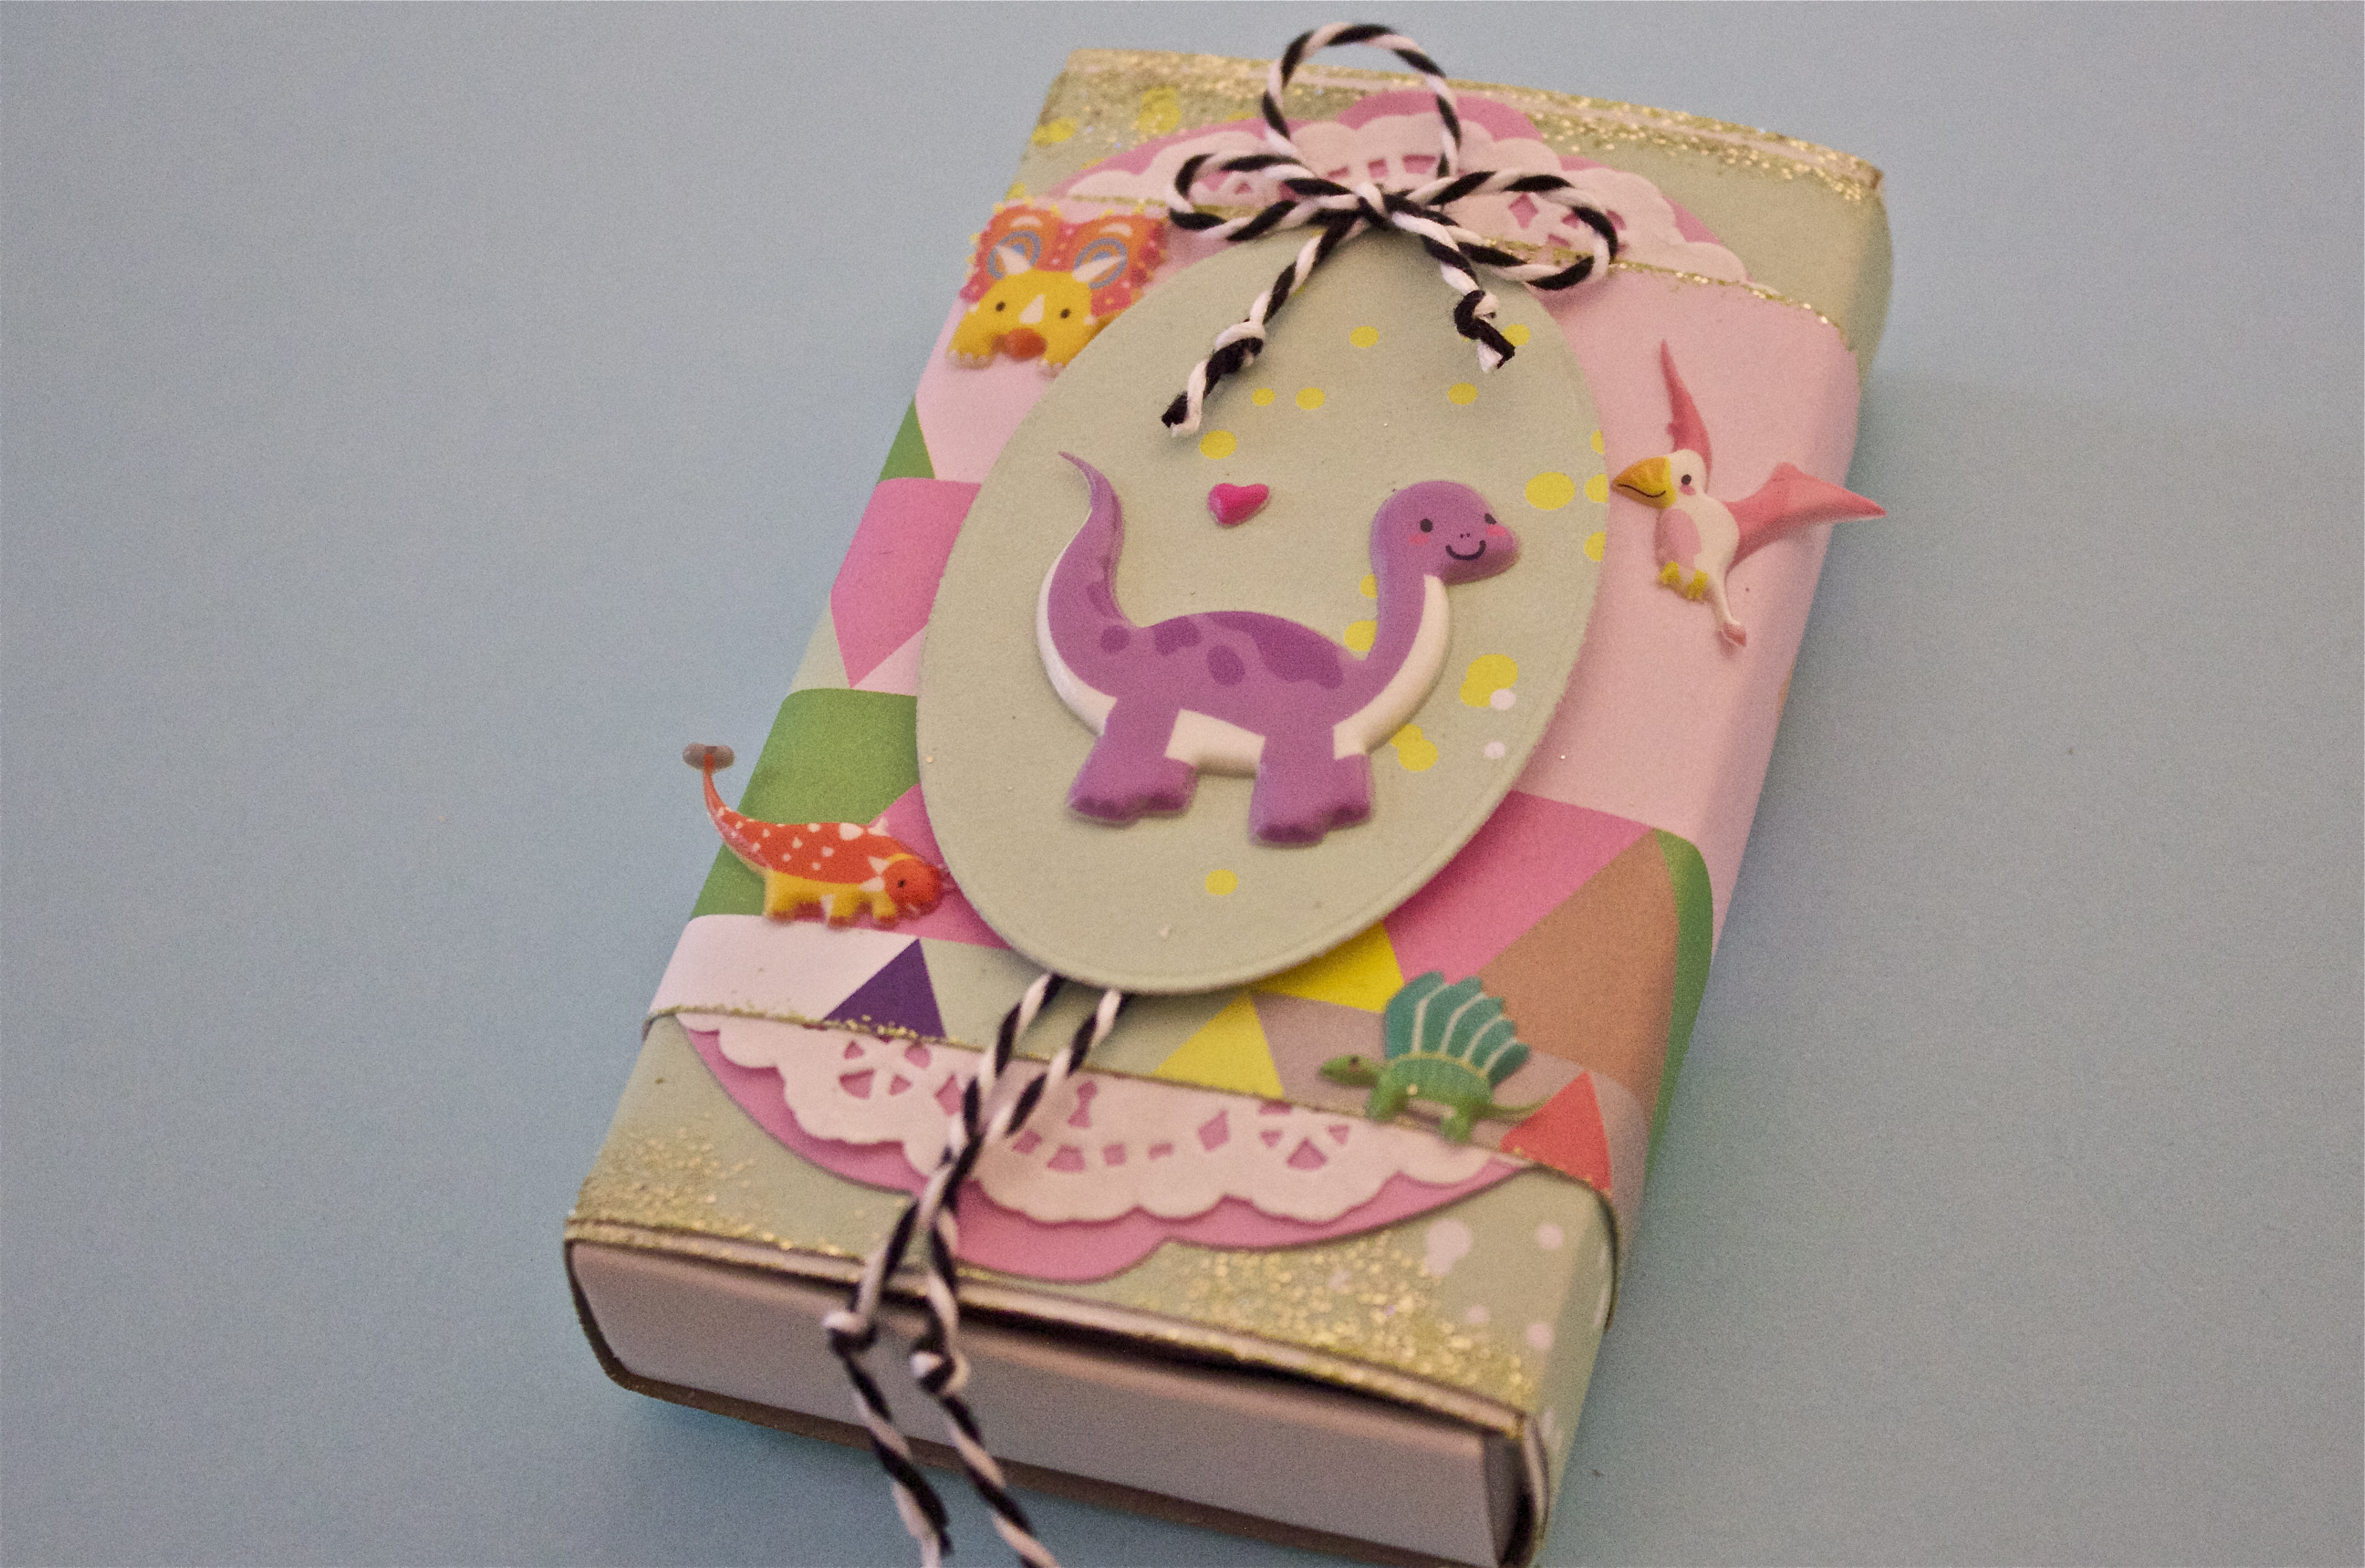
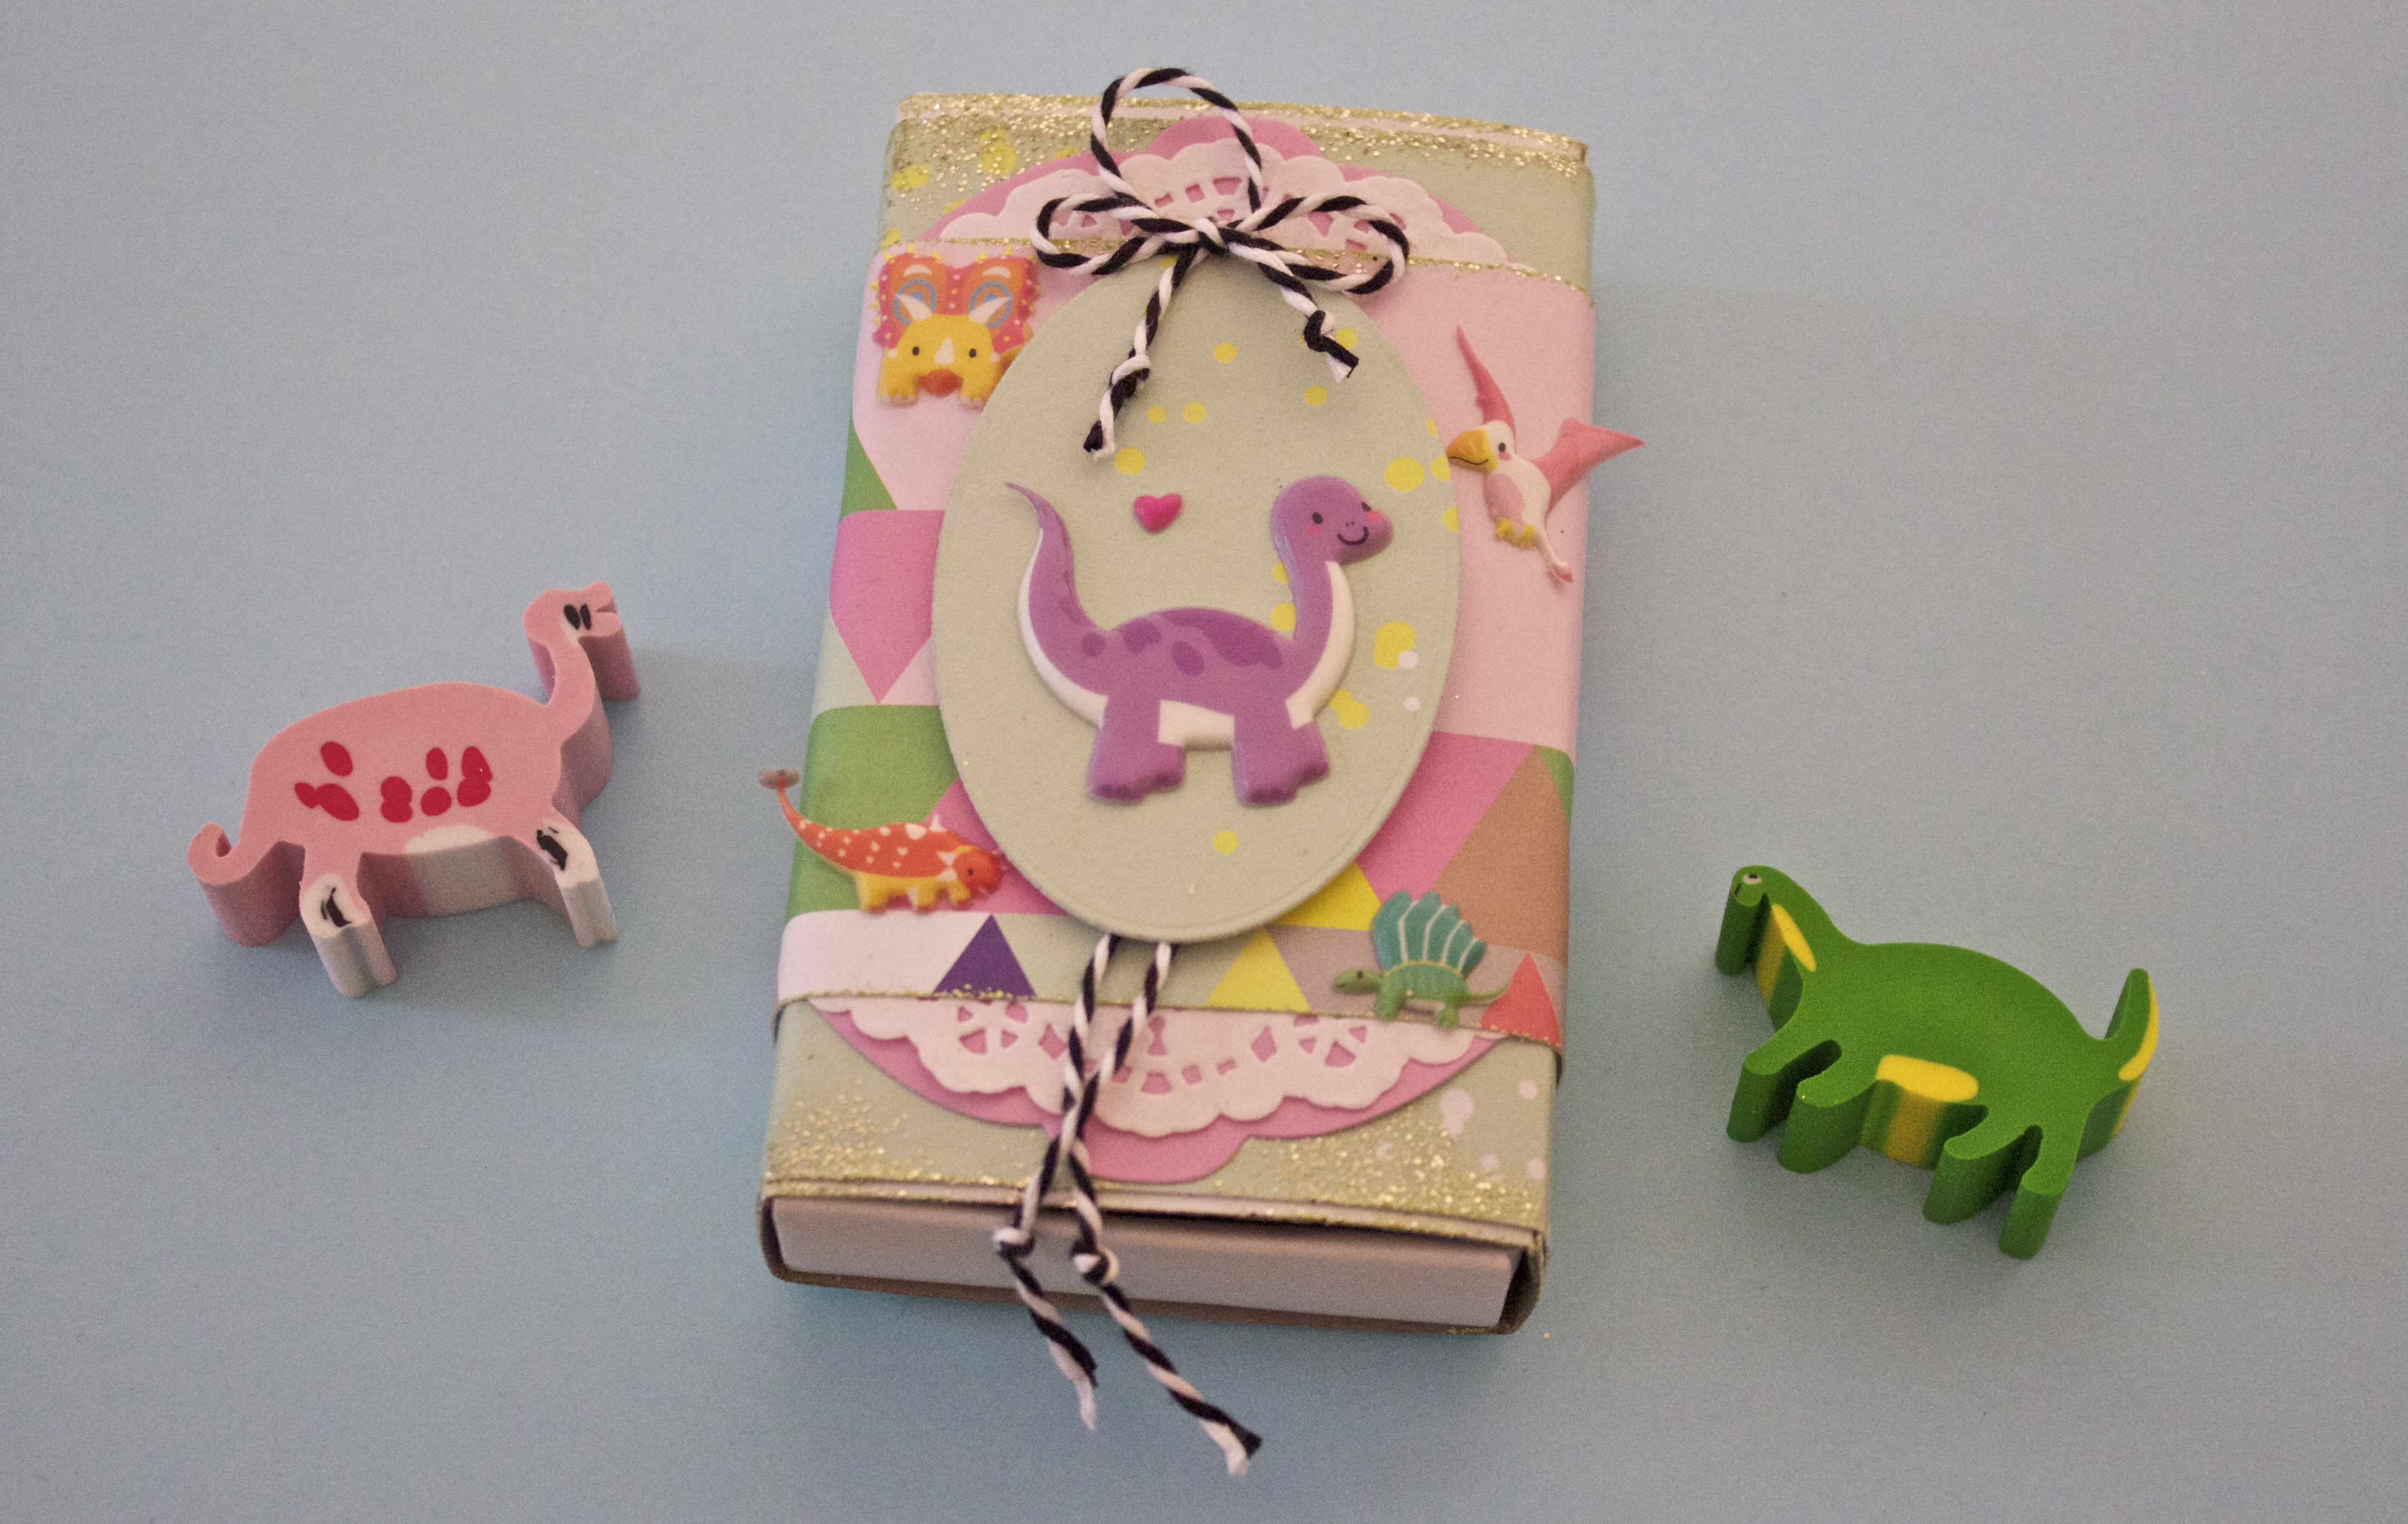
My Little Monkey loves dinosaurs, and what do you know, the craft store also had a package of little dinosaur-shaped erasers. I thought it would be fun to decorate a box, put some dinosaur erasers inside and give it to her as a special treat.
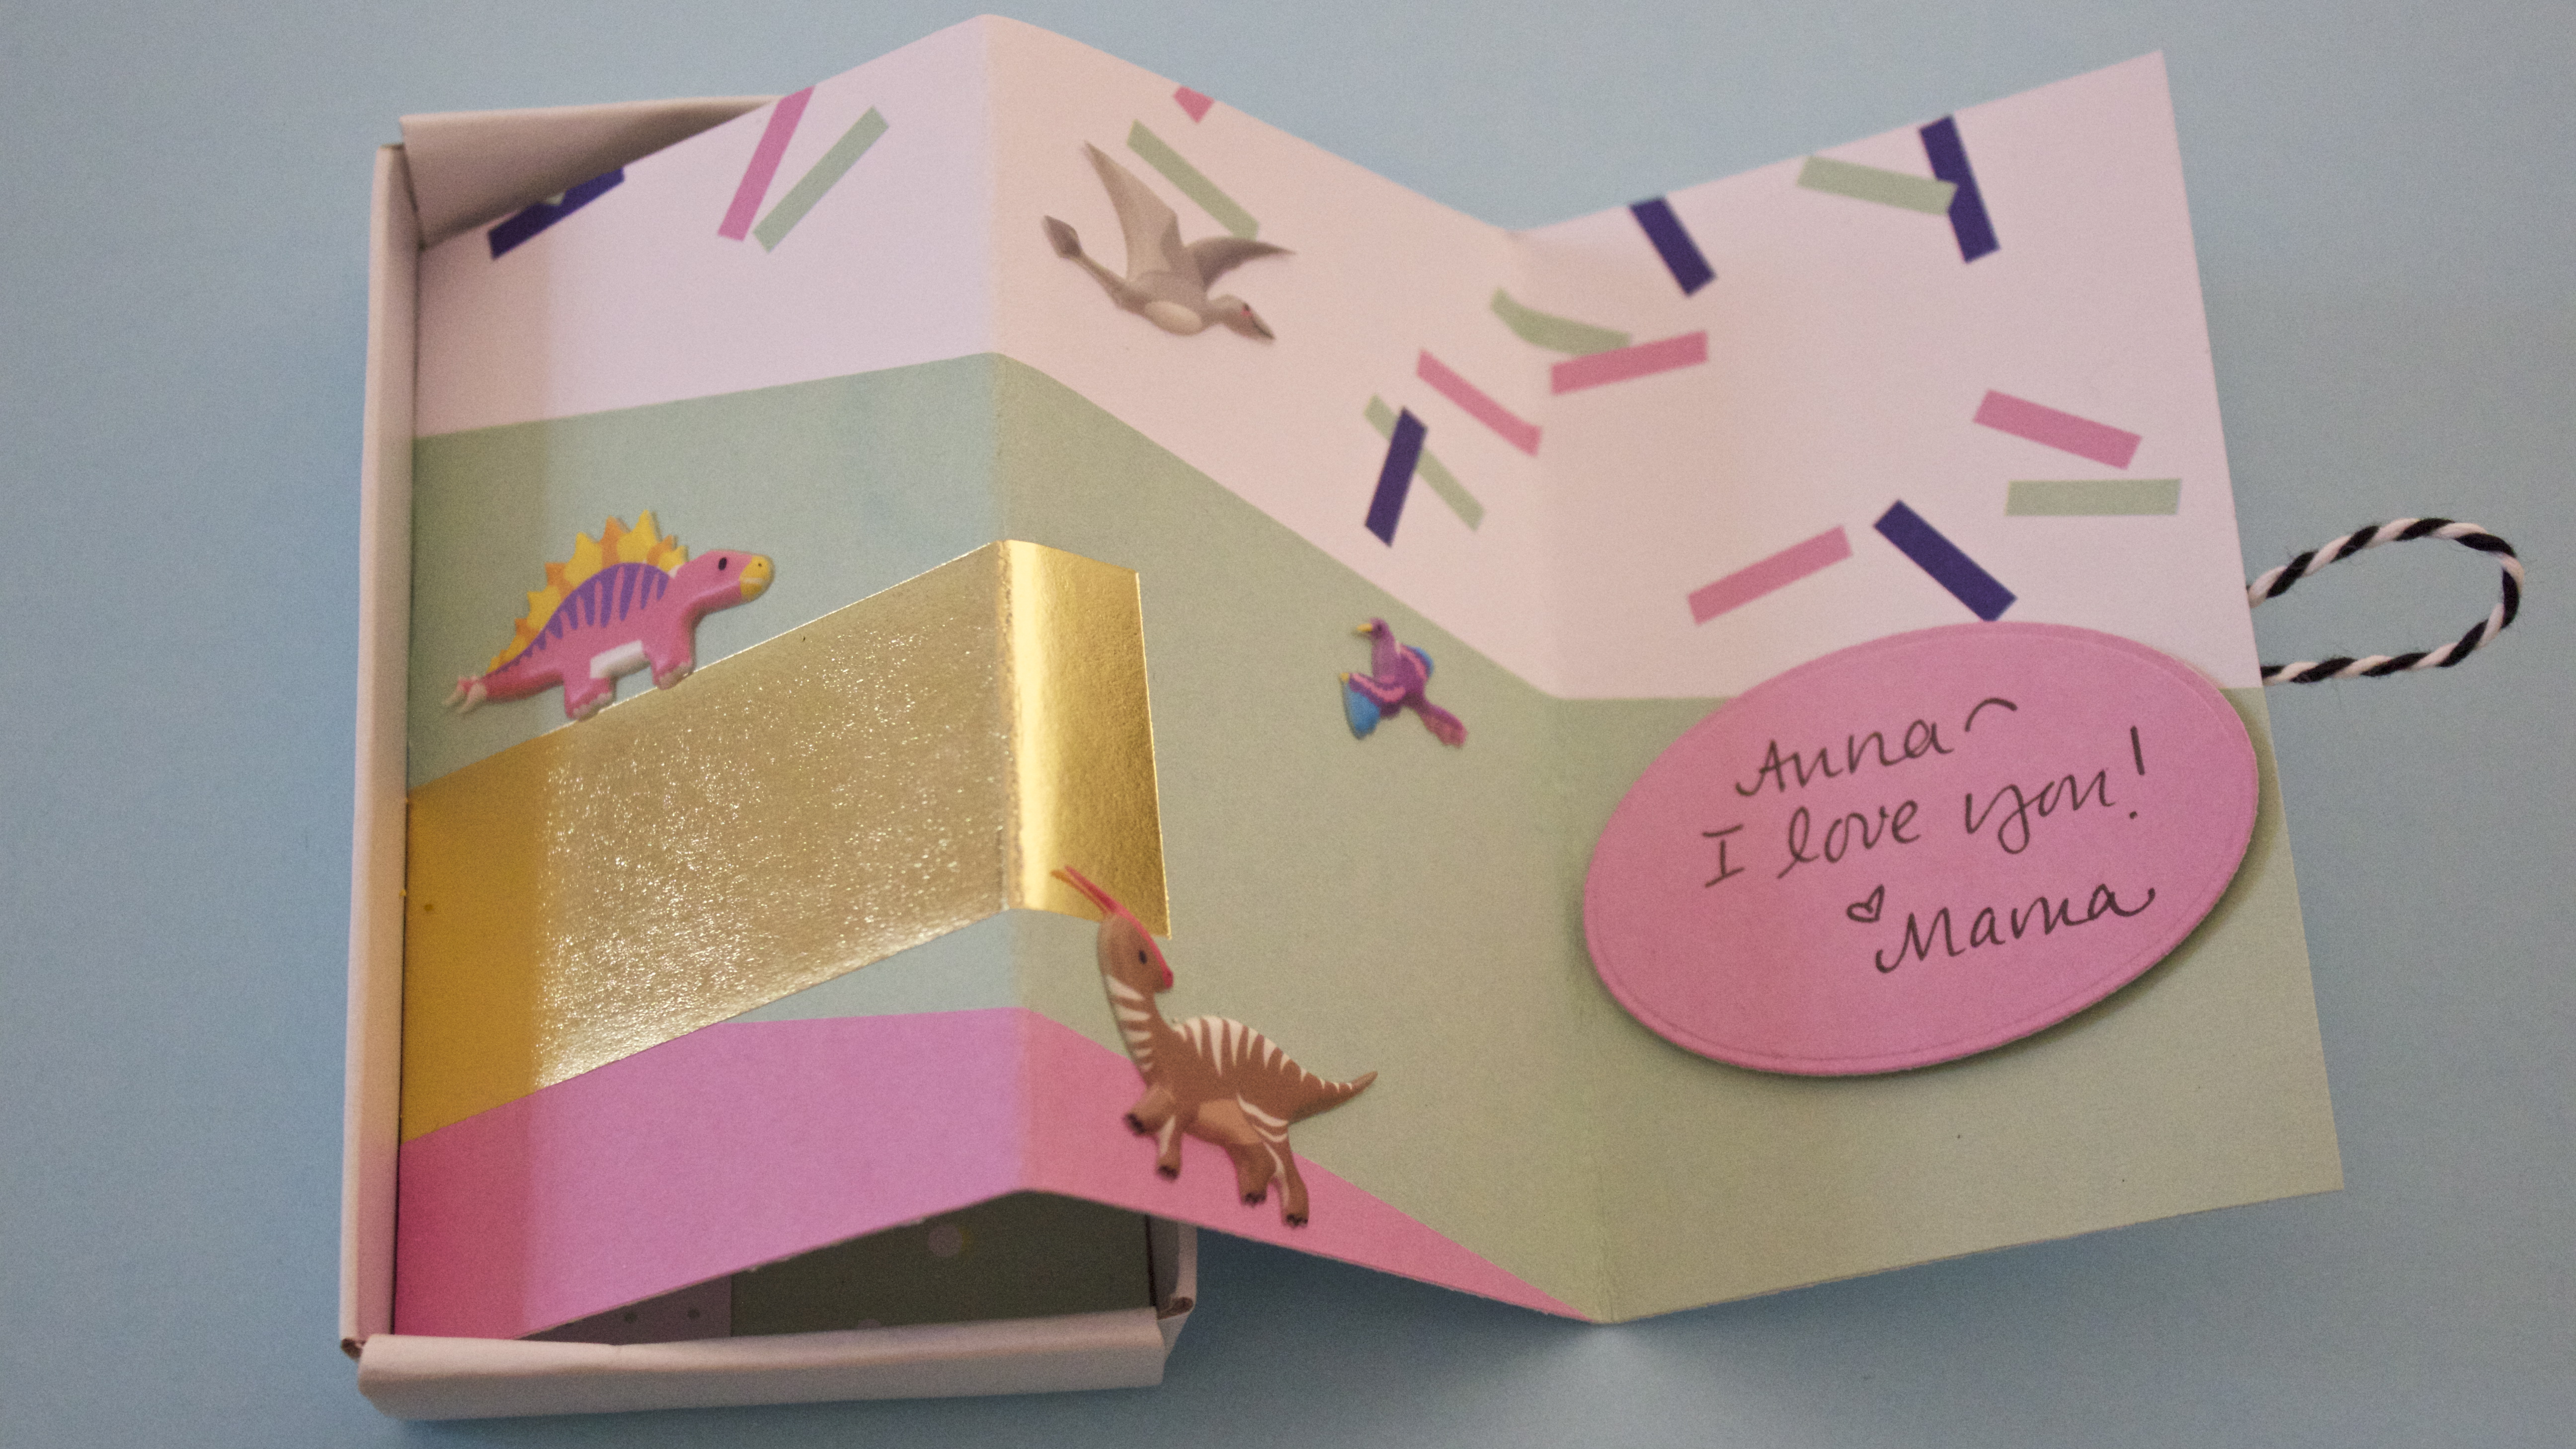
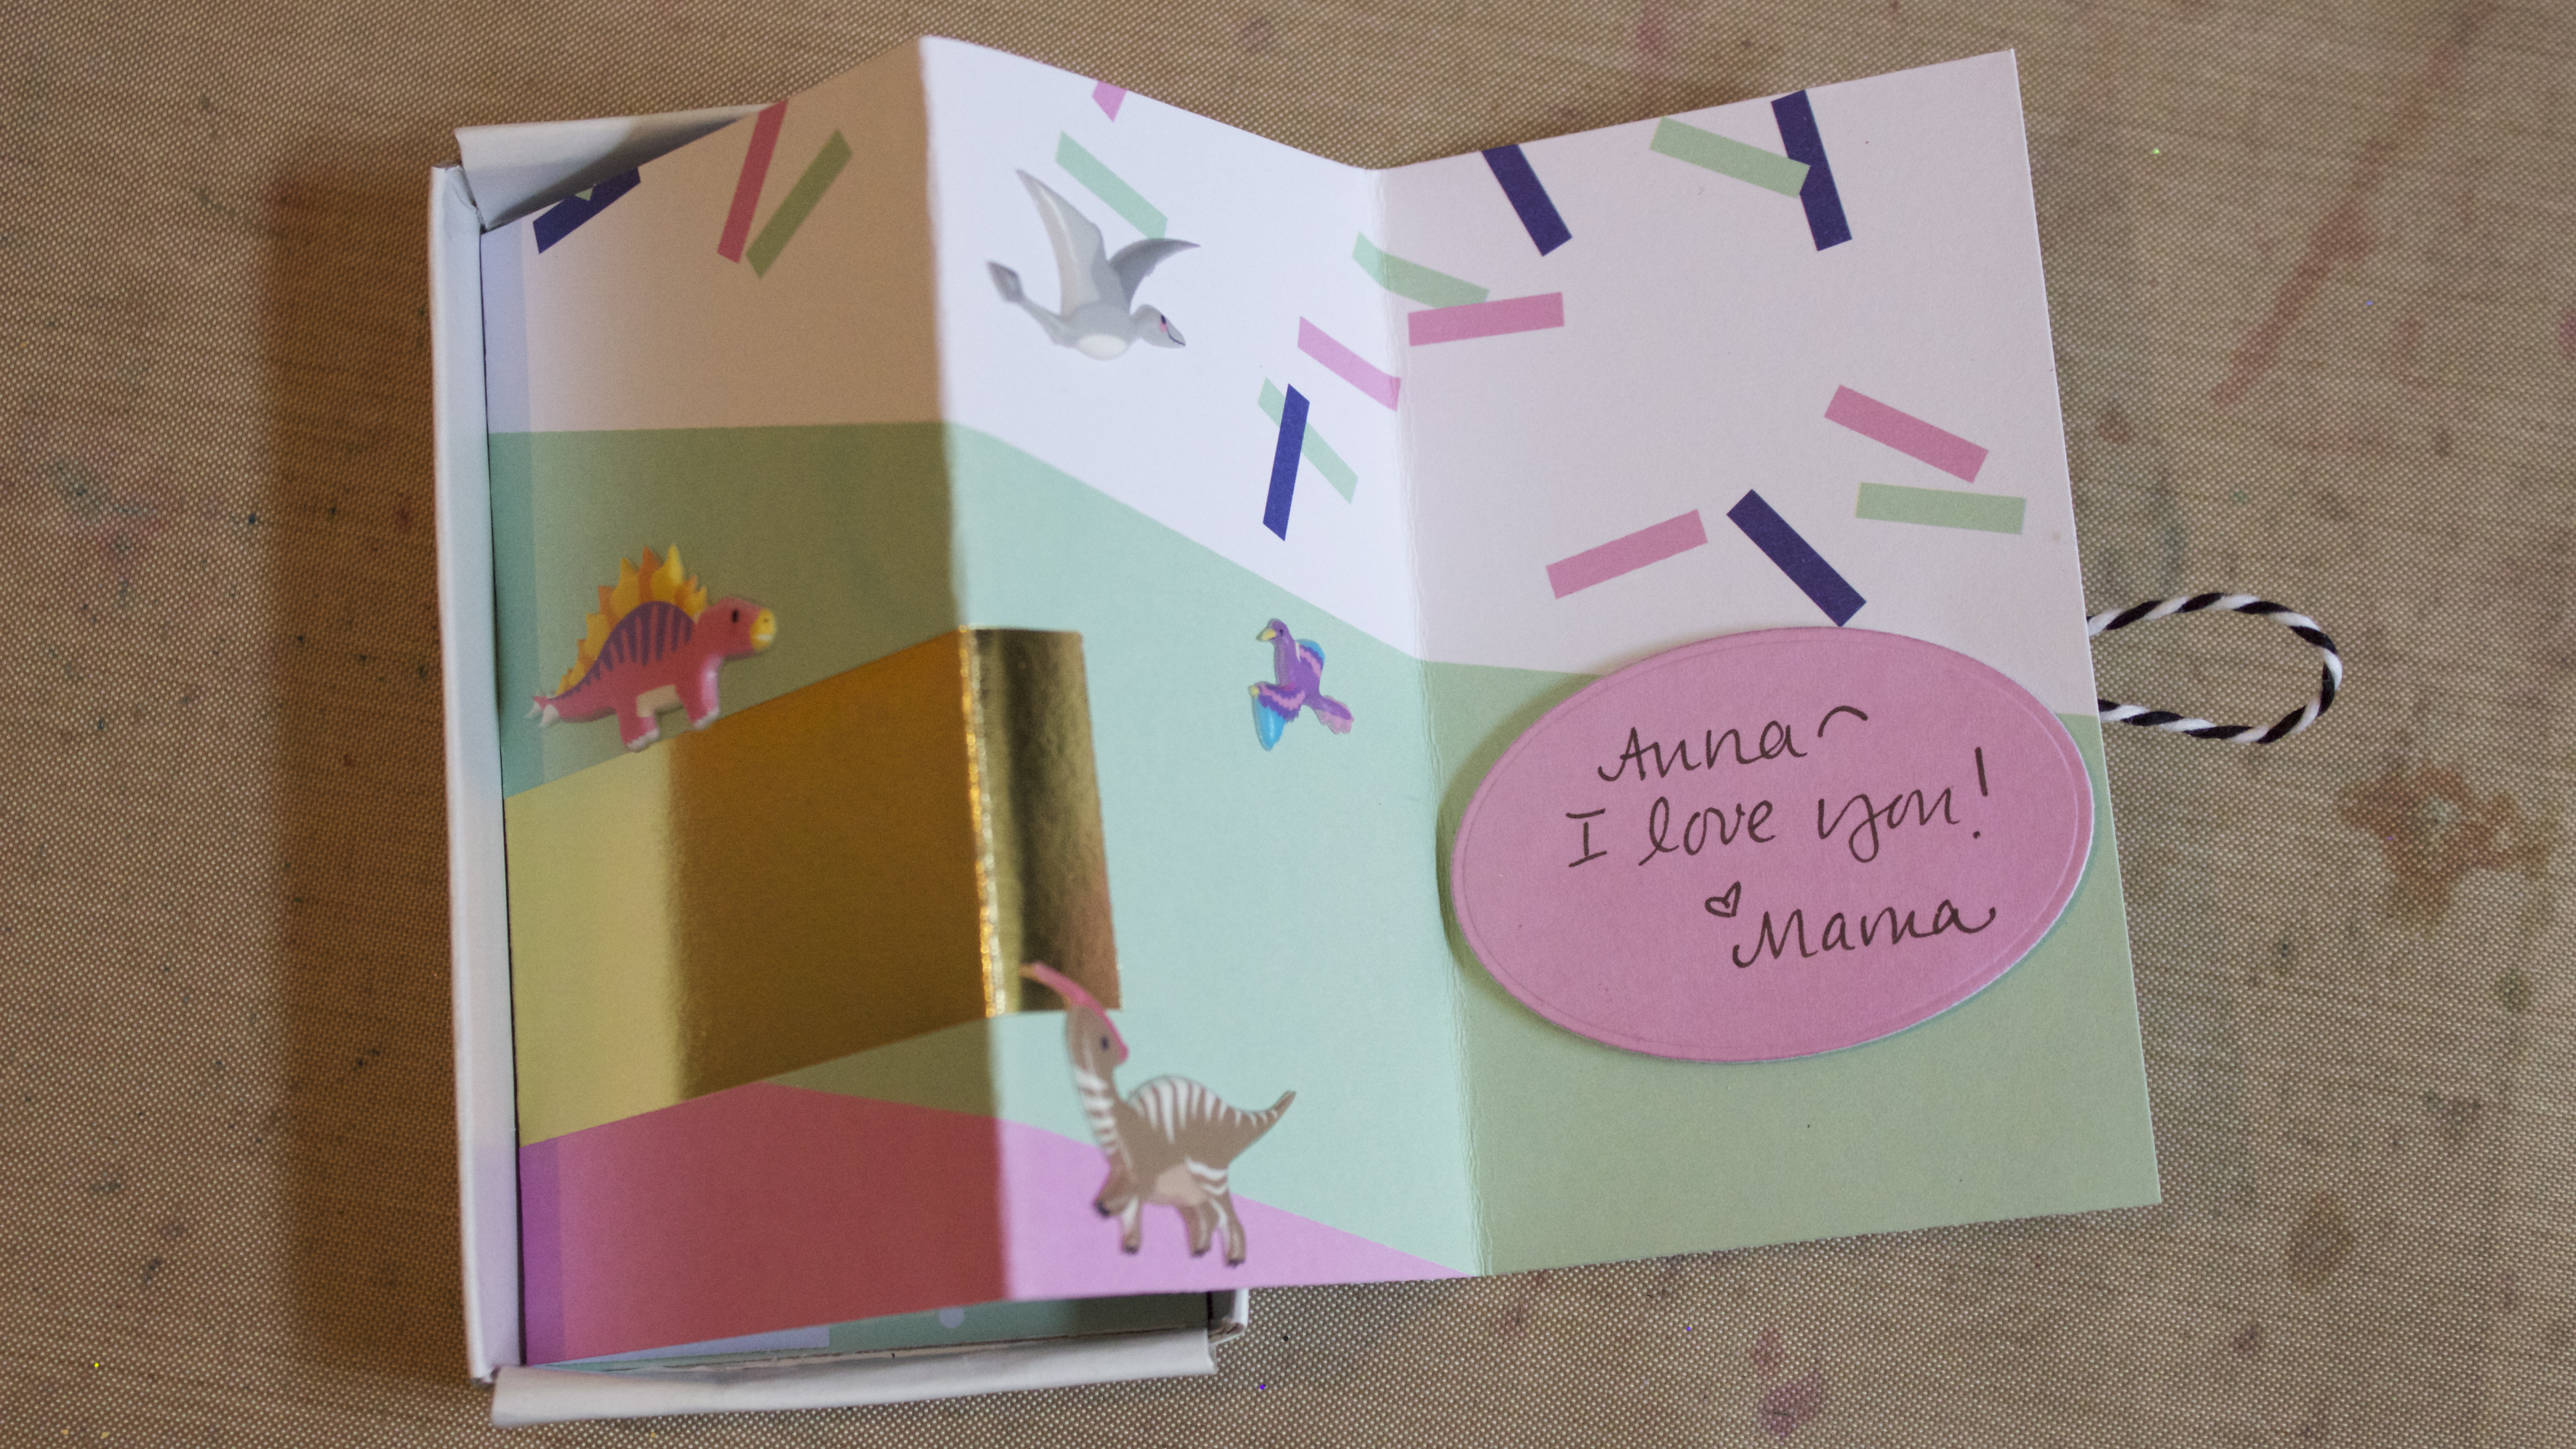
Here’s the inside:
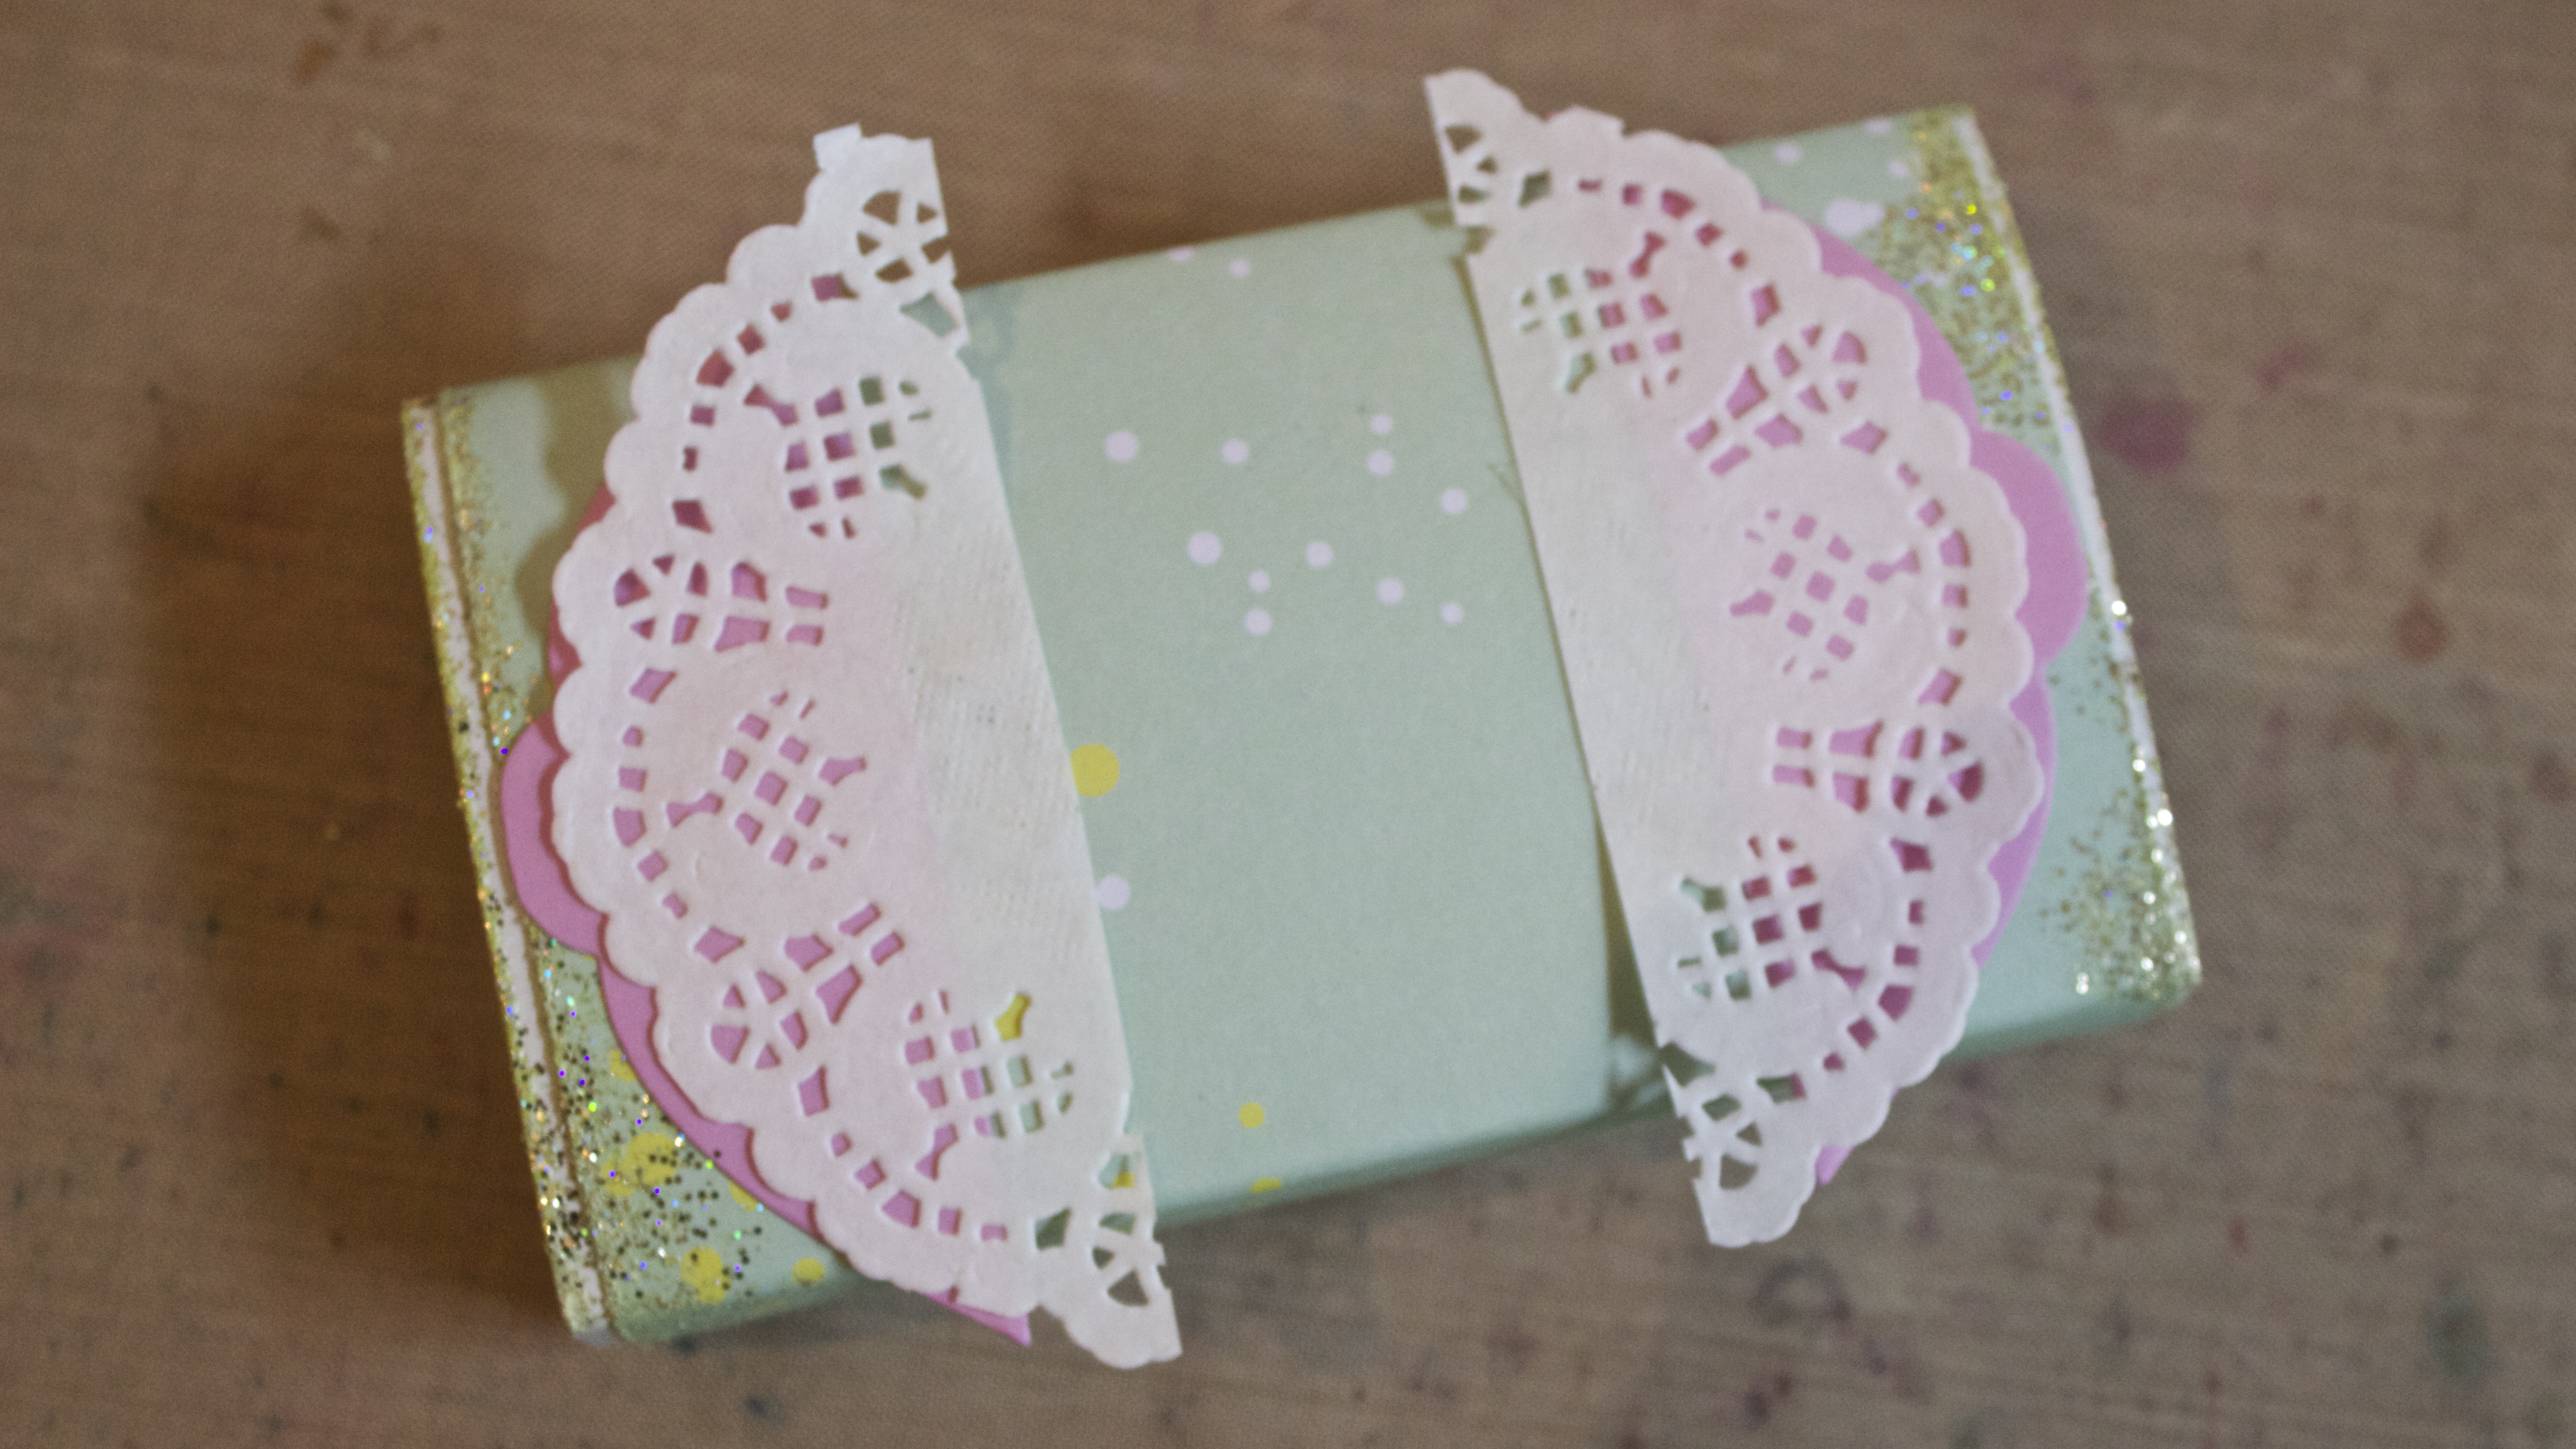
And here’s the step-by-step:
Dinosaur Matchbox, what you need:
- Large blank matchbox (mine is larger than the standard matchbox size, measuring 6.5cm x 11cm, about 2 1/2″x 4 1/4″)
- Patterned paper and solid coordinating papers
- Gold embossing powder (Hero from WOW Embossing)
- Paper doily
- Cutting dies and machine (By Invitation Only from Couture by Create and Craft; Essential Ovals from Tattered Lace)
- Dinosaur stickers
- Double-sided tape
- Embossing inkpad
- Black and white bakers twine
Dinosaur Matchbox, how to make it:
- First, remove the inside box from the outer box “wrapper”. This will make it easier to decorate. Trim a strip of patterned paper slightly narrower than the matchbox wrapper. Wrap around the matchbox wrapper and secure on all four sides with double-sided tape. Apply embossing ink to the short ends of the wrapper and dip in gold embossing powder, then heat set.

- Trim a small doily in half. Die cut two pink paper corners from the Couture collection, then glue to the top of the wrapper.
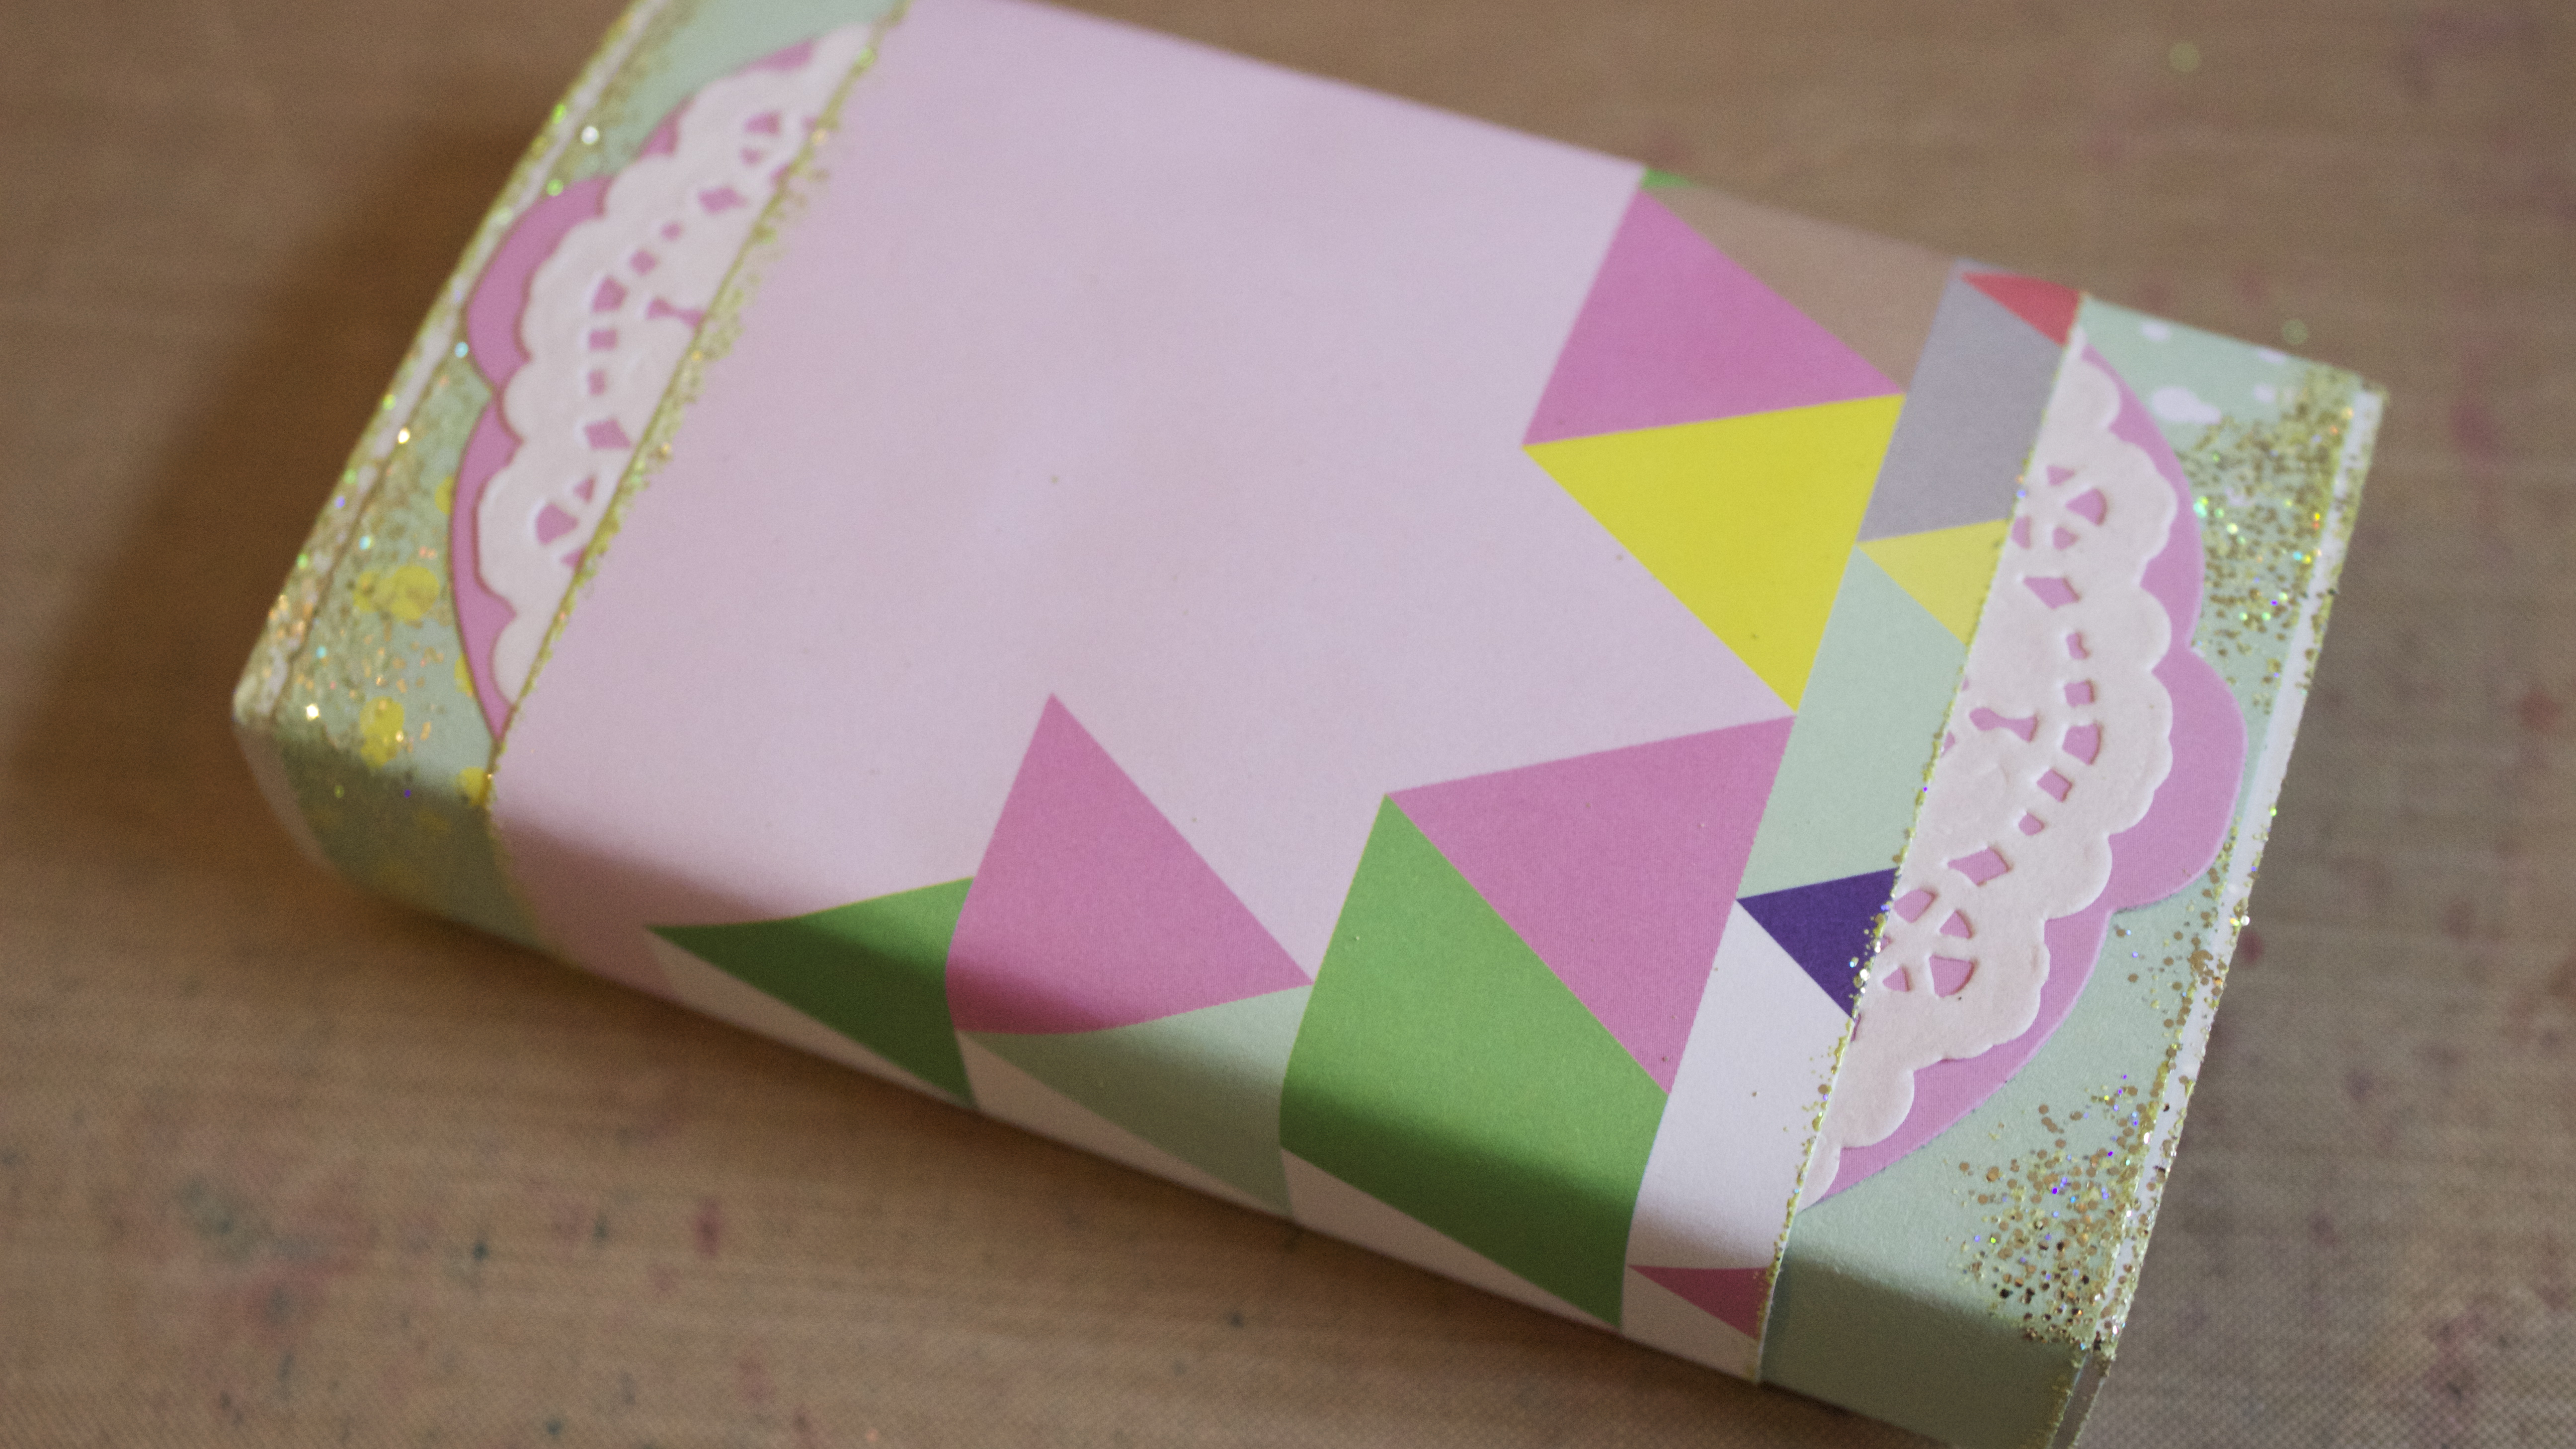
3. Cut another strip of patterned paper to fit around the matchbox wrapper. Ink the long sides with embossing ink and dip in embossing powder; heat-set, then wrap around the wrapper.
4. Die cut a patterned paper oval and tape a loop of bakers twine to the back. Add foam tape to either side.
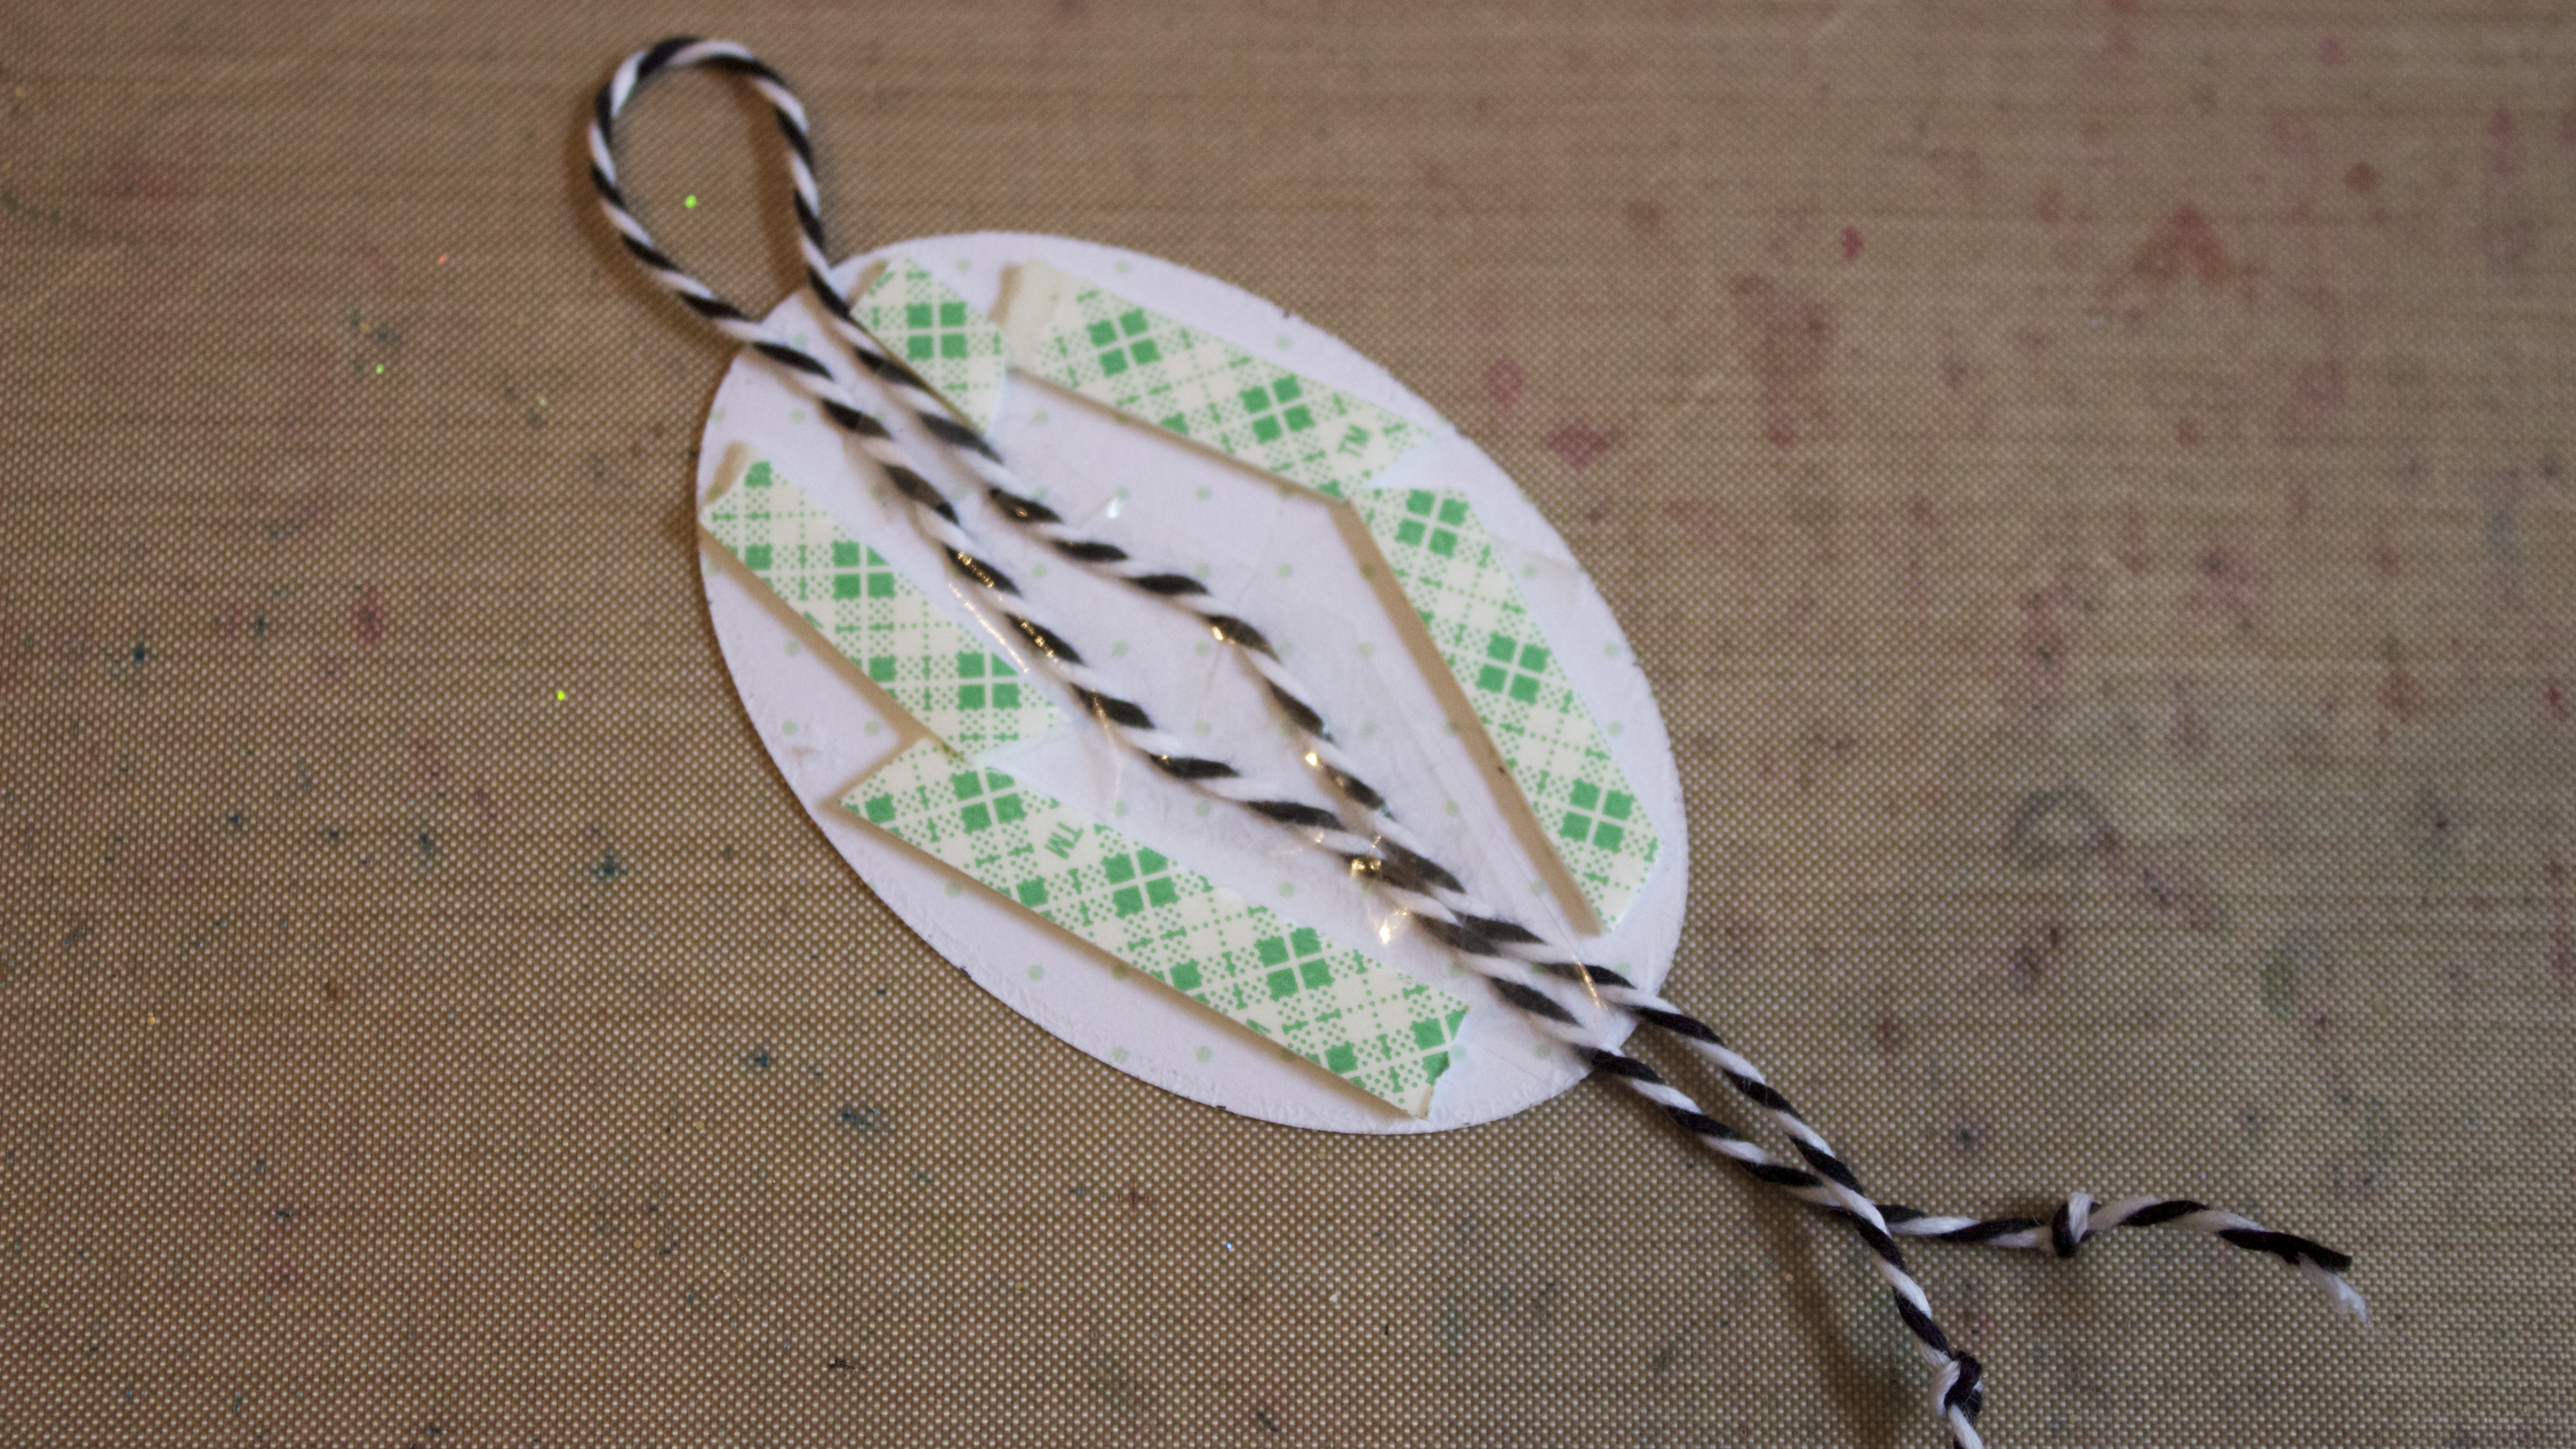
5. Adhere the oval to the top of the box wrapper.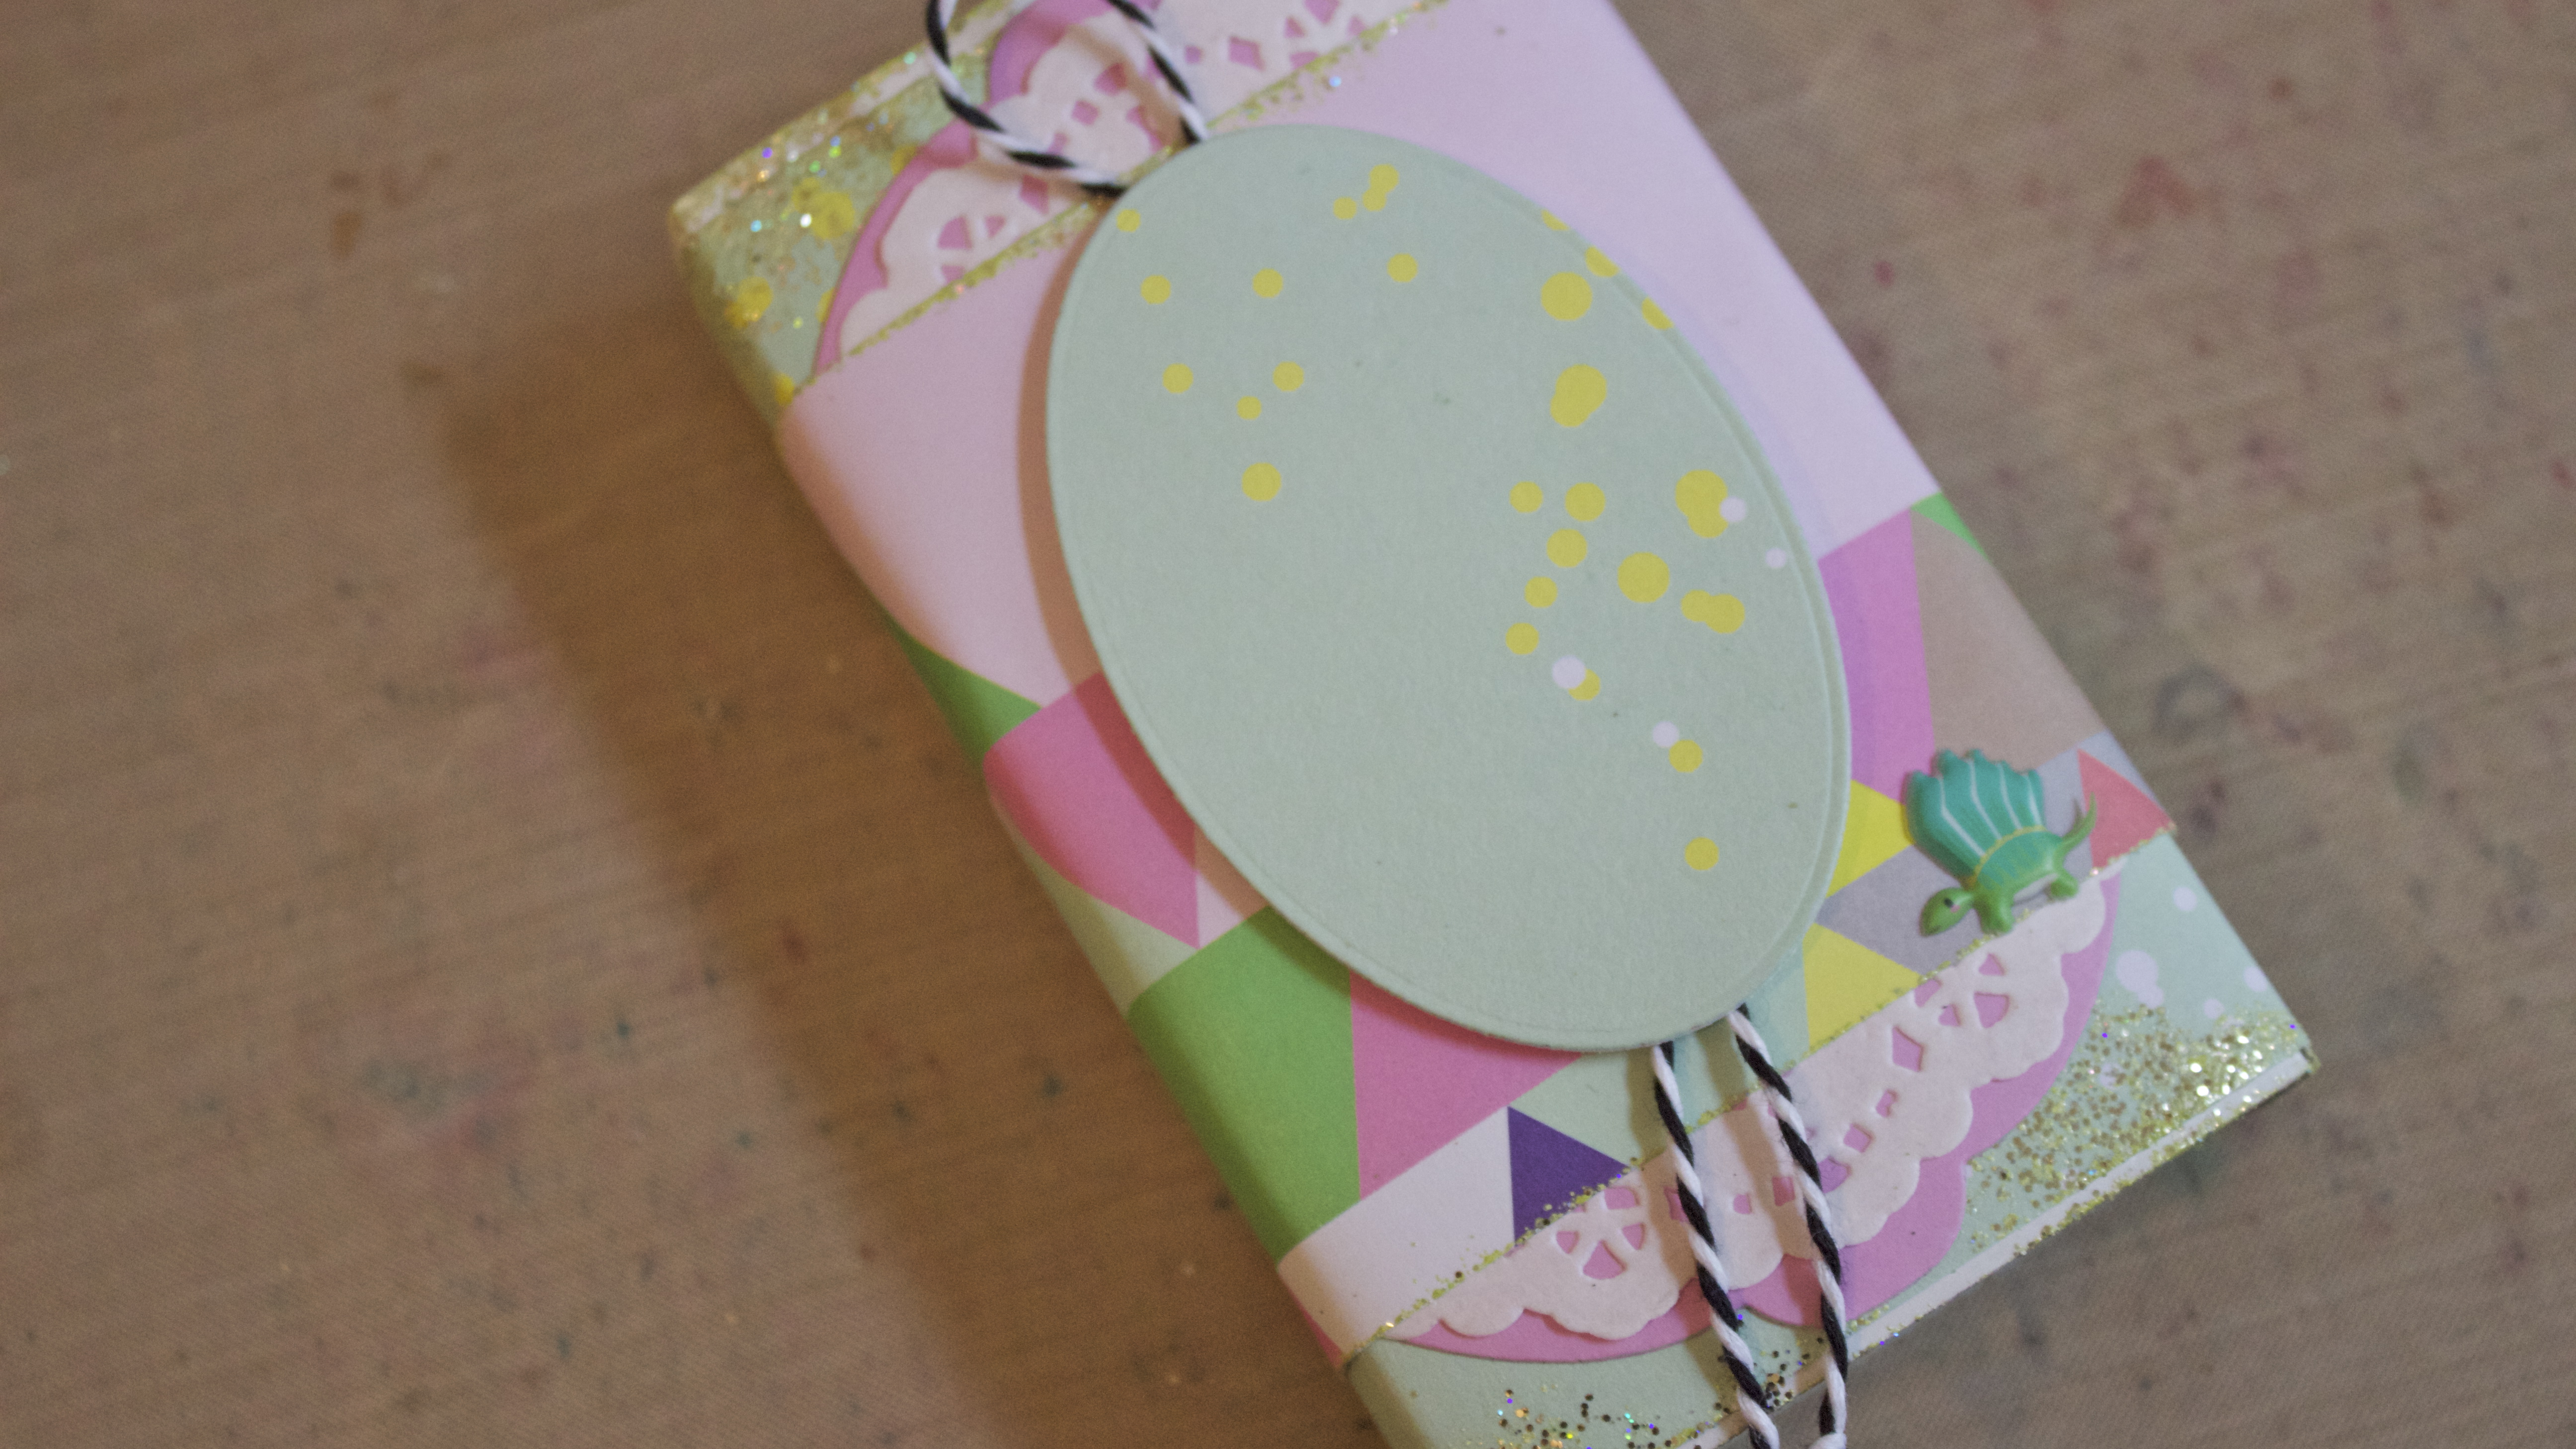
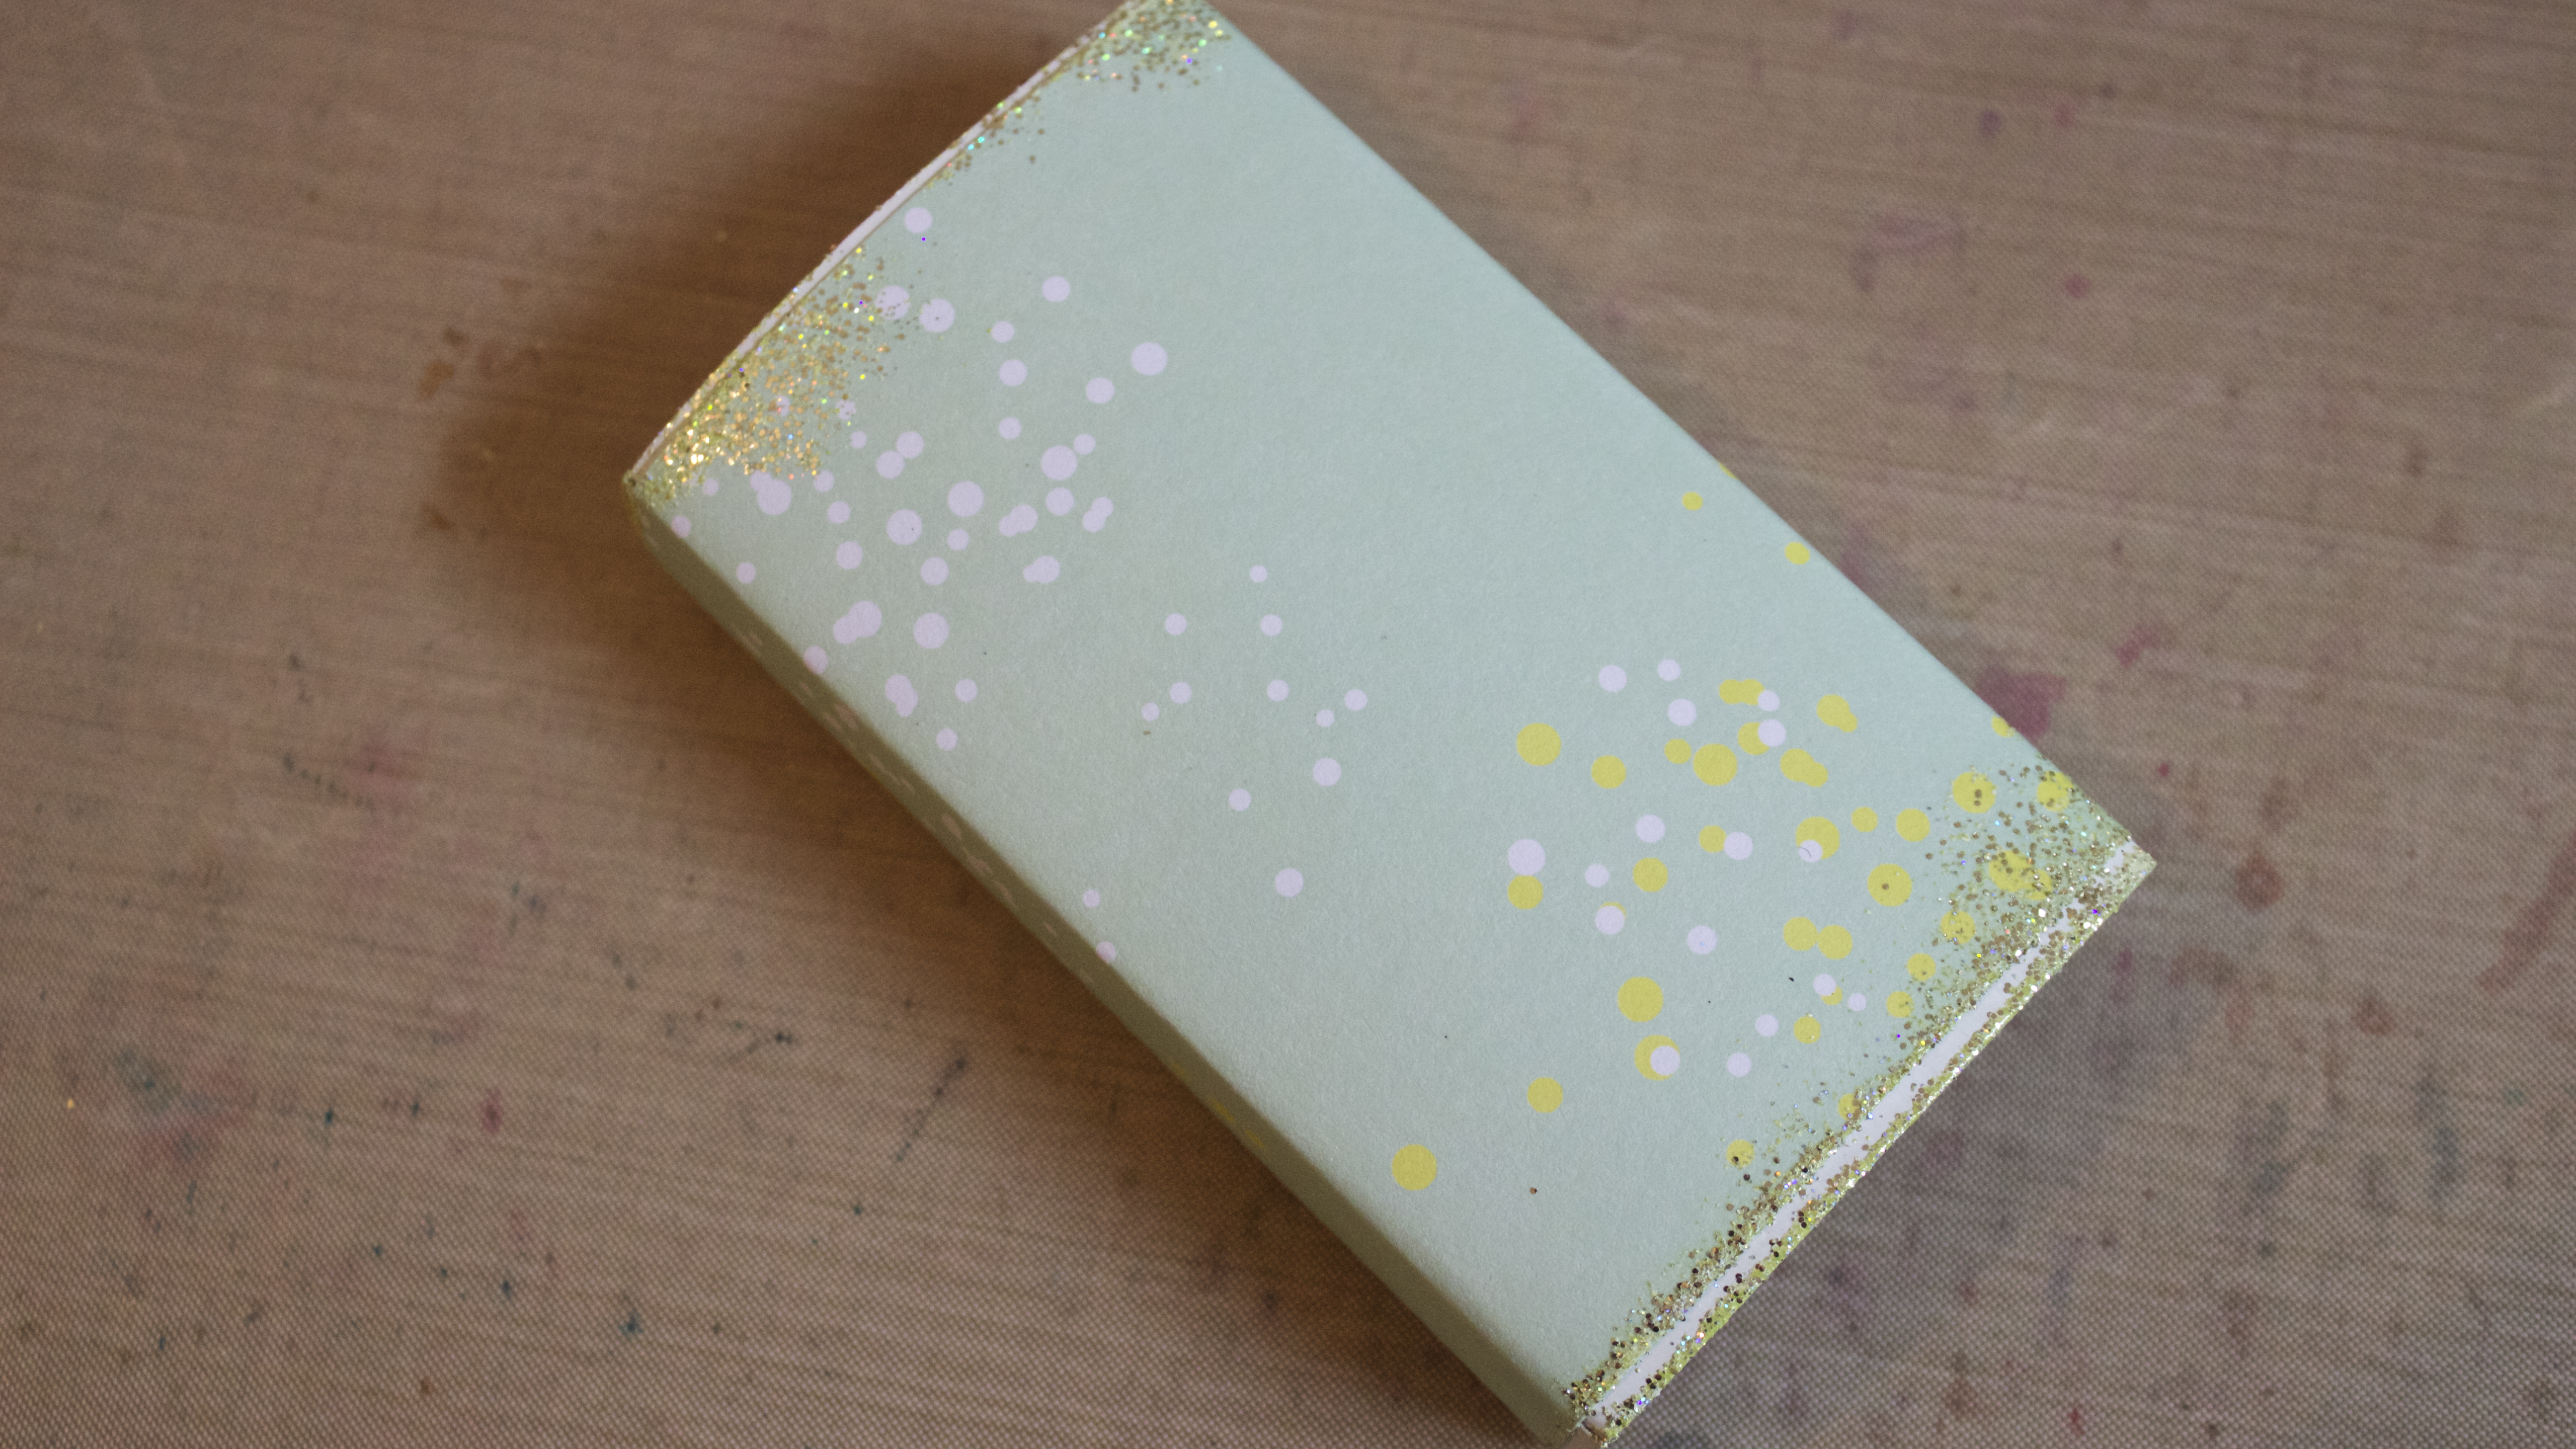
6.Cut a piece of patterned paper slightly smaller than the inside of the matchbox, then glue inside.
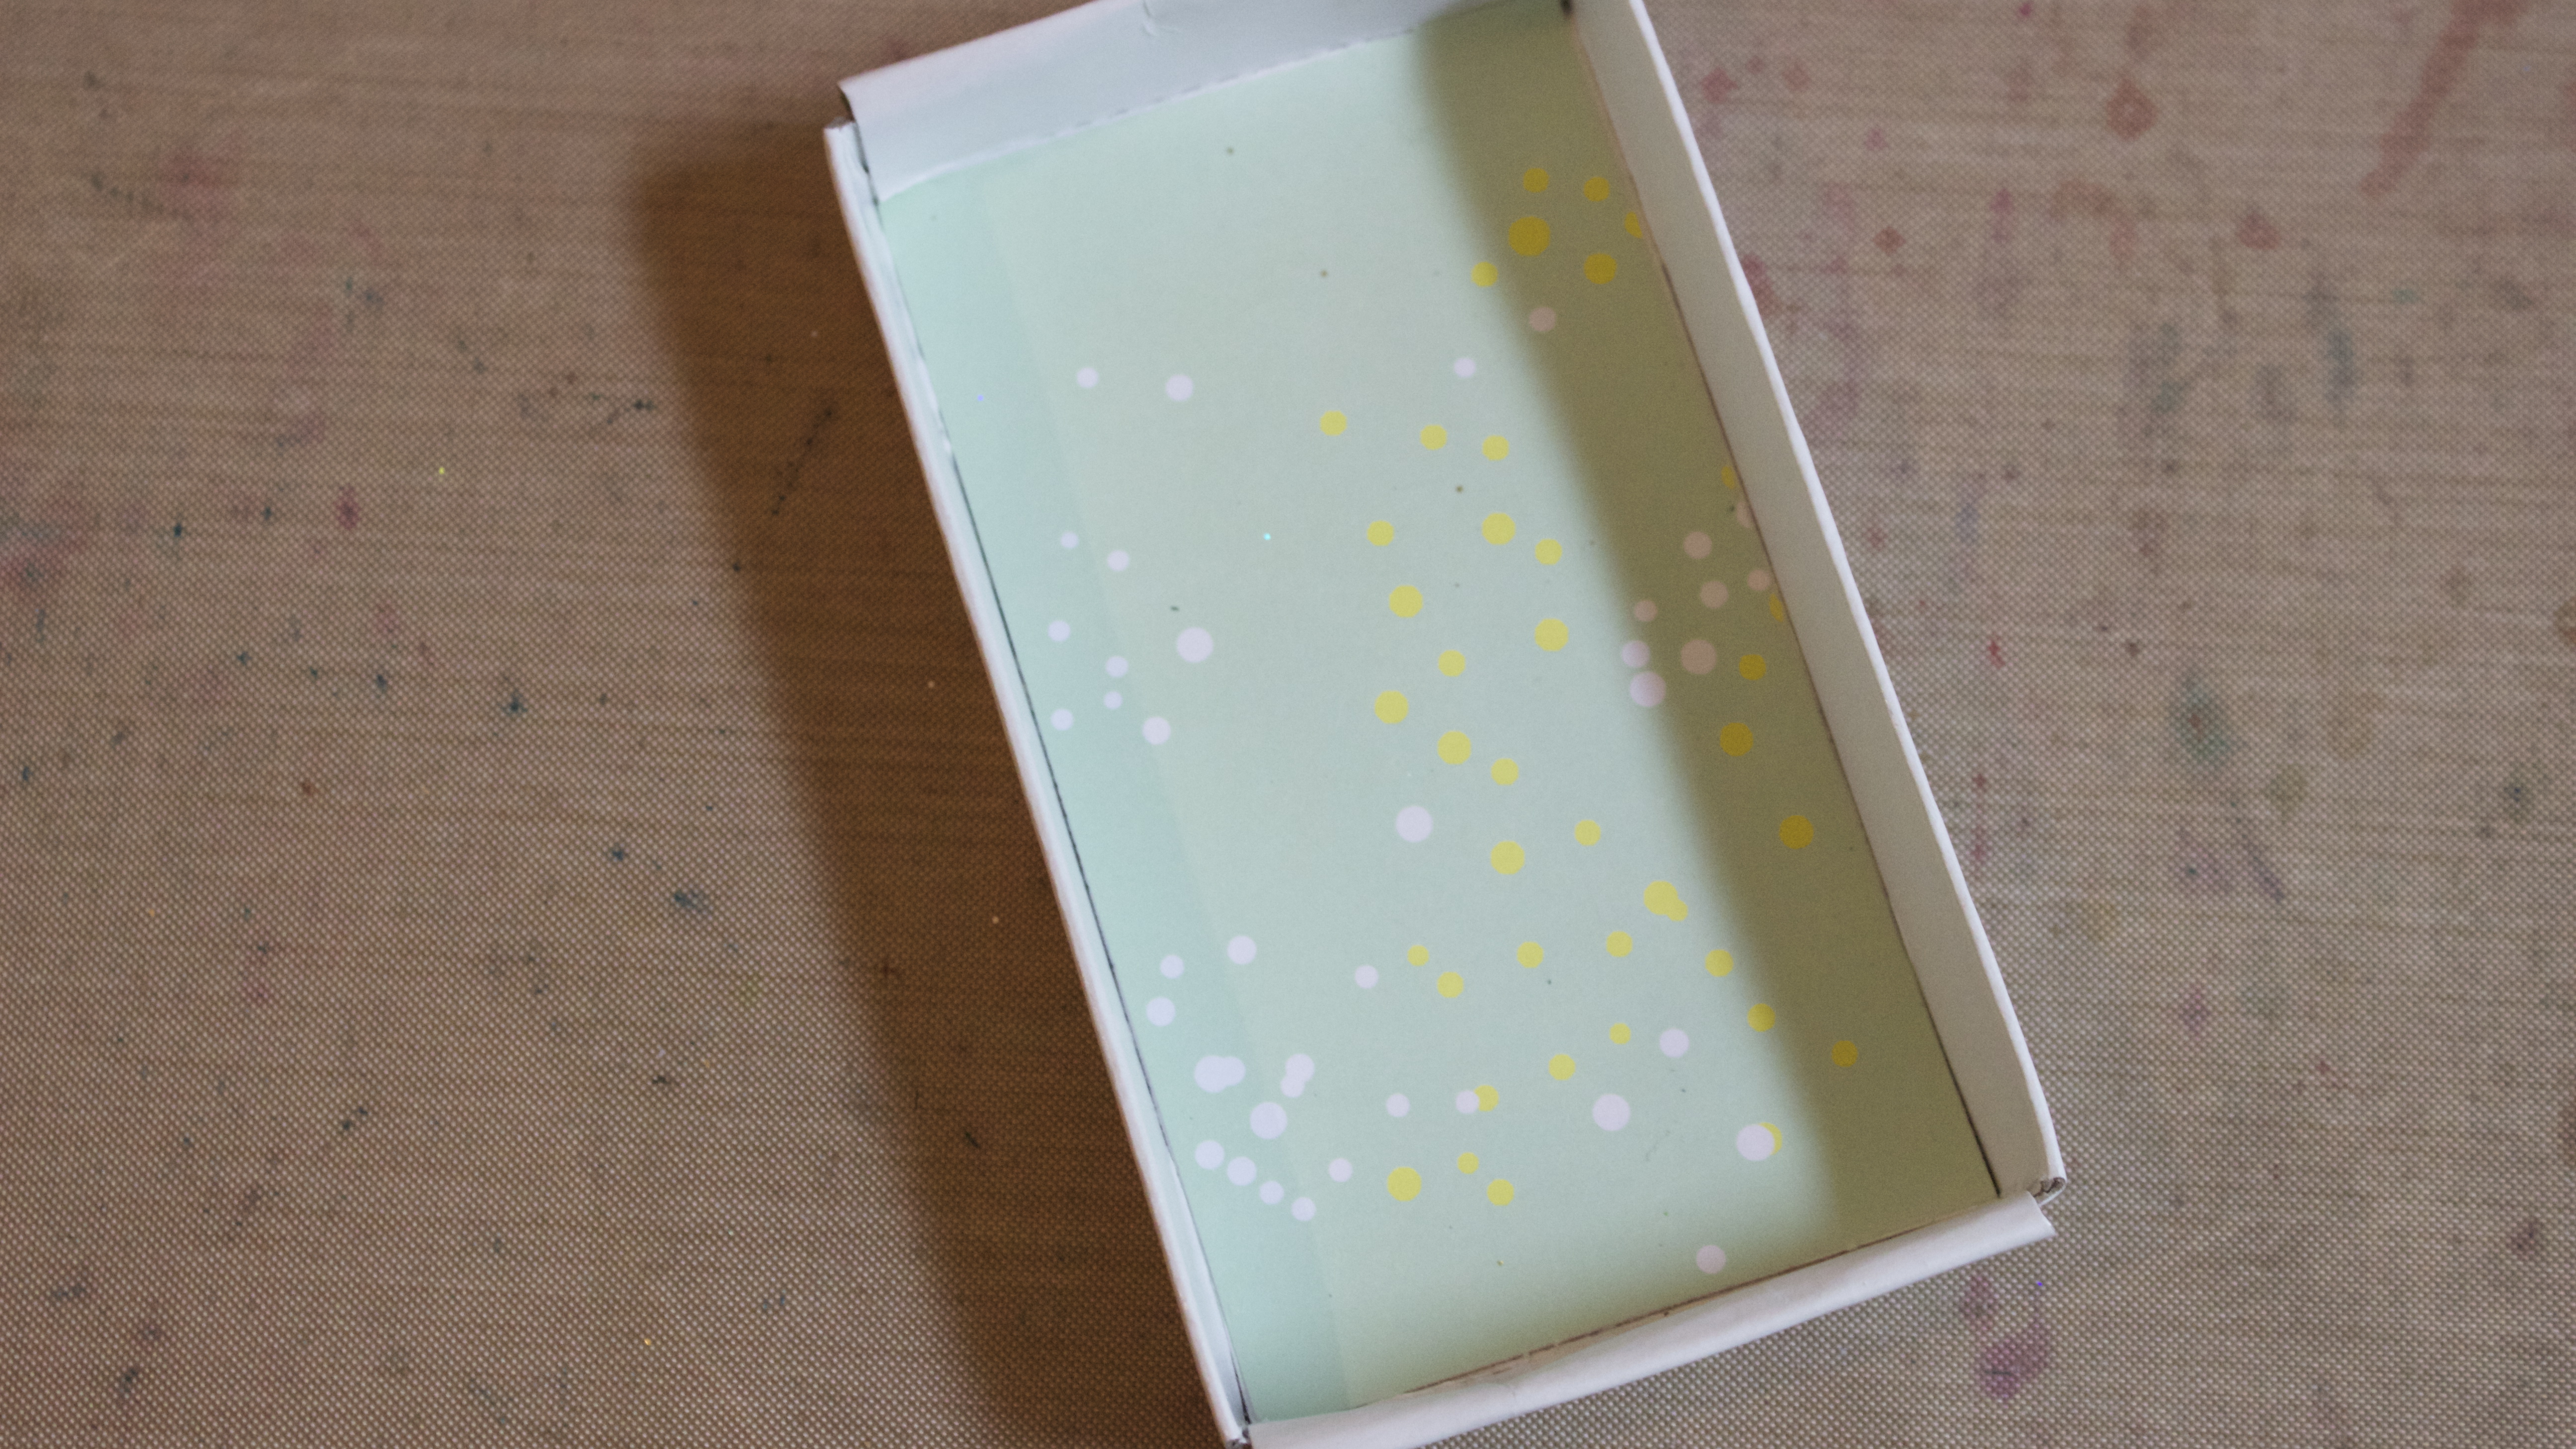
7. Accordion fold a strip of patterned paper and decorate with stickers, and a die-cut oval with a message. Add double-died tape to one short end and adhere it inside the box. (All the designs you see on this piece are printed on one piece of paper.)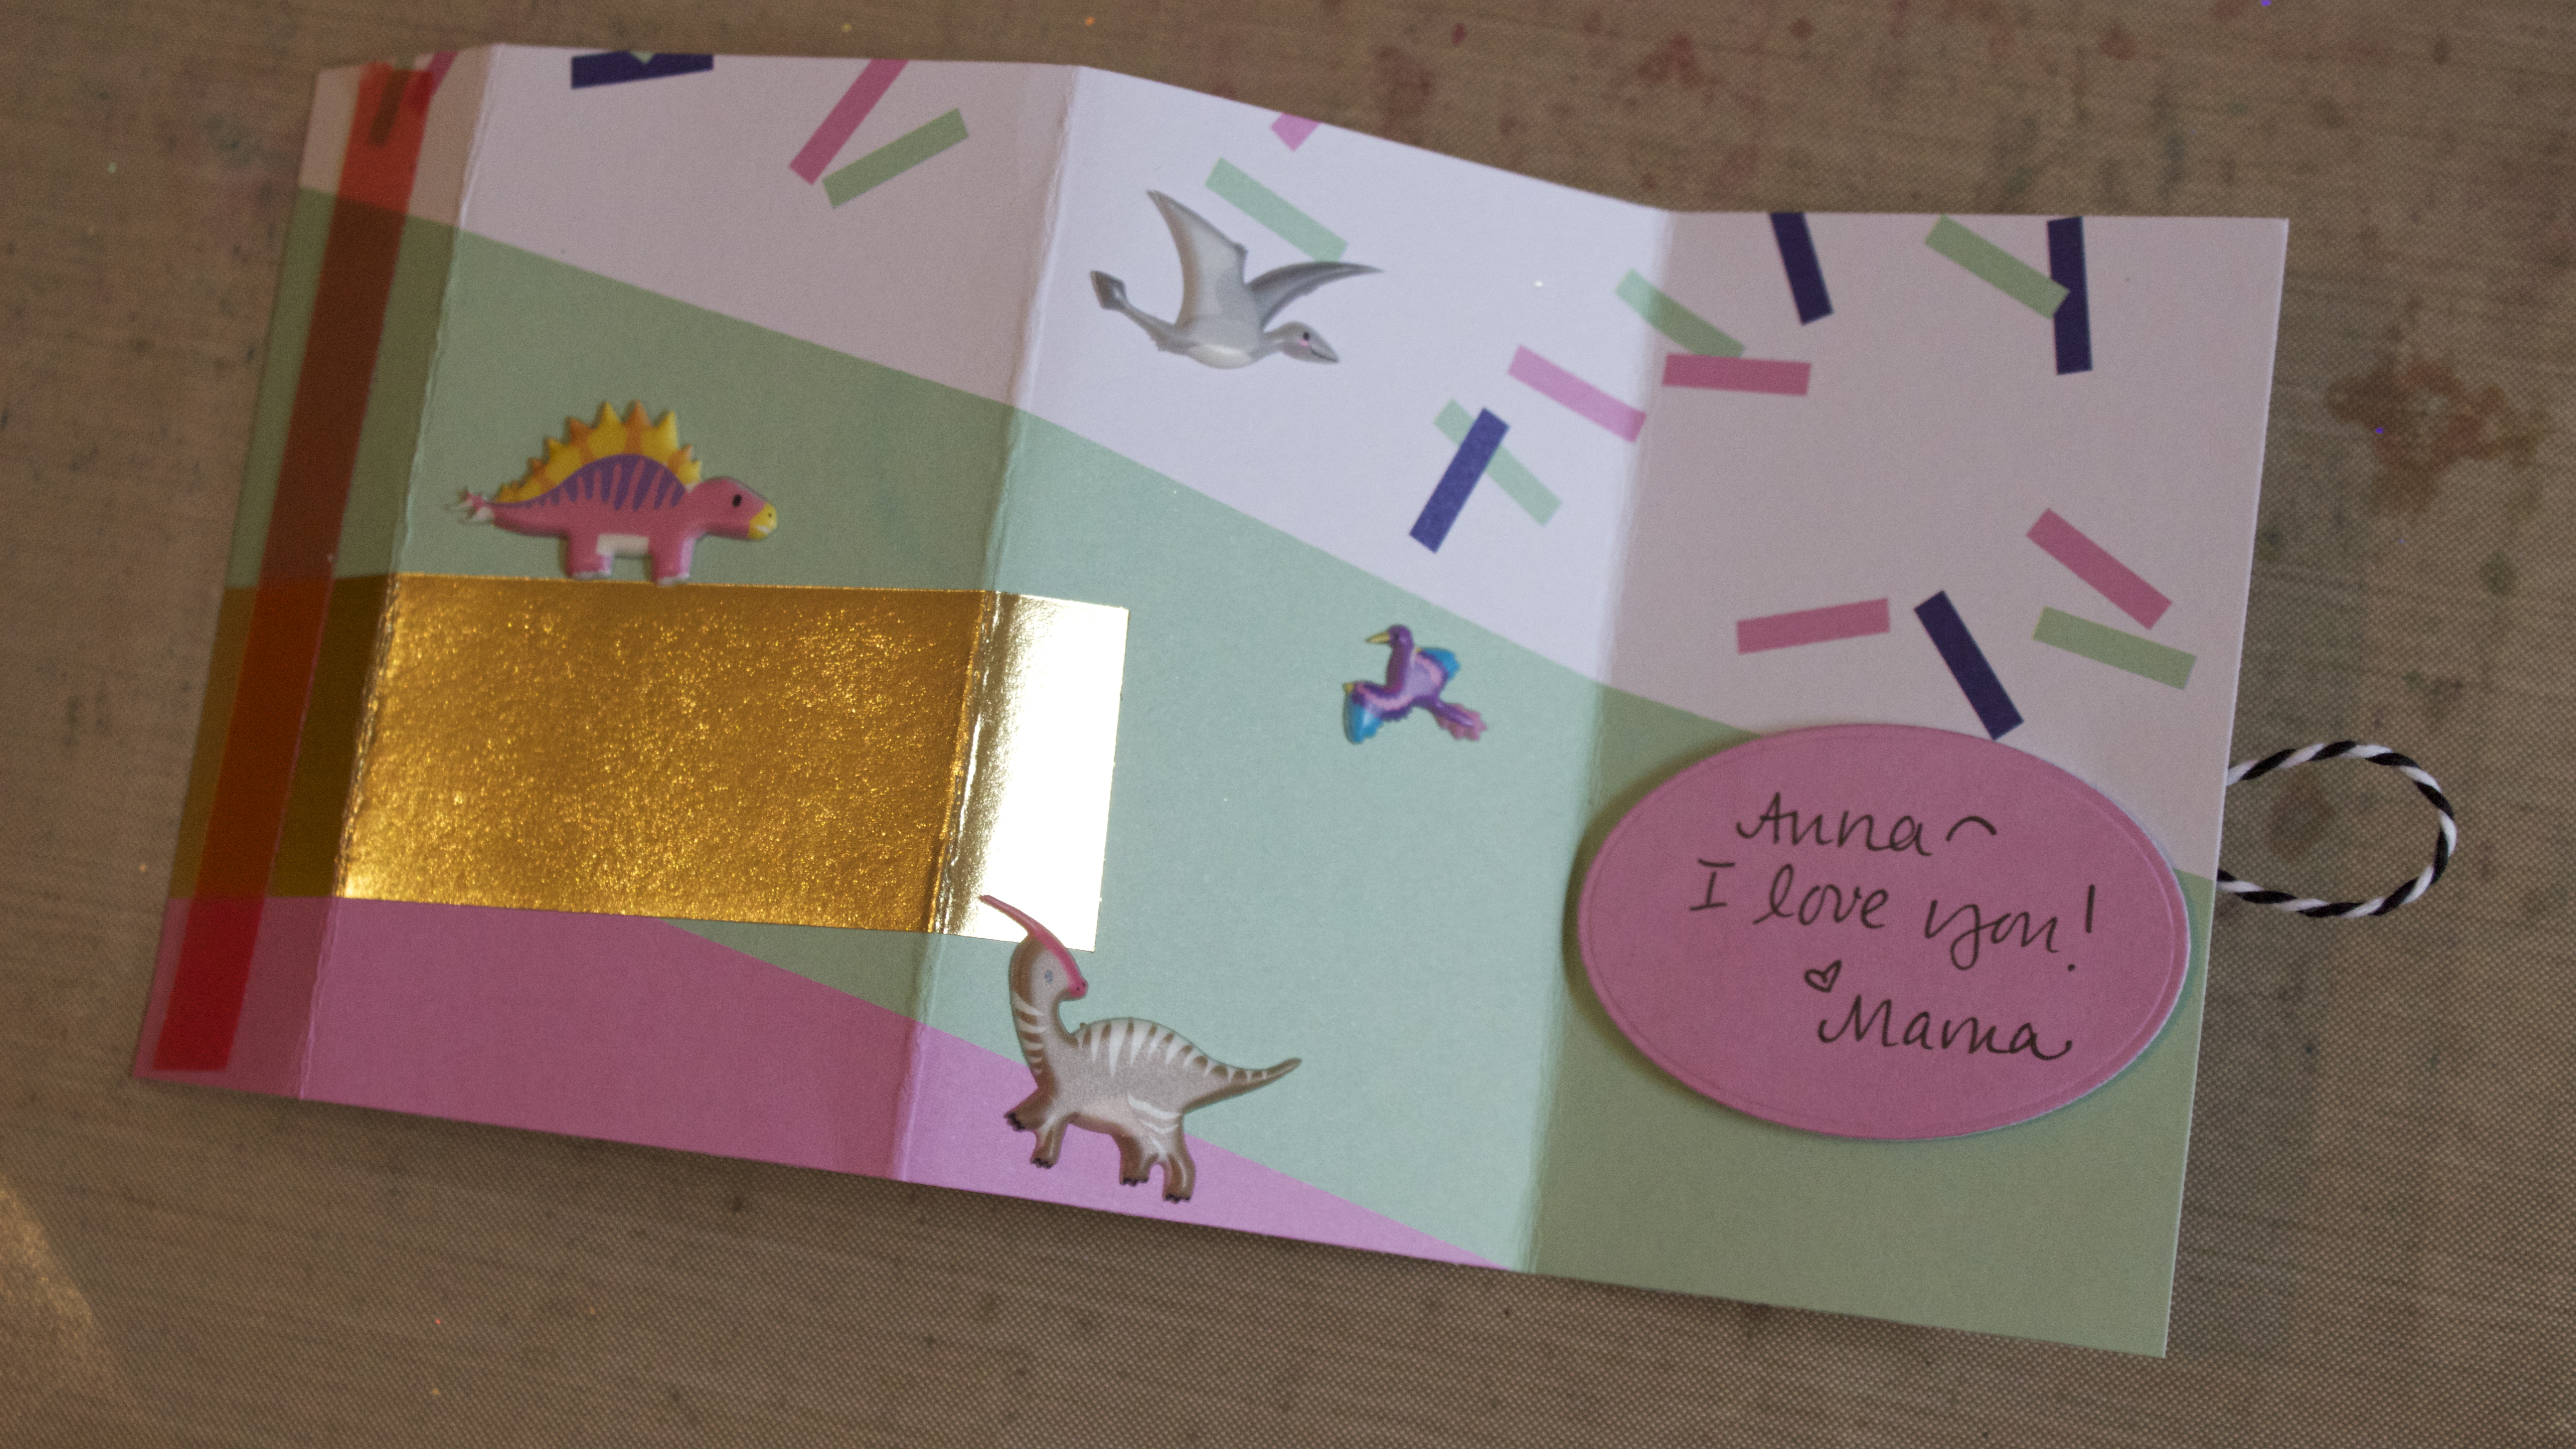
8. The folded strip will be easy to pull out of the box if you add a loop of twine—the twine is held on with a foam-taped label die.
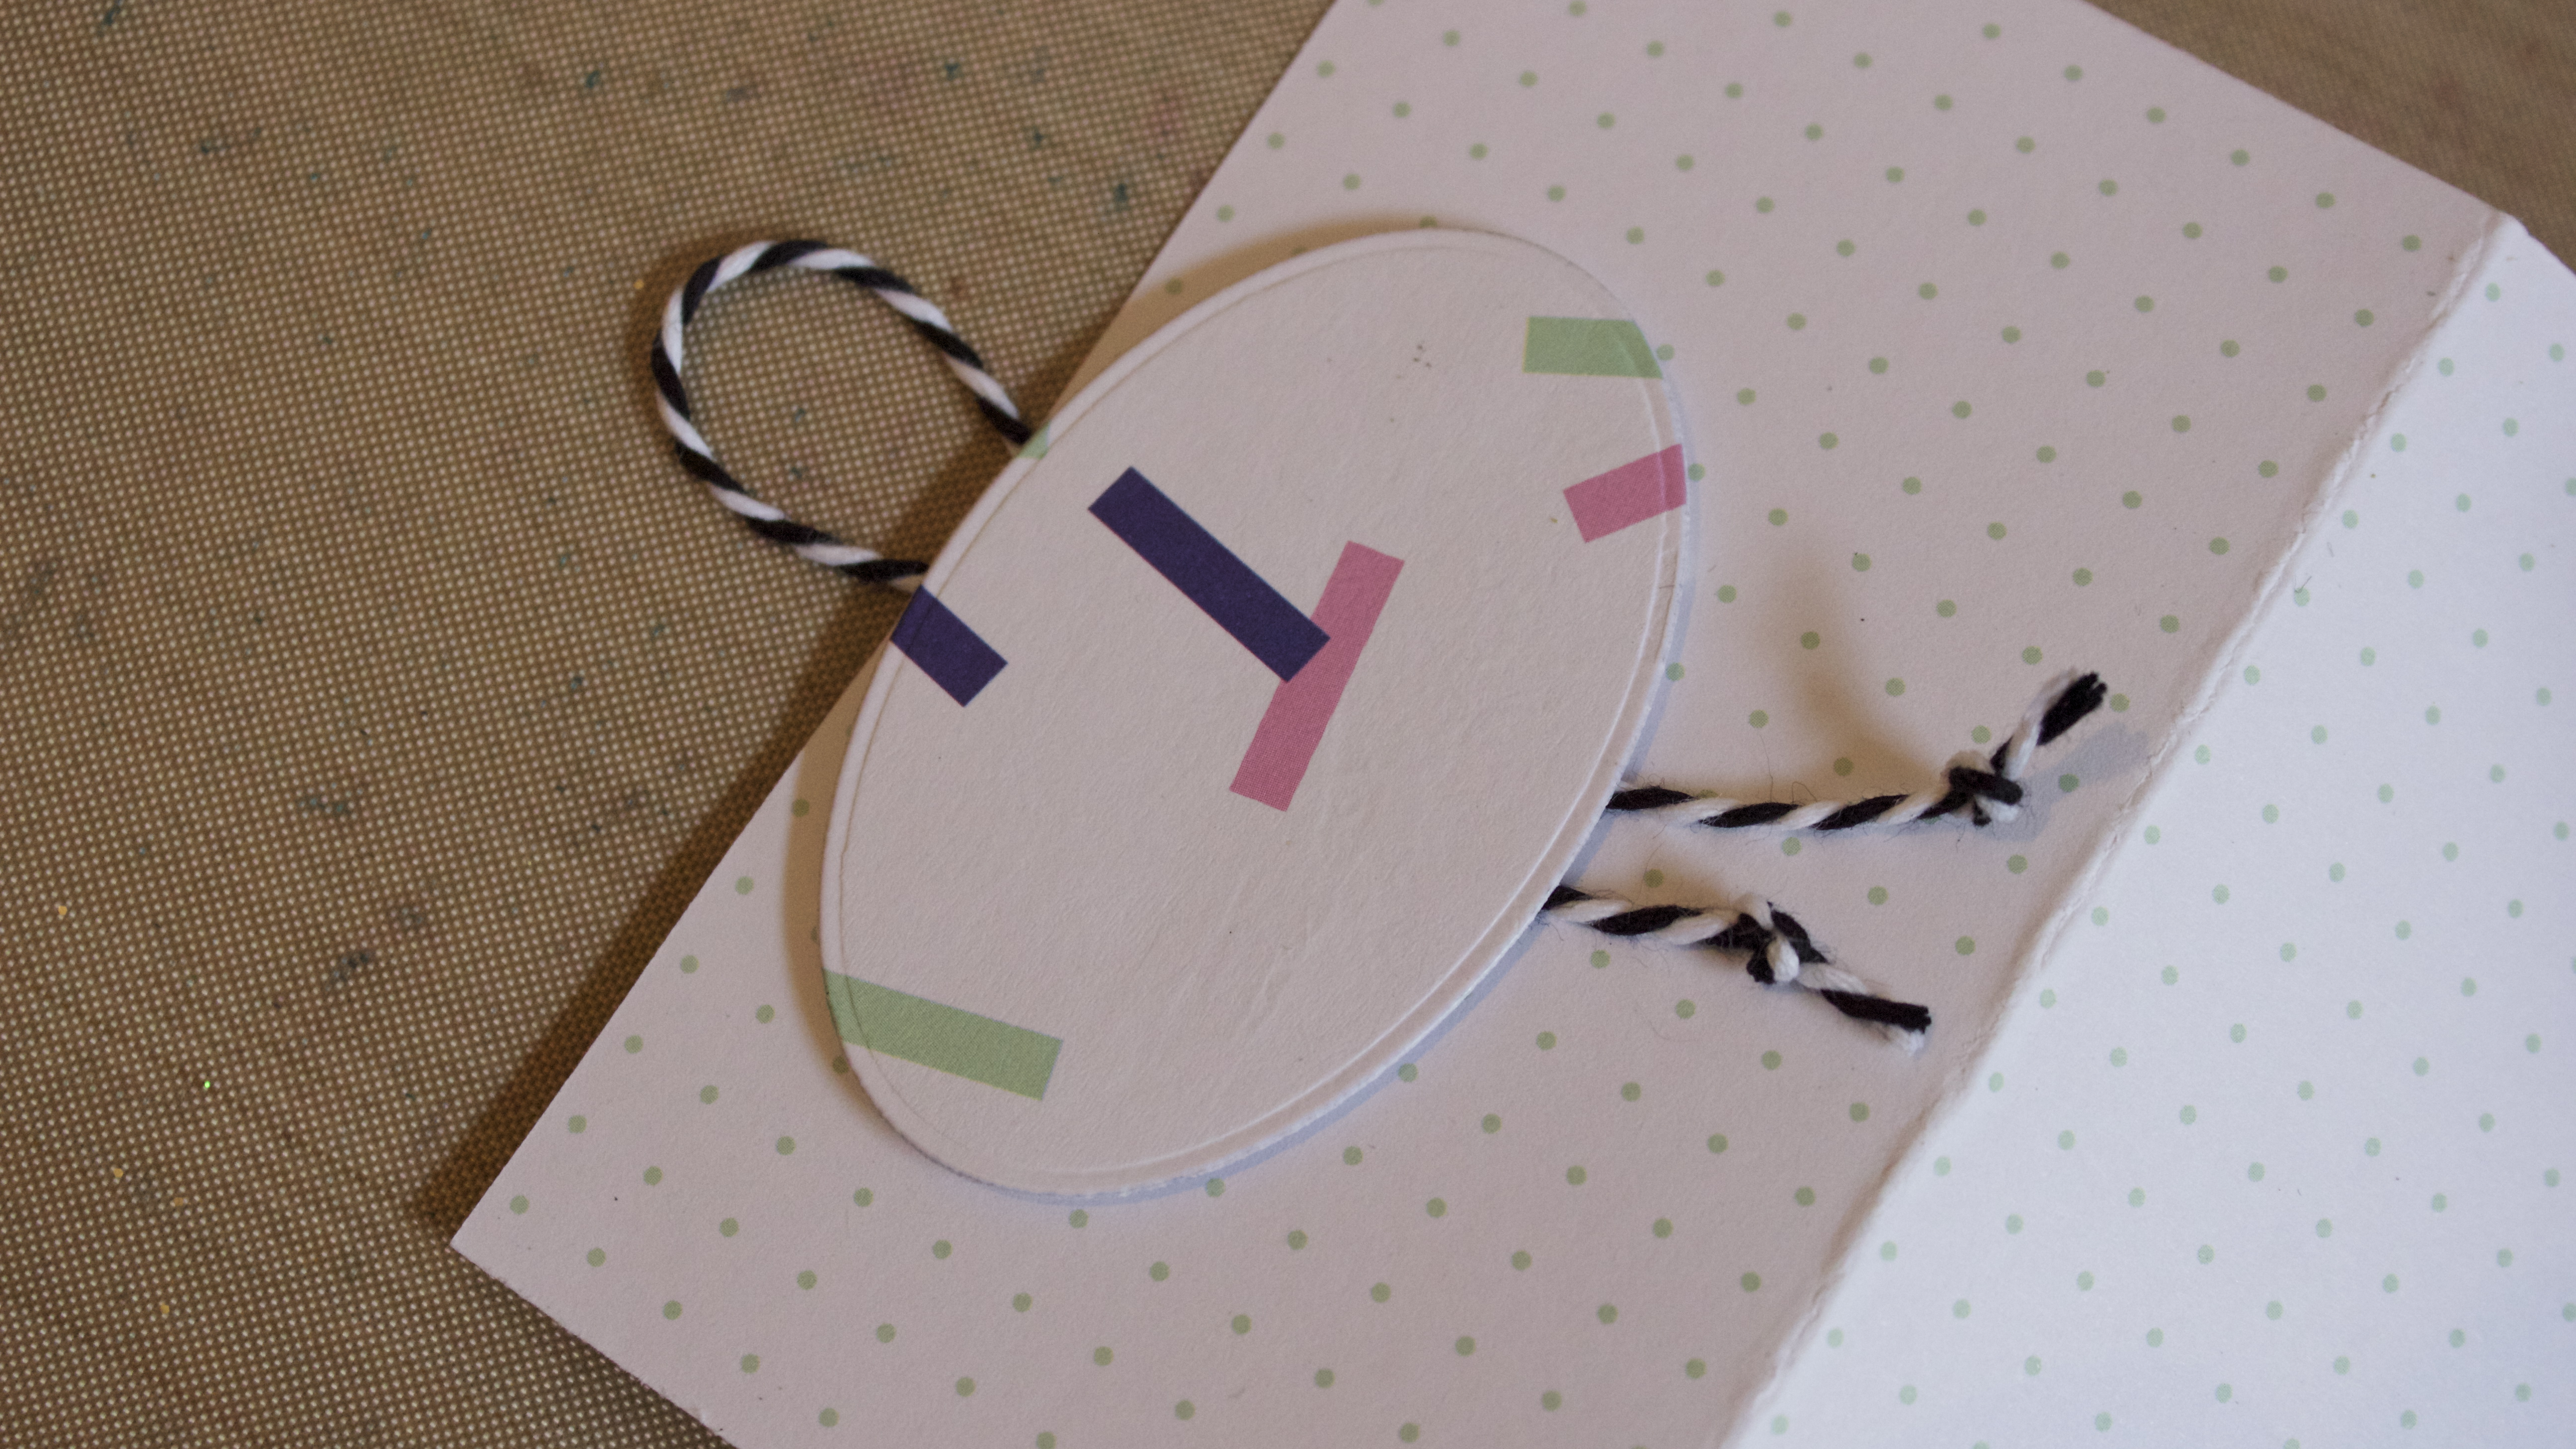 9. It will look like this!
10. Slide the box inside the wrapper, then decorate the outside with stickers and a bow. Place other small treats (like dino erasers, small candy, etc) inside.
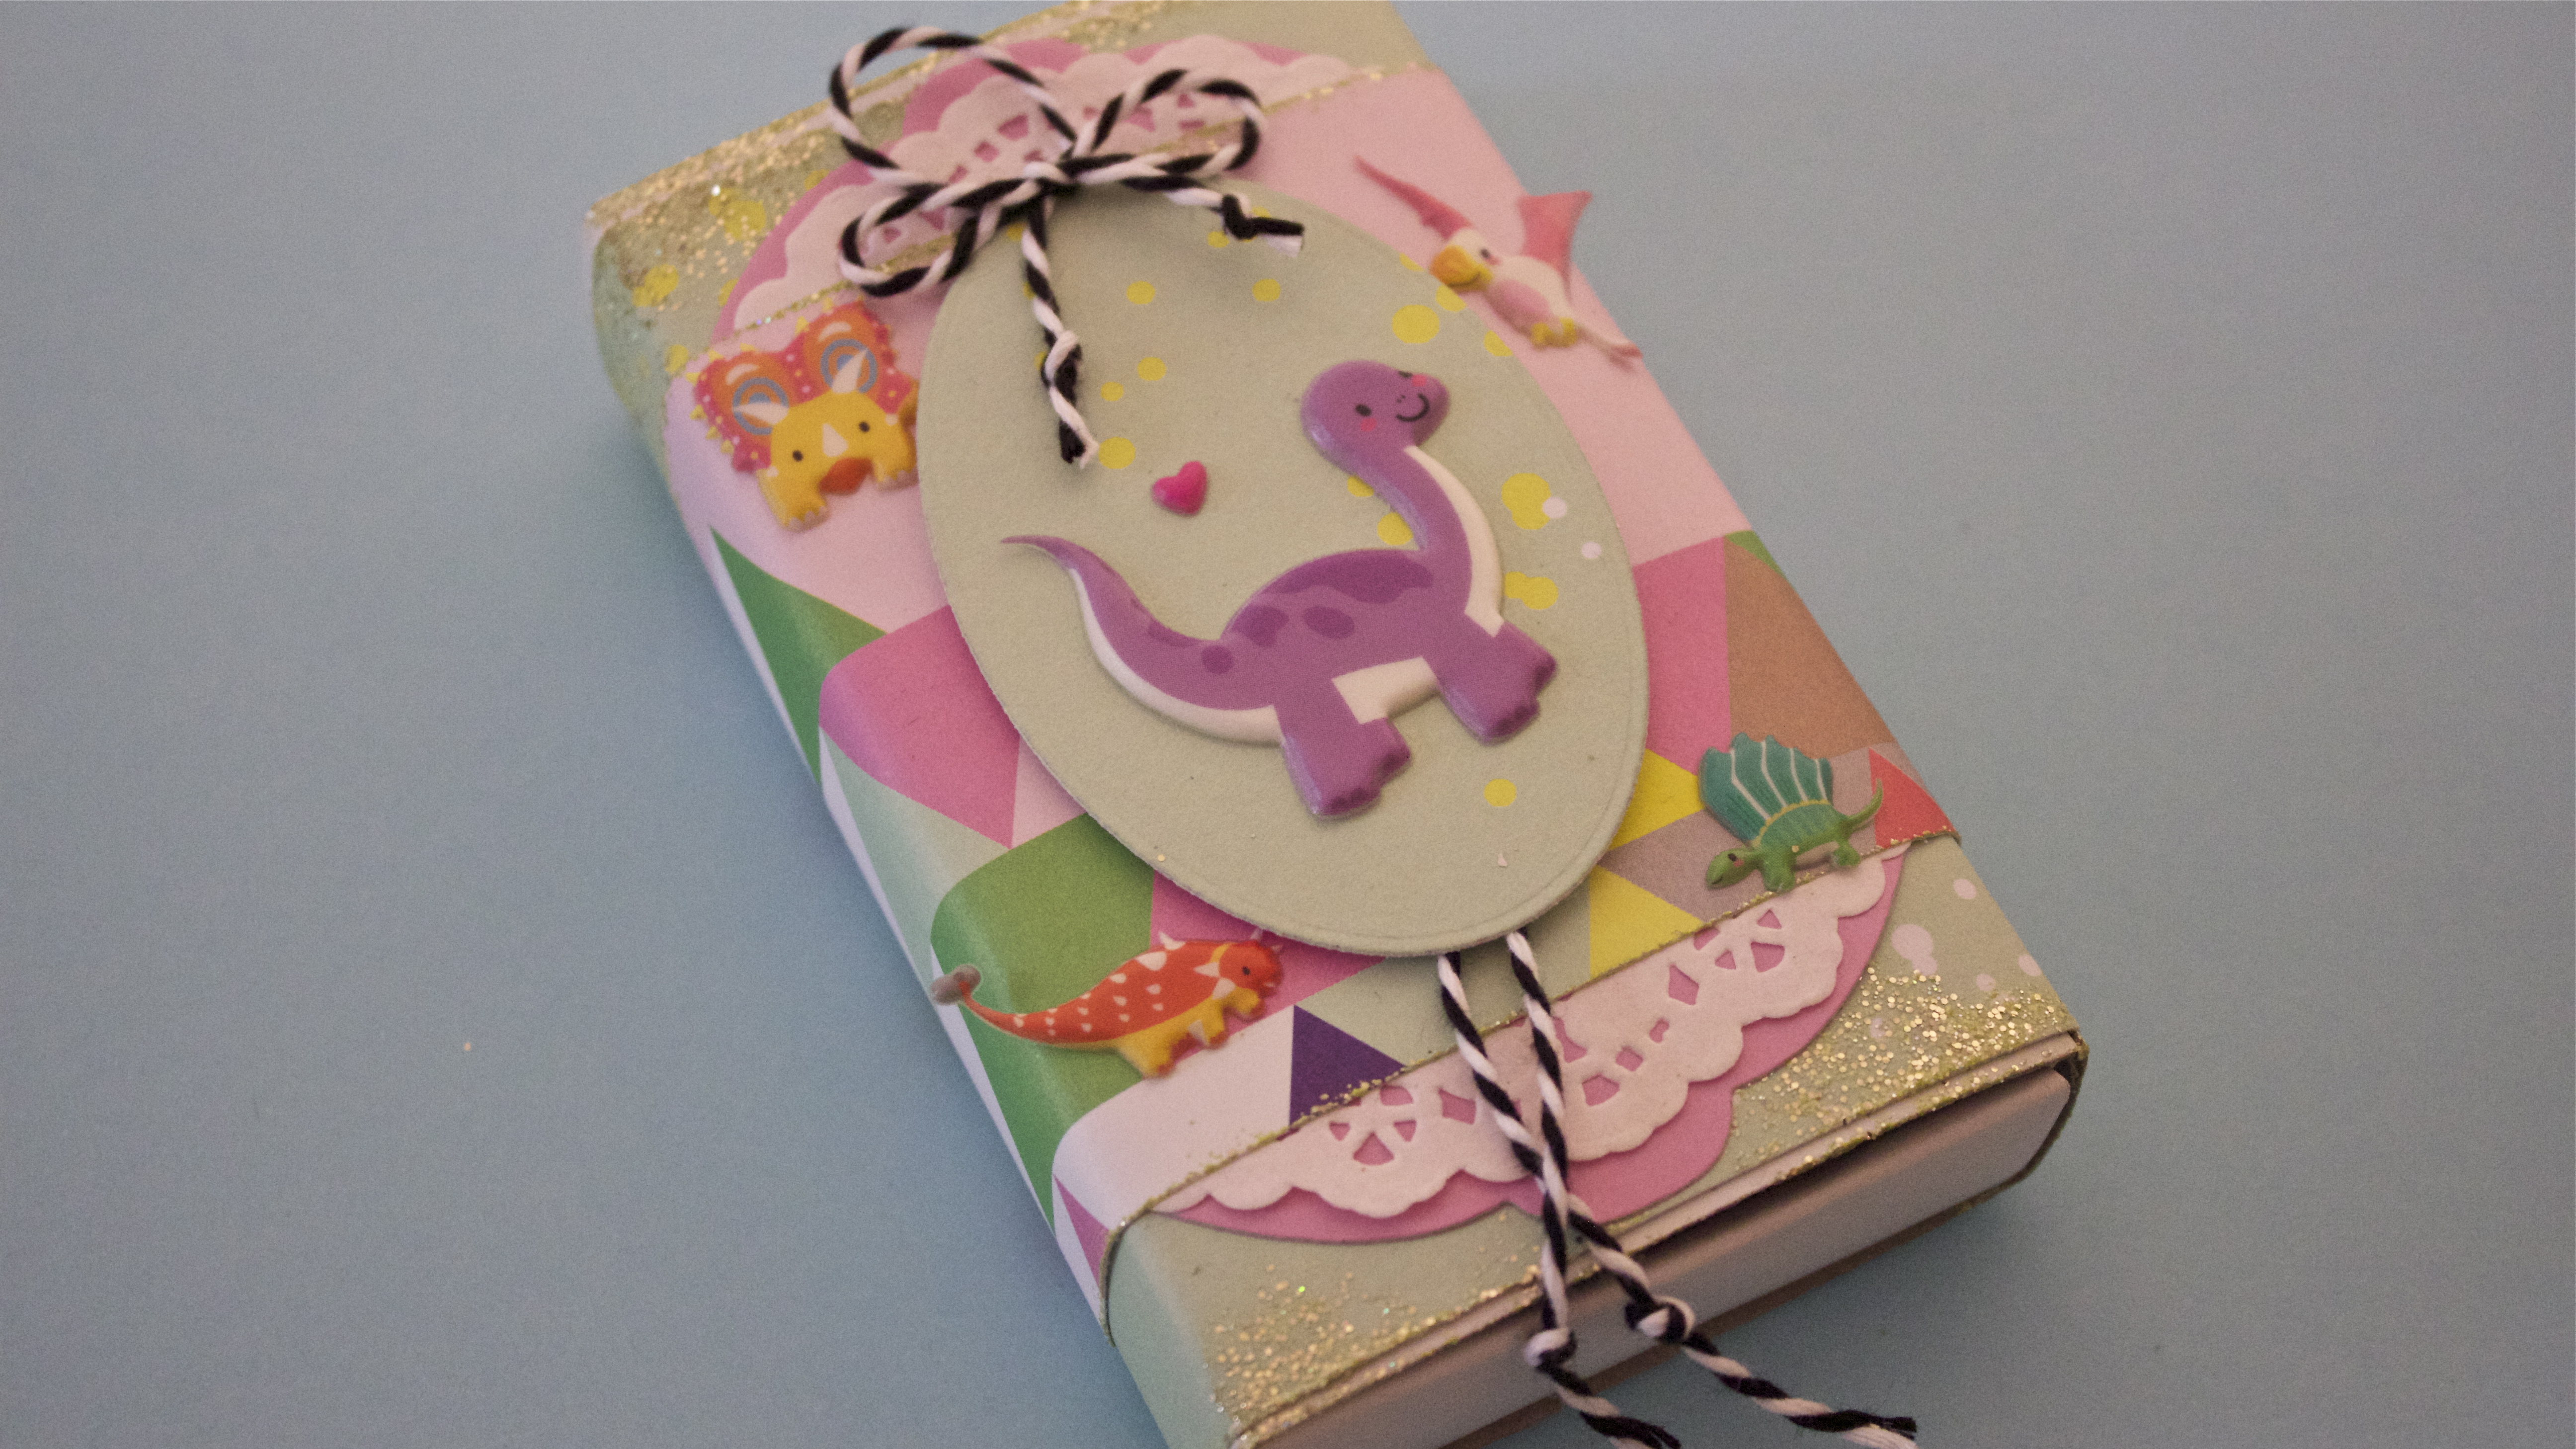
The box can slide open to reveal the folded message inside.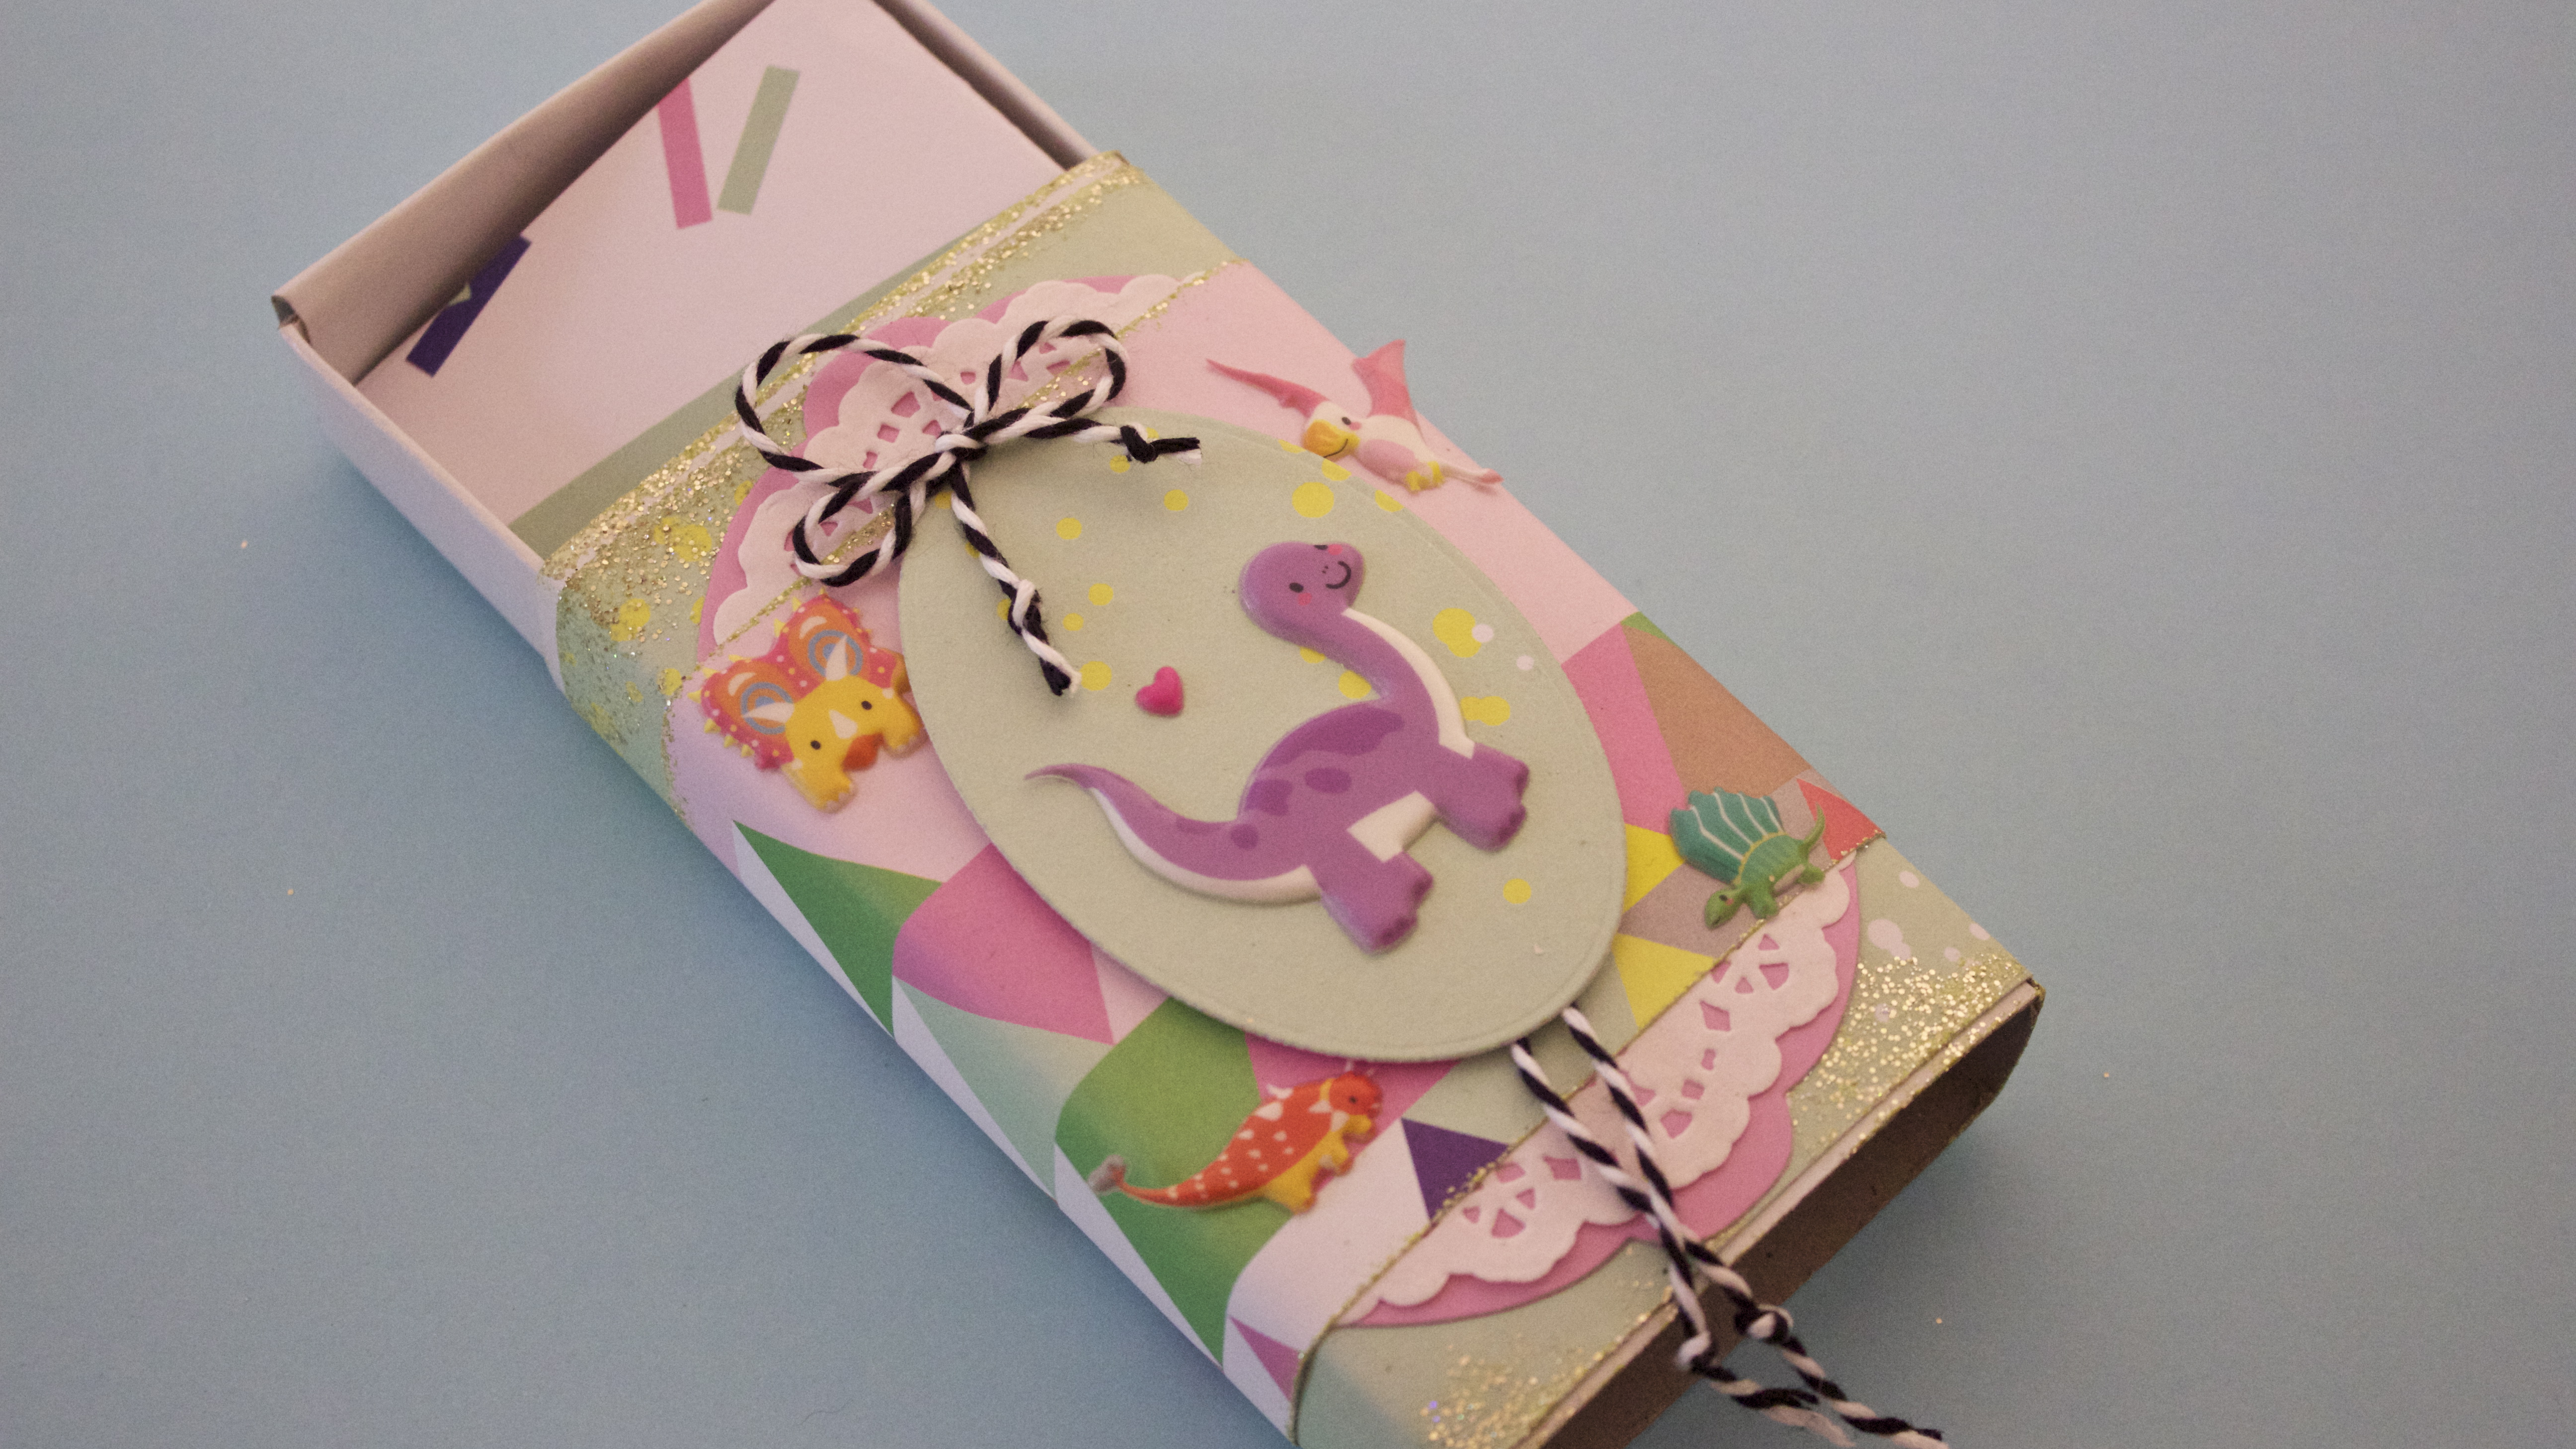
Here’s a little close up—
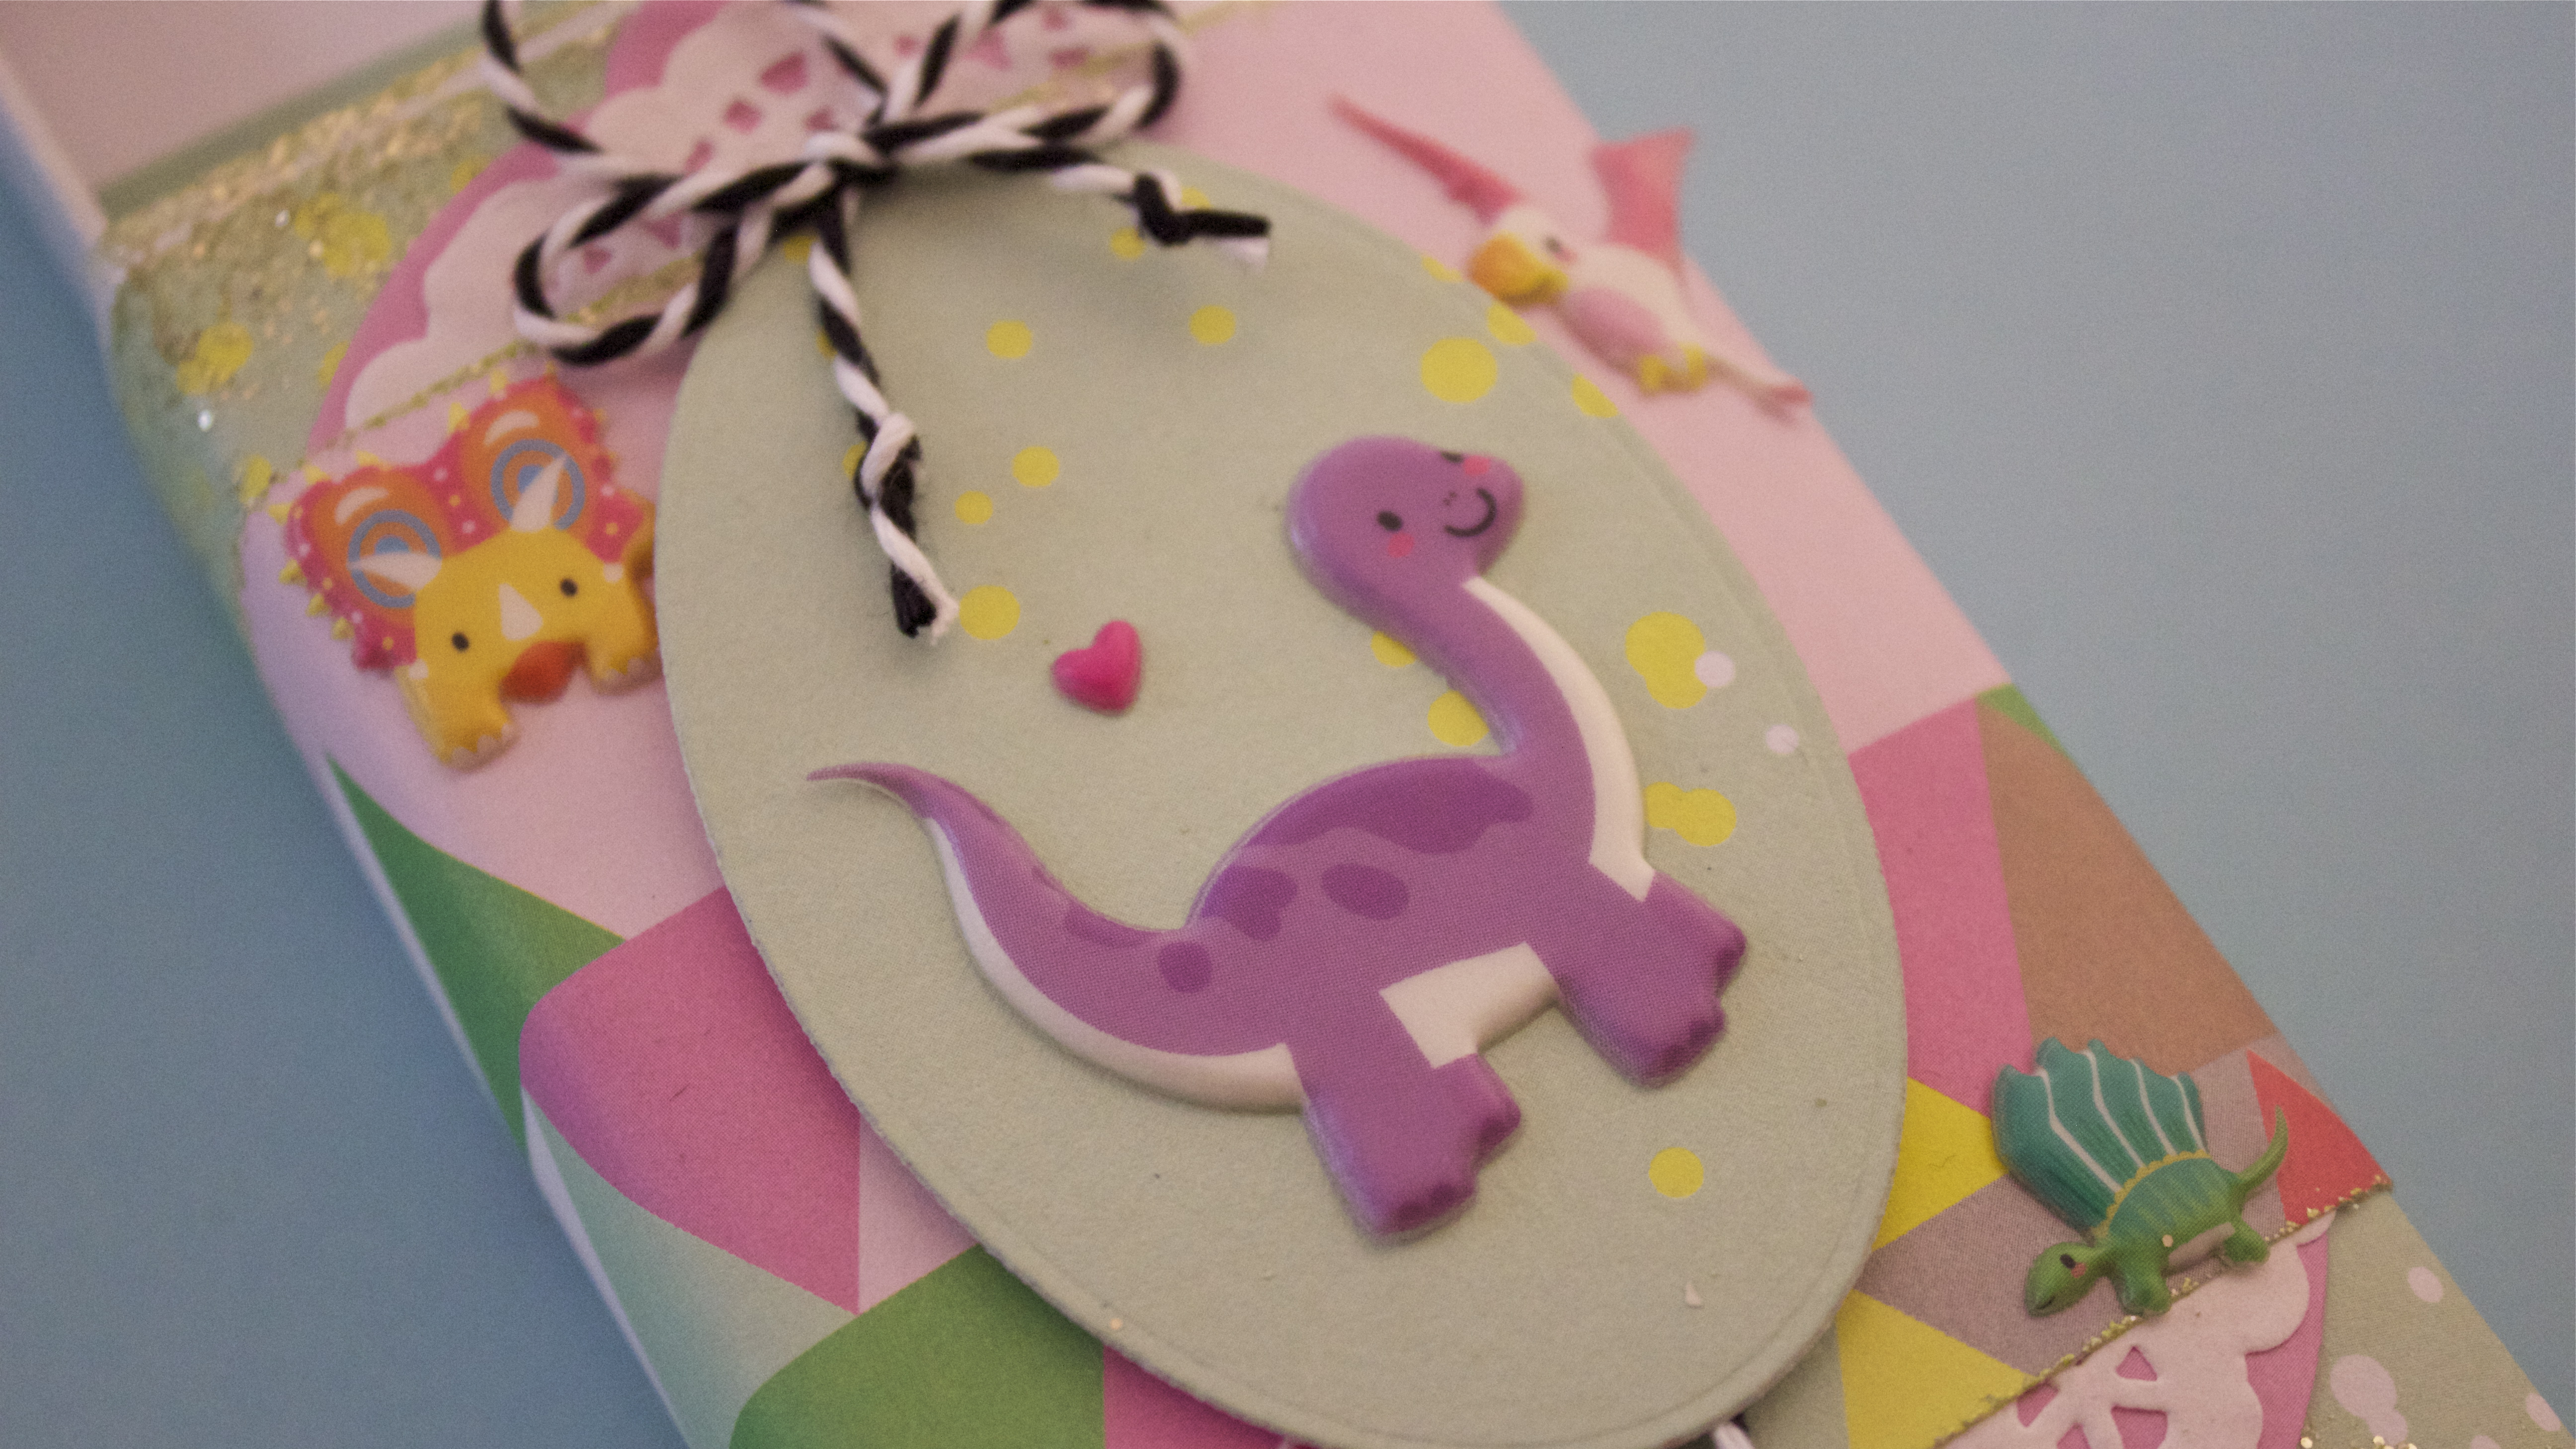
The best thing is how easy this was to create….easy enough that I think it could be a great craft with kids, as well as a special surprise for someone (kids and adults!).
