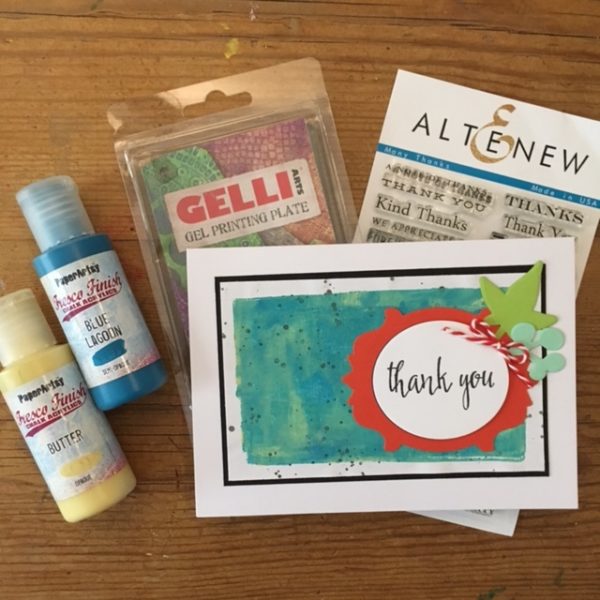
I’ve had loads of questions on how to create monoprint backgrounds for cardmaking, so I’m really pleased to share a gel print video with you. Today on Studio SN on You Tube: Gelli Plate Basics!

Gelli Plate Basics, what you need—
- Gelli Arts Gel Printing Plate 3″x5″
- Acrylic paints: Butter, Blue Lagoon (PaperArtsy)
- Brayer
- Stamps: Many Thanks (Altenew)
- Dies: Framed Dies; Freeform Greenery (Altenew)
- Black inkpad
- Cardstock: White, red, mint green, lime green, black
- White copy paper
- Red and white bakers twine
- Waterbrush for spattering

Gelli Plate Basics, how to do it—
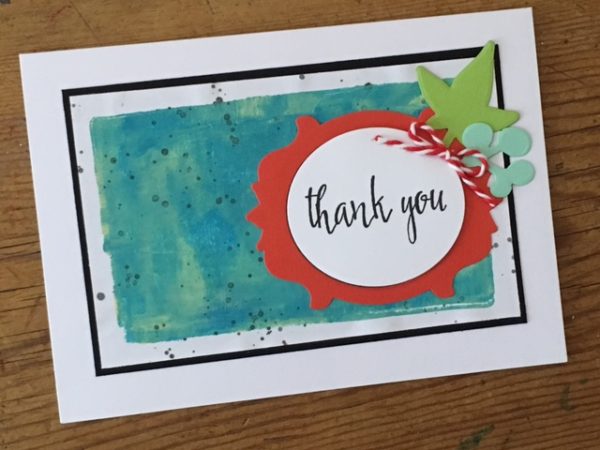
Brayer the gel plate with Butter. Add Blue Lagoon. Press with a piece of copy paper, smooth and lift. Set aside to dry. Add more paint and create additional monoprints if you wish.
Make a watery wash of black ink, then use the waterbrush to spatter onto the monoprinted piece. Let dry, then trim and mat onto black cardstock before glueing onto a card blank. Stamp the sentiment on white card andd ie cut into an oval, then arrange on the card front with a red die-cut frame and green leaf die-cuts.
That’s it—easy! To watch the step-by-step video, pop on over to the Gelli Print Basics segment on You Tube. See you next Wednesday for more with the Gelli Arts gel printing plate!


