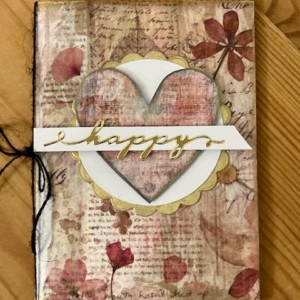
This week on Studio SN on You Tube: How to Make a Paper Journal with ICE Resin®!

I adore working with ICE Resin®—as many of you know, I make jewelry and frequently use it to set bezels and charms. But this two-part epoxy is great for papercrafters who don‘t make jewelry. In fact, it’s up there as one of my must-have paper crafting supplies.
Yet I know it can also seem a little foreign to a lot of people (“Resin??? Like, glue???”) or dangerous (“Are the fumes awful?”) or just difficult (“Will I make a mistake?”). I wondered about all of these things the first time I used resin, and was actually kind of paranoid/overly cautious about mixing and applying it. I basically had to have complete silence since I was focusing so hard!
But practice makes perfect and the cool thing is that using resin on paper is actually super easy—it’s a lot easier and simpler than filling a bezel with it. For one thing, you don’t have to worry about air bubbles. For another thing, the application is a cinch and takes just a few minutes. A little resin goes a long way, so you get a lot for your money. As for the dangerous part? It’s non-toxic when cured. I wear gloves while working with it and have to say the smell is not bad at all.
So why would you coat your paper with resin? A few reasons: First, it makes the paper translucent, so you can layer it on top of other papers to get a dimensional look. Second, it makes your paper sturdy. This is especially important for those of us who make journals—it drives me nuts to have a paper cover that gets all tattery the first few times it’s handled. And third, it means you can extend the life of your delicate papers: Vintage maps, old book papers, even napkins become strong with a coat of resin.
Here’s what you’ll need:
– ICE Resin (a 1 oz syringe is a great place to start)
– Stir stick and measuring cup (scroll down the page to see)
– Craft sheet from Ranger
– Paper napkin
– Kitchen sponge cut into 2″ pieces
– Plastic gloves
– 1/4″ hole punch
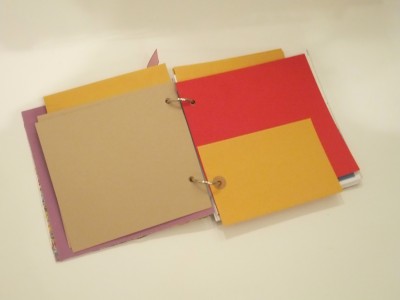
– For the journal: Metal rings, paper/cardstock and tags or coin envelopes, metal bookplate and initial stamps, ribbons
Here’s how to make it:
1) Mix the ICE Resin® according to manufacturer’s instructions. Don’t worry if you have air bubbles in your resin—they’ll dissipate as you apply the resin to your paper.
2) Cut the napkin piece down to the size of your journal cover, put it on your craft sheet and dip the sponge into the resin. Apply the resin to the napkin, using short strokes from the center out to the edges.
3) Turn the napkin over and repeat on the other side. Repeat with the second napkin for the back cover.
Note: You’ll have a lot of resin left over so grab a few more pieces to coat!
4) Let the papers dry for 6-10 hours (I leave mine overnight), then put the two covers together and hole-punch for the binding. Stack your papers and tags or coin envelopes accordingly, and punch the holes again. Choose a paper that looks nice under the resin cover–either white to show off the pattern on the napkin, or a stamped or patterned paper.
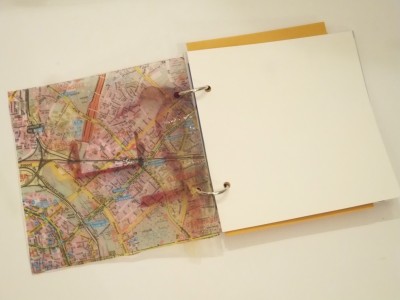
5) Insert the metal rings and tie with ribbons. Add a metal bookplate to the cover and stamp your initials on a piece of paper then insert into the book plate. And you’re done!
Want to see the video demonstration? Then pop on by Studio SN on You Tube!
Hope to see you there!

