Today on Studio SN: Stamping with Eclectica and Grunge Paste featuring the {drumroll, please!} new Eclectica stamps from PaperArtsy!
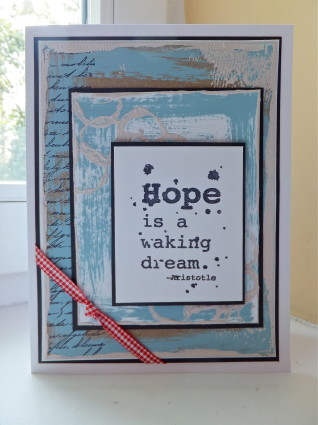
Yes, I am just the tiniest bit over the moon to share the newest Eclectica stamps with you—plus my new love, Grunge Paste. (How have I gone so long without this stuff? How, how???)
But on to the project…you can see the video tutorial for it on my Studio SN You Tube channel, and you can also see it on the PaperArtsy You Tube channel. Now, if you’re new to PaperArtsy, you will want to go get a nice cup of tea or something and give yourself some time to see all the amazing videos, blog posts, projects and resources they have available. Leandra is one of the best teachers in the industry and her team creates among the best papercraft/mixed media tutorials out there. So don’t say I didn’t warn you when you realize you’ve been glued to their site for much longer than you expected!
(Oh yes, and if you like the new Eclectica stamps, you can pick them up at your favorite PaperArtsy stockist in the UK or Europe—if you’re in the US or Canada, The Frantic Stamper has all of them in stock. Here’s where you can find ESN10, the one I used for this project.)
I like creating a lot of texture and dimension on my cards—but I’m actually kind of a minimalist when it comes to layout, so it can be a balancing act to incorporate all the cool paints and mediums without overwhelming the design. (Or creating a massively heavy card!)
But I cannot—simply cannot—resist Grunge Paste. This is the first time I’ve used it and I confess it’s sort of taken over my little studio. You can use it as is, but you can also color it with Fresco Finish paints, including my if-you-love-it-so-much-why-don’t-you-marry-it favorite, Mushroom.
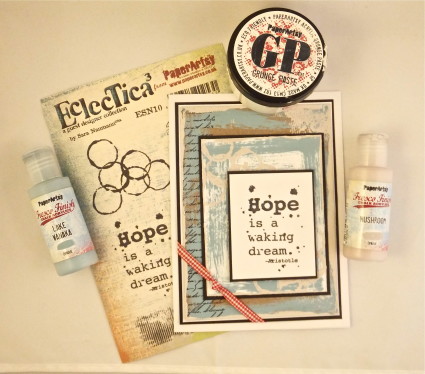
You get texture, you get dimension, you get style—but you can still keep it pretty minimalist in terms of design. Here I’m using the ESN10 stamp set, which has lots of great texture designs plus a nice big quote so you can max up the backgrounds while still creating a bold focal design.
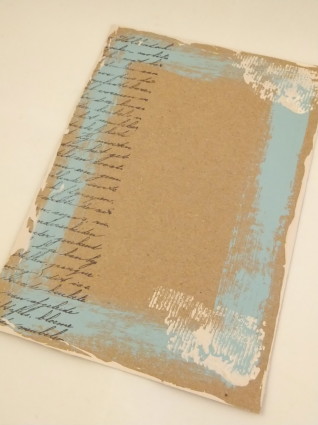
1. Use a stipple brush to swipe Lake Wanaka Fresco Finish around all four sides of a piece of kraft cardstock. Let dry. Use Jet Black Archival ink to stamp the script border along the left side.
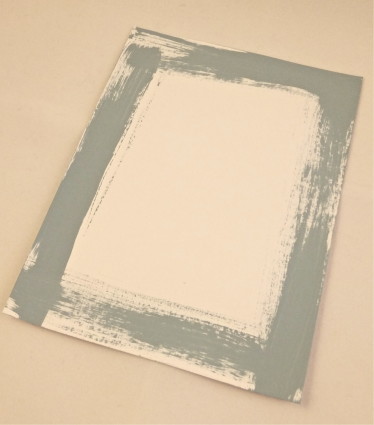
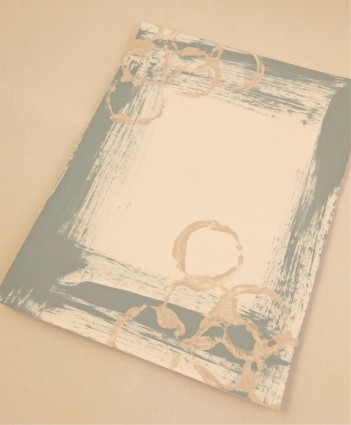
2. Repeat the stipple brush painting with Lake Wanaka Fresco Finish on a piece of white cardstock.
3. Add a bit of Mushroom Fresco Finish paint to Grunge Paste and mix thoroughly. Use a palette knife to apply the mixture to the circles stamp and stamp in the top left and bottom right corners of the white cardstock. Let dry.
4. Repeat to stamp the texture design with Mushroom Grunge Paste at the top and bottom corners of the kraft cardstock. Use the palette knife to add more painty Grunge Paste around the edges. Let dry by placing it on top of the Grunge Paste jar so the edges dry without sticking to anything.
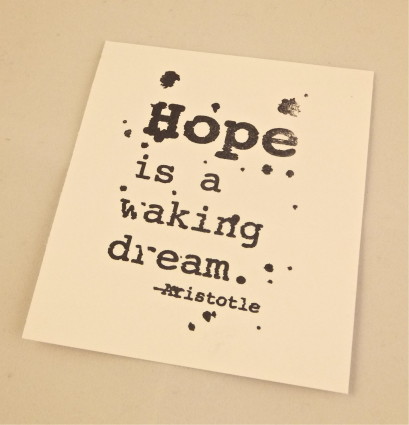
5. Use Jet Black Archival to stamp the sentiment on white cardstock.
6. To assemble the card: Mat the stamped sentiment on black and adhere to the circle-stamped cardstock piece with foam tape. Mat on black card, then on the kraft paper piece. Mat on white, then black. Tie a knot in a piece of red gingham ribbon and wrap around the bottom corner. Mount onto the card front.

I hope you enjoyed the project as much as I did! Remember, you can see a video tutorial for this project on the Studio SN You Tube channel or on the PaperArtsy You Tube channel.
Thank you also to the wonderful Leandra and PaperArtsy for letting me share this project with you here!
PS. Love the ESN10 set? UKers and Europeans can pick them up at your favorite PaperArtsy stockist—if you’re in the US or Canada, please check The Frantic Stamper for ESN10.

