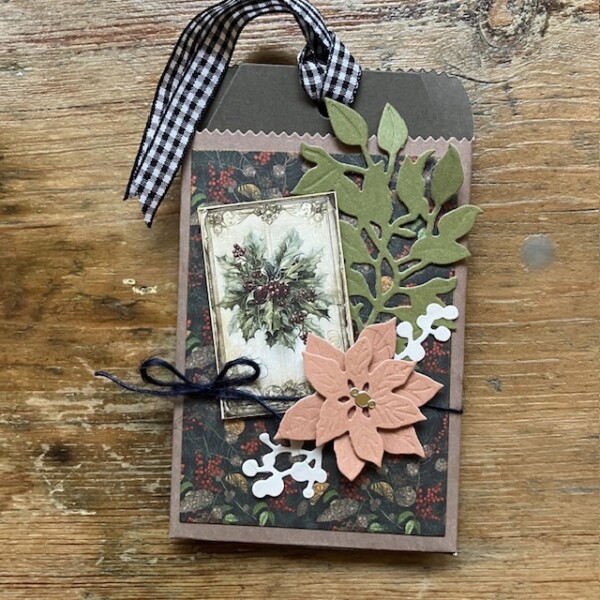
I love a Tag in a Bag project—and as you can see, I’m still getting maximum use from the kit components from my BellaCon Christmas class. (While the BellaCon event is over, you can still sign up and take all of the classes!)
Those who did attend probably remember me showing this as a bonus project idea, to share another way to use the papers and poinsettia dies in the class kit.
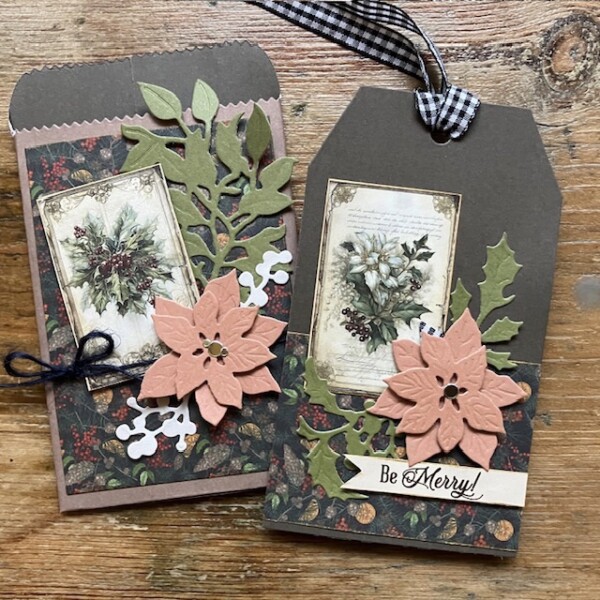
I used brown card stock from the Christmas Past card stock pack for the bag, then added patterned paper and the floral cut-out from the Christmas Past 6″x6″ paper pack. The die-cut poinsettias and the foliage are from the Christmas Past dies set. Then for the poinsettia centers, I used Gold Mirror Jewel Dazzle stickers. These supplies are available as a class kit for a lower price, too. (The Tag in a Bag die is sold separately.)
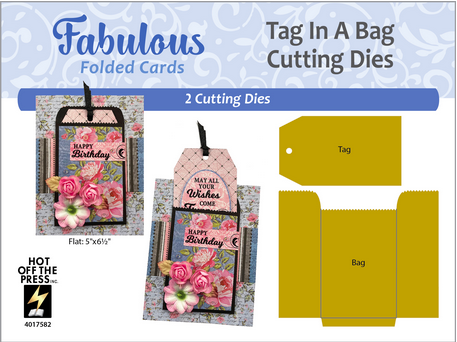
The Tag in a Bag cutting die is from Paper Wishes—this is a super-useful die, as you can use the tag and/or bag on the front of a card… or, present it as is, perhaps with a note, photos, recipe or small gift tucked inside. I love this option as something a bit different from a standard greeting card.
First, use the Bag die to cut the shape from brown cardstock. Then, trim down a piece of patterned cardstock slightly smaller than the front of the bag, and use foam tape to add the floral cut-out to the front. Wrap the bag with a piece of jute twine.

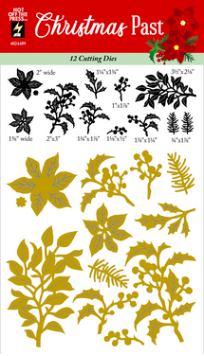
The dies I used to decorate the bag and the tag are from the Christmas Past dies set. I have found this set to be SUPER practical for Christmas cardmaking, and I think that large foliage piece —which you can see at the bottom left corner of the die set— can easily be used all year long.
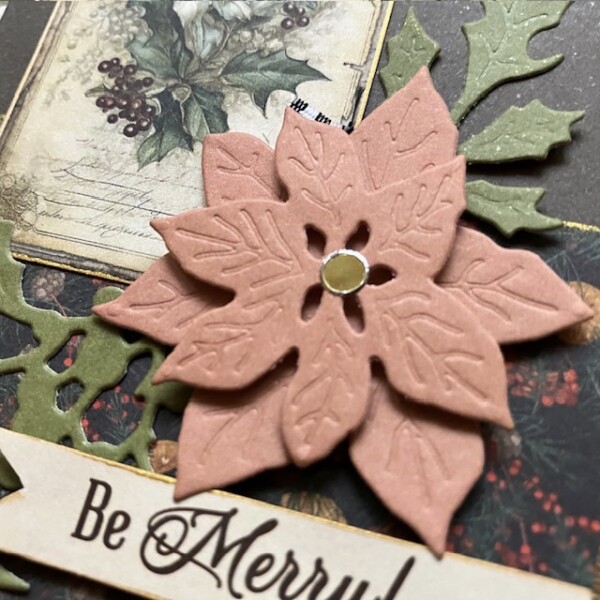
The poinsettias are cut from a salmon-pink cardstock, layered with foam tape and then foam-taped to the bag front. I added the foliage die-cuts and then some Gold Mirror Jewel Dazzle stickers.
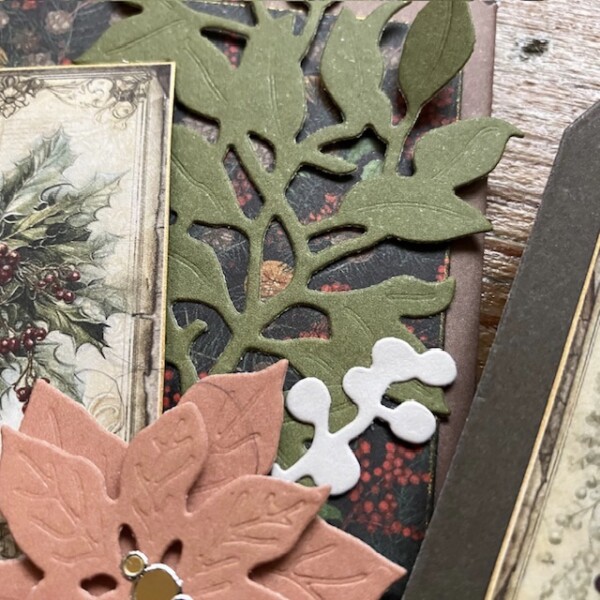
I die-cut the tag shape from brown cardstock, then cut a strip of patterned paper to add to the bottom.
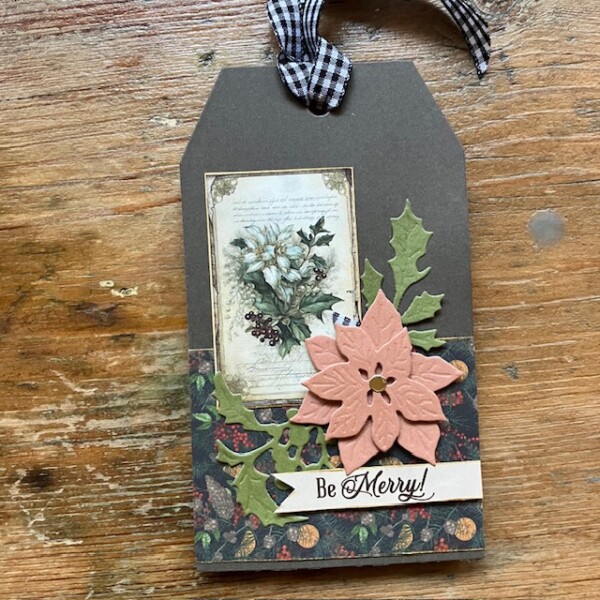
Another floral cut-out plus more layered poinsettias and a cut-out message are the final touches.
I hope you enjoyed today’s project! See you next week!


