First—it’s nice to be back in town after a busy summer of family and travel. I’m home again in Germany and getting Anna back in school, getting my days reorganized, and looking ahead to cozier, cooler temperatures (after some *very* warm Oregon days!).
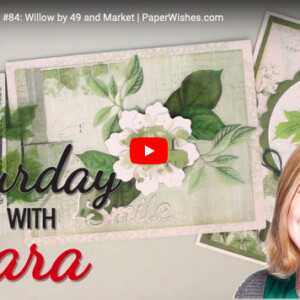
Earlier this week, I was making projects for a Webisode (airing September 23) using papers, laser cut embellishments and rub-ons from the 49 and Market Spectrum Gardenia collection… and it turns out I had a nice big pack of supplies left over. So this week I have some simple floral cards to share!
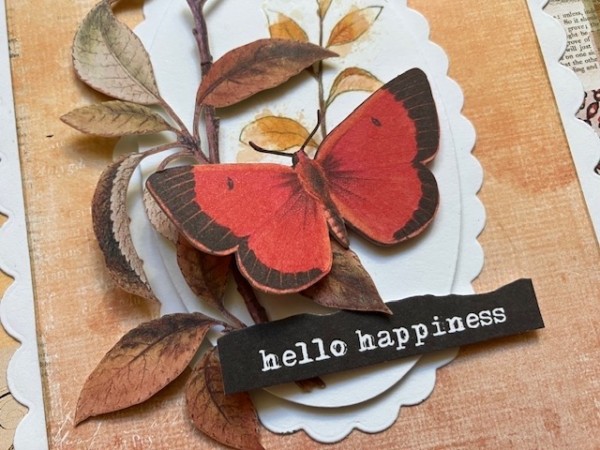
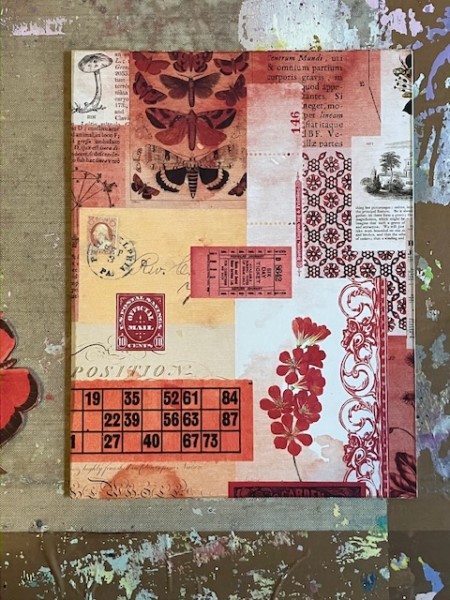
Hello Happiness: Simple Steps
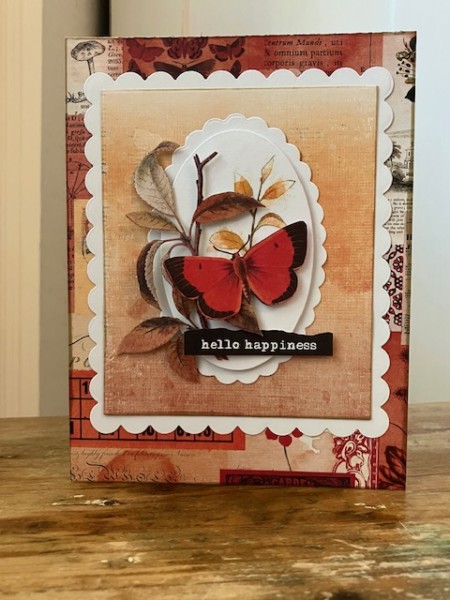
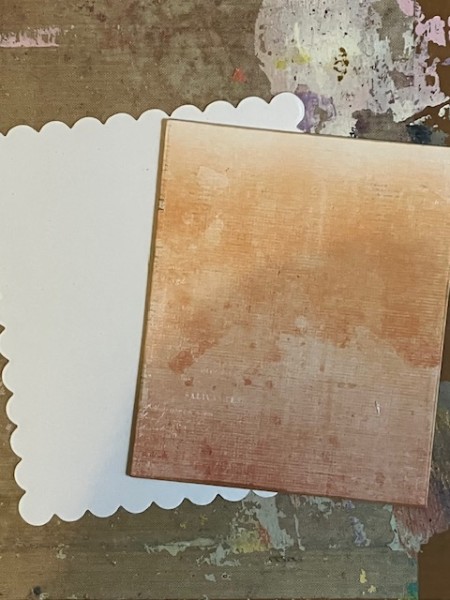
- Cover the card front with a sheet of collage-style patterned paper.
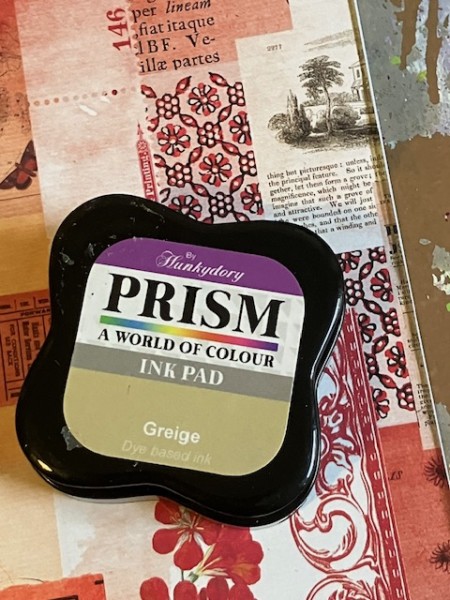
2. Ink the edges with light-brown ink… I’m using Greige.
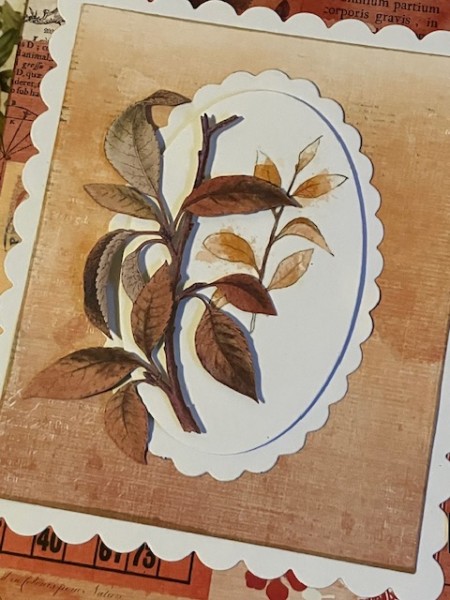
3. Die-cut a rectangle of orange patterned paper and ink the edges with Greige. Die-cut the nested scalloped rectangle and glue the two together. (I’m using the 12 Rectangles & Scalloped Cutting Dies from Hot Off The Press, a set which is in heavy rotation on my craft table.)
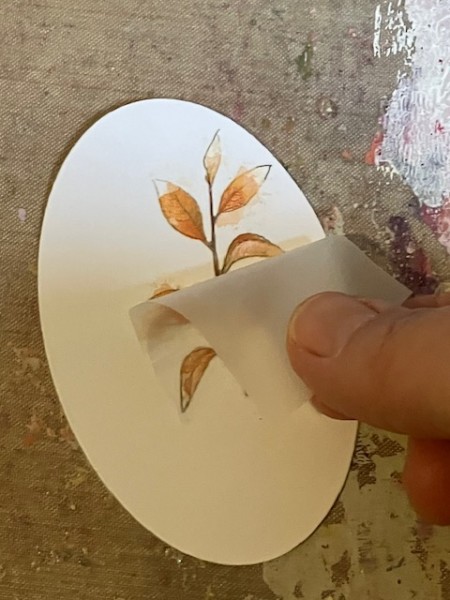
4. Die-cut an oval from white cardstock, then apply a rub on.
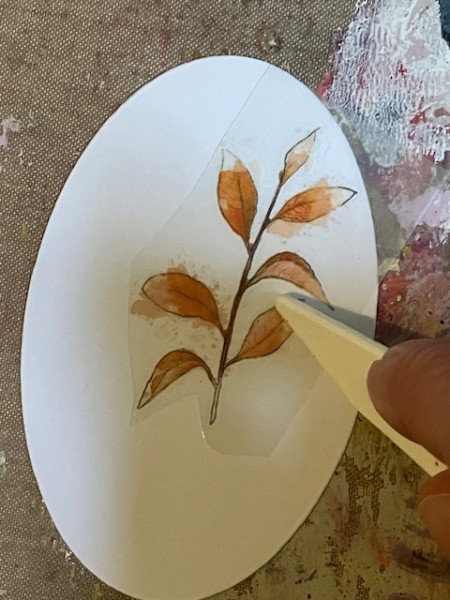
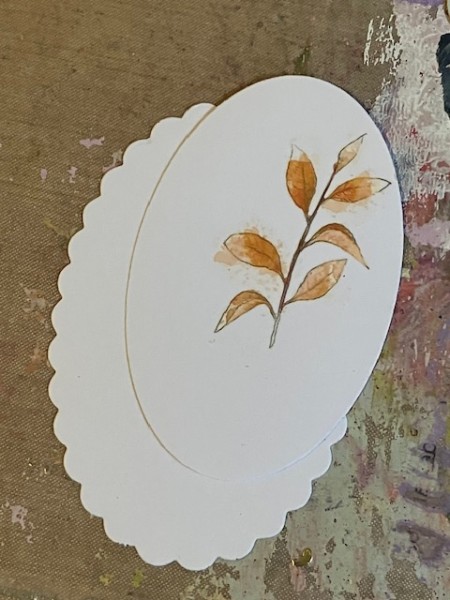
5. Use foam tape to attach the oval shape to a scalloped oval. The set I’m using is also from Hot Off The Press, 10 Oval & Scalloped Cutting Dies. Glue the oval to the card front and use foam tape to add a laser-cut leaf.
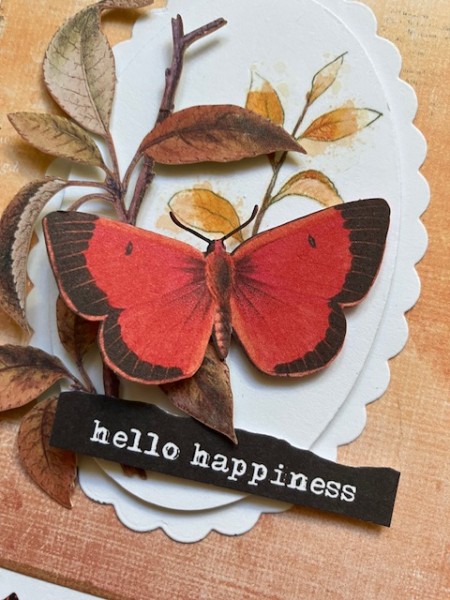
6. Add the butterfly and “hello happiness” laser cuts with foam tape.
That’s it… easy! And the design is one that can be swapped out to match a variety of colors, as well as different messages.
I had two thank-you cards to make for a volunteer group I’m part of—so I put my leftover Gardenia stash to work. Here they are—
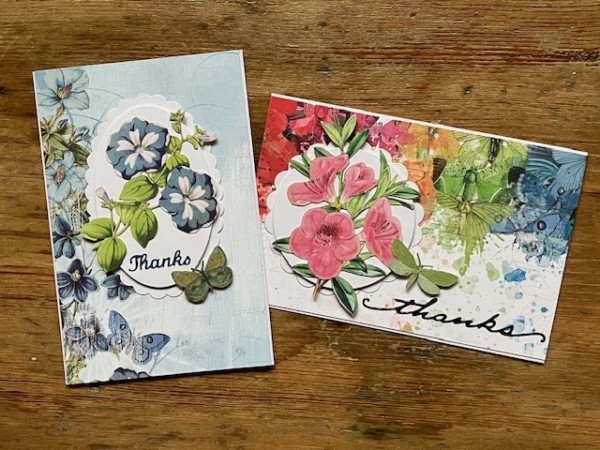
The cards here are a smaller format (4″x6″ rather than the previous card, which is 5″x6.5″), and I kept things flatt-ish because they were going through the mail. But the butterflies are popped up with foam tape, and so are the nested oval and circle die-cuts.
Thanks for stopping by today! See you again next week!