Today on Resin Jewellery Tuesday: Sparkly Glitter Hairpin with ICE Resin!
New to Resin Jewellery Tuesday? Each week we to explore a new project using ICE Resin® from Ranger. These projects are based on the resin techniques covered in my latest book from Search Press, How to Make Resin Jewellery.
This project is a fun way to create personalized hair accessories…and they’re so easy to make! Better still, if you have a little one who needs her hair pinned back. (Yes, they make great gifts, too.)
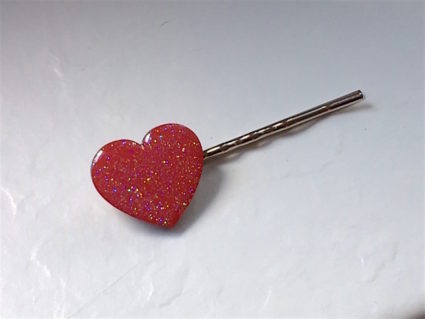
Glitter Hair Pin, what you need—
- ICE Resin® two-part epoxy (includes cup and stir stick)
- Disposable gloves
- Baby wipes
- Craft glue
- Wooden heart
- Red acrylic paint
- Clear fine glitter
- Silver bobby pin—10mm round pad
- Toothpick
- Flat paintbrush
- Plastic palette
Glitter Hair Pin, how to make it—
1. Paint the heart red. Let dry, then place on a flat surface.
2. Mix the resin, then add clear glitter. Use the stir stick to apply resin to the center of the heart shape. Use the toothpick to gently guide the resin to the edges. Let cure. Tip: Mixing glitter into the resin will make it a thicker substance, which is slightly less apt to overflow the flat wooden piece. Still, take care to start the resin in the center of the wooden piece and use the toothpick to guide it outward.
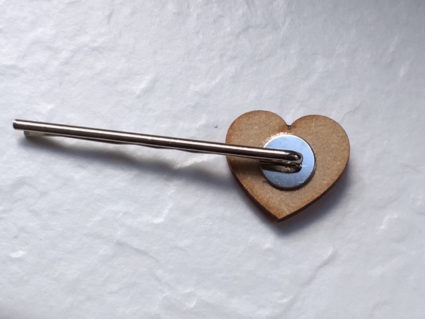
3. Glue the heart shape to the flat pad of the pin. Here’s the back:
Because you’re working with clear glittery resin, you can paint lots of hearts in different colors and add the resin on top—a great way to get lots of different looks from one resin session!
