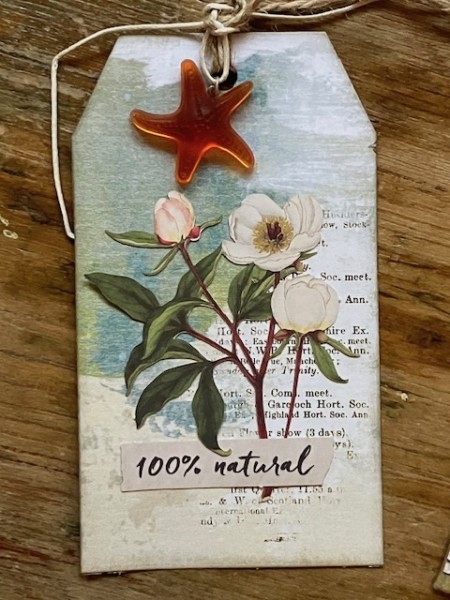
Topping a handmade tag with a resin charm is a great way to add texture and dimension to a project—and the charm can also be re-purposed as a charm for a keychain or piece of jewelry!
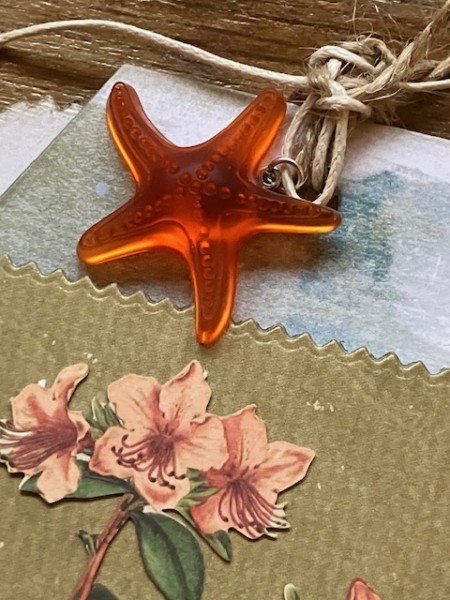
This little starfish is made with a combination of Ranger Alcohol Ink and clear resin, simply poured into a mould. When the resin is dry, you can add a metal bail and a jump ring to tie it to the top of the tag. Let’s take a look—
First, mix your clear resin as per the manufacturer instructions. When I’m doing multiple projects where I want different colors, I’ll pour some of the mixed resin into a separate plastic cup, then add my color from there. Here I’m using Ranger’s Alcohol ink—just a few drops of Sunset Orange. Resin colored with alcohol ink will have a translucency; the depth of color depends on how much ink you add in proportion to the clear resin. Drop in 2-3 drops, then mix and see what you think. You can always add more.
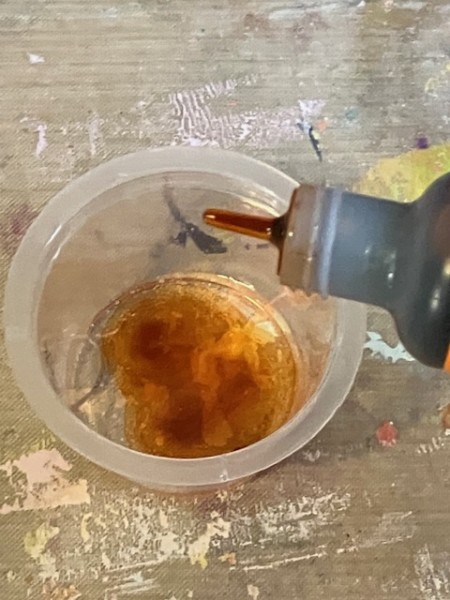
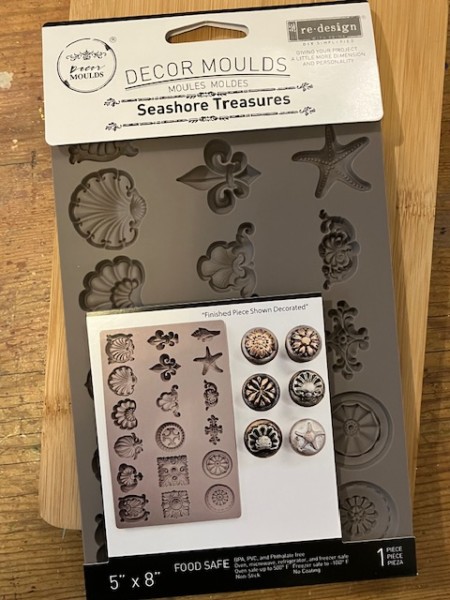
Then, pour into your mould. I’m using the Seashore Treasures mould from Prima, which has a lot of images that could be beautiful buttons or charms or accents on a handmade book.
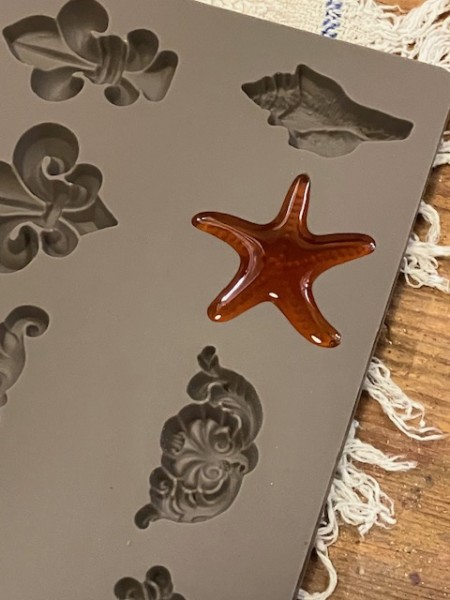
Simply pour the resin into the mould, taking care not to overflow the shape. You can use the stir stick to drizzle the mixture into the space. Place the mould onto a flat, level surface where it can dry. Within 6-12 hours (depending on manufacturer directions) you can pop the shape out of the mould and add it to your project!
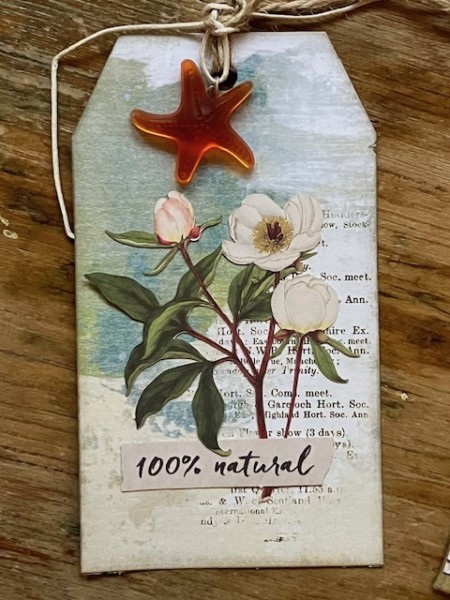
I glued a circular bail on the back of the starfish, then added a silver jump ring to the hole in the bail. Then I simply tied the starfish to the top of my tag.
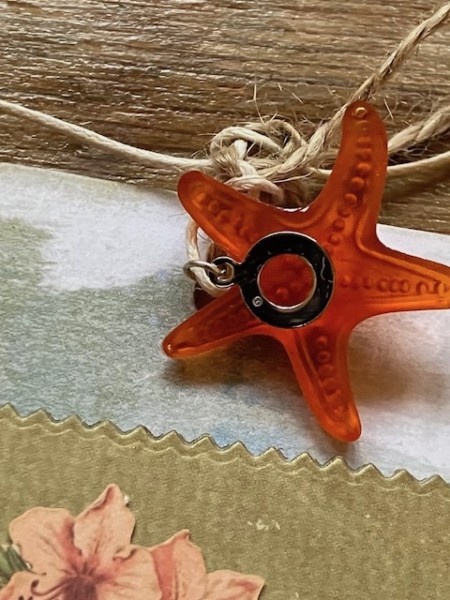
Here’s another look—
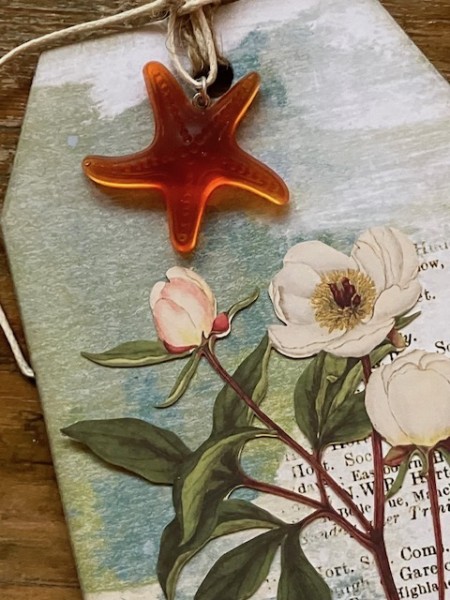
I’m using papers from 49 and Market (Vintage Artistry Everyday) and the Tag in a Bag die from Paper Wishes. Here’s the decorated tag:
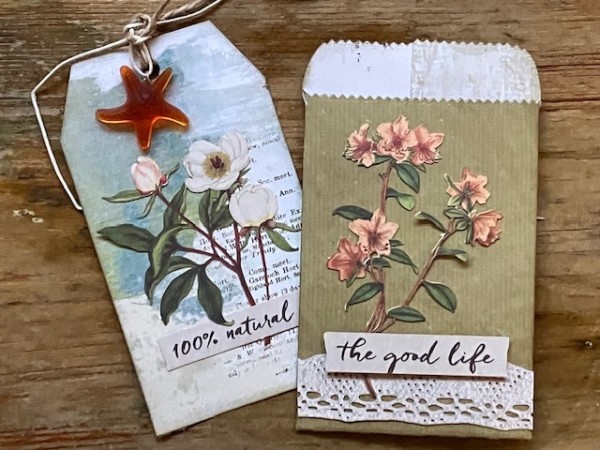
And the tag with the bag—
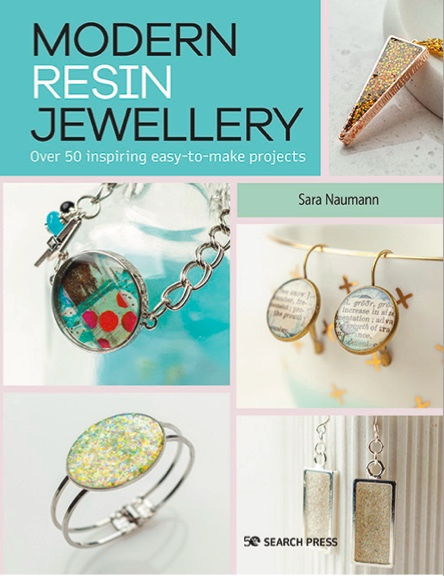
I hope you enjoyed the project! For more resin tips, projects and ideas, please do have a look at my new book, Modern Resin Jewellery, available from Search Press!

