Today on (our last!) Resin Jewellery Tuesday: Resin Washi Tape Ring.

New to Resin Jewellery Tuesday? Every week we explore a different technique using ICE Resin from Ranger. These projects are based on the resin techniques covered in my latest book from Search Press, How to Make Resin Jewellery.
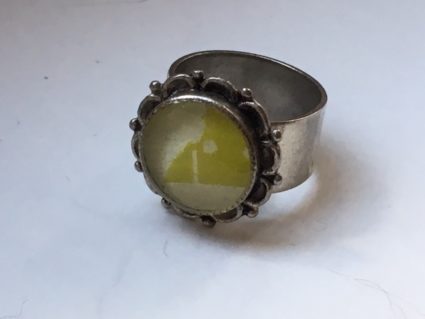
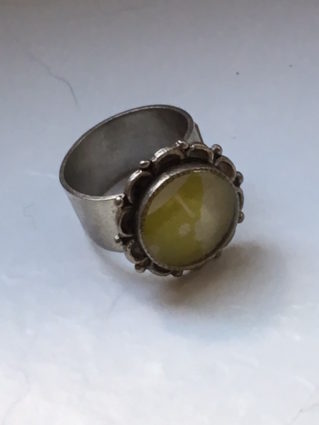
Today, it’s a pretty ring (featuring an ornate ring base) that’s fun and easy to do. Starting with a piece of washi tape and some paper, a touch of glitter and resin to seal…this is a small and simple design that adds style to any outfit.
This ring would be lovely with just the text paper inside—but a sprinkling of clear glitter adds extra sparkle and shine.
Resin & Washi Tape Ring, what you need—
- ICE Resin two-part epoxy (includes cup and stir stick)
- Disposable gloves
- Baby wipes
- White cardstock
- Washi tape
- Mod Podge or sealer
- Fine clear glitter
- Silver adjustable ring with ornate circle bezel—13x3mm (inner dimensions)
- 1/2” circle punch
Resin & Washi Tape Ring, how to make it—
1. Place washi tape on white cardstock. Punch a circle from the cardstock, choosing the area of the design you want. (You may choose all taped design, or some with the white showing.) Coat with sealer and let dry, then glue inside the bezel.
2. Insert the ring into a foam base. Make sure the bezel is level.
3. Mix the resin, then pour into the bezel. Sprinkle with clear glitter and let cure.
Like this project? Get all the info on creating resin jewelry with my latest book, How to Make Resin Jewellery, from the award-winning UK publisher, Search Press. You’ll find step-by-step instructions on mixing and pouring resin, plus over 50 project ideas with instructions. Check it out at Search Press!
And yes, this will be the last Resin Jewellery Tuesday project…want more? Check out:
Acrylic Paint & Relique Powder Earrings
and for more, please use “Resin Jewellery Tuesday” as a search term to see past designs.

