This weekend I worked on a few stamped, painted and embossed Christmas cards—using the PaperArtsy ESN29 stamp set–an oldie but a goodie! Have a look!
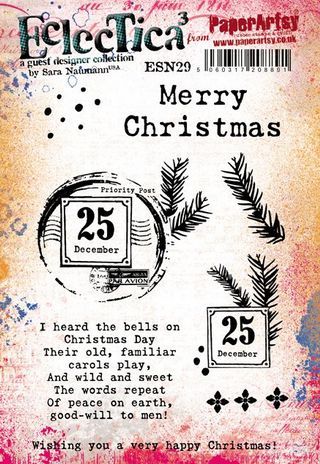
This is the stamp set—you have a couple of collaged designs that work as focals, plus a large sentiment and some smaller accents.
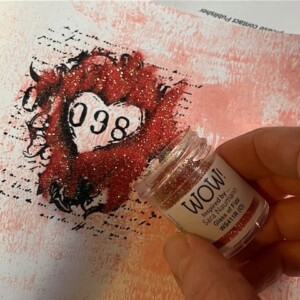
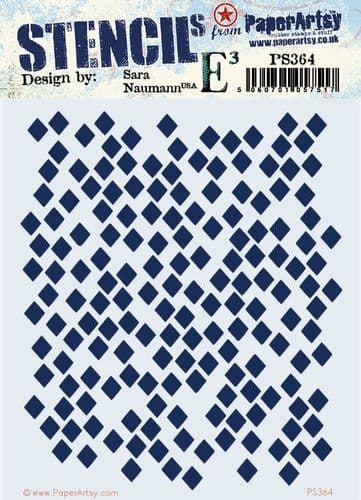
When I start on a project like this, I like to gather a specific set of supplies so I’m not constantly digging through my stash. So for these projects, I used the stamp set, Clear Gloss Superfine Embossing Powder, Versafine black pigment ink, a brayer, and some paints from PaperArtsy: Stone, Lawn, Red Lipstick, Marbles and Heavy Cream. I’ve also used a stencil, PS364.
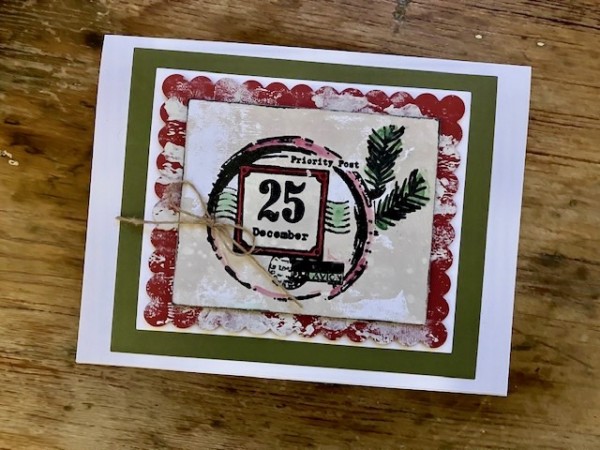
For this card, I brayered a piece of white cardstock with Stone paint, letting some white show through. When that was dry, I stamped the collage focal with black ink and covered it with clear embossing powder. After heat-setting it, I painted in some of the elements with Lawn and Red Lipstick paints. The raised edges of the embossed design act as a resist to the paint.
The red cardstock underneath is also lightly brayered with Stone.
Then I’ve just layered things up onto white cardstock and green cardstock before gluing things to the card front.
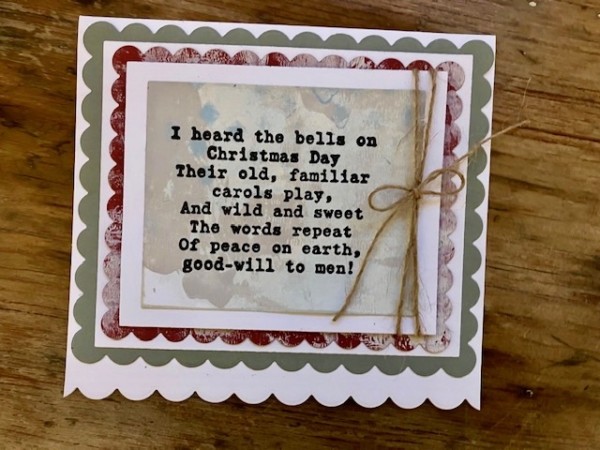
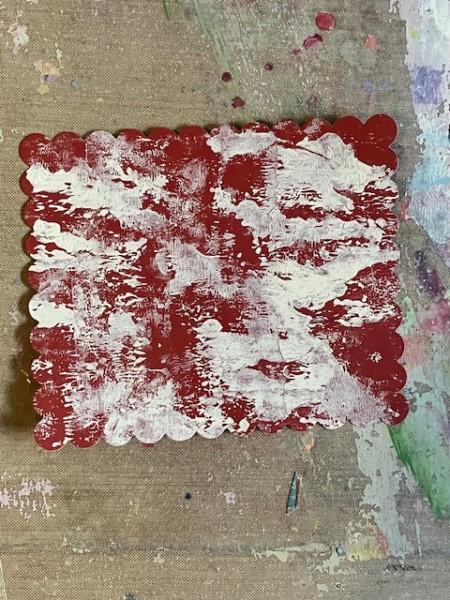
This card features a brayer-painted background to the stamped, embossed sentiment. I’m using a rectangle scallop die to create the edging on the card front.

I’m also stenciling a bit of PS364, a scuffy diamond stencil, with Marbles paint.
It was too bright at first, so after it dried, I brayered a bit of Heavy Cream on top, then blotted it.
And finally, a tag—
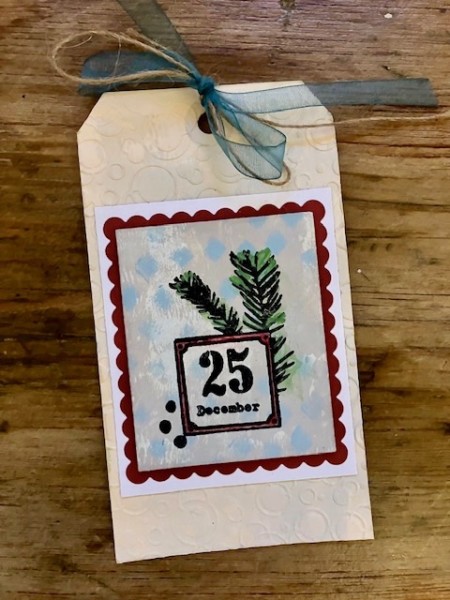
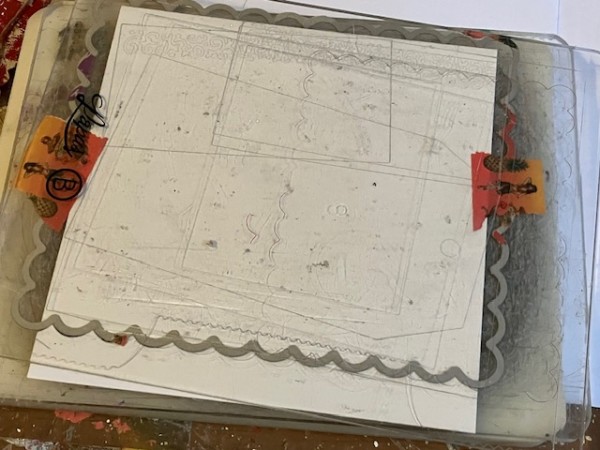
This tag also has stenciling, stamping and embossing. I brayered the manila tag with Stone, then when it was completely dry, I ran the tag through my die cutting machine to emboss the circles background. The embossing plate is one I have had for absolute ages (and forgot about) and there’s no longer packaging with it so I can’t even tell the manufacturer—but a good basic circles plate may be in your stash too. 🙂
I used a bit of green ribbon and twine to tie up the top.
That’s it—three easy-to-create Christmas projects! Enjoy!