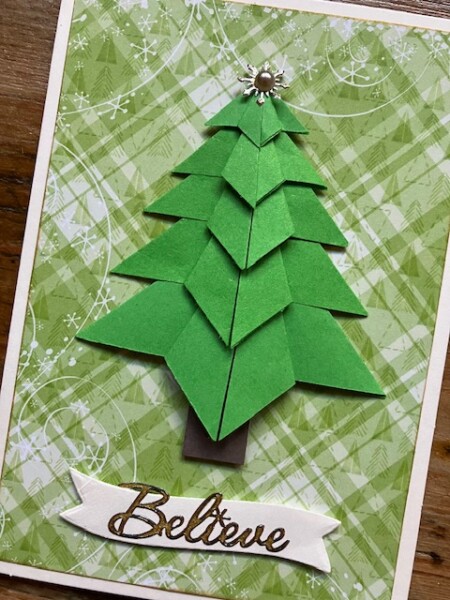
Earlier this week my German language assignment was to make a presentation—in German—for our online conversation group. Because many of the participants are sewers or make jewelry, I thought a papercrafting project would be fun and interactive. Because none of the other students make cards, I wanted to pick a technique that wouldn’t require a lot of fancy supplies, either.
Enter Tea Bag Folding.
I remember this technique from years ago, and so I did a little quick research into something that could be done easily and was also winter-holiday related. I found Kylie’s Card Craft on You Tube and she explained how to make a really sweet Christmas tree with tea bag folding in her segment, Tea Bag Folding Part 2, Let’s Make a Christmas Tree. Have a look—she demonstrates the folds and shows some card projects as well.
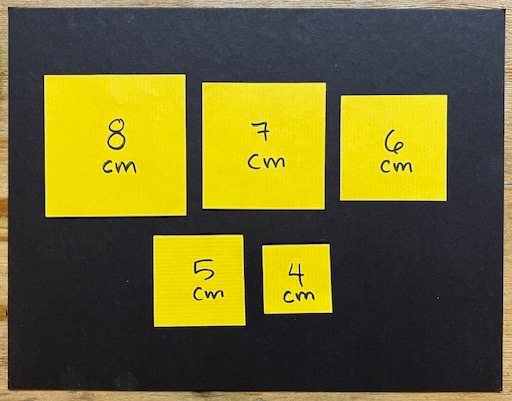
You’ll start with 5 squares of paper. I’m using origami paper. For my project, I used squares cut as 8cm, 7cm, 6cm, 5cm and 4 cm. You can also choose a slightly different size (or work in inches and do 3″, 2.5″, 2″, 1.5″ and 1″). The most important is that the paper is lightweight for folding, and that the pieces are square.
The folding is super easy—and yes, my teacher and the others in my class all folded their pieces correctly!
You can watch my *very* basic folding video on You Tube by clicking here. Please note, there is no fun music or even a voice over—again, very basic! But, it felt easier for most to follow along with, even with written instructions!
- Start with the largest square (only because it’s easier to work with a larger piece!). Or cut a square of copy paper to work with.
- Place it on your table, positioning the square like a diamond. If it’s patterned, start with it right side down.
- Fold in half, and unfold.
- Turn the square and repeat to fold and unfold. You’ll have a cross in the center.
- Flip the paper over so you have it right side up.
- Fold the bottom edge to the top edge and unfold. Turn the square to repeat to fold and unfold.
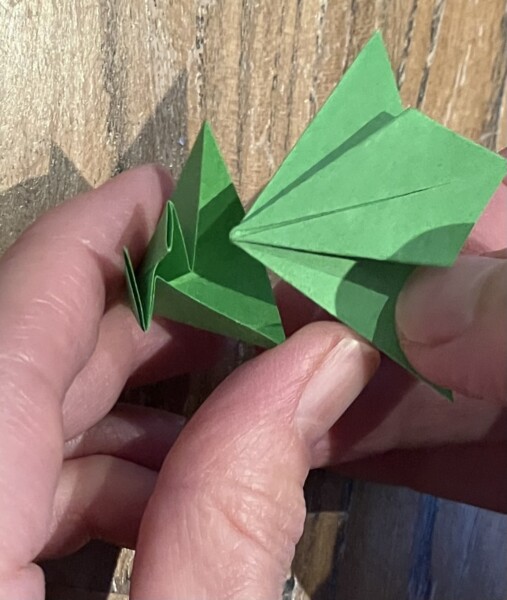
- This is the tricky bit: Gently push the sides in so the center of the paper looks like a tent, and the sides fold in so you have a triangle.
- Notice the fold line in the middle? Take the right side of the triangle and fold it so the edge aligns with the fold line. Repeat with the left side.
- Now, just four more squares to fold!
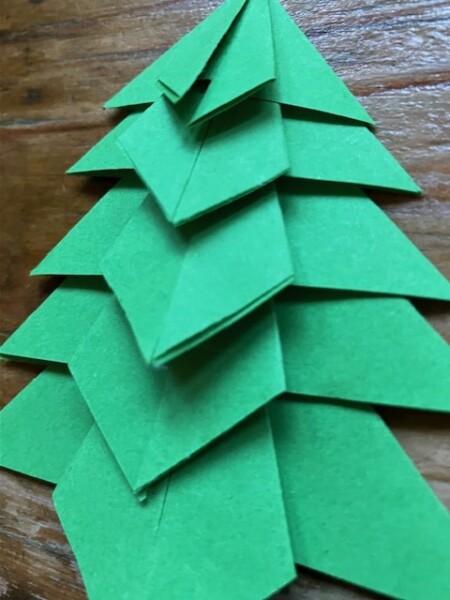
All of the squares fold the same way. Once you have them all folded, then nest them together, with the larger piece at the bottom. Use some glue to glue the front pieces down, and to glue all the pieces together.
Once the glue is dry, you can add a piece of brown cardstock for a trunk.
The rest of my card is simple—I have some patterned card stock, a Dazzle sticker and a banner die cut, plus a little sticker at the top.
Here are some more ideas!
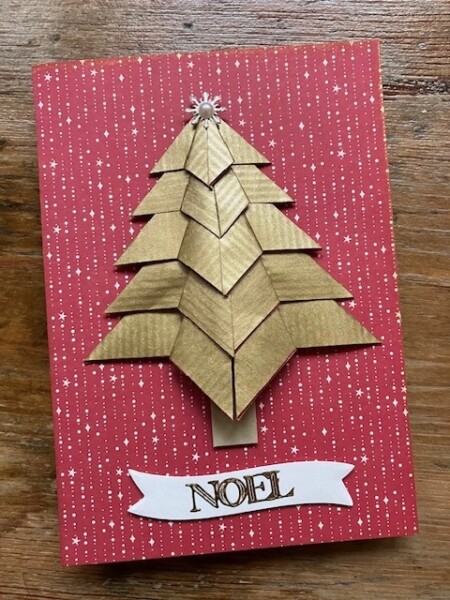
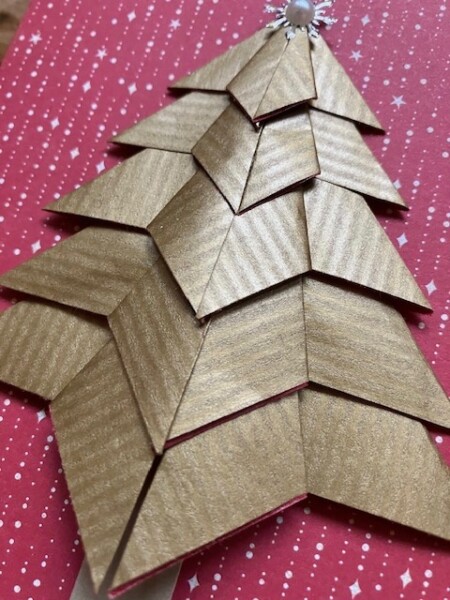
This one is made with gold origami paper.
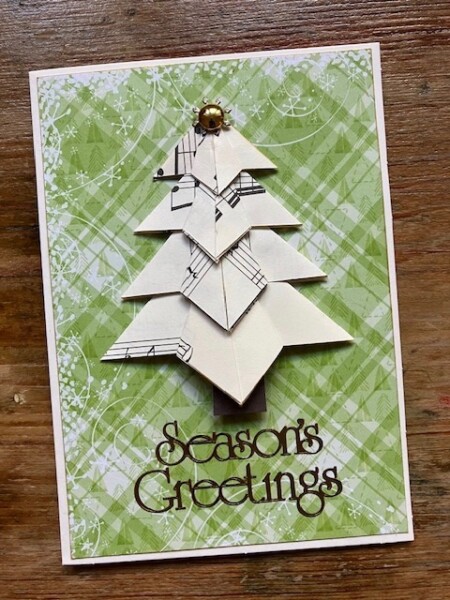
And this one is made with upcycled sheet music paper.
I hope you enjoyed today’s projects!


