

It’s Topflight Stamps’ 8th birthday and to celebrate, I’ve teamed up with some great designers to showcase celebratory projects using the unique products available at Topflight Stamps. Please hop along with us and see all the beautiful talent from this group of amazing designers! There is a master list of Hop stops on the Topflight Stamps blog! We are also Hopping on Instagram! You can start at the Topflight Stamps account @topflightstamps.
Did we mention there will be prizes?
For my project, I designed a card featuring PaperArtsy ESN52 stamps, blank tissue paper and mediums like Fresco Finish paints and Mattints, plus WOW clear embossing powder.
I’m so glad you’re here—have a look! (And keep reading to learn about Topflight’s giveaways!)
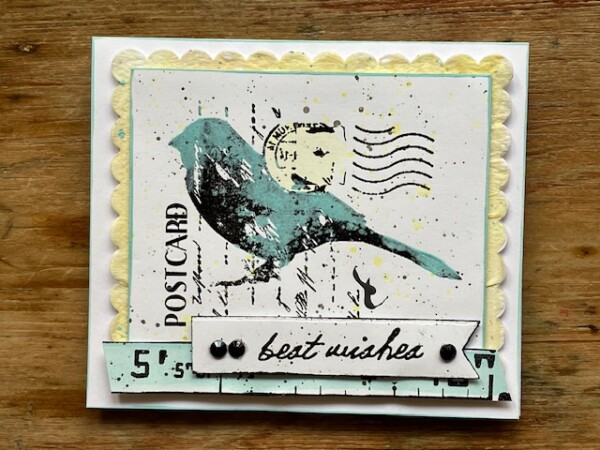
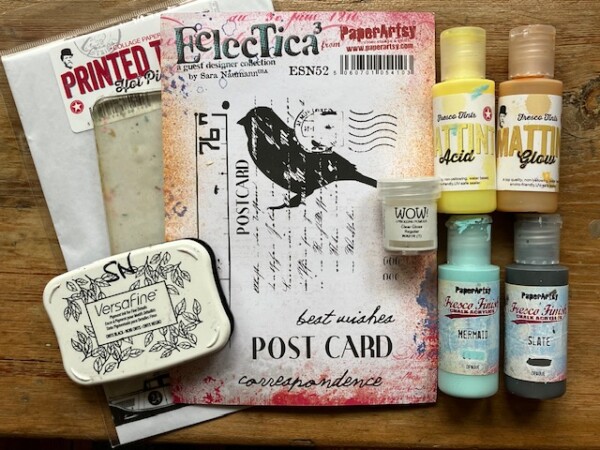
For this card, I’ve double-stamped the bird collage with black pigment ink, then overstamped with Fresco Finish paint—then clear-embossed and layered it onto gel-plate tissue paper. There’s a lot going on here, so let’s have a look at the process! But first, a peek at the supplies I’m using:
Step One: Color your tissue paper
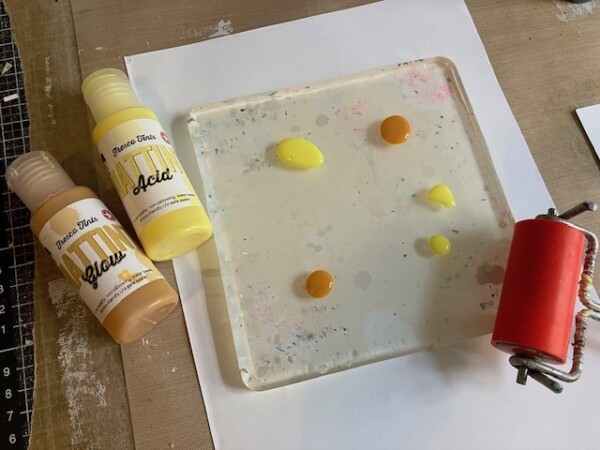
PaperArtsy has this fabulous tissue paper range with gorgeous patterns. They also have a plain version, which I’m using here. I wanted to brayer the Mattints onto the tissue, but rolling a wet brayer across wispy tissue will inevitably result in a bit of a mess as the tissue sticks to the brayer! So, I’m using a gel plate to color my tissue paper. Simply squeeze on a couple of drops of Glow and Acid Mattints, then brayer out the medium.
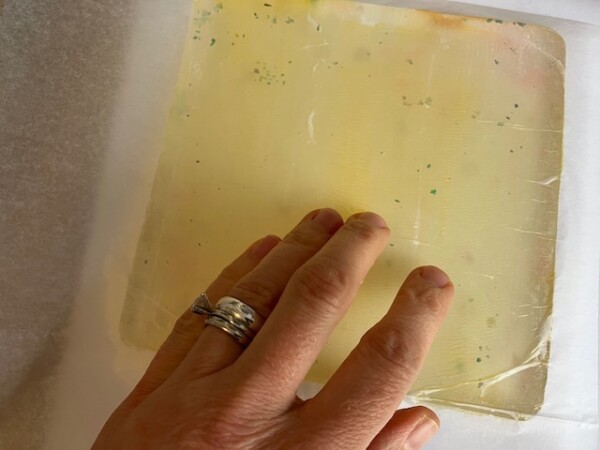
Press the tissue onto the gel plate, then lift and let it dry.
Step Two: Stamp your image
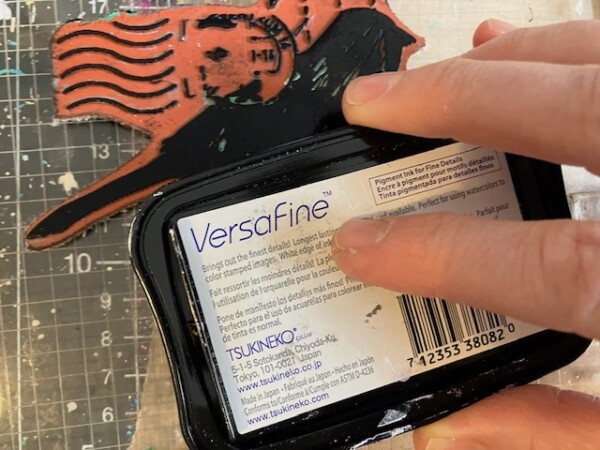
Simply ink up the stamp with pigment ink. I’m using Versafine in Onyx Black.
Step Three: Paint-stamp the image
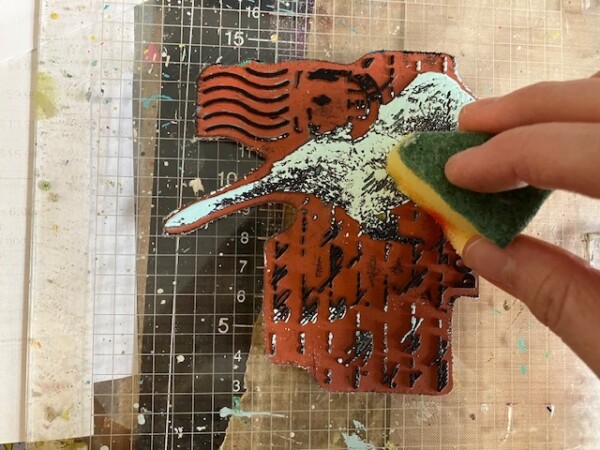
I use a sponge to dab Mermaid paint onto just the bird’s body. But I’m not bothered if some paint goes in other areas.
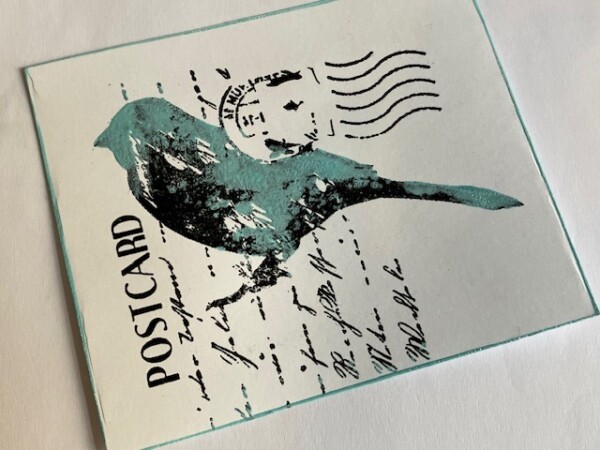
Step Four: Clear-Emboss

I coat the whole piece with Clear Gloss Regular embossing powder, then tap off the excess and heat-set.
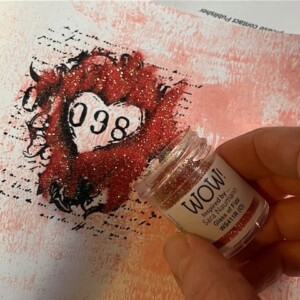
Step Five: Splatter & paint
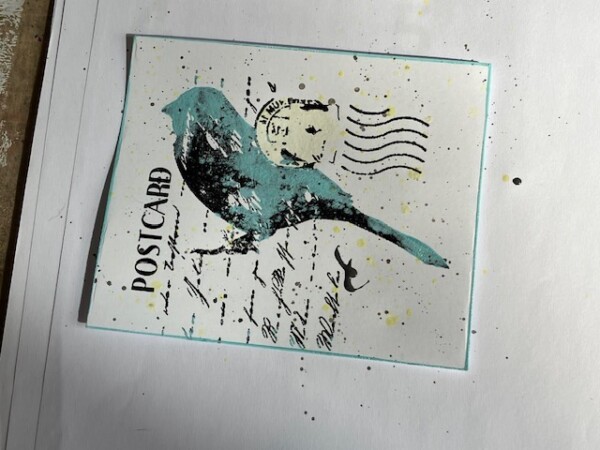
I used Glow Mattints to paint in the postmark, then splattered with it and then with Slate paint.
Step Six: Stamp & emboss the accents

I stamped “best wishes” and the ruler with black and then clear-embossed the images. I also splattered with Slate, and painted in the ruler with Mermaid. Let dry, then cut them out and assemble the card.
I used a scallop rectangle die to cut the tissue and a piece of white cardstock, then glued the two together and foam-taped them to the card front. I added Mermaid paint around the edges of the bird piece, then glued that on top. The “best wishes” piece is cut with a banner edge, and then layered with foam tape on top of the ruler.
I’m so glad you stopped by for this hop. There’s still soooo many other projects to explore from other designers.
And, did we mention there will be prizes?
GIVEAWAY DETAILS
Of course, it wouldn’t be a birthday celebration without prizes! Topflight Stamps is giving four lucky winners $50 Gift Certificates to the store. Two winners will be chosen from commenters on the blog hop and two will be chosen from commenters on the IG hop. For a chance to win, make sure to visit the stops on the hop and leave a comment by April 1st. Winners will be announced on the Topflight Stamps blog on Thursday, April 3rd. U.S.A winners only due to shipping issues. Good luck!
So very pretty- love the stamp and enjoyed seeing your step by step!
Interesting technique and loved the result.
I love this SO much! This card is one, if you received it, you would keep it forever!! Stamp set immediately going into my cart!
awesome card – thanks for sharing how you created the background – so inspiring:)
I love the mixed media! Gorgeous bird!
I think these techniques were fascinating. Thank you!
Pretty collage design and layering! I really need to break out that gel plate I’ve been afraid to use…. thanks for the inspiration!
Really love how you’ve built up the textures in this card. Never thought of using my gel plate to color tissue. Thanks for that tip!
Absolutely awesome piece. Thank you so much for sharing instructions and accompanying step-out photos with us. What a treat to be participating in a hop with you!
Thank you for the inspo, I adore this card. I have several (many) of your stamp sets, and look forward to adding this set to my collection. 🙂
Saw this in instagram and wanted to see how it was done. great job
Hi Sara. I enjoyed reading the process to make your card. It is simply beautiful. I really like the idea of coloring tissue paper. I have never worked with it before. I like this bird stamp silhouette. The color you chose reminds me of a Robin’s blue egg. The layers and embellishments turned out perfectly. I can’t wait to see what you make next.