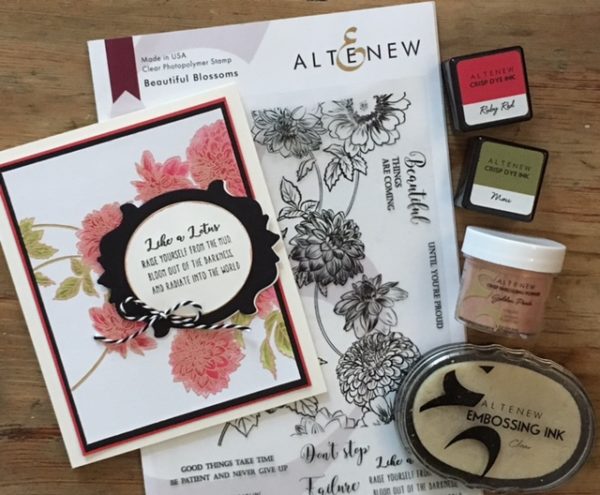
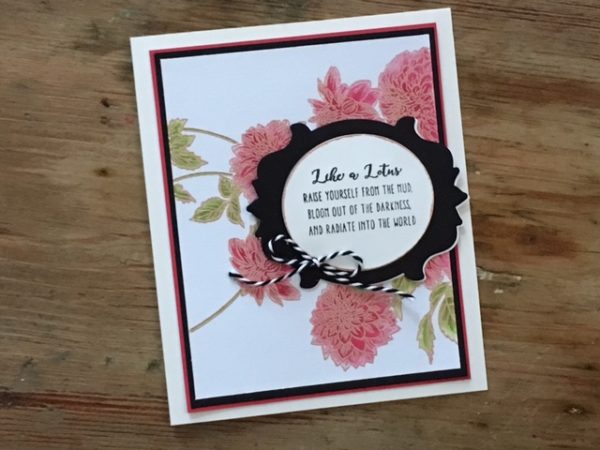
This technique is one of my favorites! It’s a great way to use your colored inkpads, and creates a beautiful, elegant effect when you use it with embossed images. This is from last week’s Facebook Live with Altenew… I made so many cards in that video, I didn’t want you to miss out on this one! 🙂

Painting in stamped images, what you need—
- Beautiful Blossoms stamp set (Altenew)
- Framed Dies (Altenew)
- Dye Inks: Permanent Black, Ruby Red, Moss
- Embossing inkpad
- Golden Peach embossing powder
- Artist Marker Primary Essentials Set (for Forest Glades)
- Waterbrush
- Cardstock: White, black, red, off-white
- MISTI stamp positioner: I used the Original size in my video, but you can also get it as a Mini!
- Foam tape
- Bakers twine
- Craft sheet
- Water mister

Painting in stamped images, how to do it—
Stamp and emboss the image onto white cardstock. Press the Ruby Red inkpad onto your craft sheet. Spritz with a bit of water. Pick up some of the watery ink with your waterbrush. Color in the embossed images with the waterbrush—the raised, dimensional edges will resist the watery medium and hold it in. Repeat to color in the leaves with Moss.
Use the Forest Glades marker to color in the stems.
Trim and mount the piece onto black, then red cardstock, then glue to the card front.
Die cut a circular frame from off-white cardstock. Stamp the sentiment with black in the center. Ink the edges with embossing ink, then emboss with Golden Peach. Die cut the outer frame from black, then white, cardstock. Layer them together as shown, slightly offset. Glue to the card front, adhering the sentiment with foam tape. Add a bow.
That’s it—easy! If you want to see a demo of this project, check out the video below of last week’s Altenew Facebook Live video. (You can tune in at about 30:05 to see just this project… or watch the entire video to see more!)


