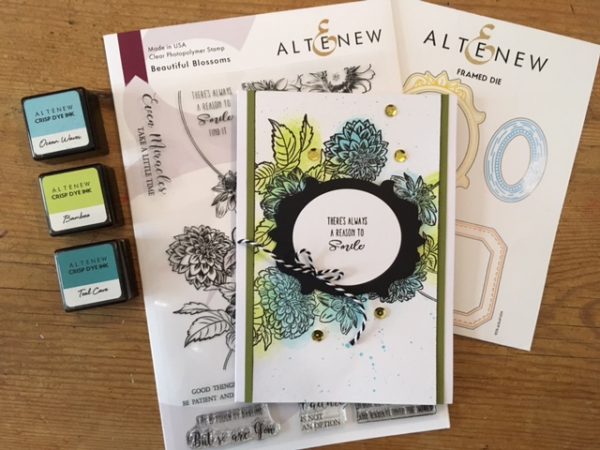
This simple card design is one that I showed last month in an Altenew Facebook Live. You can catch the whole video on my Facebook page—it’s about an hour and includes several techniques using the Beautiful Blossoms stamp set.

This technique is one I haven’t done for a looooong time… using a sponge applicator to blot the ink onto a stamped image. The result gives you spotlights of color. It’s imperfect, and meant to be imperfect, which means it’s ideal for quick and easy designs.

Spotlight Inking, what you need—
- Beautiful Blossoms stamp set (Altenew)
- Framed Dies (Altenew)
- Dye Inks: Permanent Black, Bamboo, Ocean Waves, Teal Cave
- Waterbrush
- Cardstock: White, black, green
- MISTI stamp positioner: I used the Original size in my video, but you can also get it as a Mini!
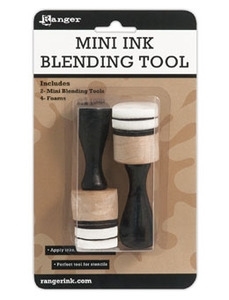
- Sponge or foam applicator. Mine is a round one from Ranger
- Foam tape
- Bakers twine
- Rhinestones
- Craft sheet
- Water mister
Spotlight Inking, how to do it—

This is the applicator I use—

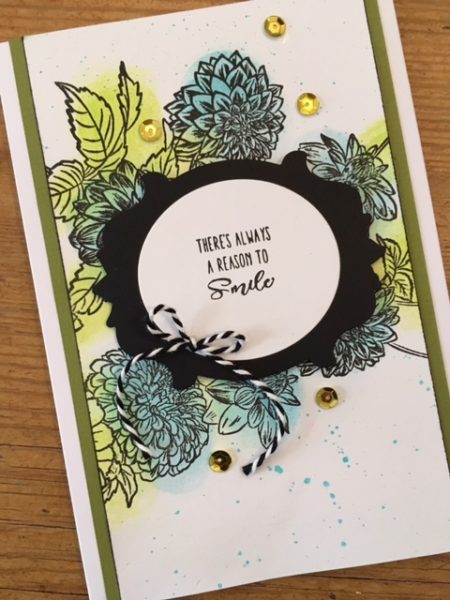
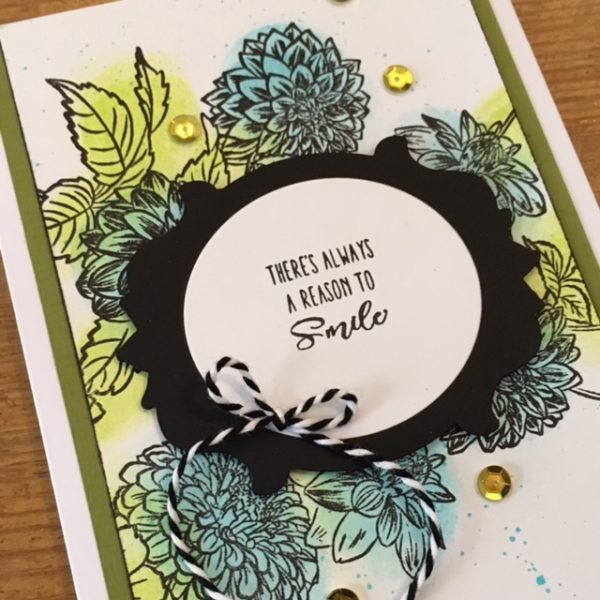
Stamp the floral design onto white cardstock with black ink. Ink up the applicator with Ocean Waves and pounce it directly onto the flowers. Swap out the foam applicator pad and repeat with Bamboo for the leaf areas.
Make a watery wash of Teal Caves on your craft sheet and use the waterbrush to spatter the ink onto the stamped image. Let dry, then ink the edges with black and mat the long sides on green card. Glue to the card front.
Stamp the sentiment onto white card and die cut. Die cut a black frame, then add to the card front with foam tape. Finish with a bow tied in baker’s twine and a scattering of sequins.
That’s it—easy! If you want to see a demo of this project, check out the video of the Altenew Facebook Live video. (You can tune in at about 39:18 to see just this project… or watch the entire video to see more!)


