Welcome to Washi Tape Tuesday! Love washi tape? (Or maybe you have a stash that you want to put to use?) Then join me for tips, techniques and ideas for adding washi tape to your handmade cards!
Today I wanted to experiment with some new (to me) metal dies from Tattered Lace.
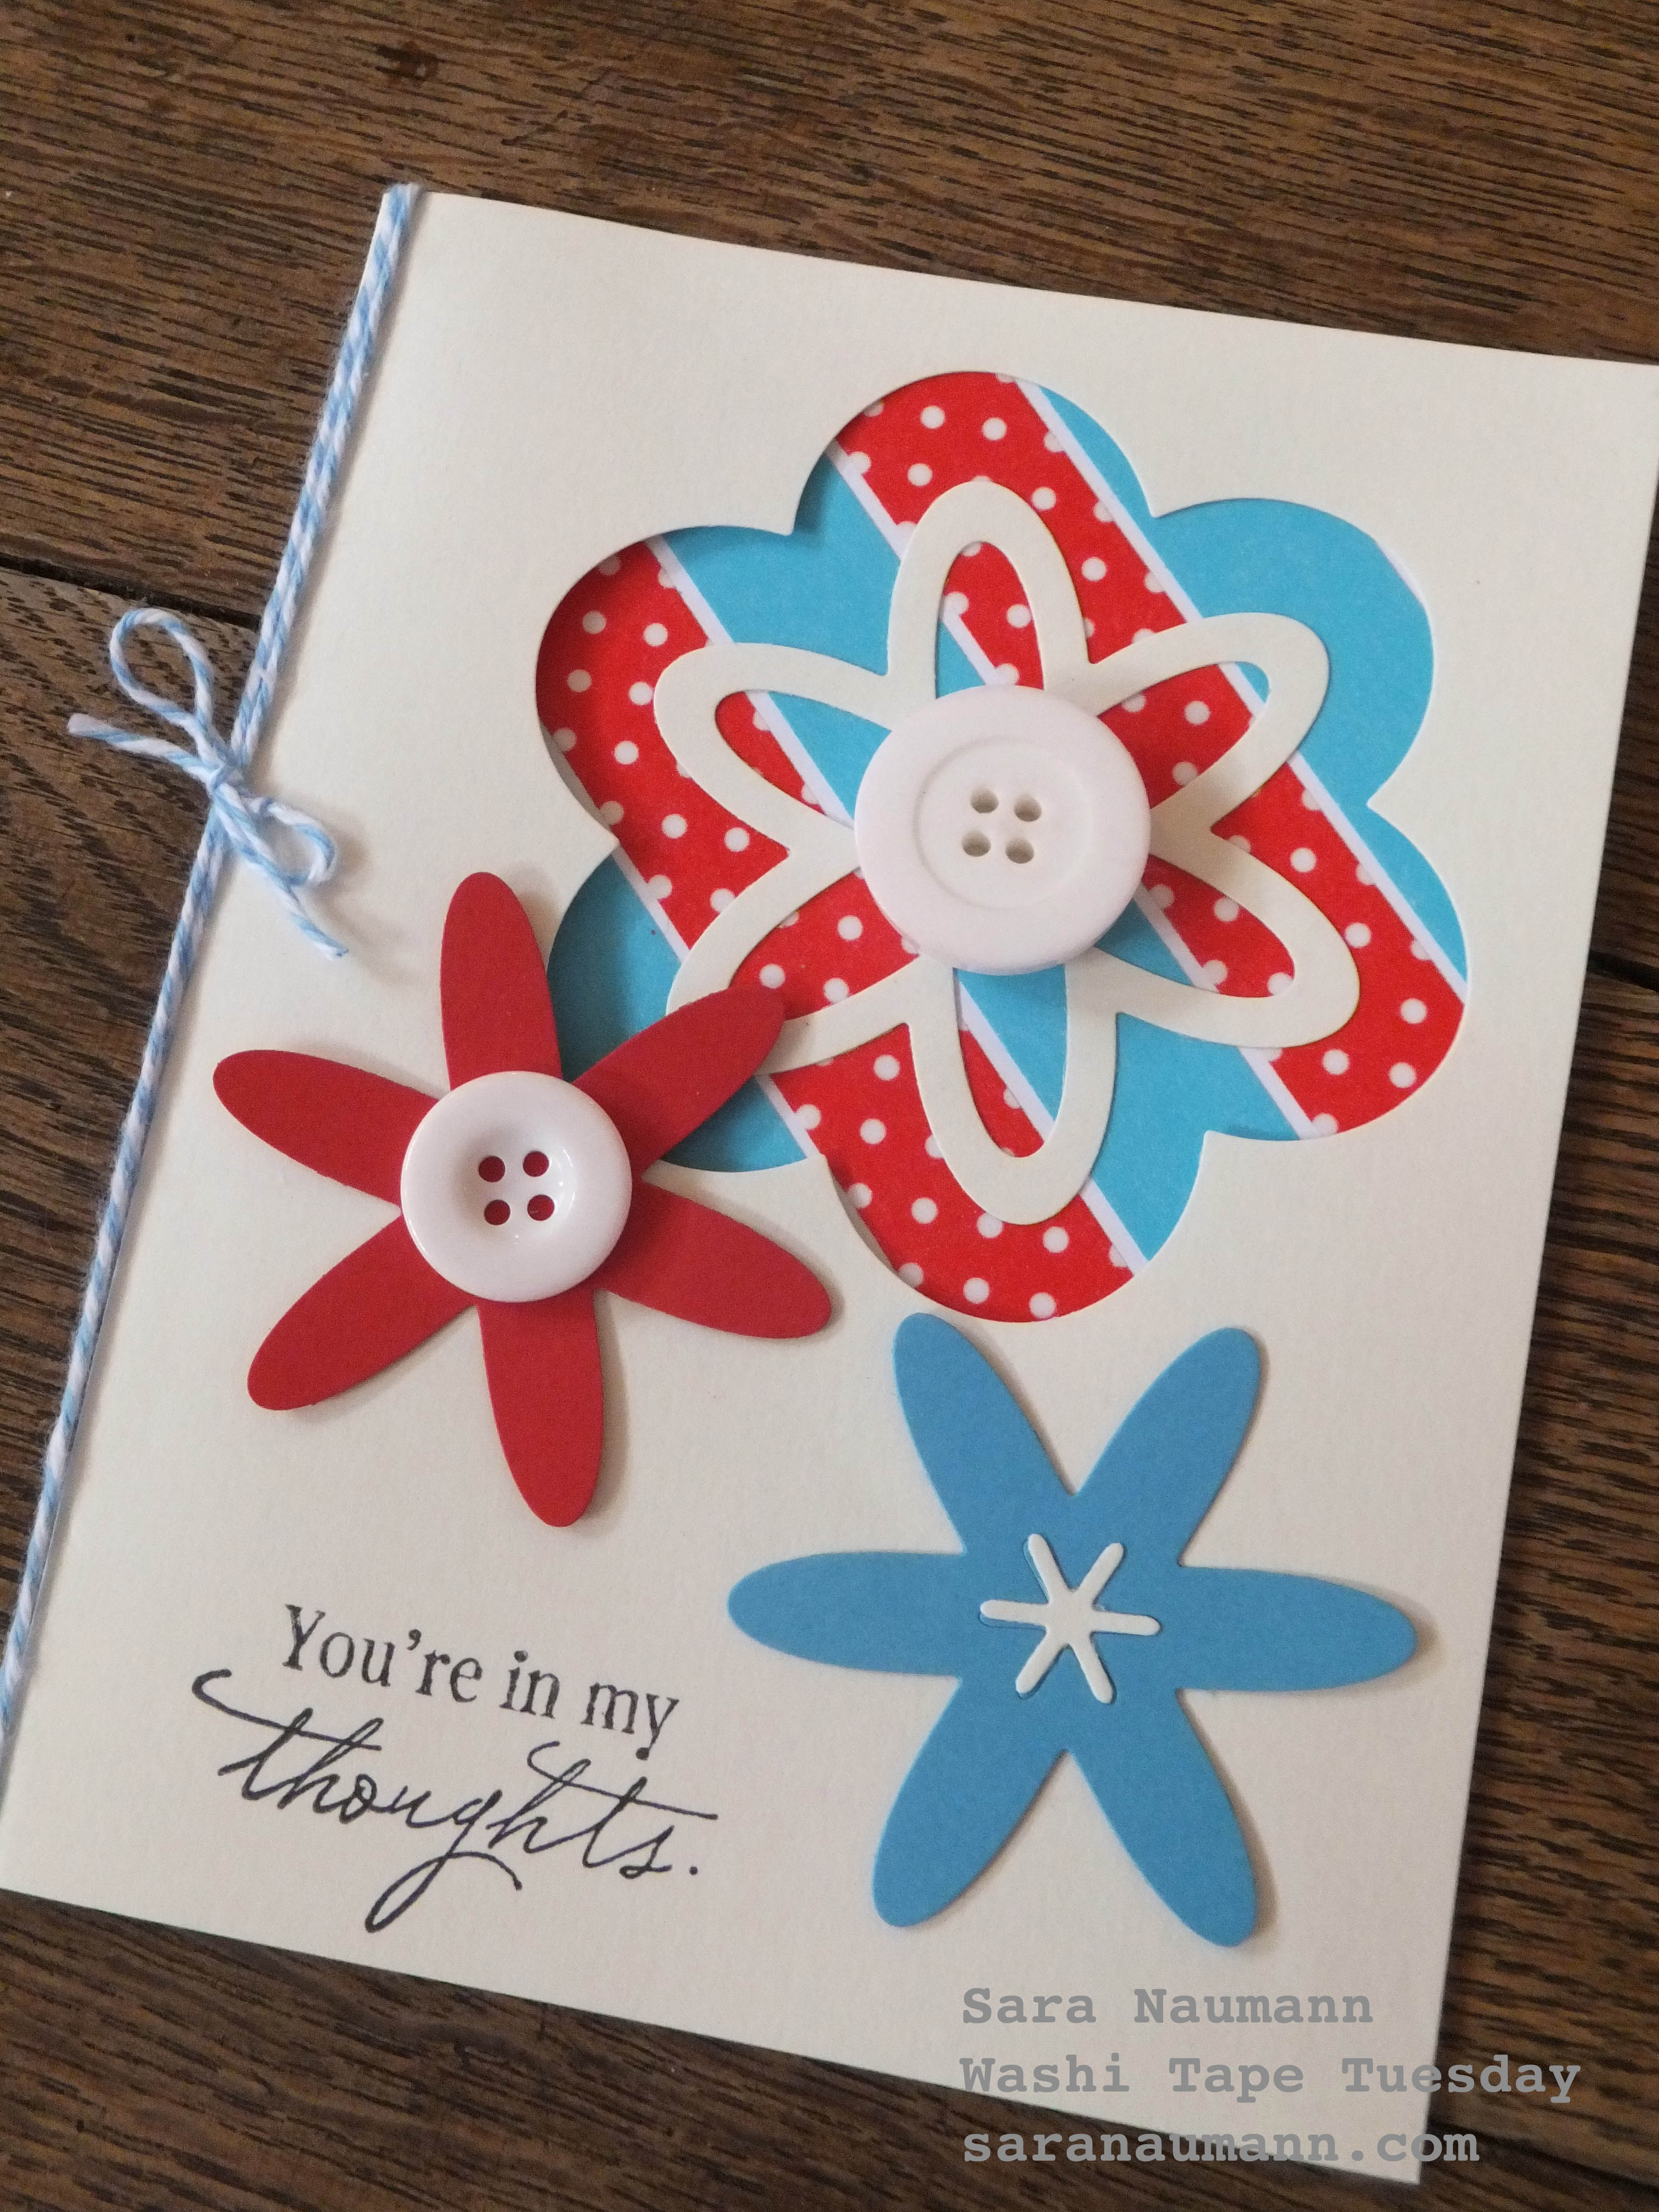
I realized I always use dies to cut embellishments, but rarely do I make use of the negative space the cut piece leaves behind—in this case, I wanted to create a window in the front of my card and layer the washi tape behind it. Take a look—

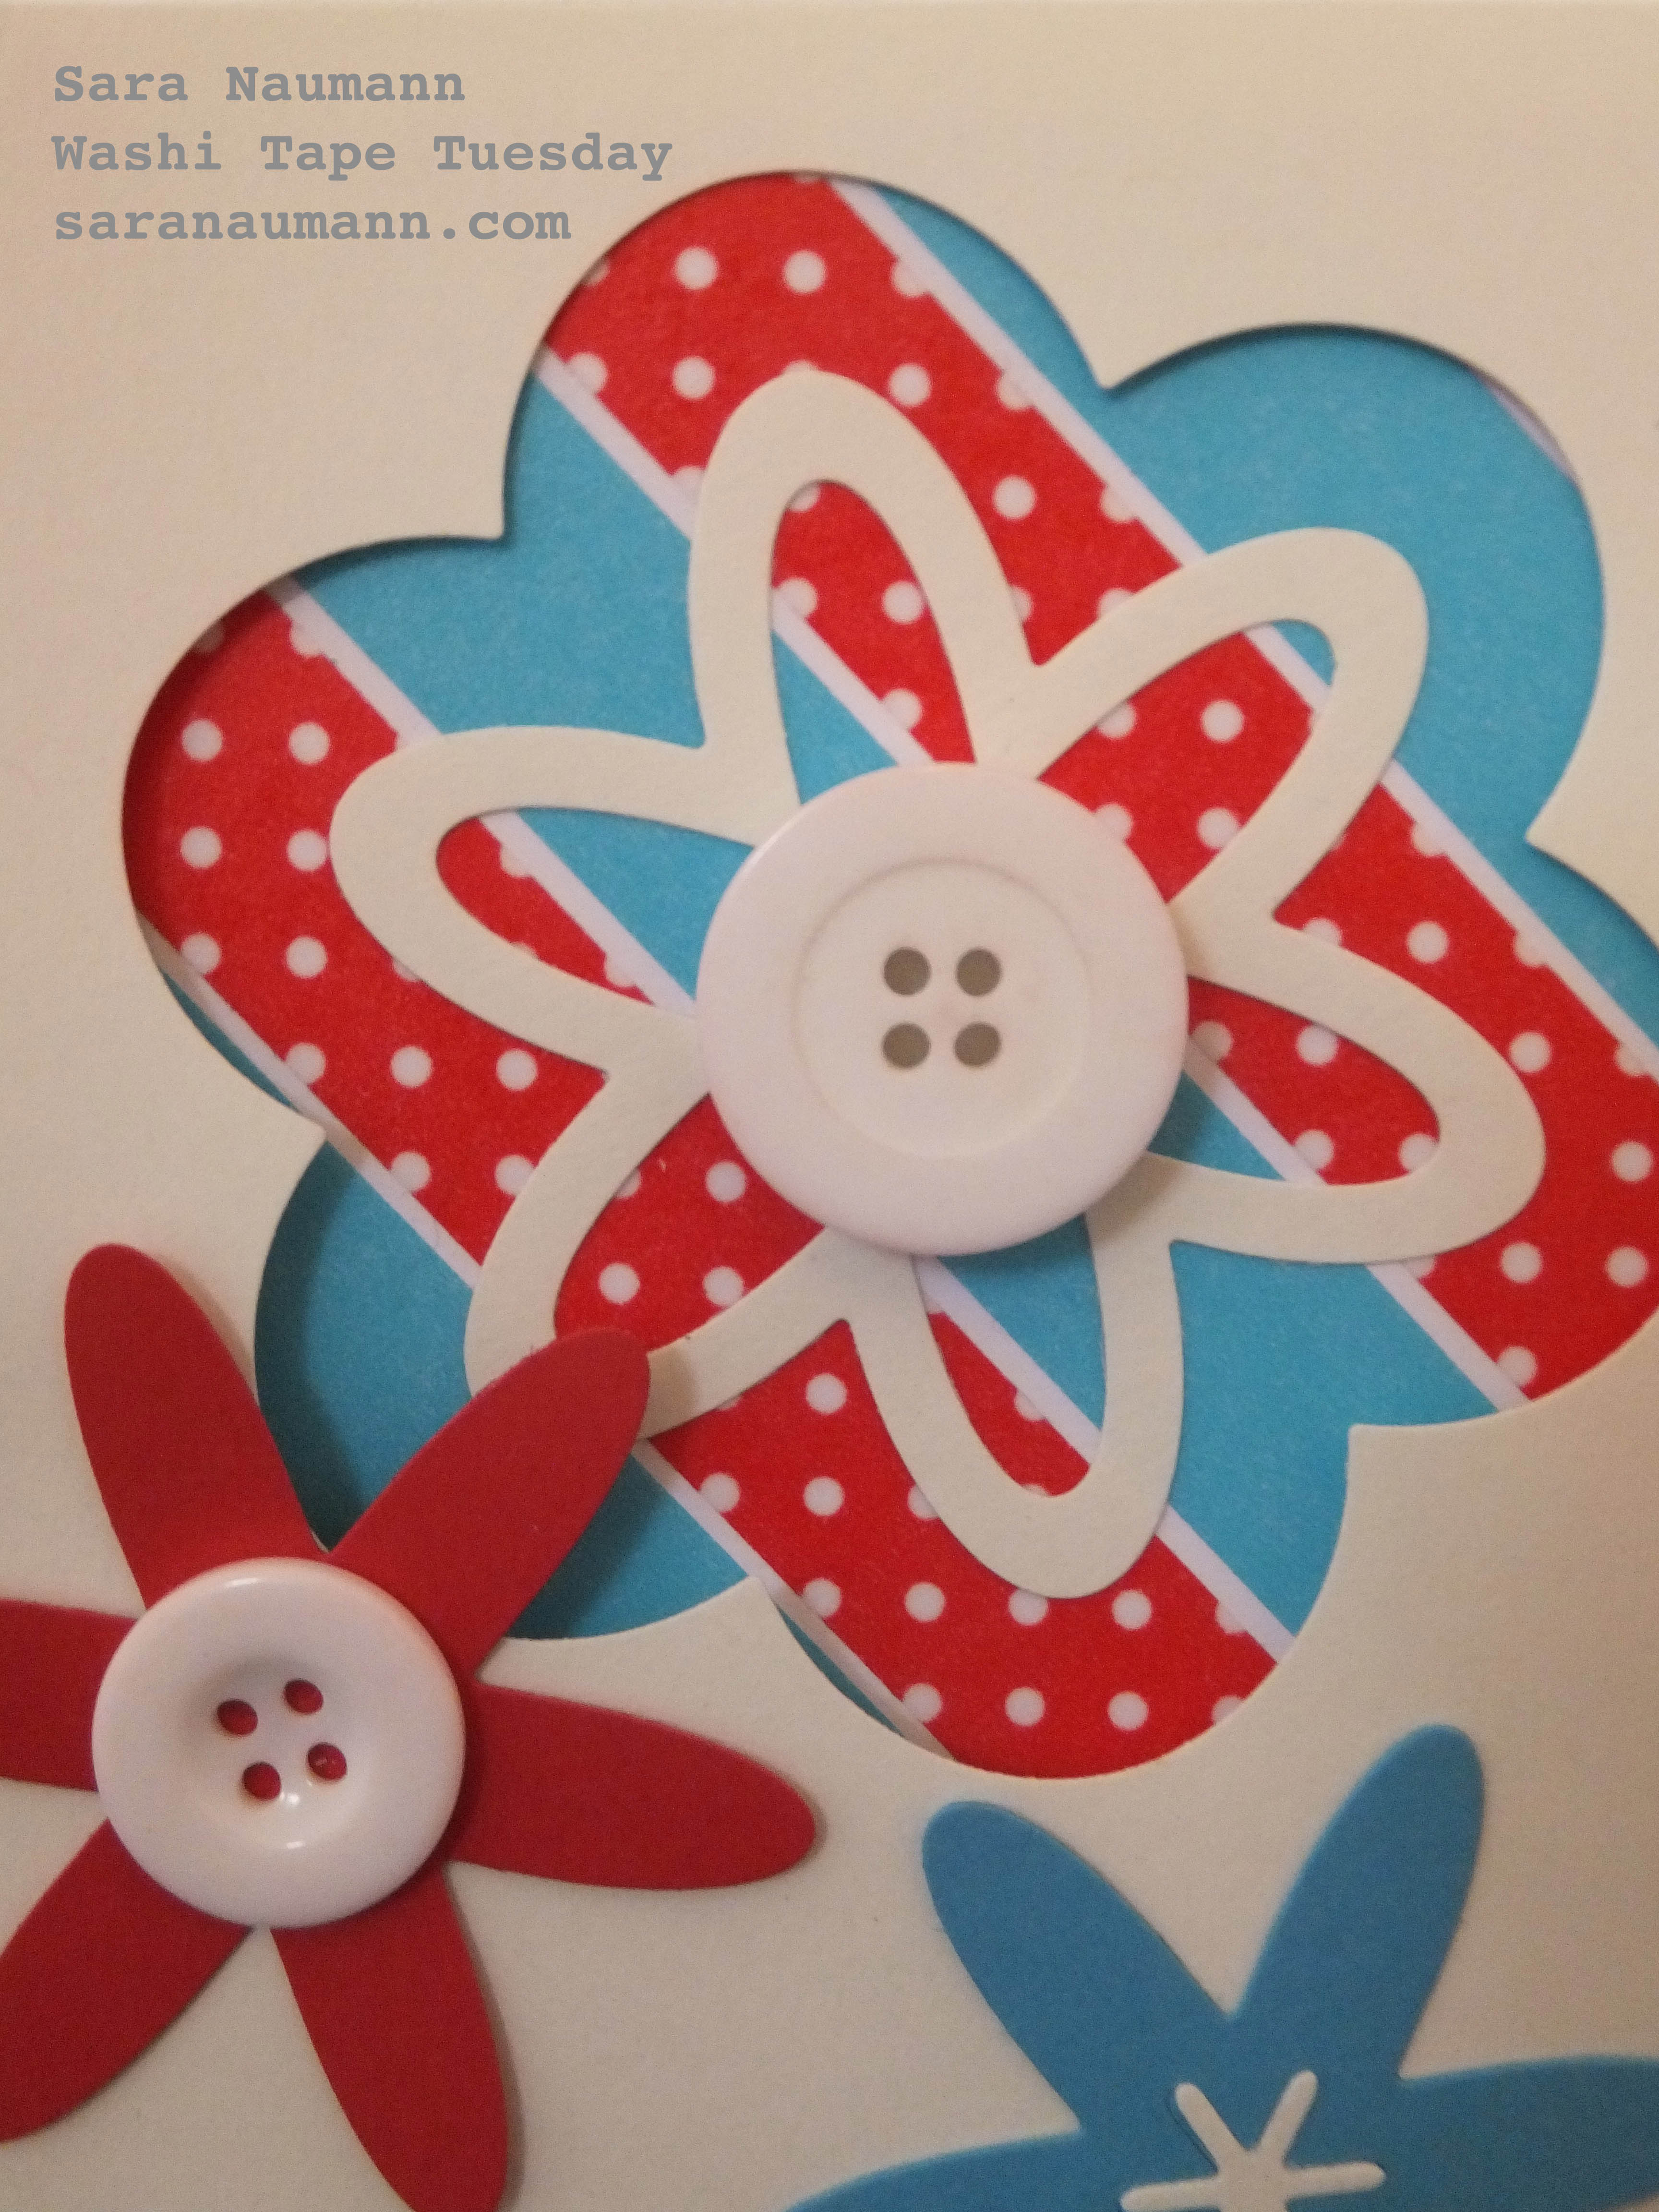
Here’s a close up of the window part—

Washi tape window card, what you need:
– Washi tape: Blue solid, red with dots
– Flower cutting dies: Tattered Lace (from Issue 11 of The Tattered Lace)
– Blank cream card
– Cardstock: red, blue, cream, white
– Buttons, baker’s twine
– Stamps: Heartfelt Greetings from Hot Off The Press/Paper Wishes
– Black inkpad
Washi tape window card, how to do it:
1. Place the large flower cutting die at the top right corner of the blank card. Run through your embossing machine. You’ll get several flower shapes from the resulting cut; set aside.
2. Place strips of washi tape diagonally across a piece of white cardstock. Trim and glue inside the card so the tape shows through the flower-shaped window.
3. Glue one of the cream die-cut flowers from Step 1 to the inside of the card. Add a button for the flower center.
4. Die cut a red flower and a blue flower. Add a button to the red flower and remove the center of the blue flower. Glue as shown.
5. Stamp the sentiment with black ink at the bottom left of the card front. Wrap the fold of the card with baker’s twine.
Easy! Of course I love my flower dies for this technique but I think other shapes—anything from labels to circles to more intricate designs—would work just as well!
Love washi tape? Want tons of ideas, techniques and card projects? Twenty to Make Washi Tape Cards is packed with 20 washi tape projects, each with complete step-by-step instructions—PLUS 20 alternate card ideas…you get 40 creative washi tape card project ideas in all. Available from Search Press, this instruction book is the perfect thing for cardmakers who love washi tape! Click the video below to learn more!


The card photo almost looks like there is a shadow box, space between the top card stock used in step one and the washi taped cardstock beneath. It is a great technique to try. Thanks.
You could definitely do that, Barbara—that’s a great idea! 🙂