I love using my watercolor pencils with large outline stamps, like this flower from the Altenew Nostalgic Florals stamp set. I demonstrated this last week when I hosted the Altenew Facebook Live, and thought I’d share it here too!
First, whenever I work with water or a watery medium, I like to heat-emboss my image so the ink won’t smear. A raised, embossed outline also acts as a resist.
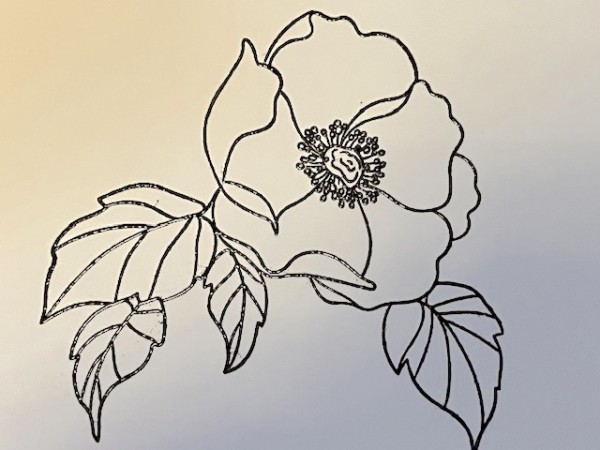
I stamped the image with Obsidian Black pigment ink onto sturdy, smooth white cardstock. Because this is a pigment ink, I can also use it as an embossing ink. Immediately I sprinkled it with Clear Embossing Powder, then tapped off the excess and heat-set. Now I have a crisp black outline image with raised, glossy edges.
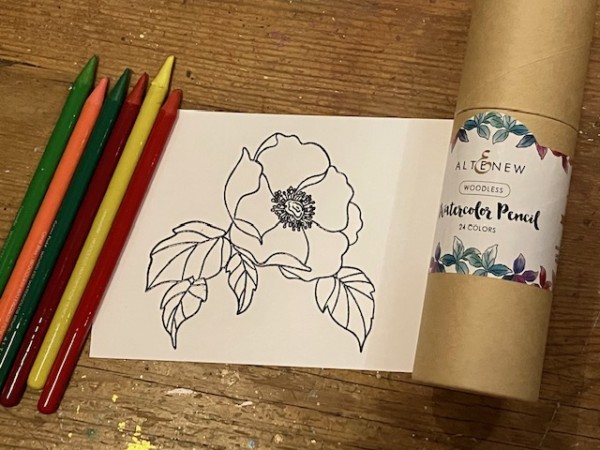
I’m using Altenew’s Watercolor Pencils for this.
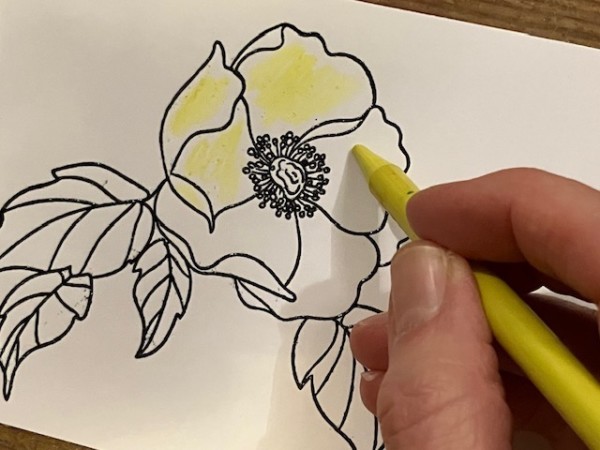
First I colored the petals loosely with Lemonade pencil. I’m not worried about going all the way to the edges, I’m just coloring in the main area. Like this:
Then, adding Coral Bliss around the edges of the petals.
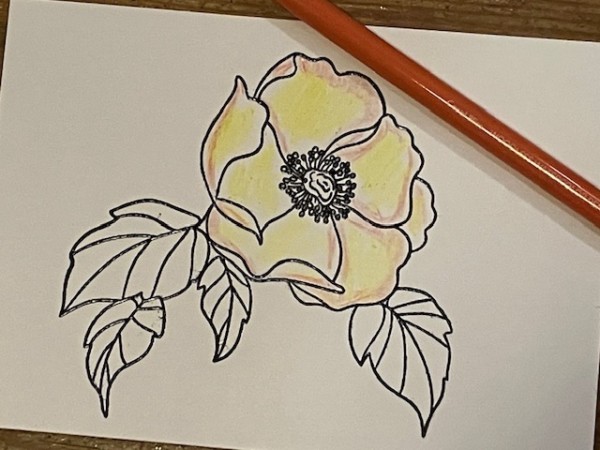
And then, Heart Beat.
After that, I colored the leaves in the same loose way, starting with a light green, Limeade.
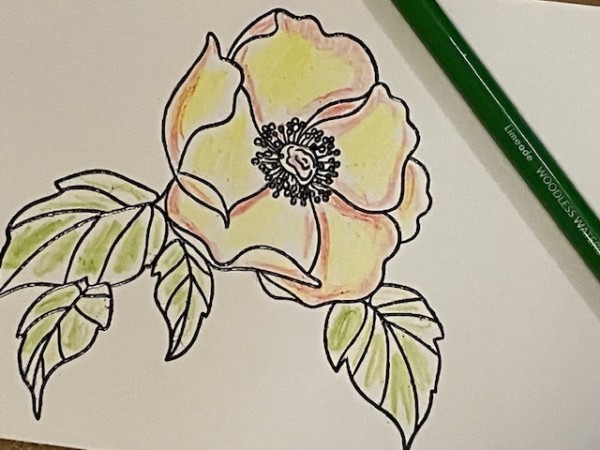
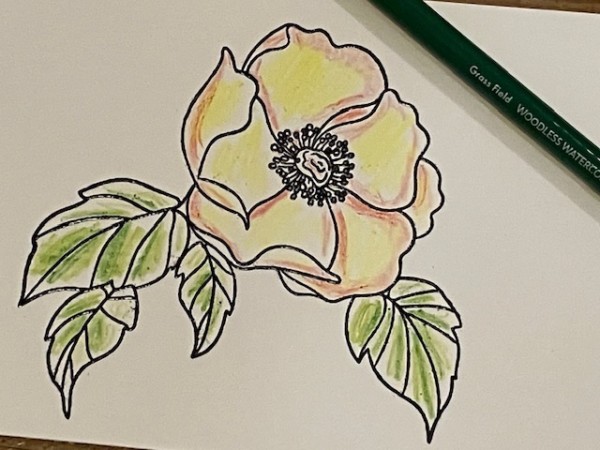
And accenting with a darker green, Grass Field.
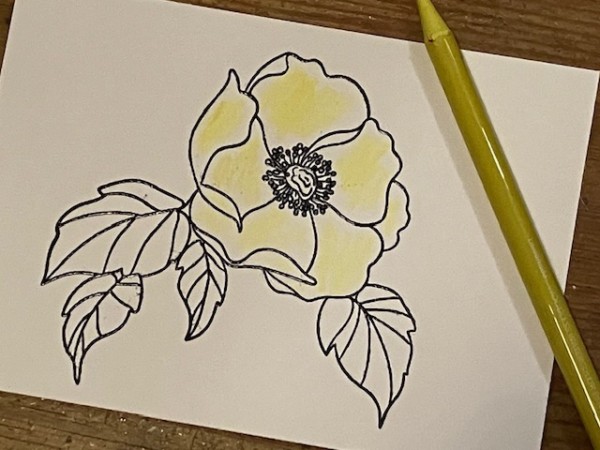
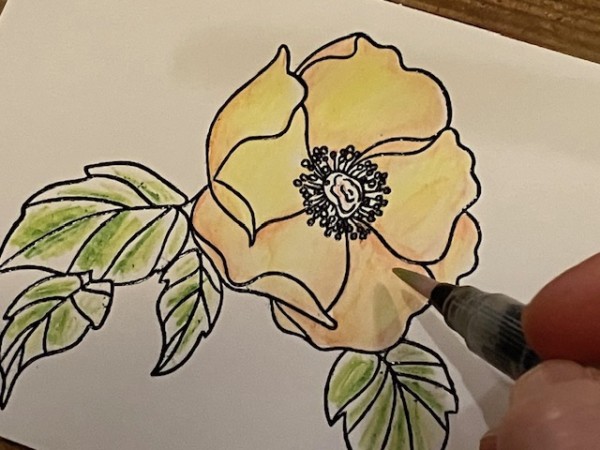
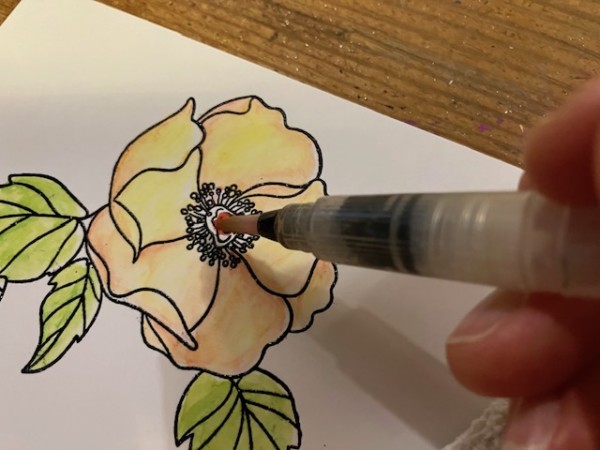
Then, I use my waterbrush—a small paintbrush will also work—to blend the color. I start with the blossom.
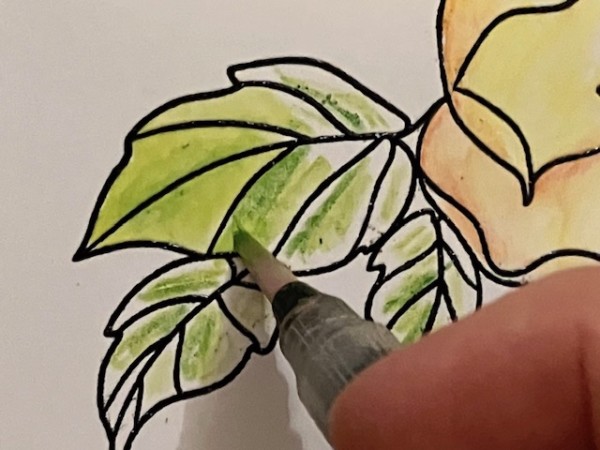
And then go to the leaves—
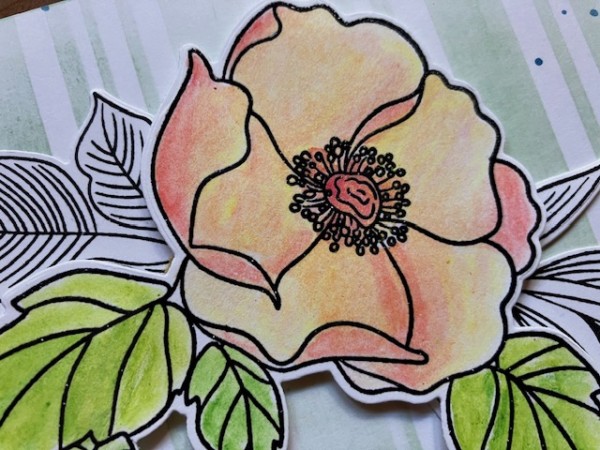
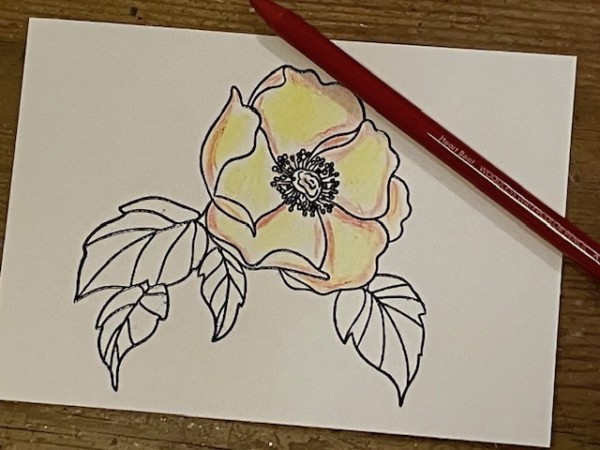
For the flower center, I’m touching the tip of my wet waterbrush to the tip of my Crimson watercolor pencil, then painting in the flower center.
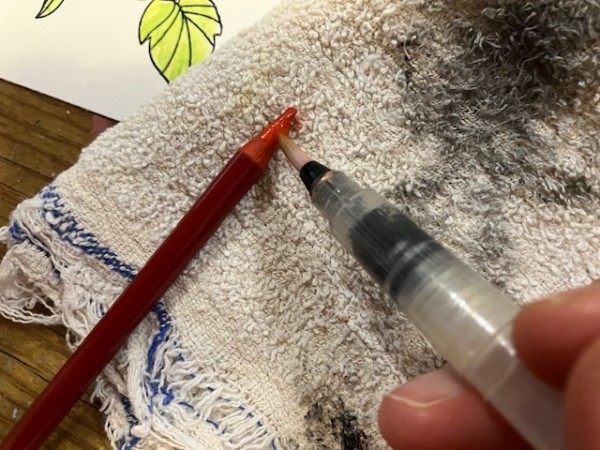
Like so—
From there, just let your piece dry and you’re ready to go!
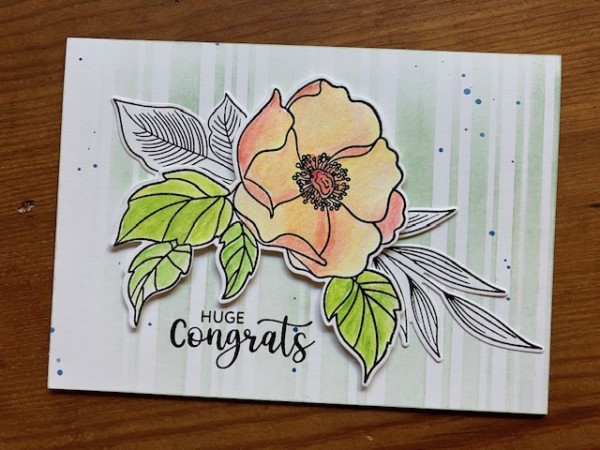
For the rest of my card, I stenciled the background with green dye-based ink and then splattered with watery Desert Night watercolor pencil. Simply load a wet waterbrush with pencil (same as we did to color the flower center Crimson), then tap over the stenciled background. The stencil is the Beach Towel Stripes design.
I die-cut the flower using the coordinating Nostalgic Florals cutting dies, then layered it with foam tape on top of two stamped and die-cut leaves. The sentiment is also from the Nostalgic Florals stamp set.
Here’s another look at the card:
I hope you enjoyed this easy watercolor project!