Hello friends!
Last night I hosted a Facebook Live over on the Altenew Facebook page, featuring their new Watercolor Pans. Have you seen these??? I absolutely adore them…36 half pans of the colors you know from the gorgeous Altenew palette like Ocean Waves, Citrus Burst, Frayed Leaf and more. It also includes a waterbrush…these have always been some of my must-have tools and I’m really pleased they’ve included one in the set.
I also shared how I’m using my latest favorites, Leaf Canopy and Sweetest Peas stamp sets. Both of these have matching dies, which you can see here and here, and are the next on my shipping list!
If you missed the video, you can catch up here…and see below for photos stepping you through the technique of using watercolor pans to “ink” your stamps!
https://www.facebook.com/altenew/videos/1017167535121118/
Here’s one of the projects, using the watercolor pans to stamp an image:
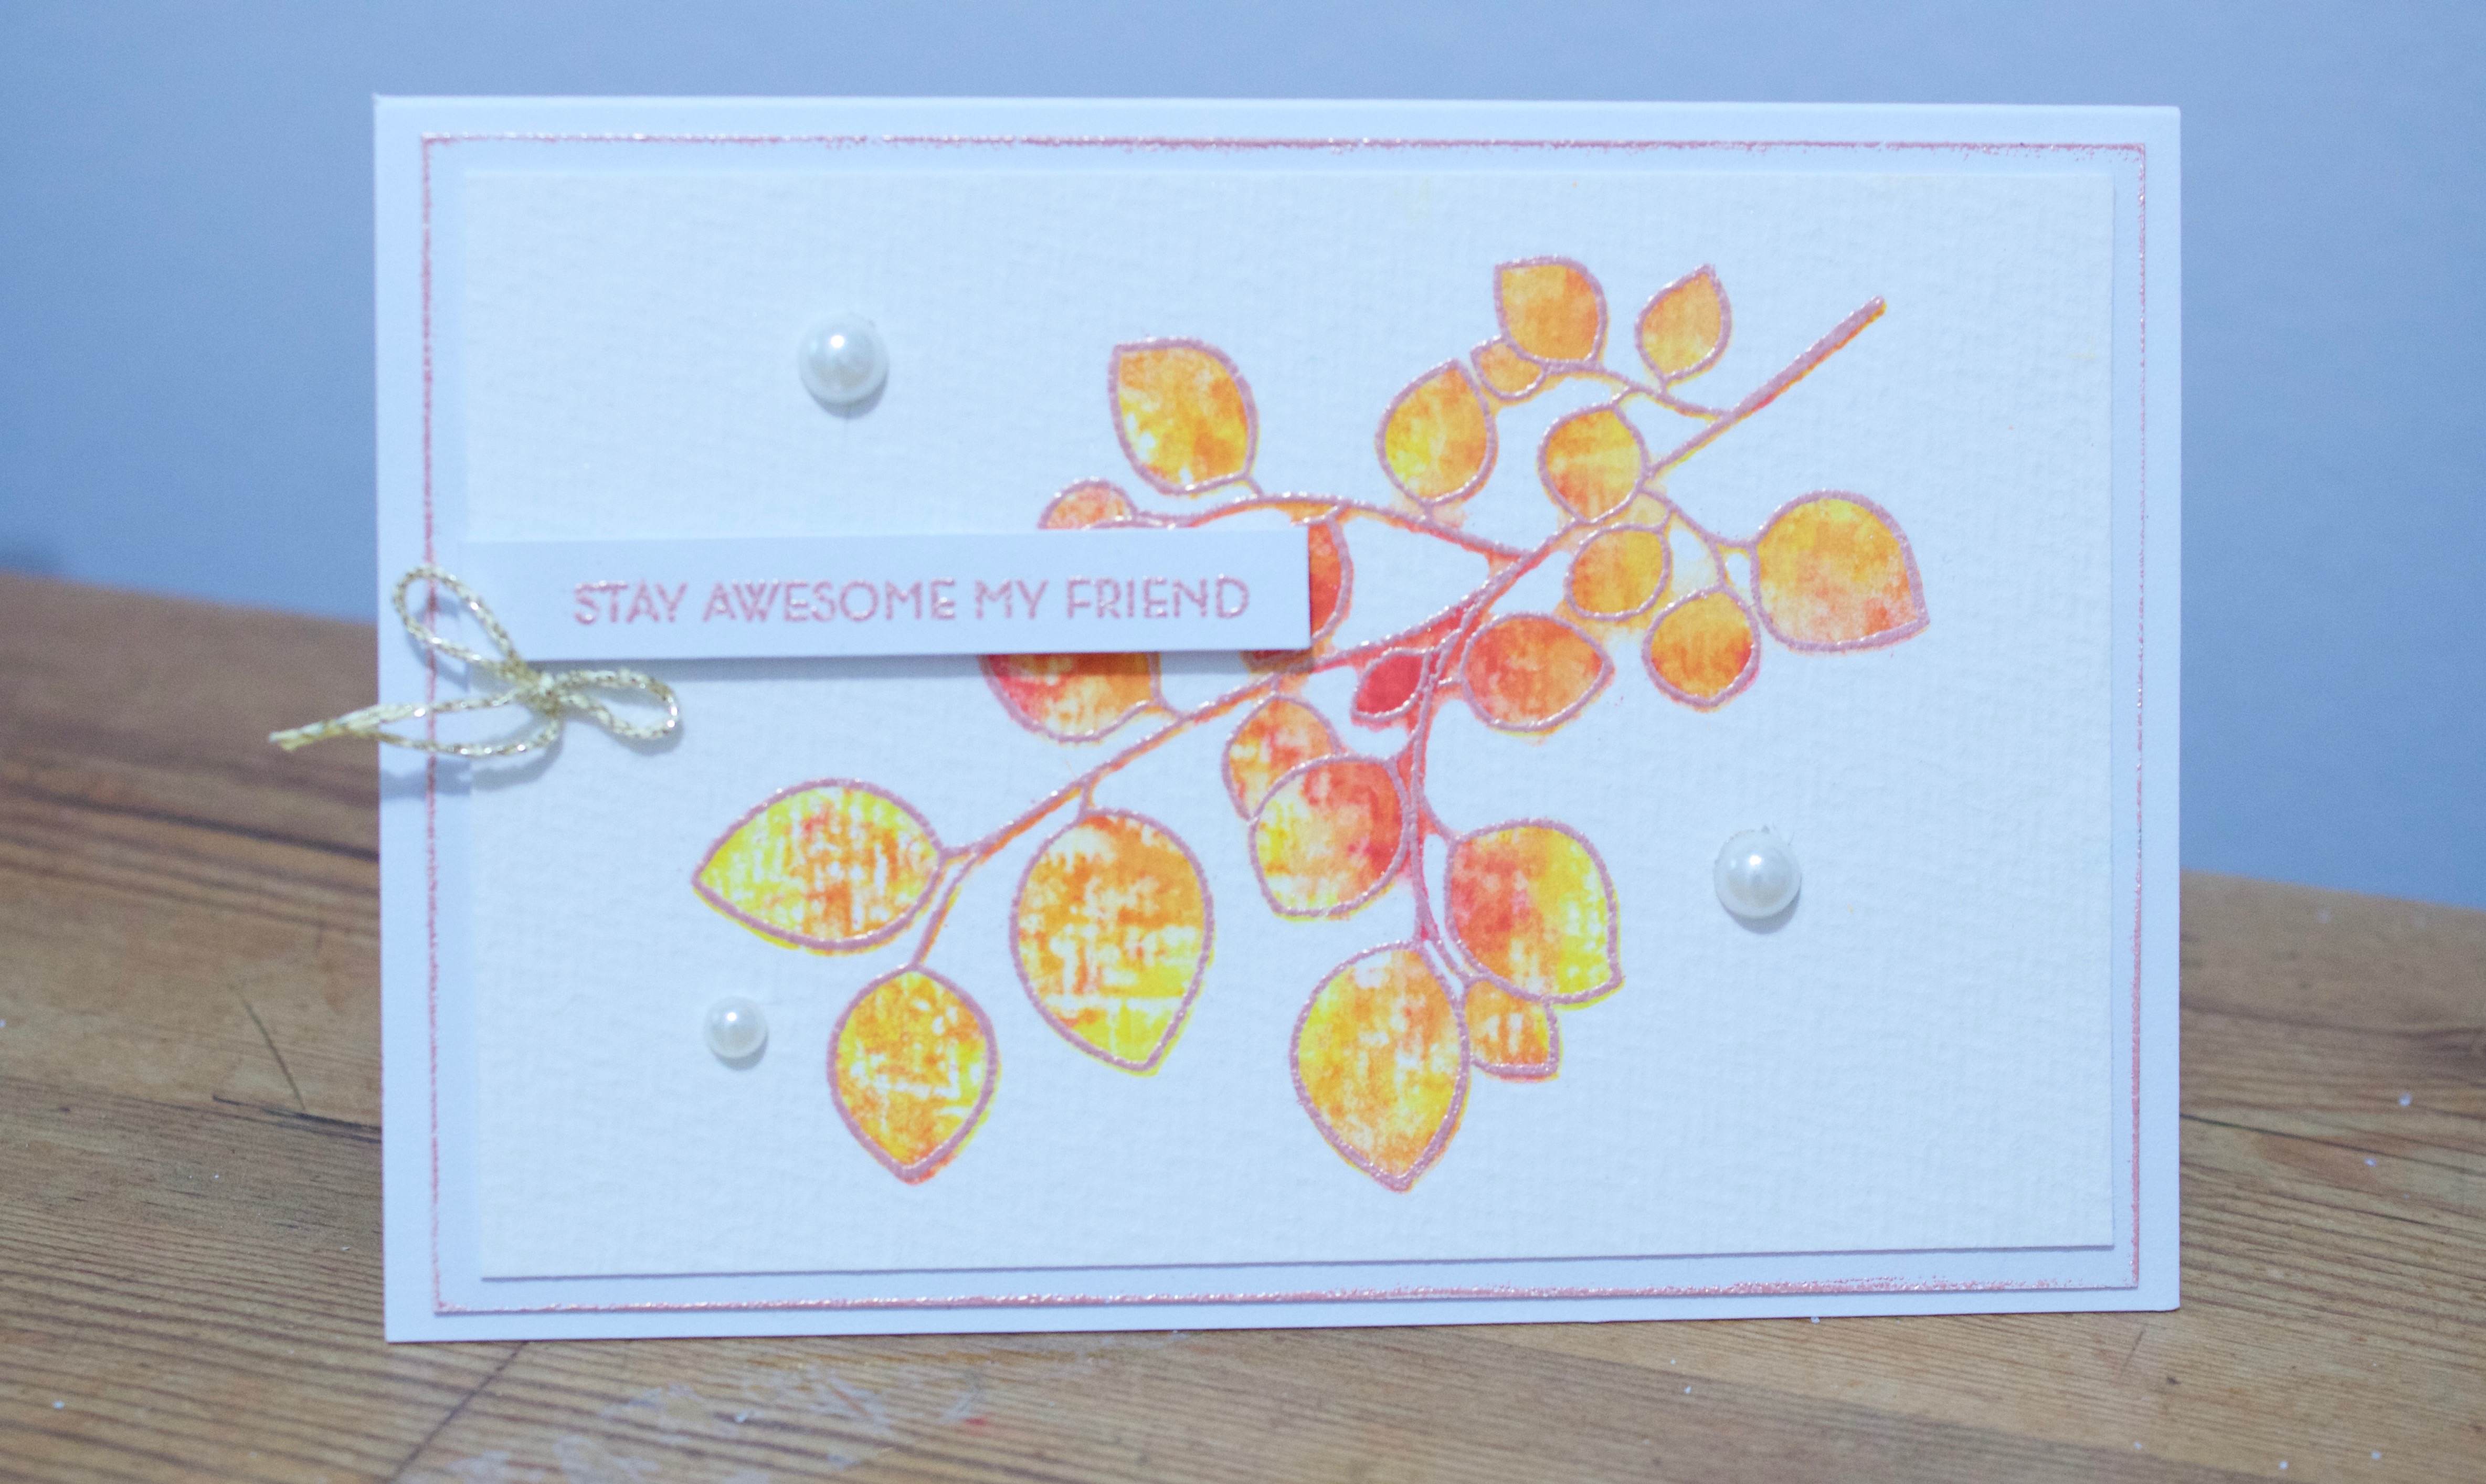
I showed two versions of this card, the one you see here, where the watercolor image has then been embossed with an outline stamp…and a second, slightly different version, where there’s no embossing. More on that one later. For now, let’s look at how to create this card.
Stay Awesome my Friend, what you need—
Watercolor Pans (Altenew): Citrus Burst, Coral Berry
Golden Peach embossing powder (Altenew)
Water mister
MISTI stamp positioner (My Sweet Petunia)
Watercolor cardstock
Pearls
Foam tape
Blank card
Stay Awesome my Friend, how to make it—
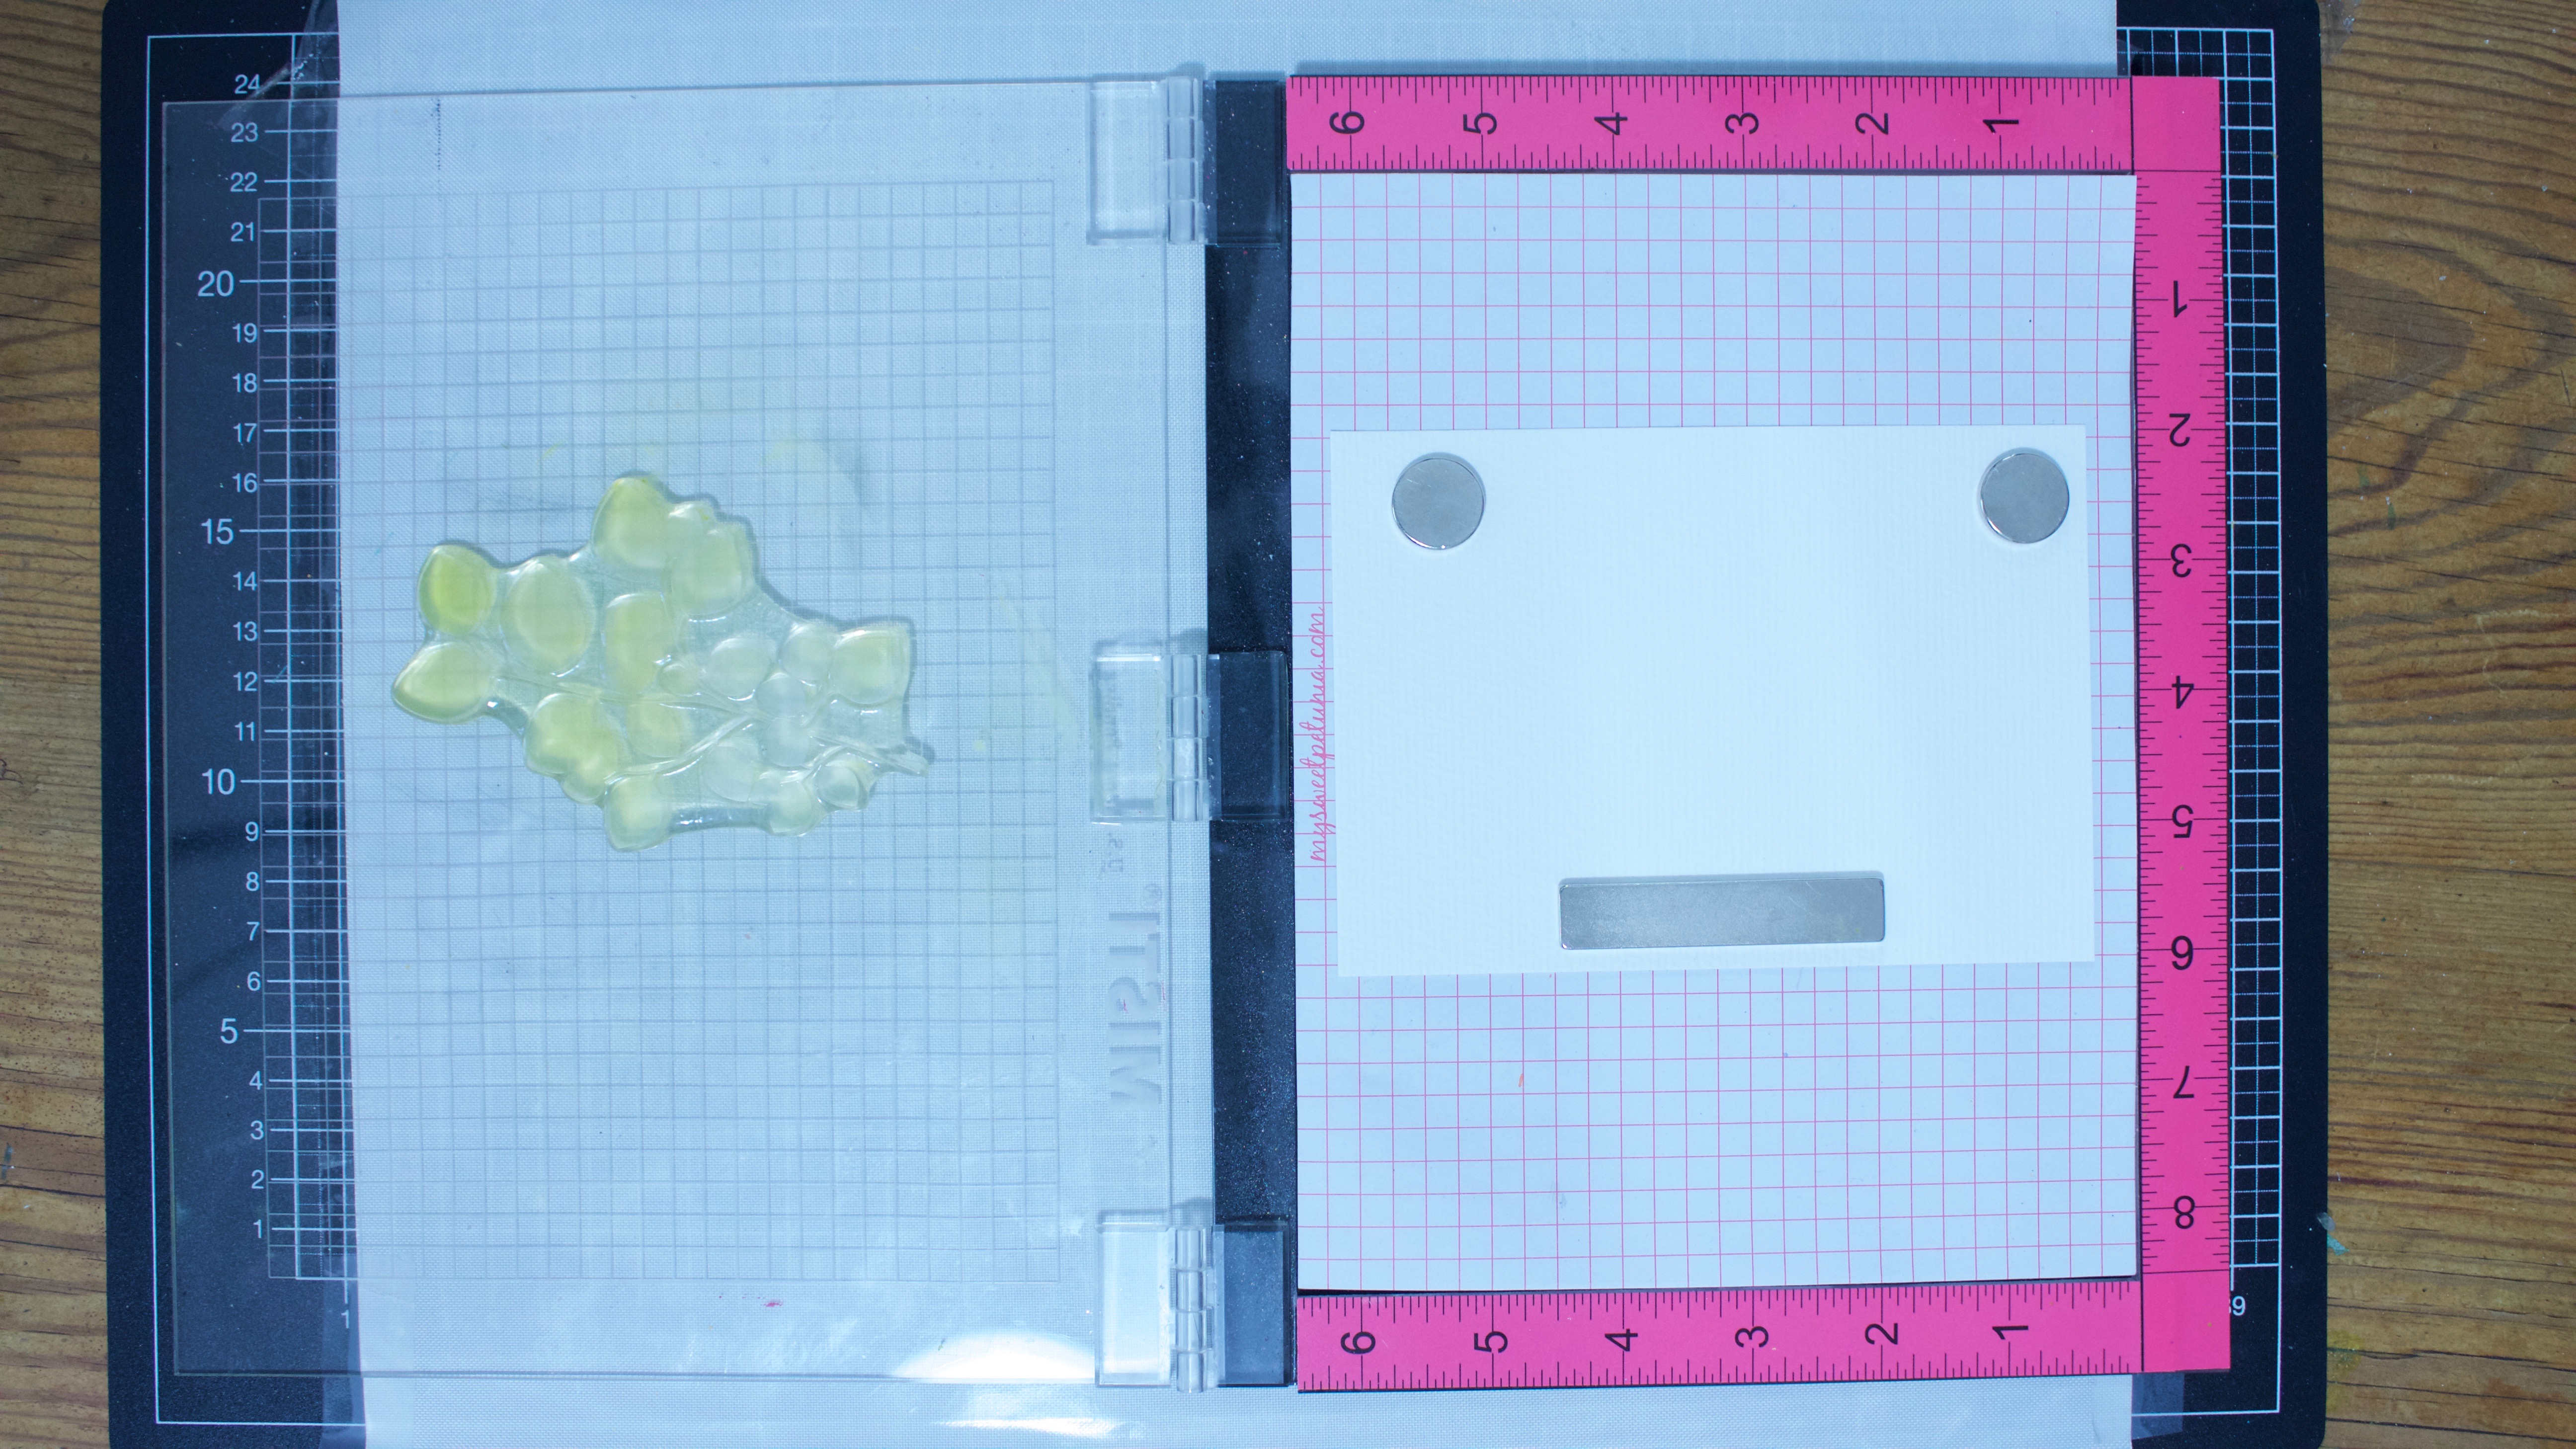
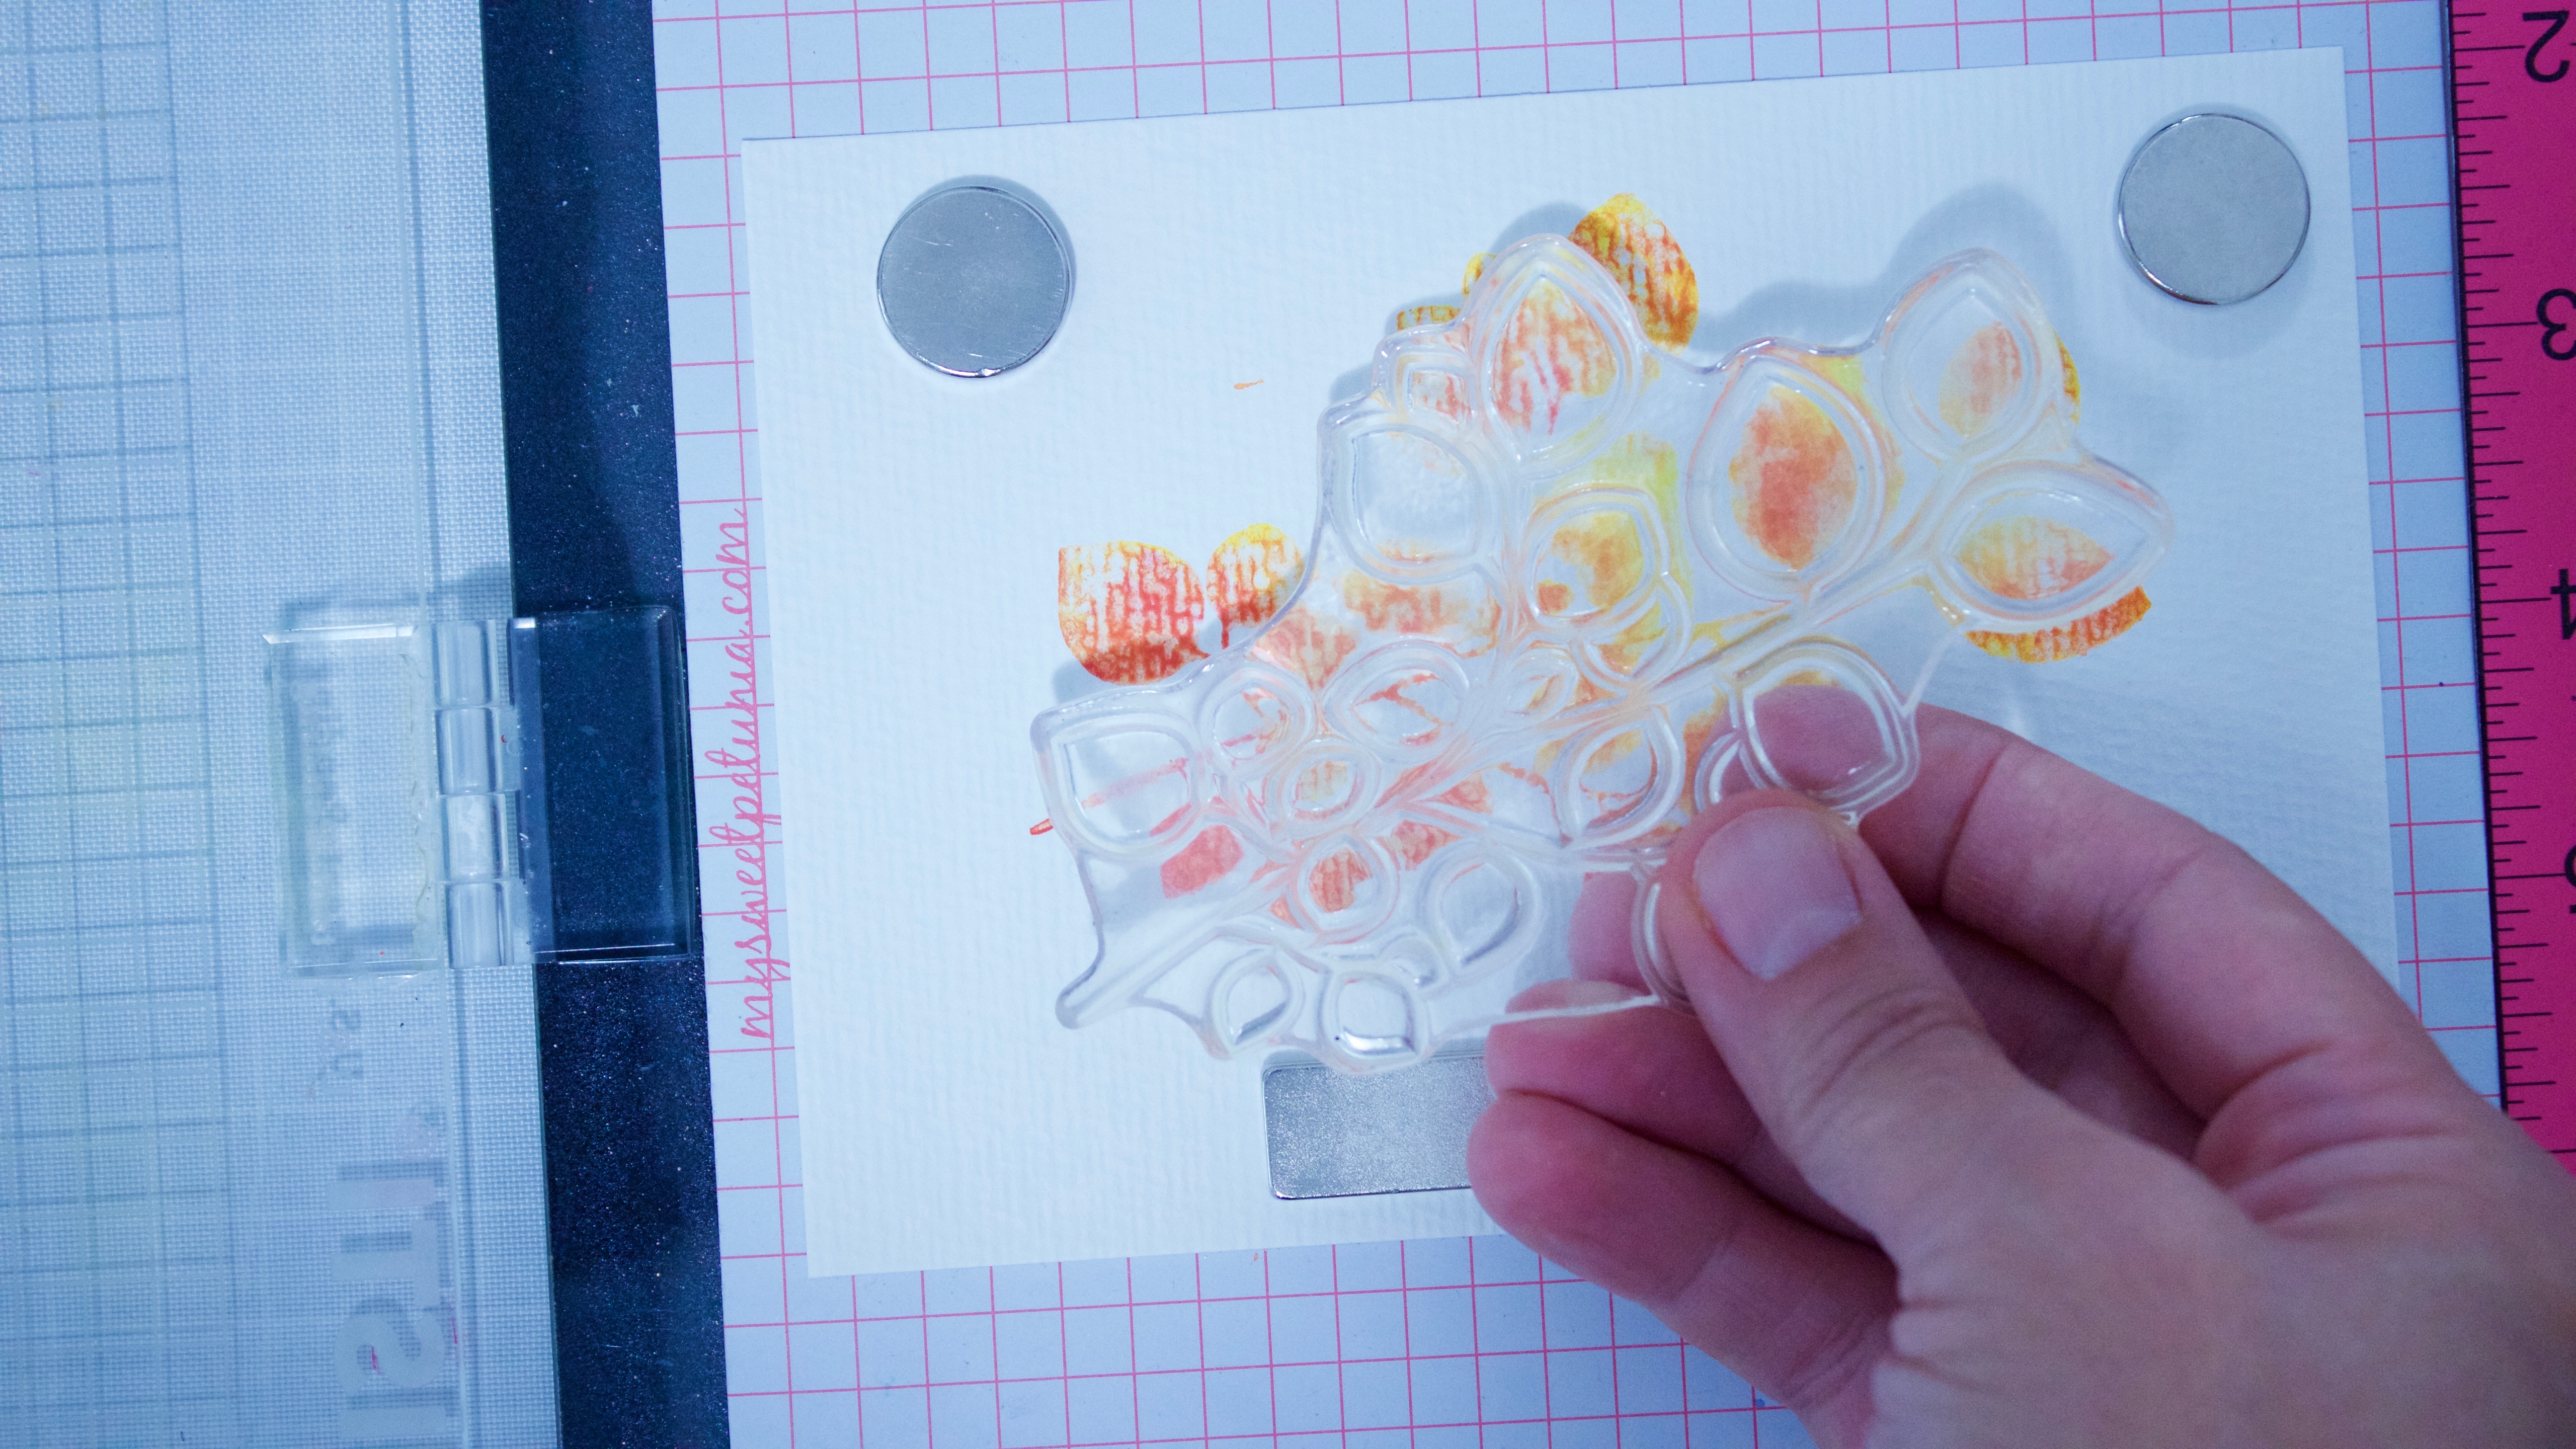
First, place the watercolor cardstock on one side of the MISTI, and the silhouette stamp on the other.
Use a damp baby wipe to moisten the stamp.
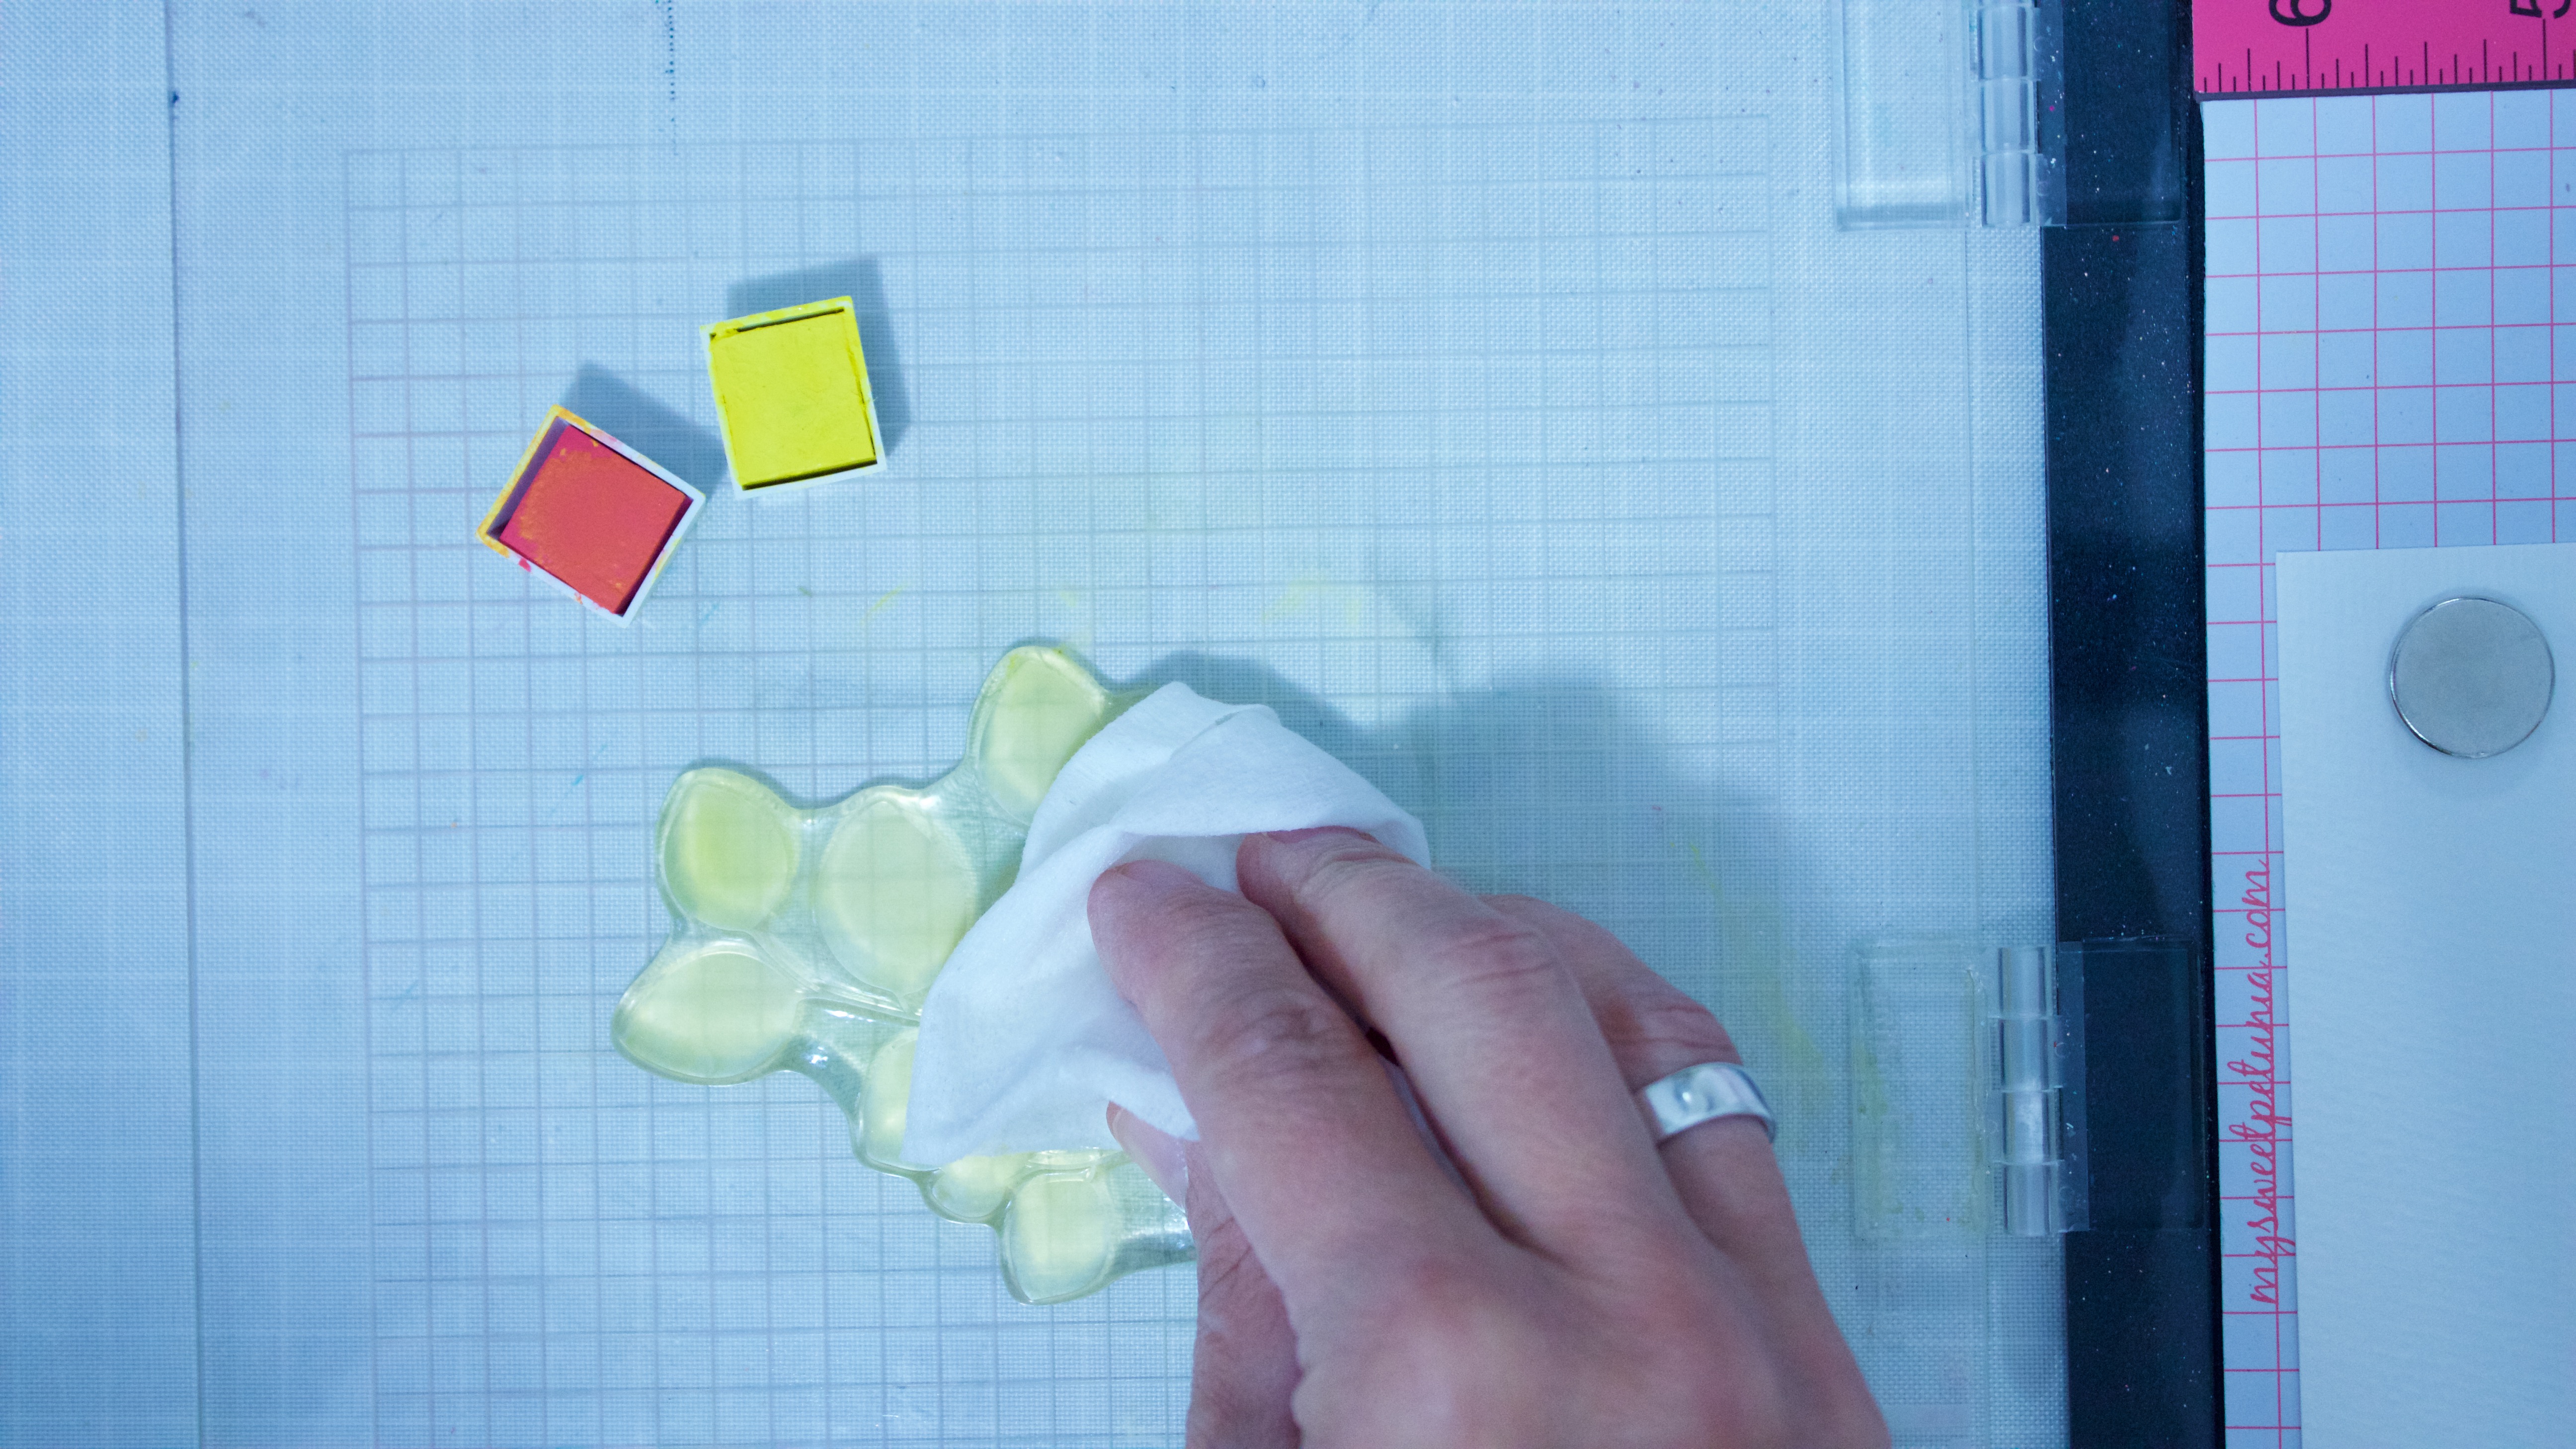
Use a water mister to spritz the two colors in the pans.
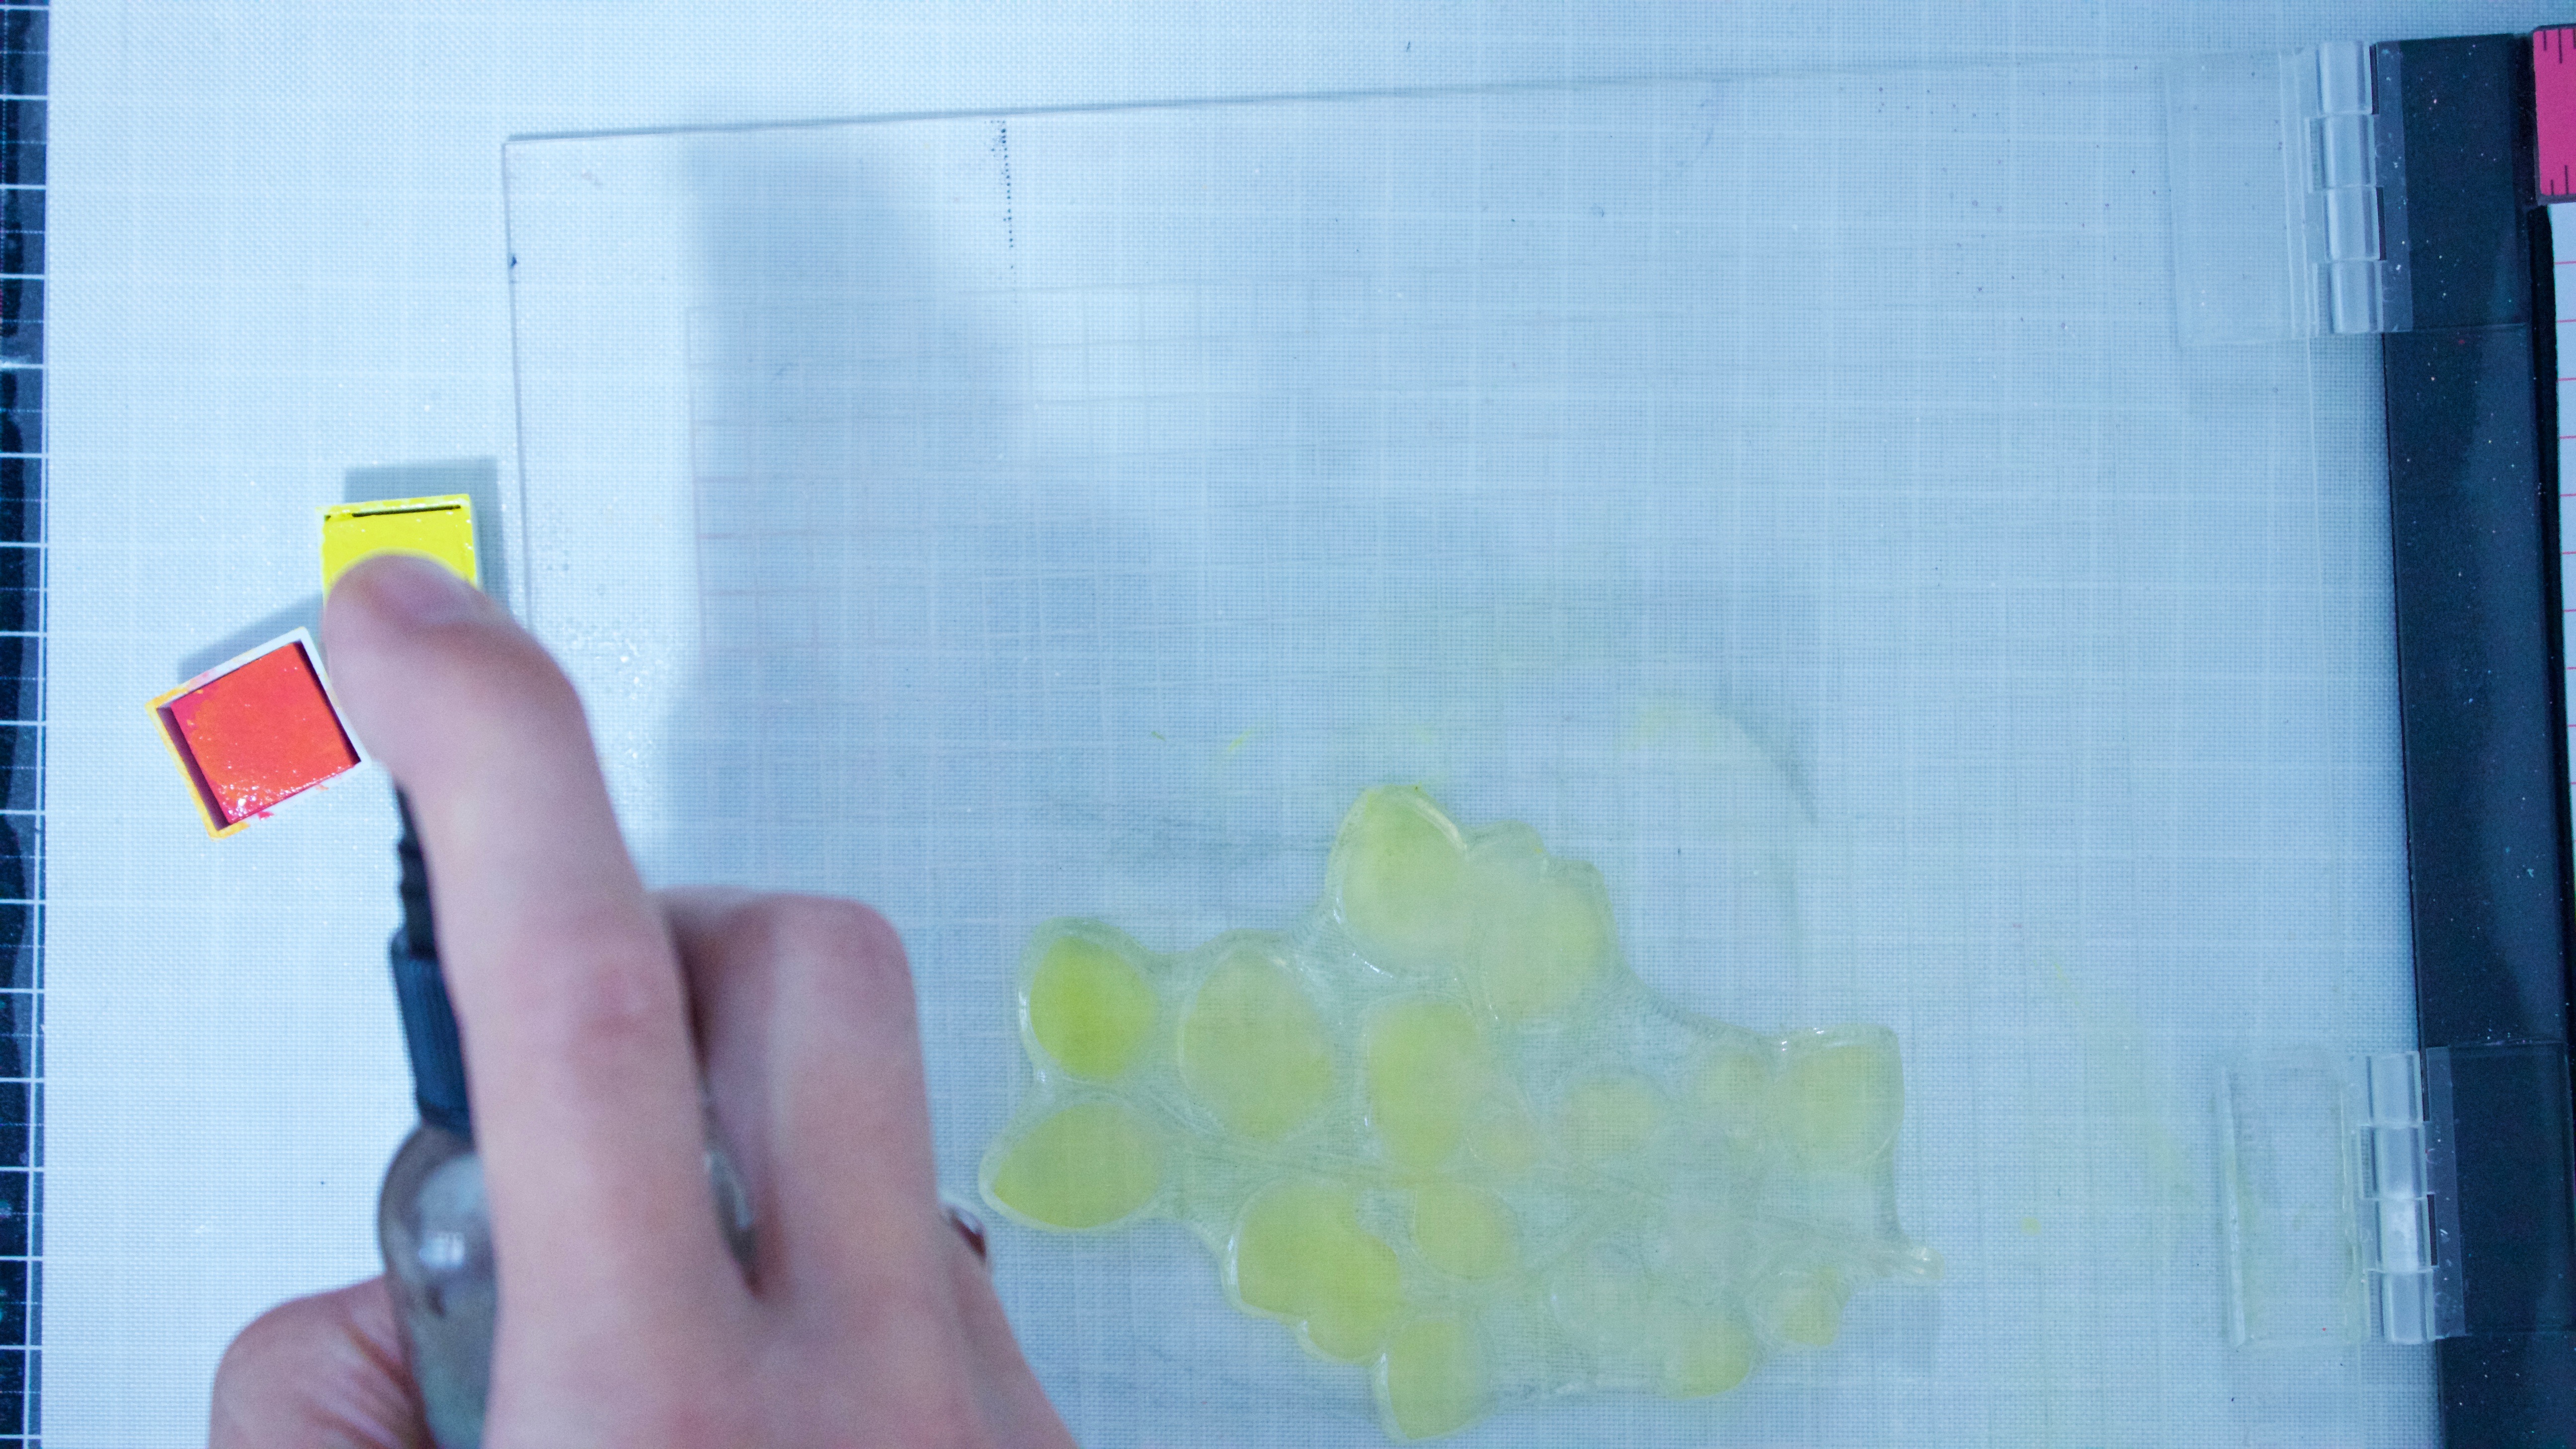
Start with the lighter color and tap the paint directly onto the stamp.
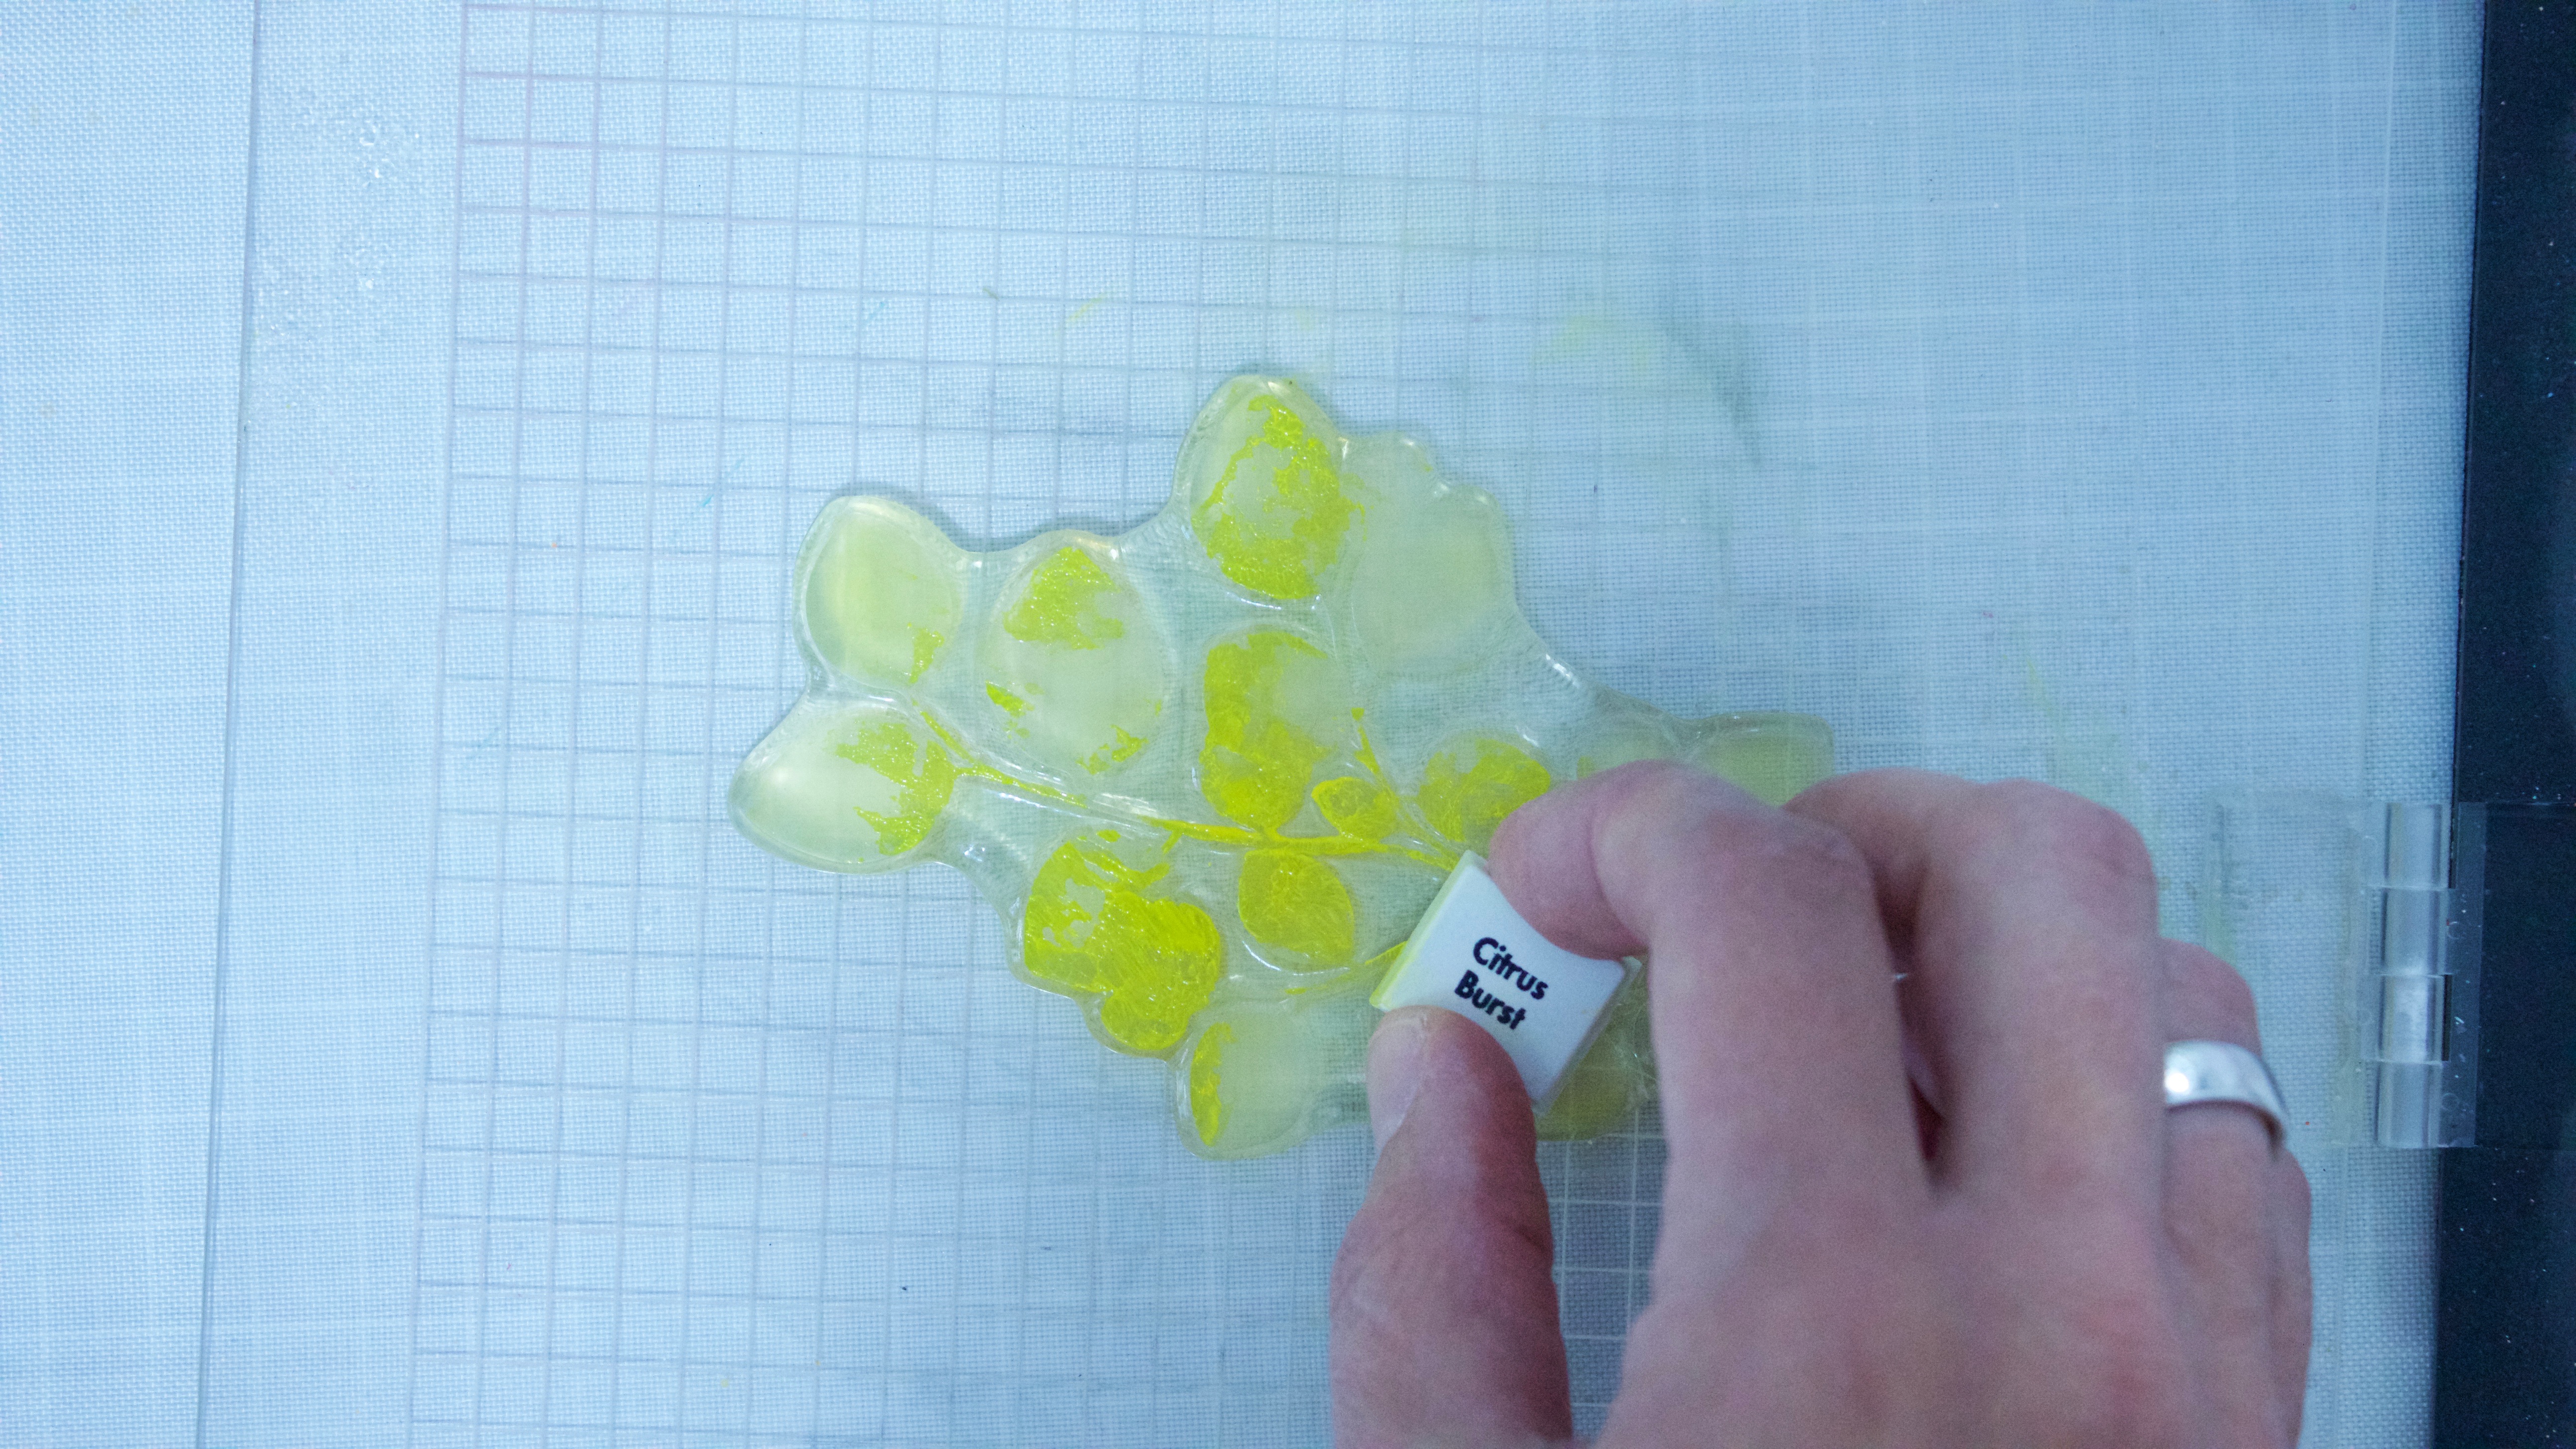
Repeat with the second color.
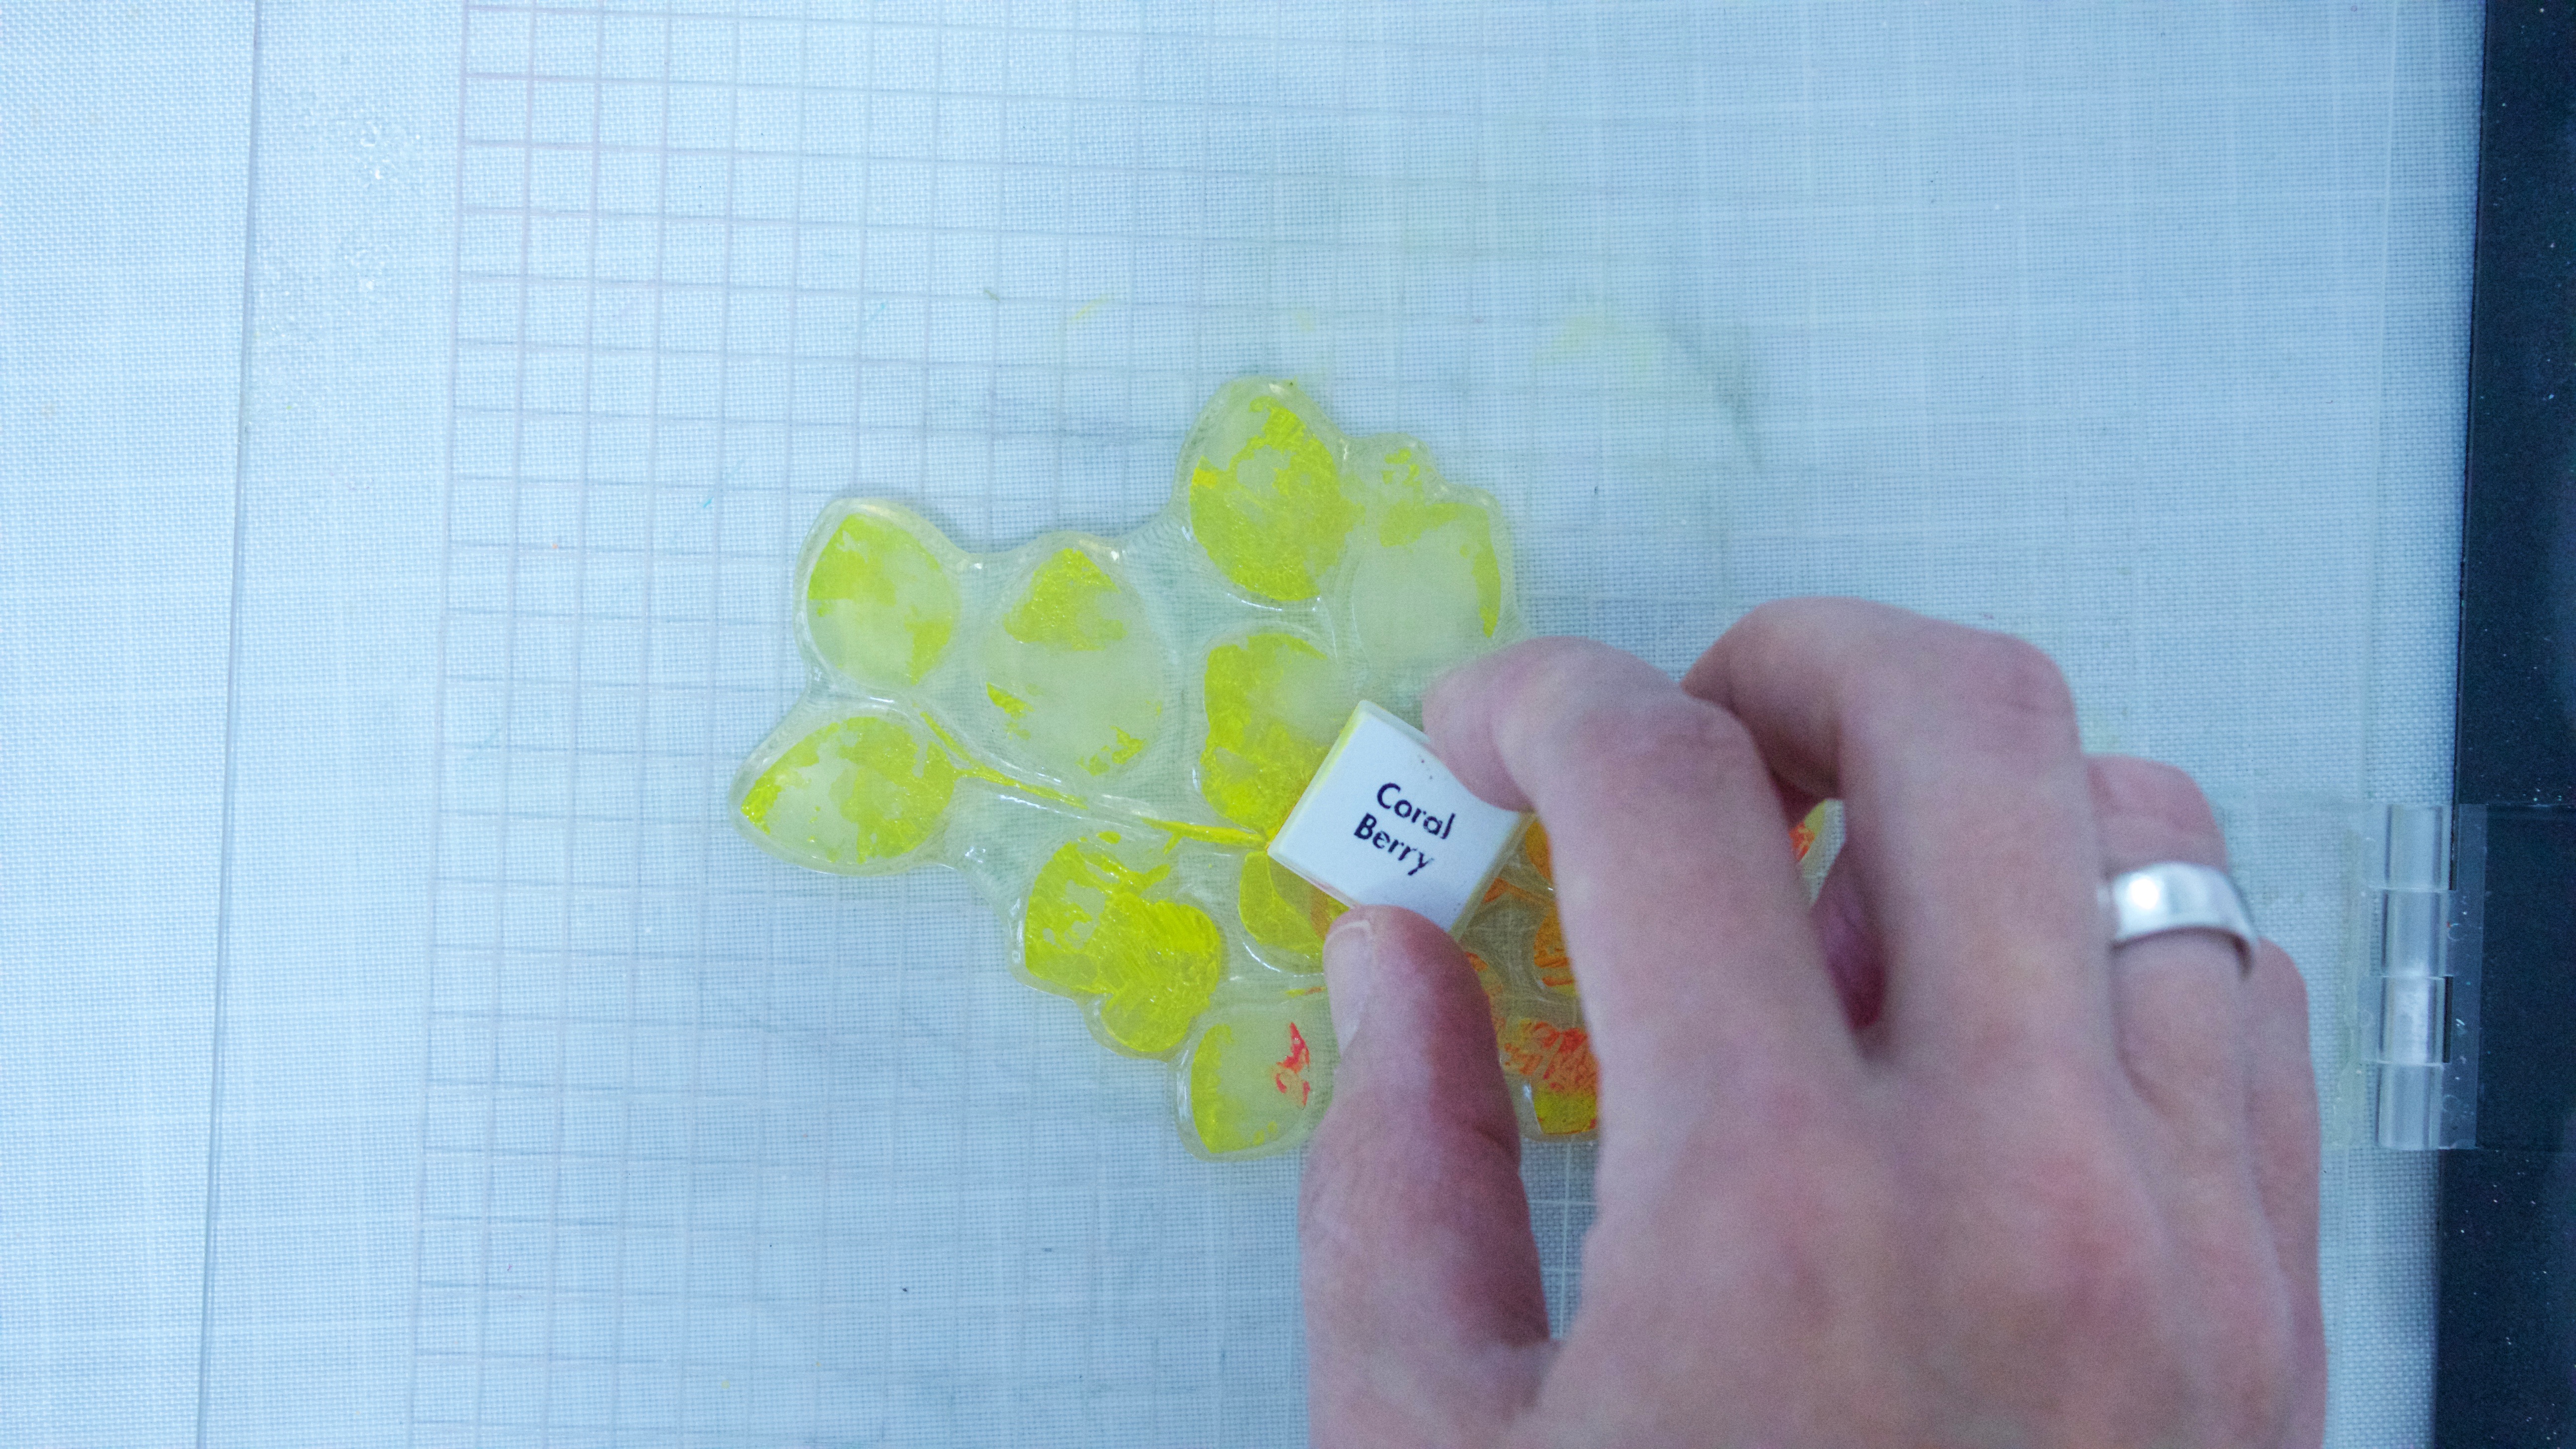
Spritz the stamp lightly.
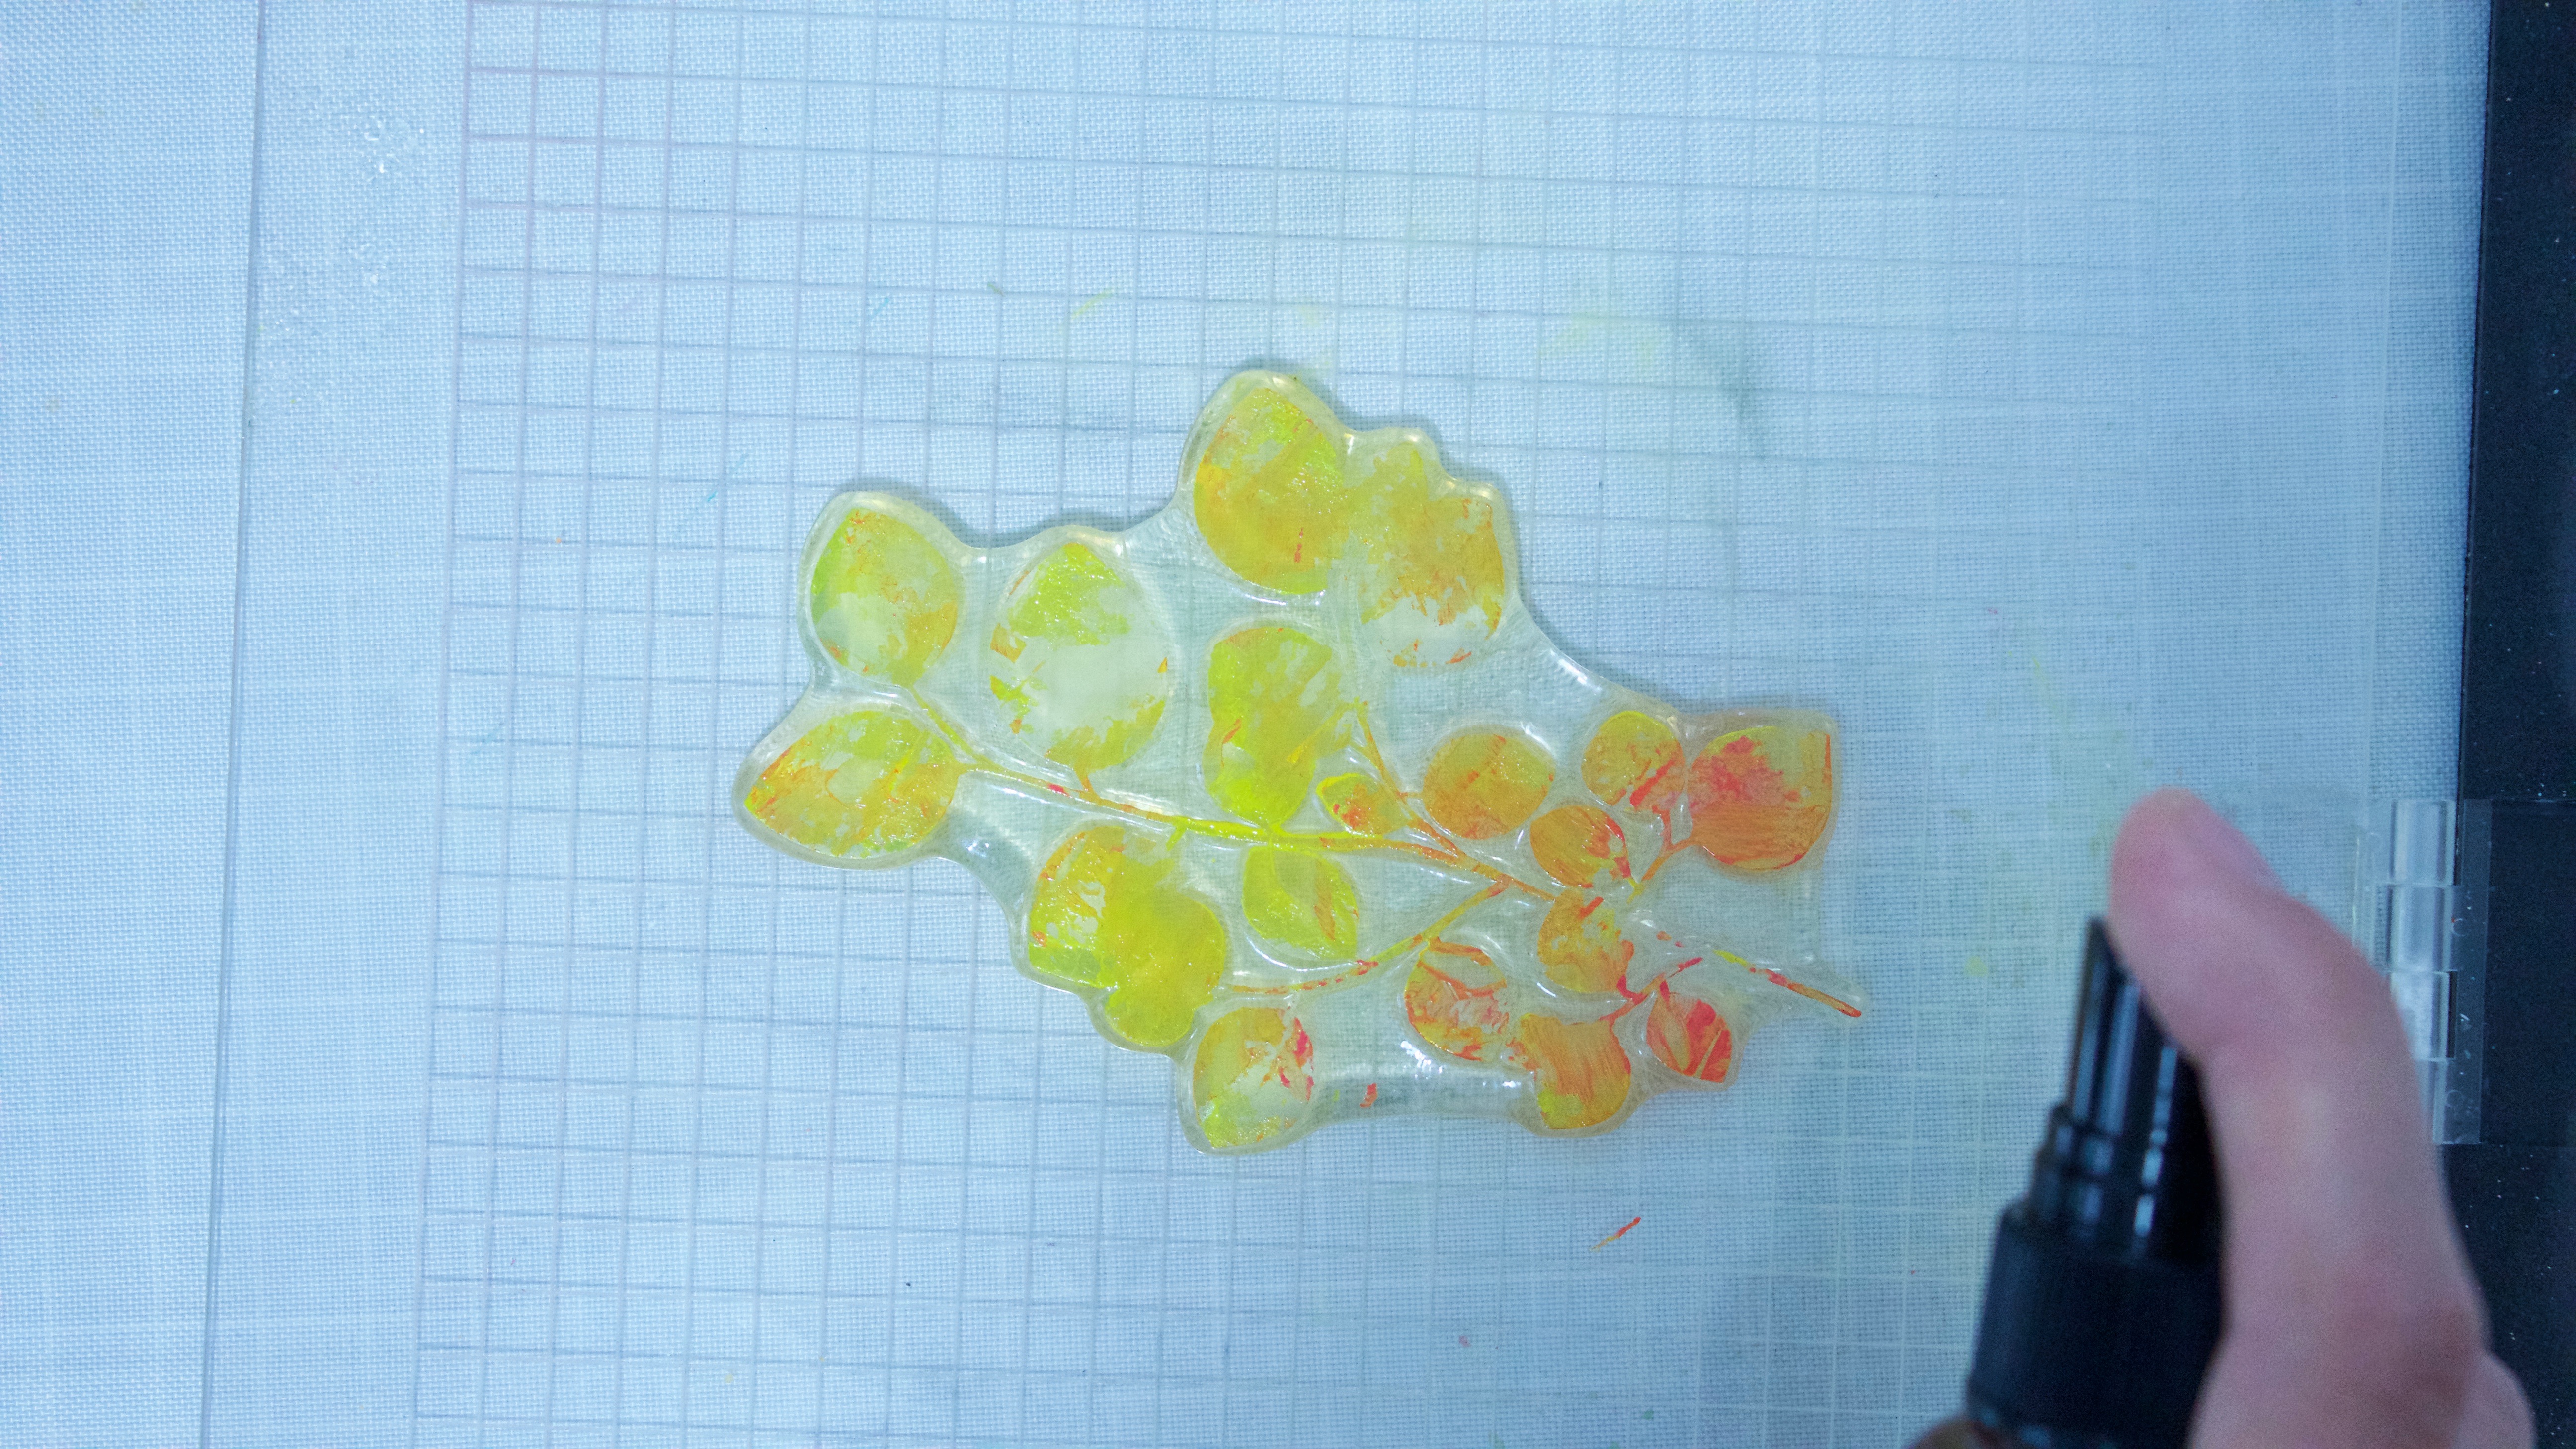
Close the MISTI to stamp.
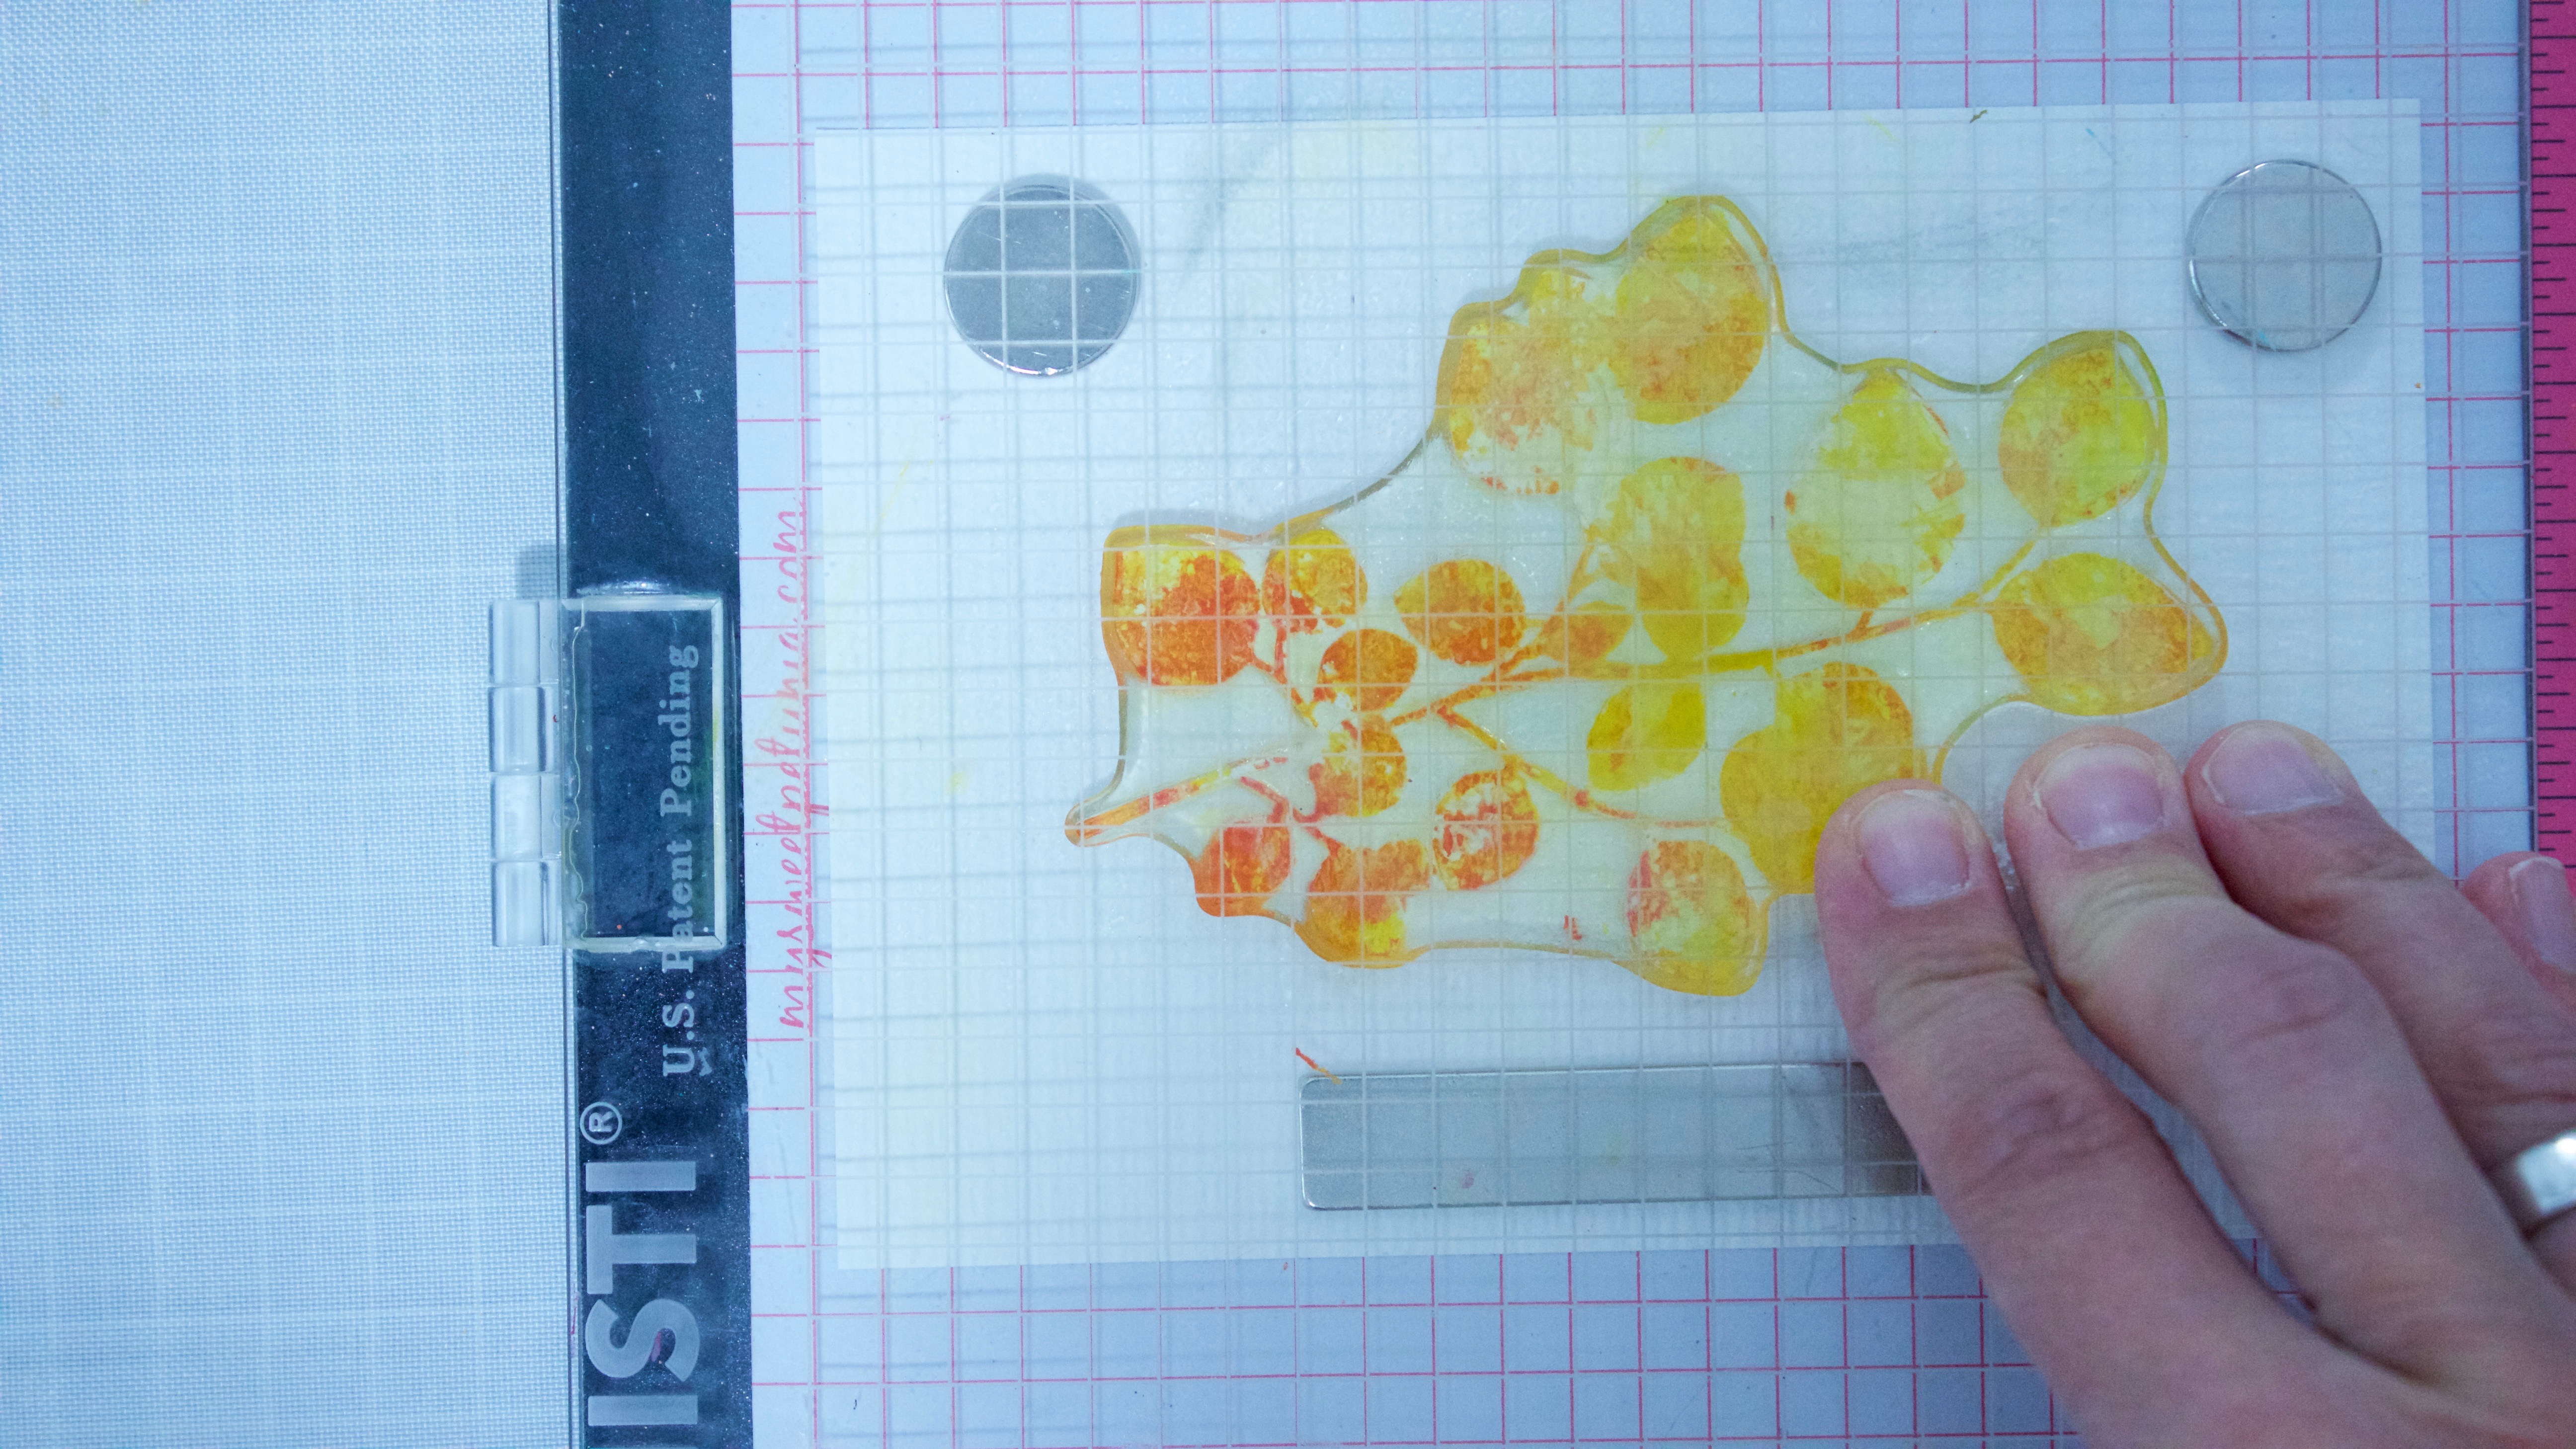
Repeat if necessary, adding more paint or more water as desired.
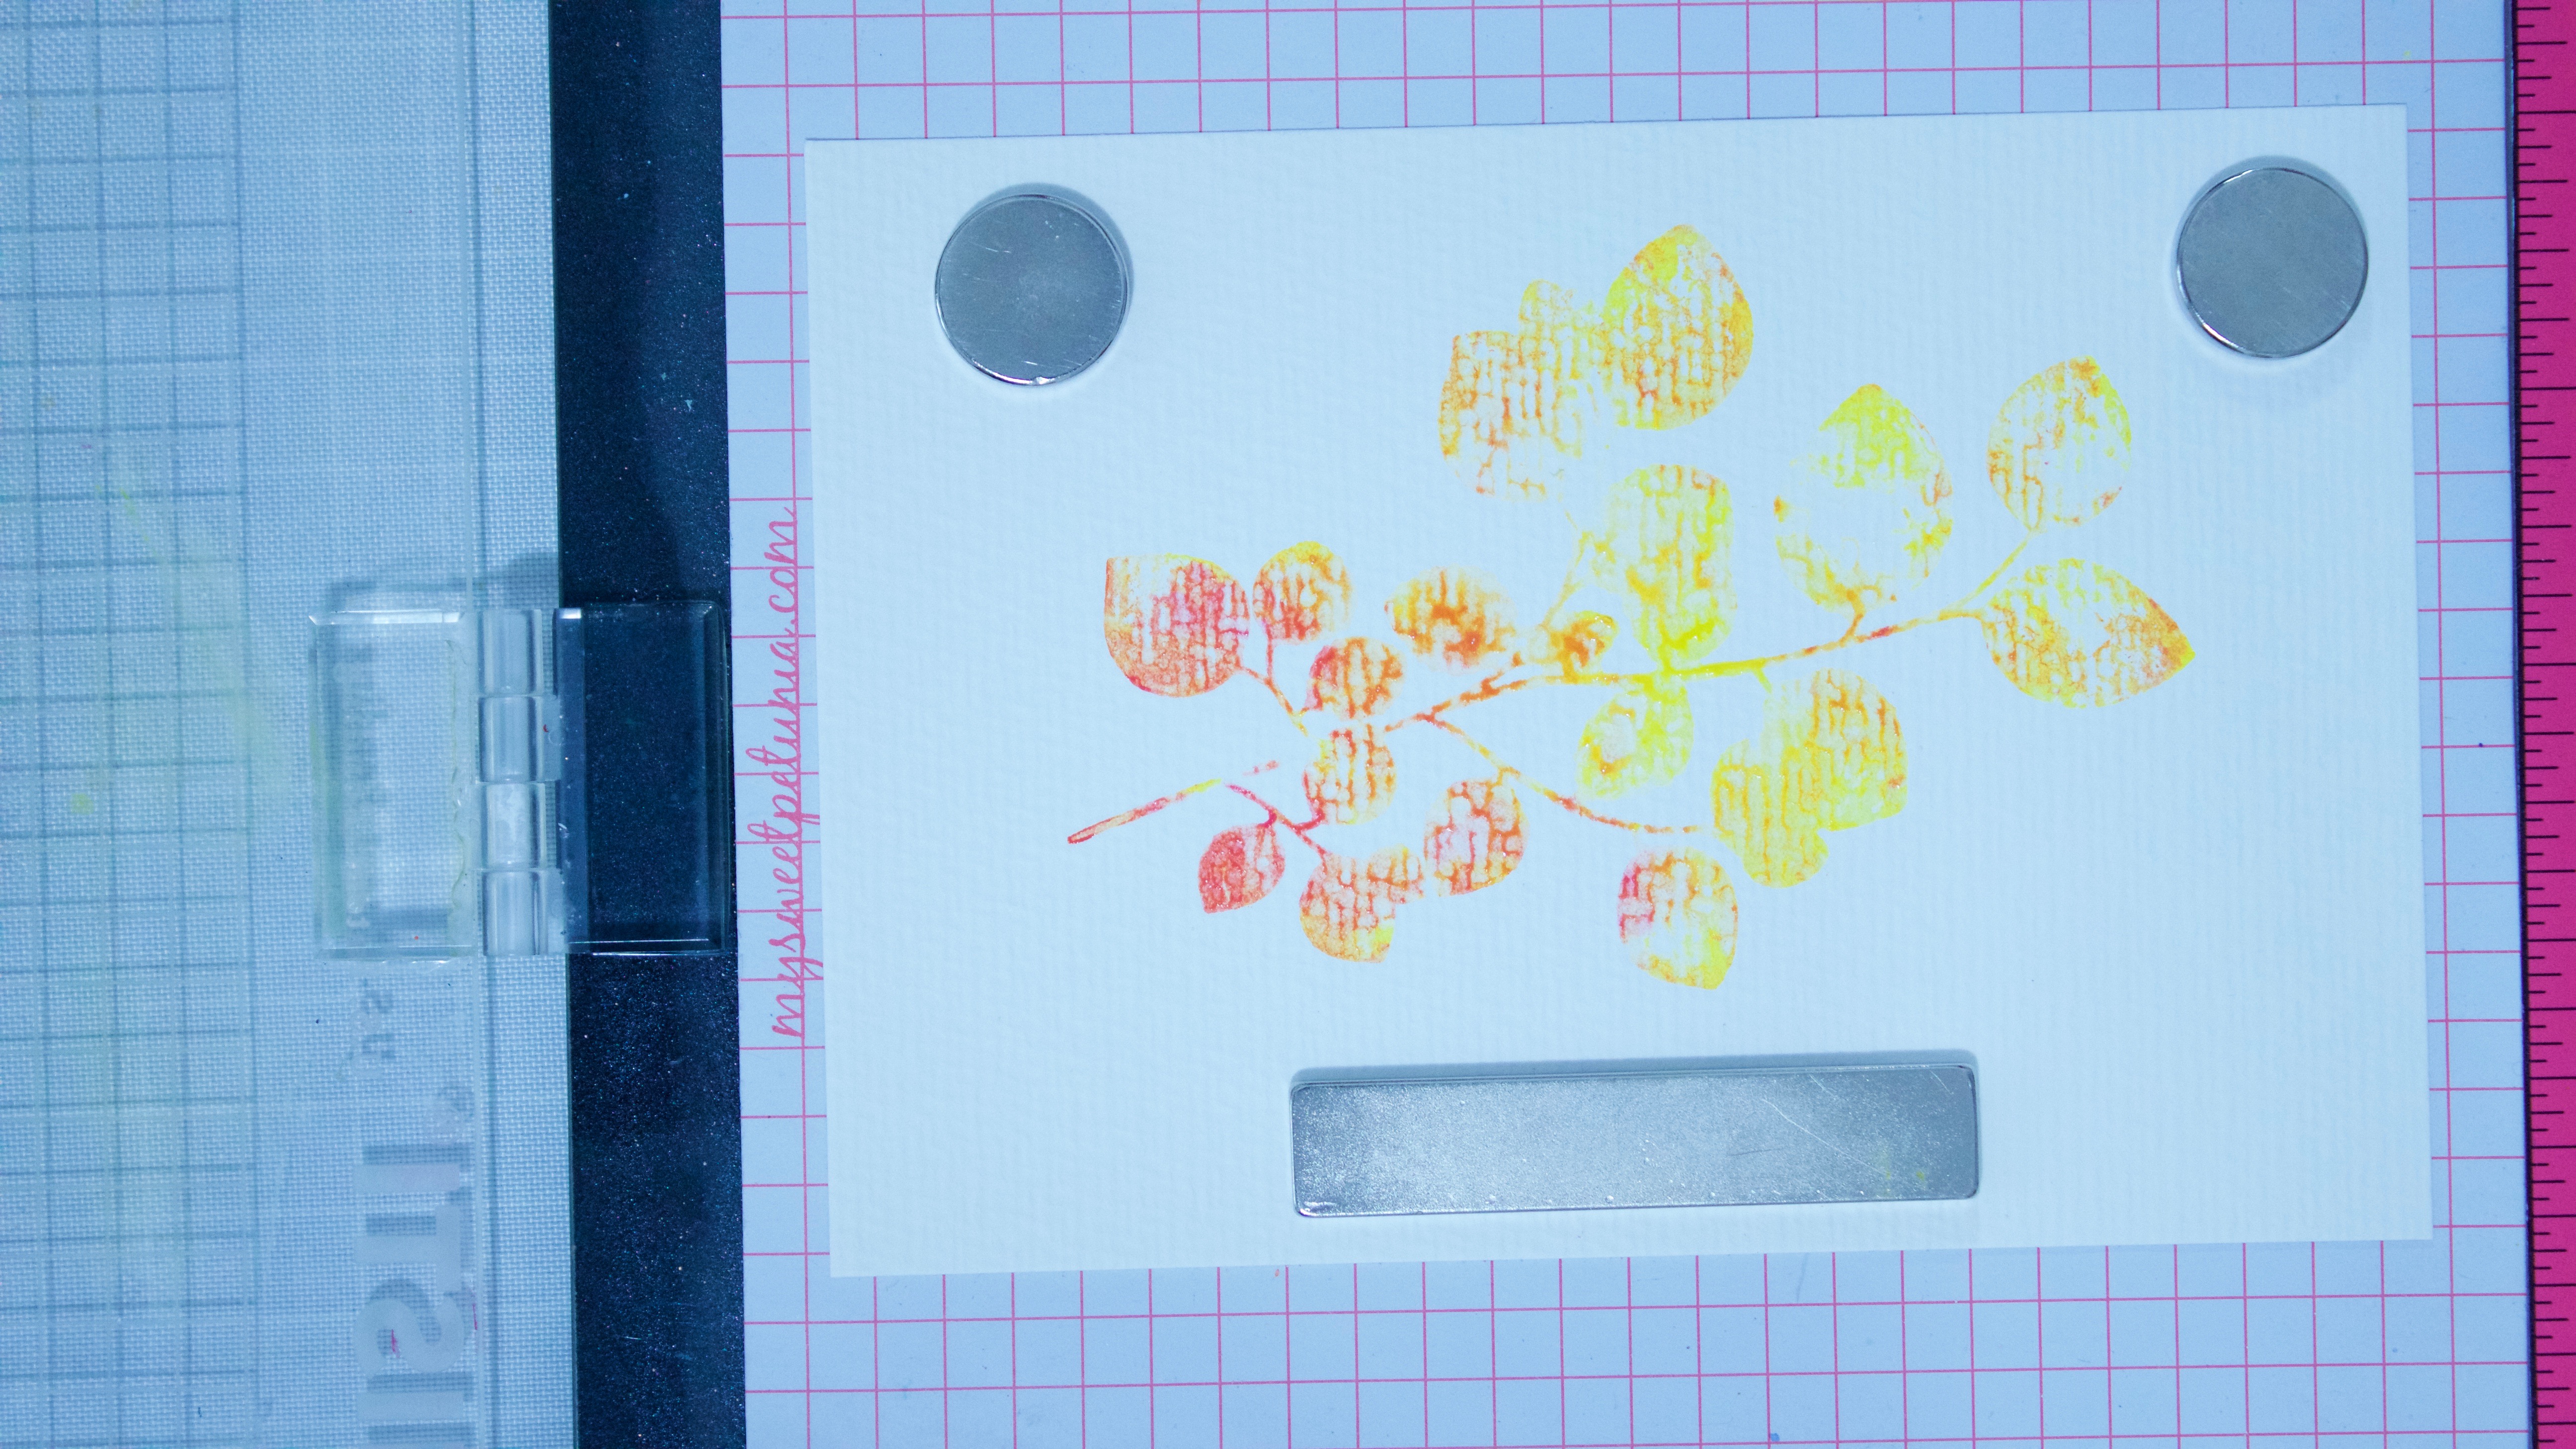
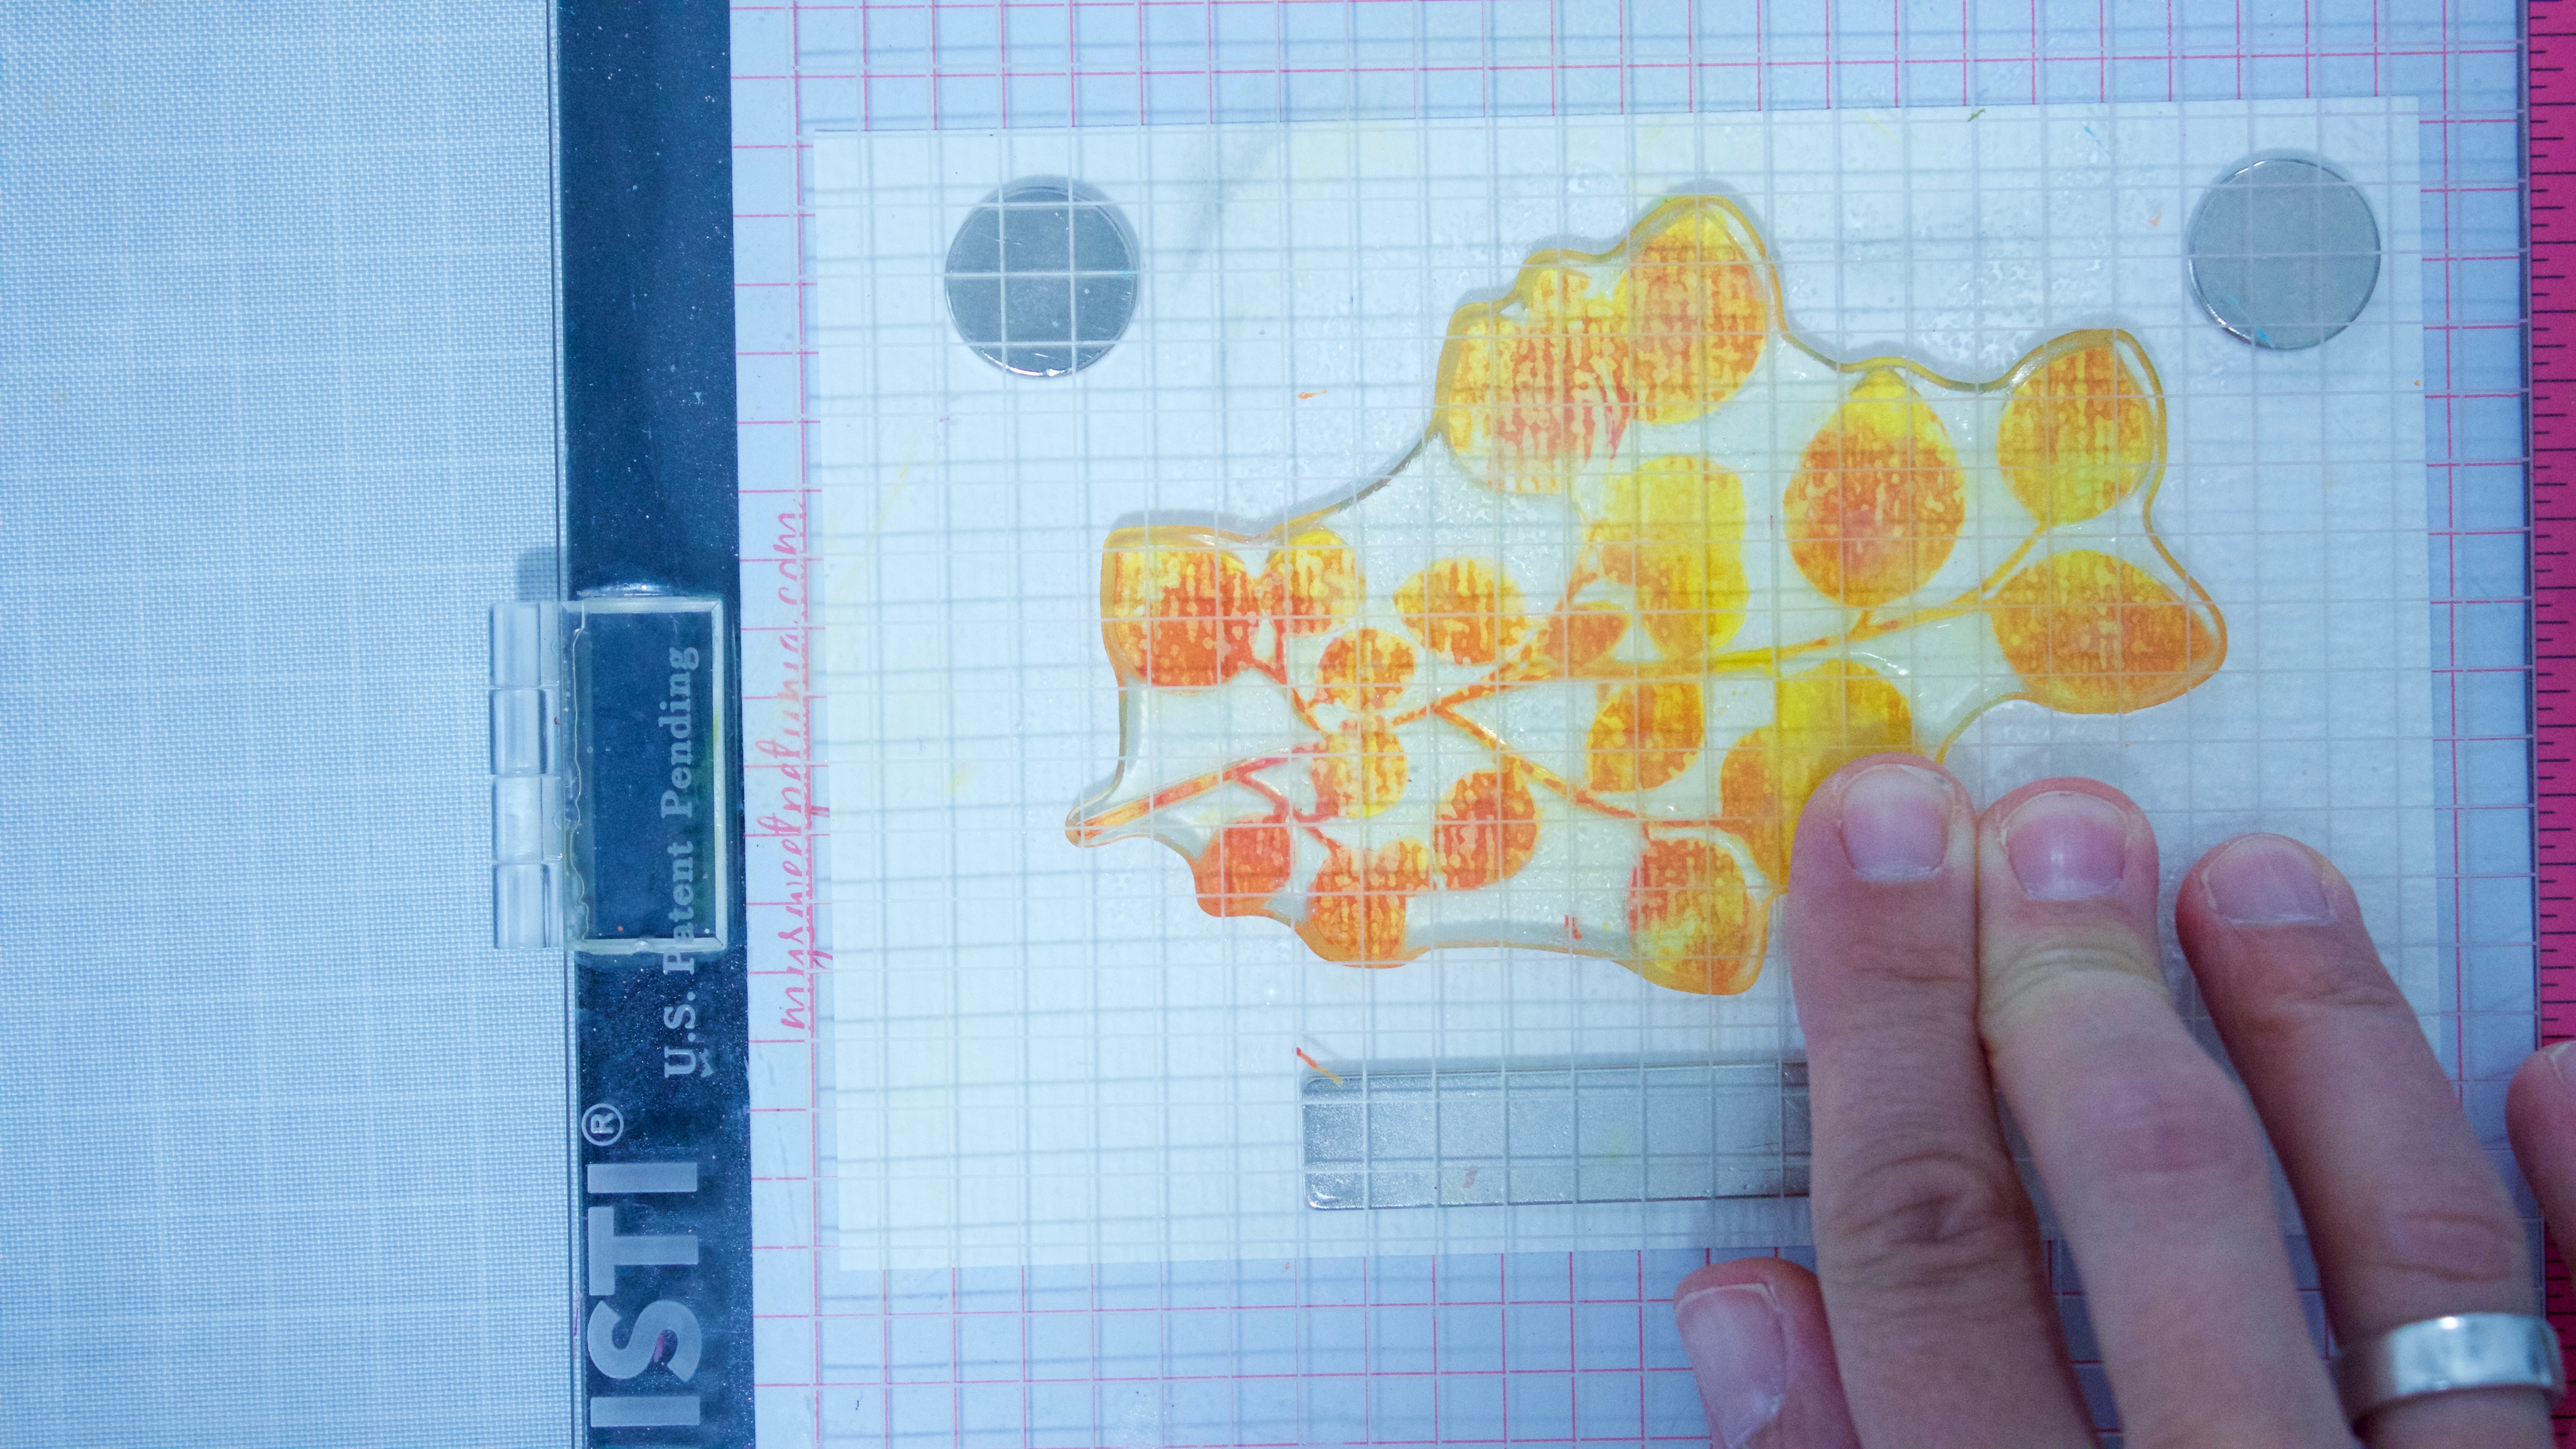
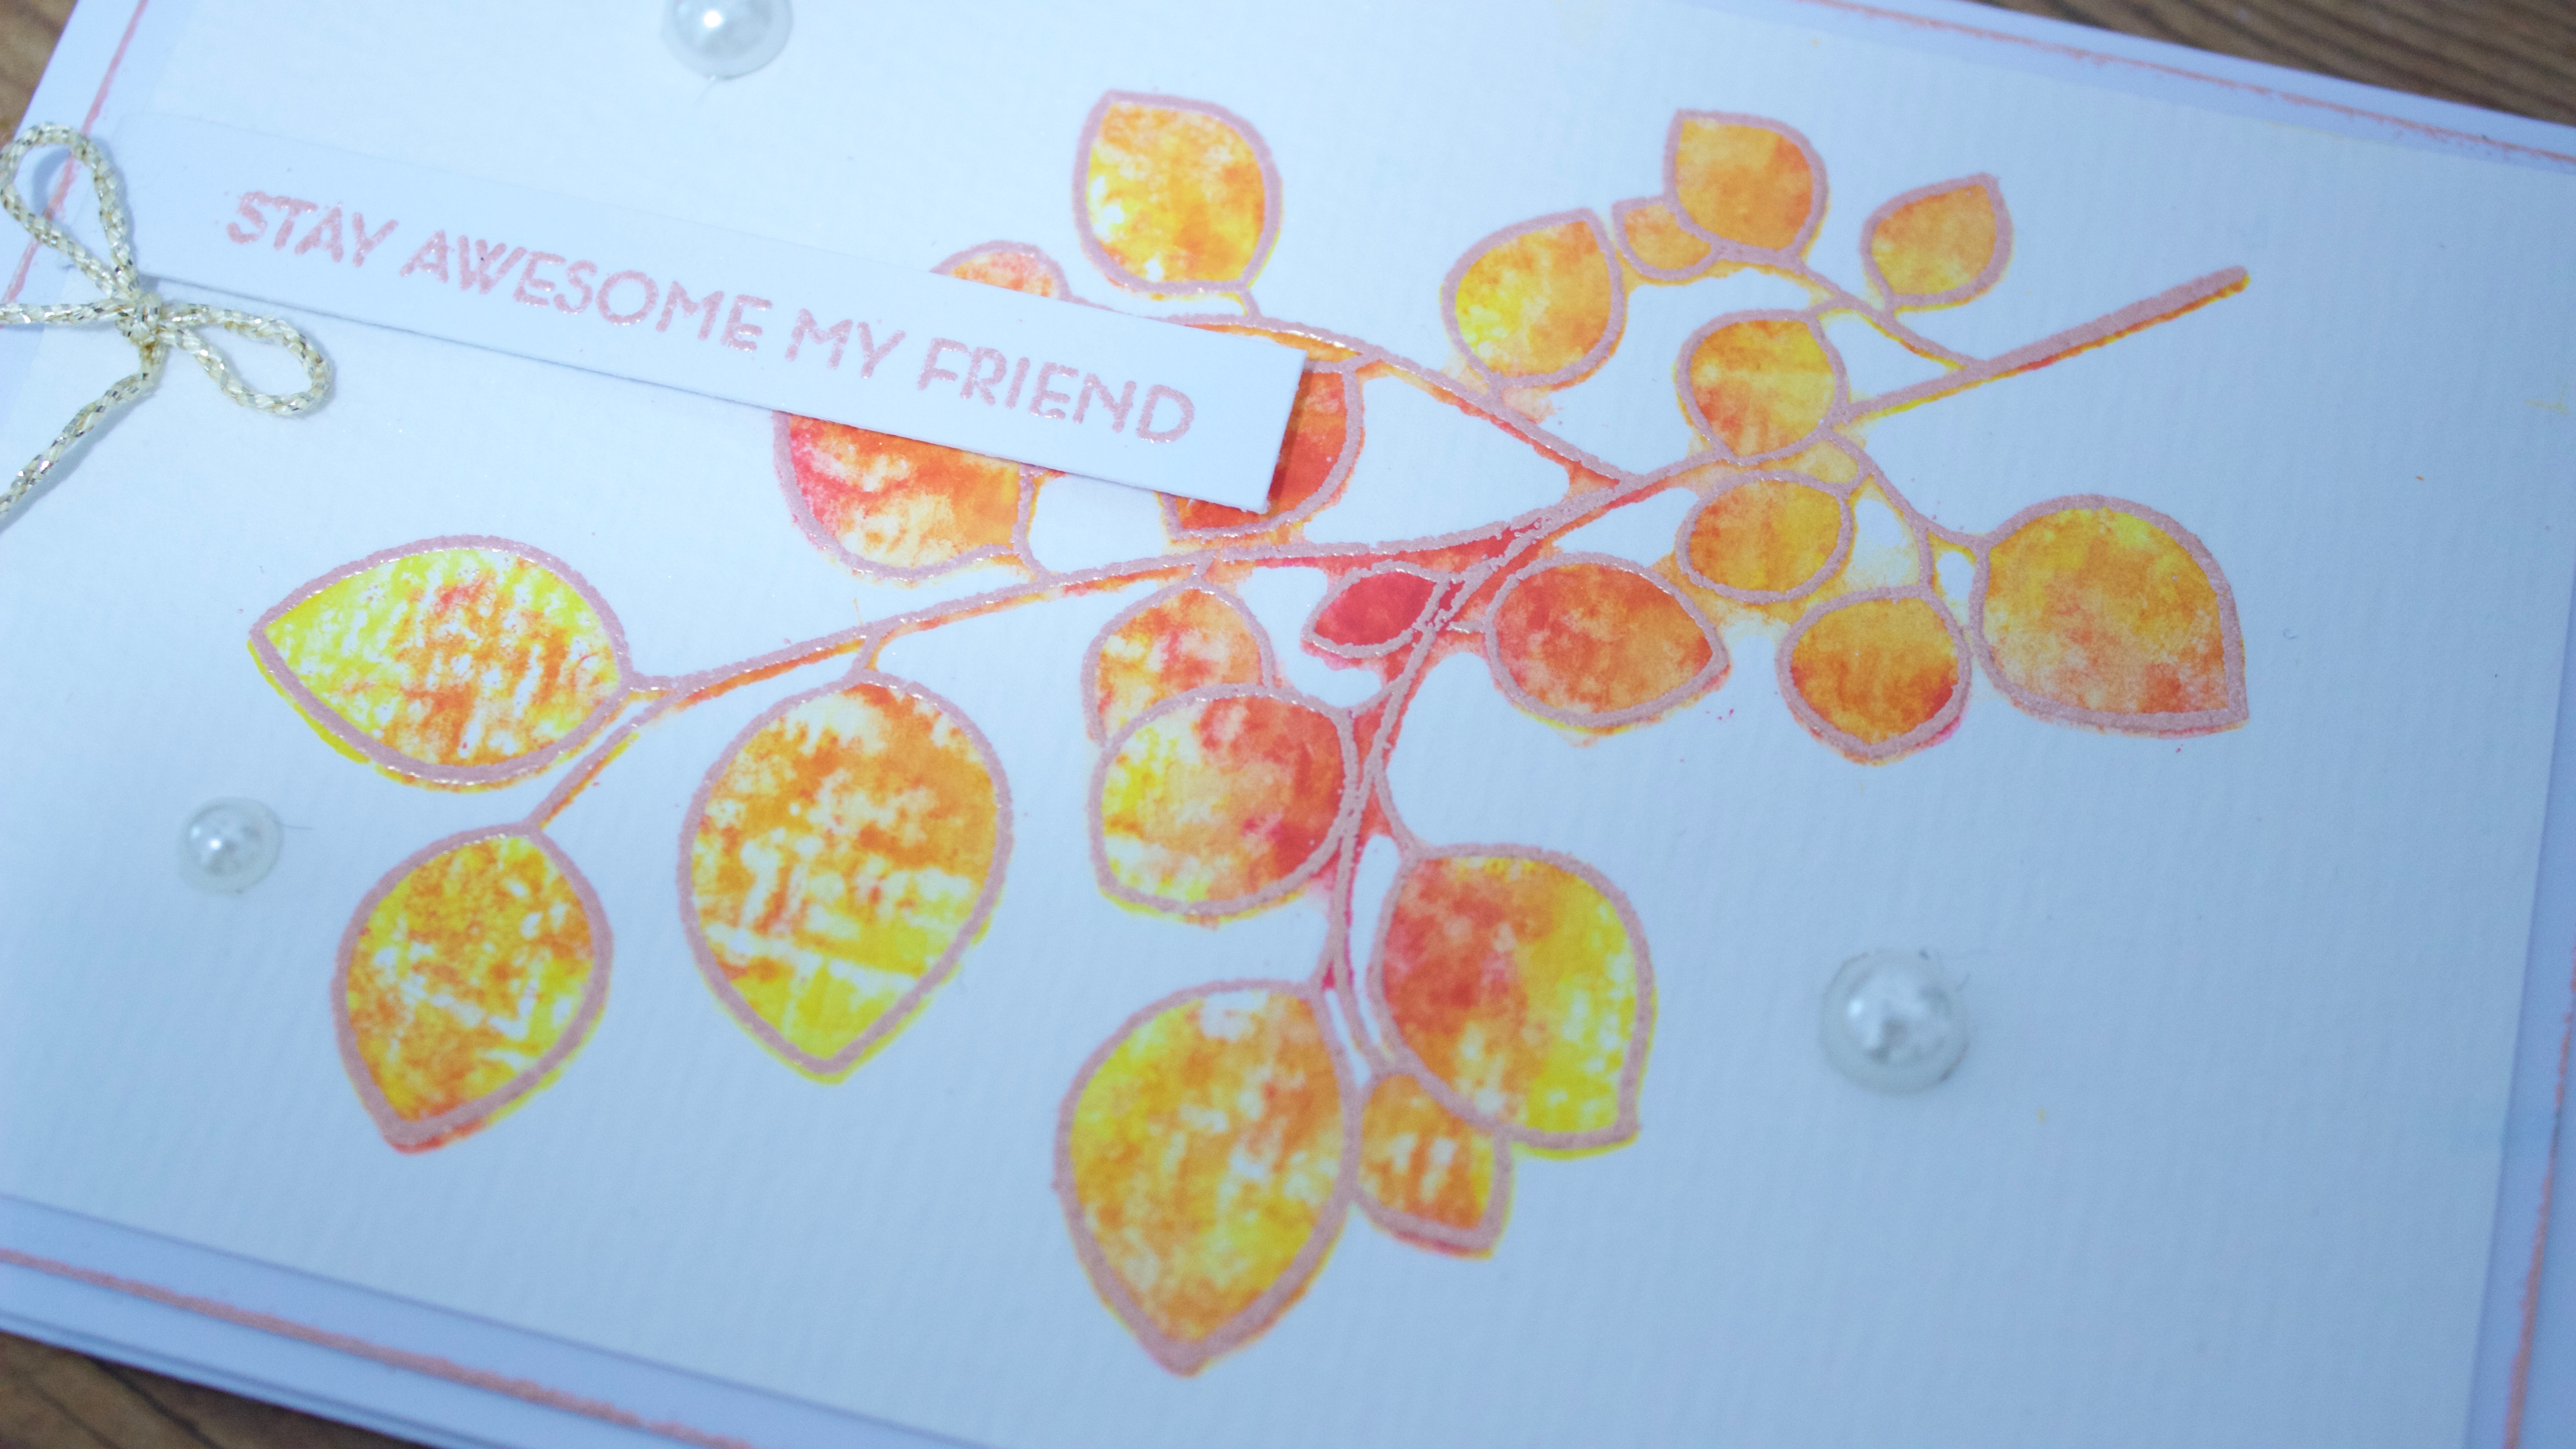
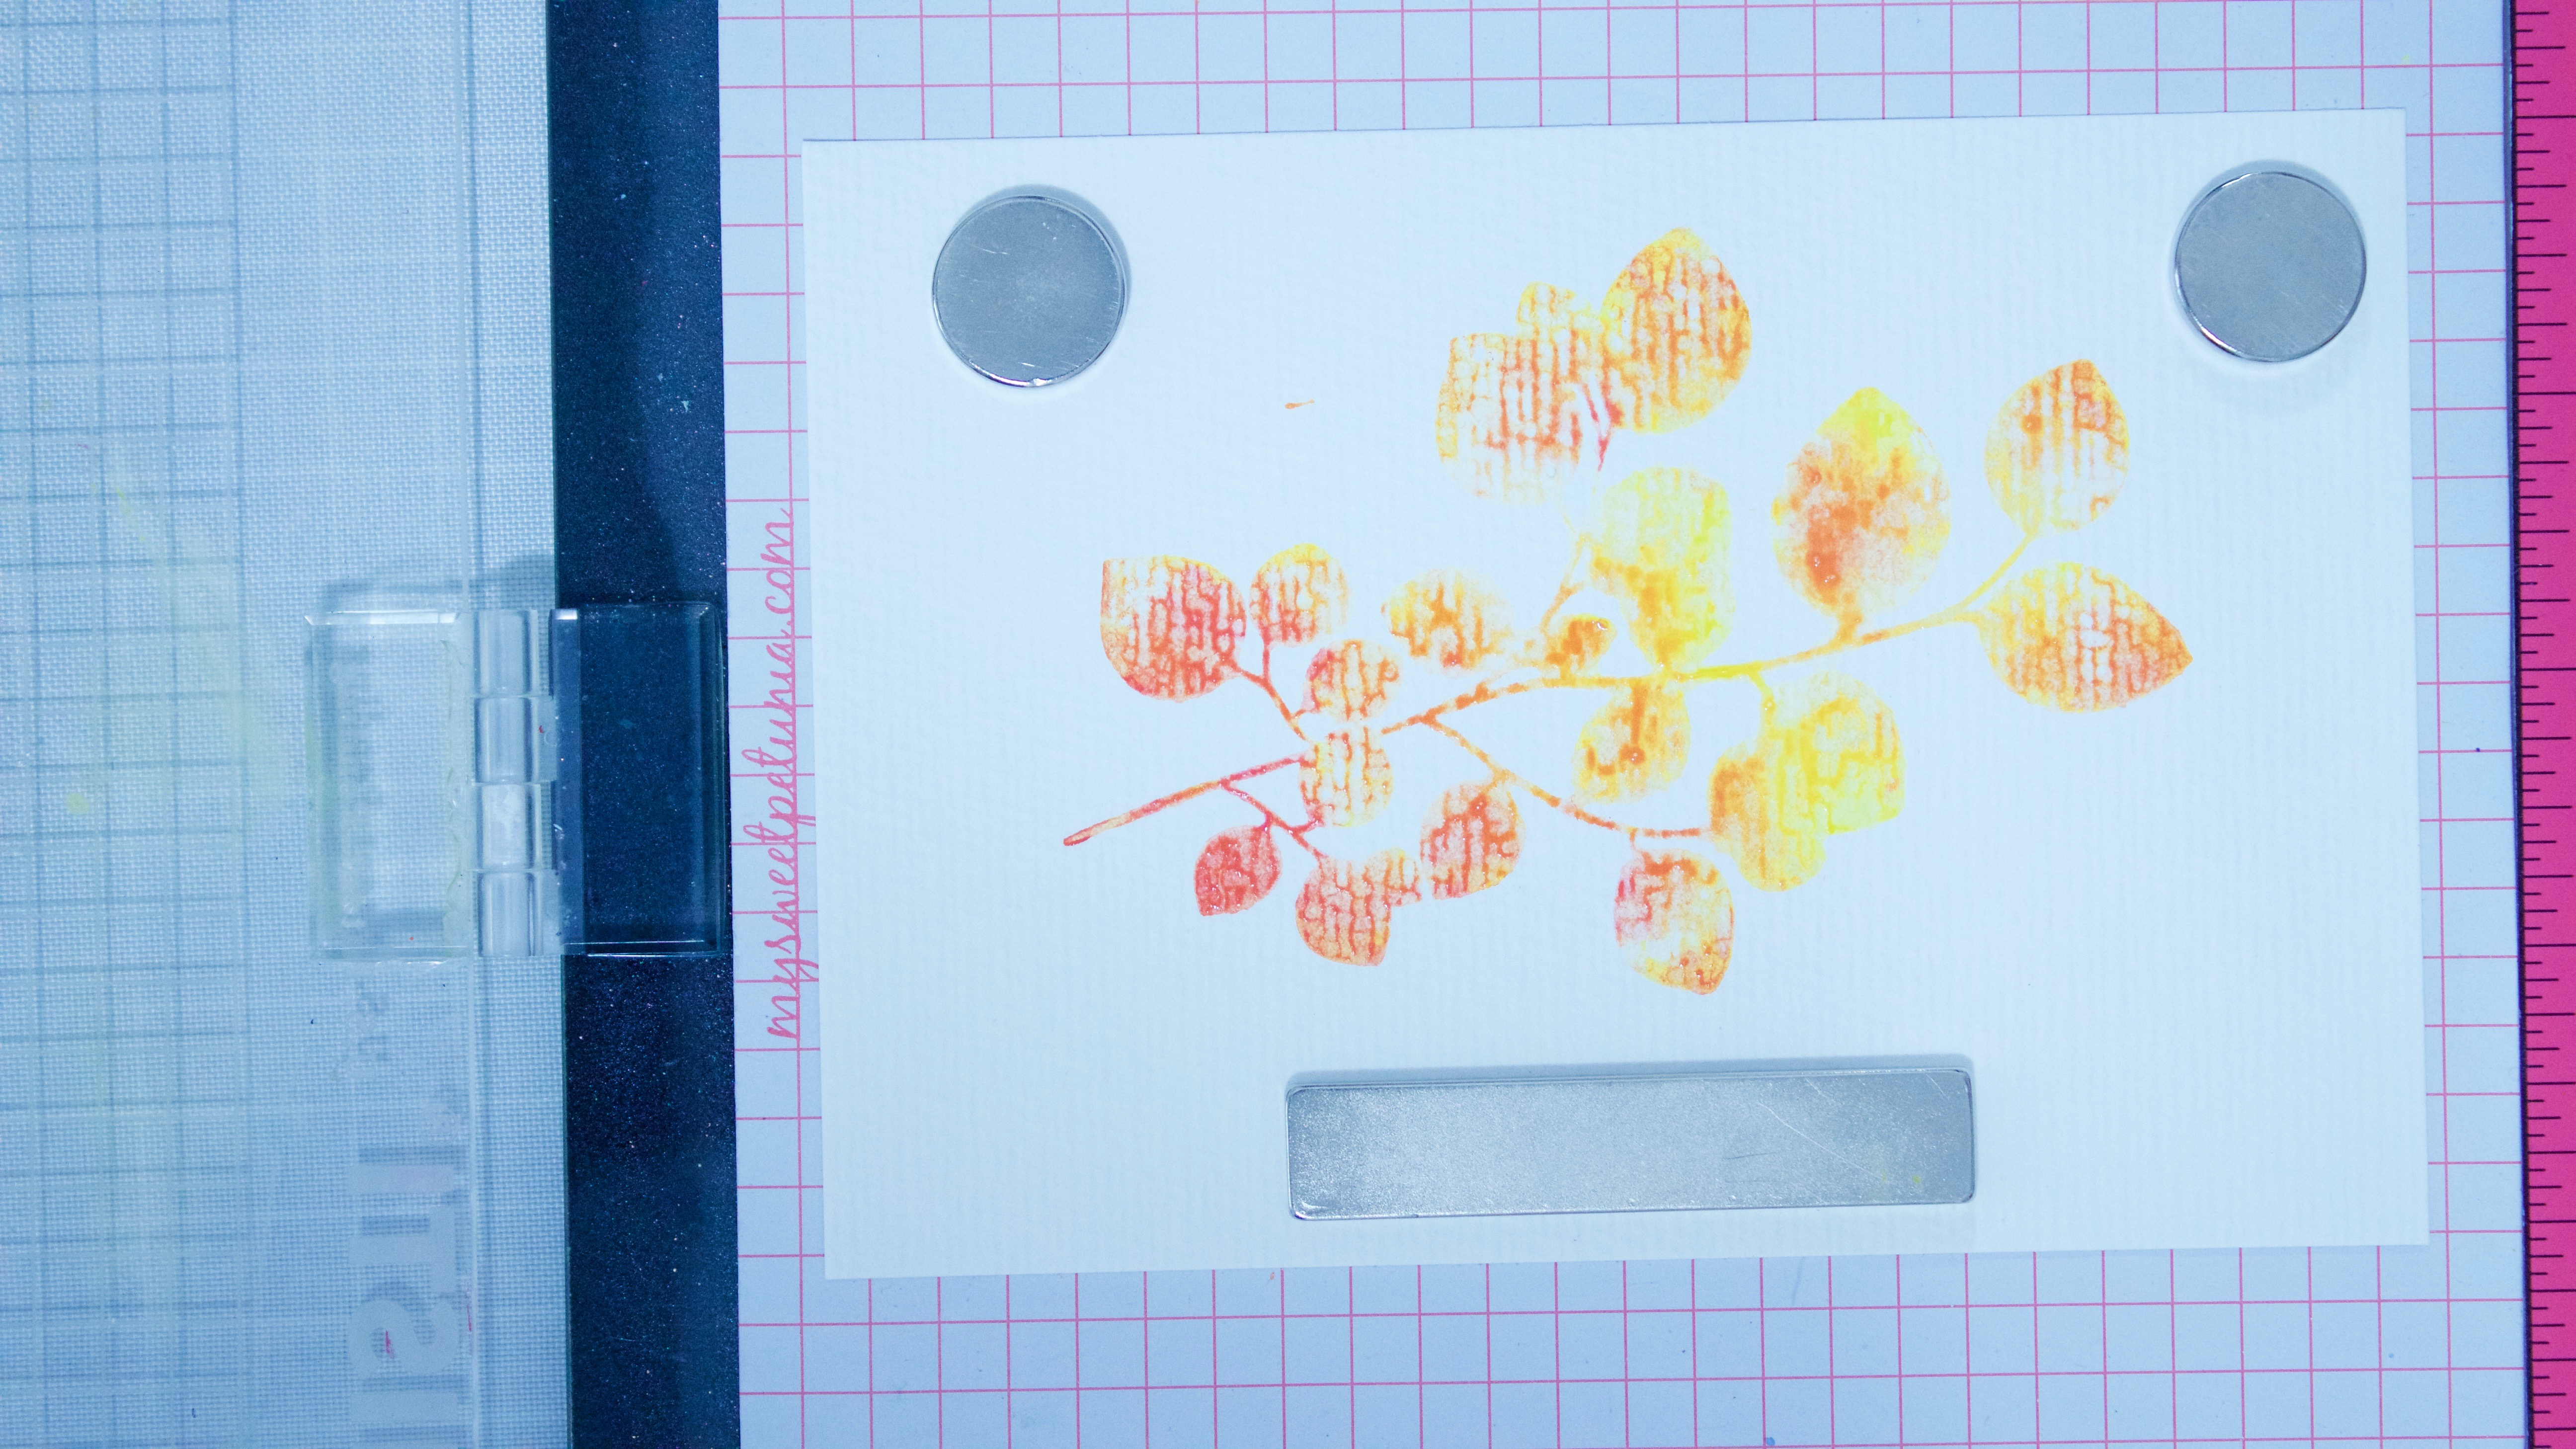 Leave as is and add to your card, or overstamp and peach-emboss the coordinating outline stamp.
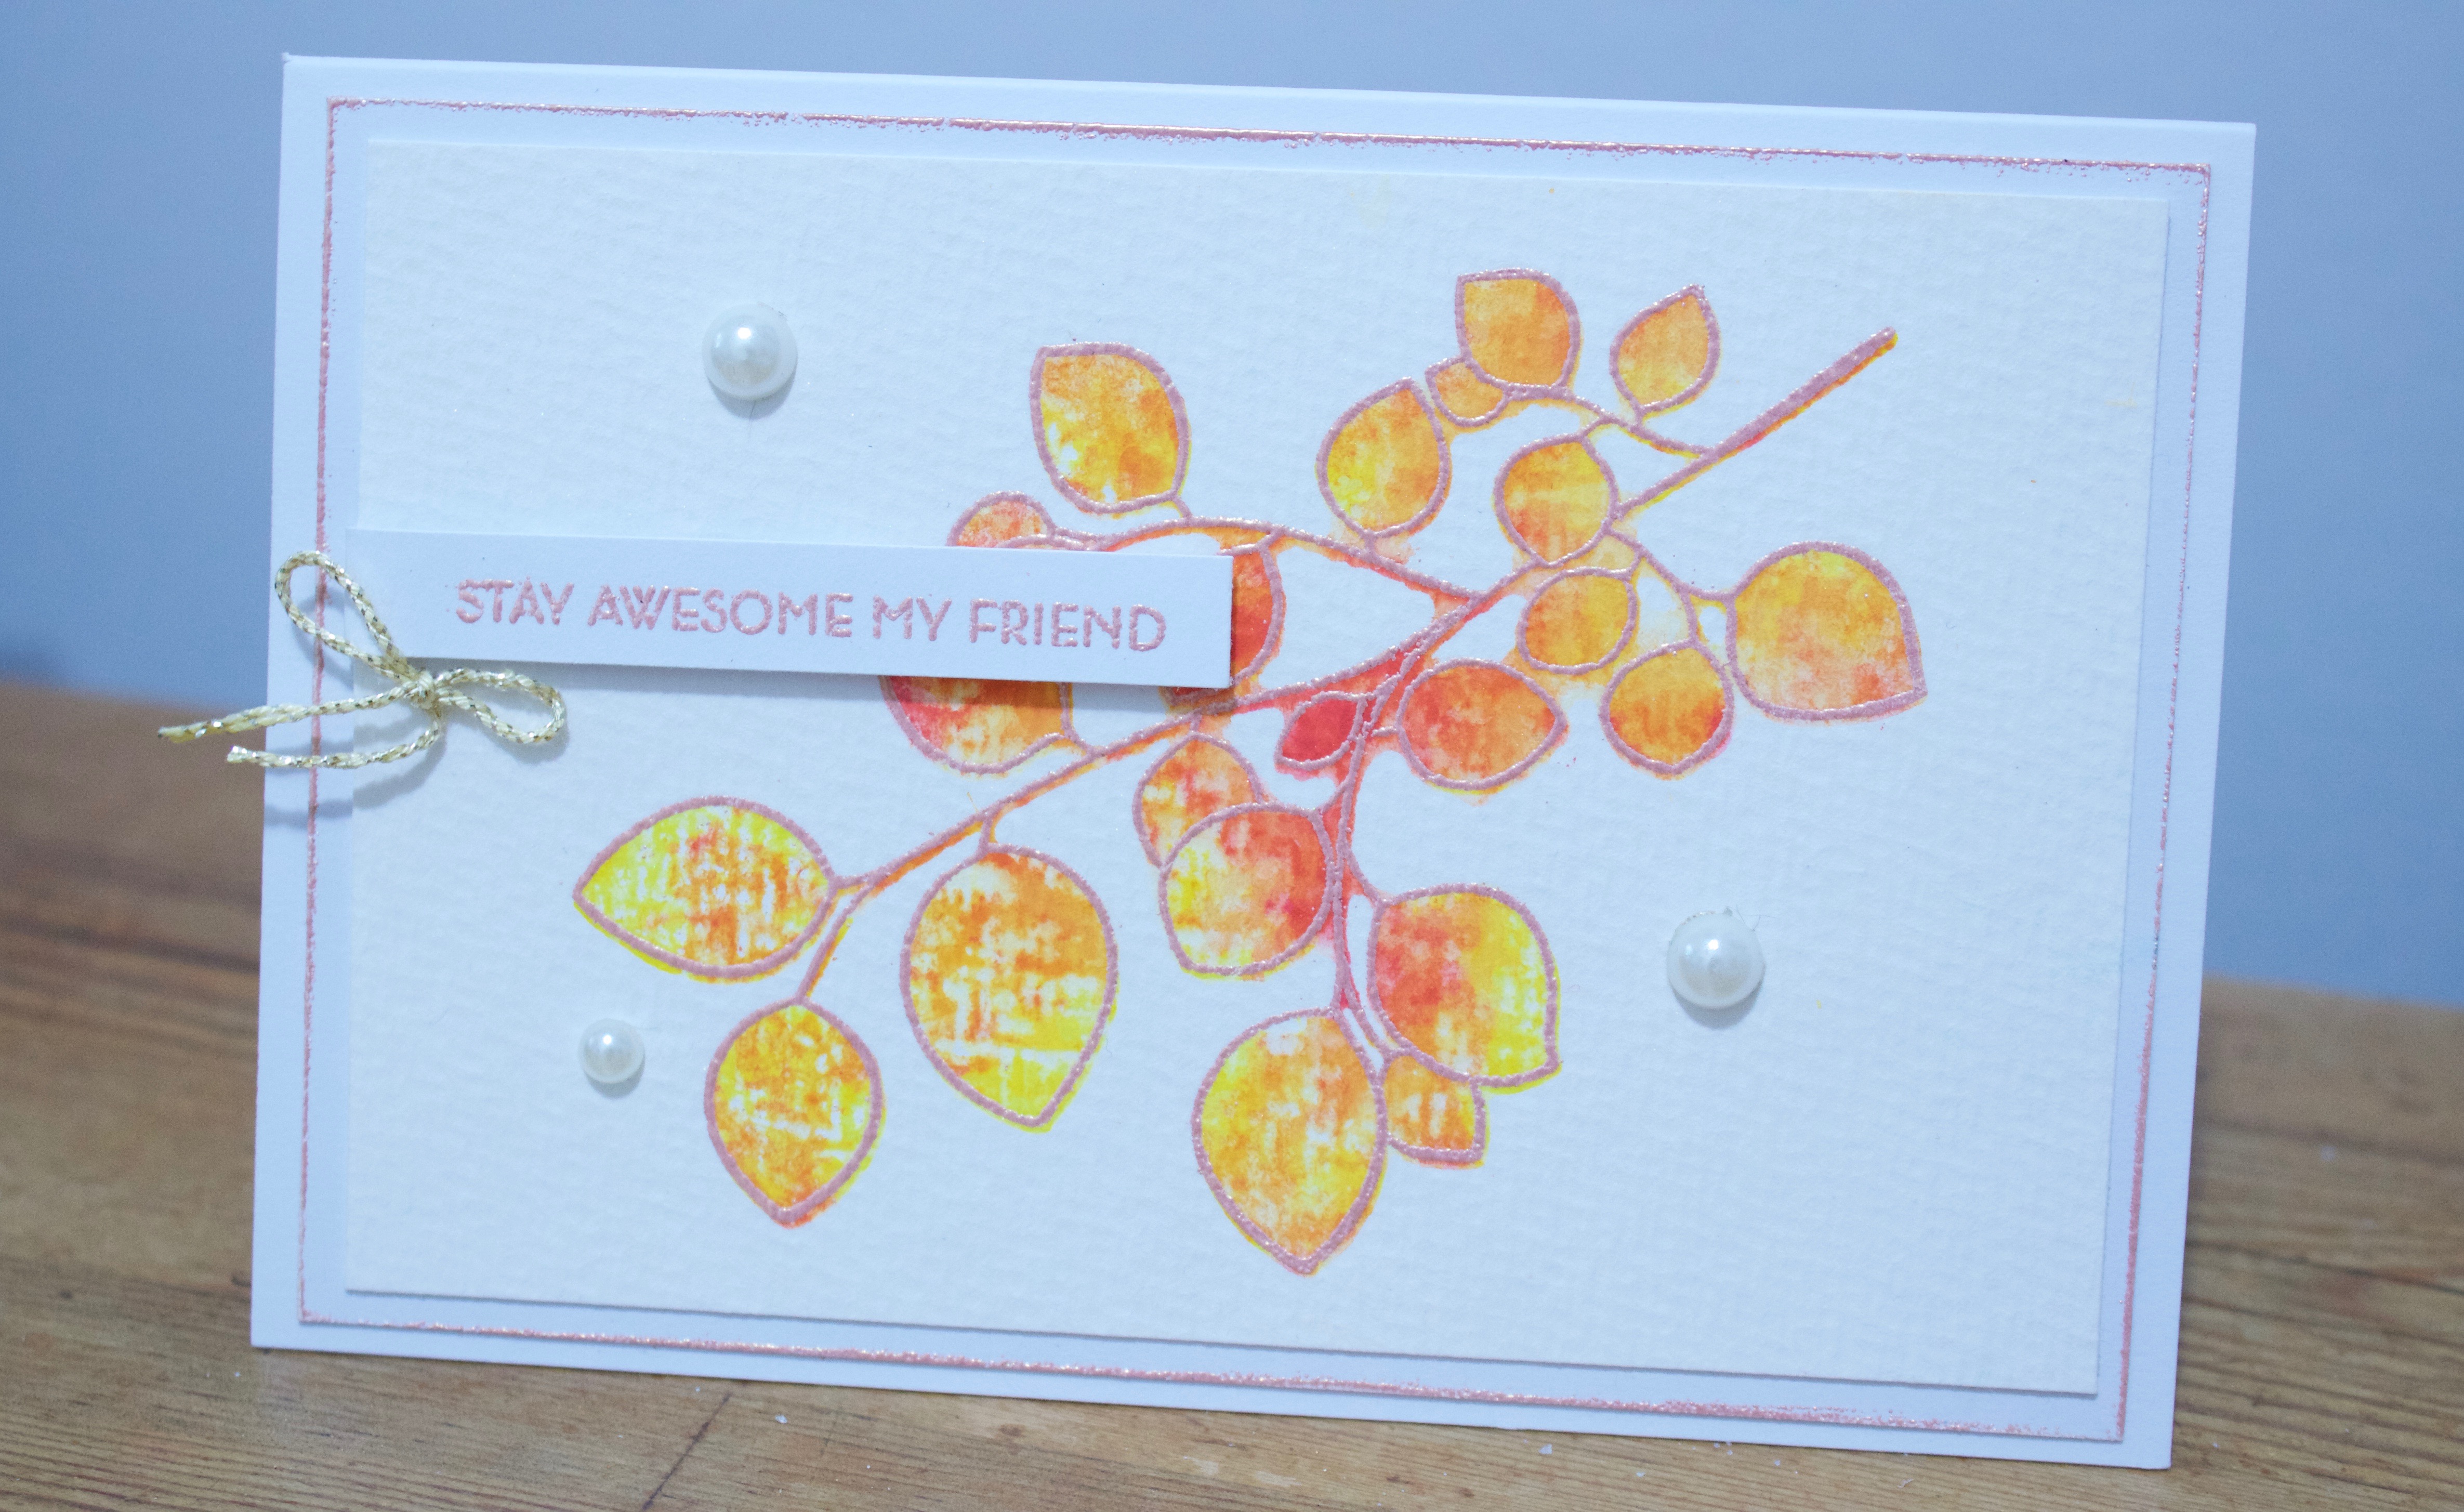
Here’s a closer look at the embossing—
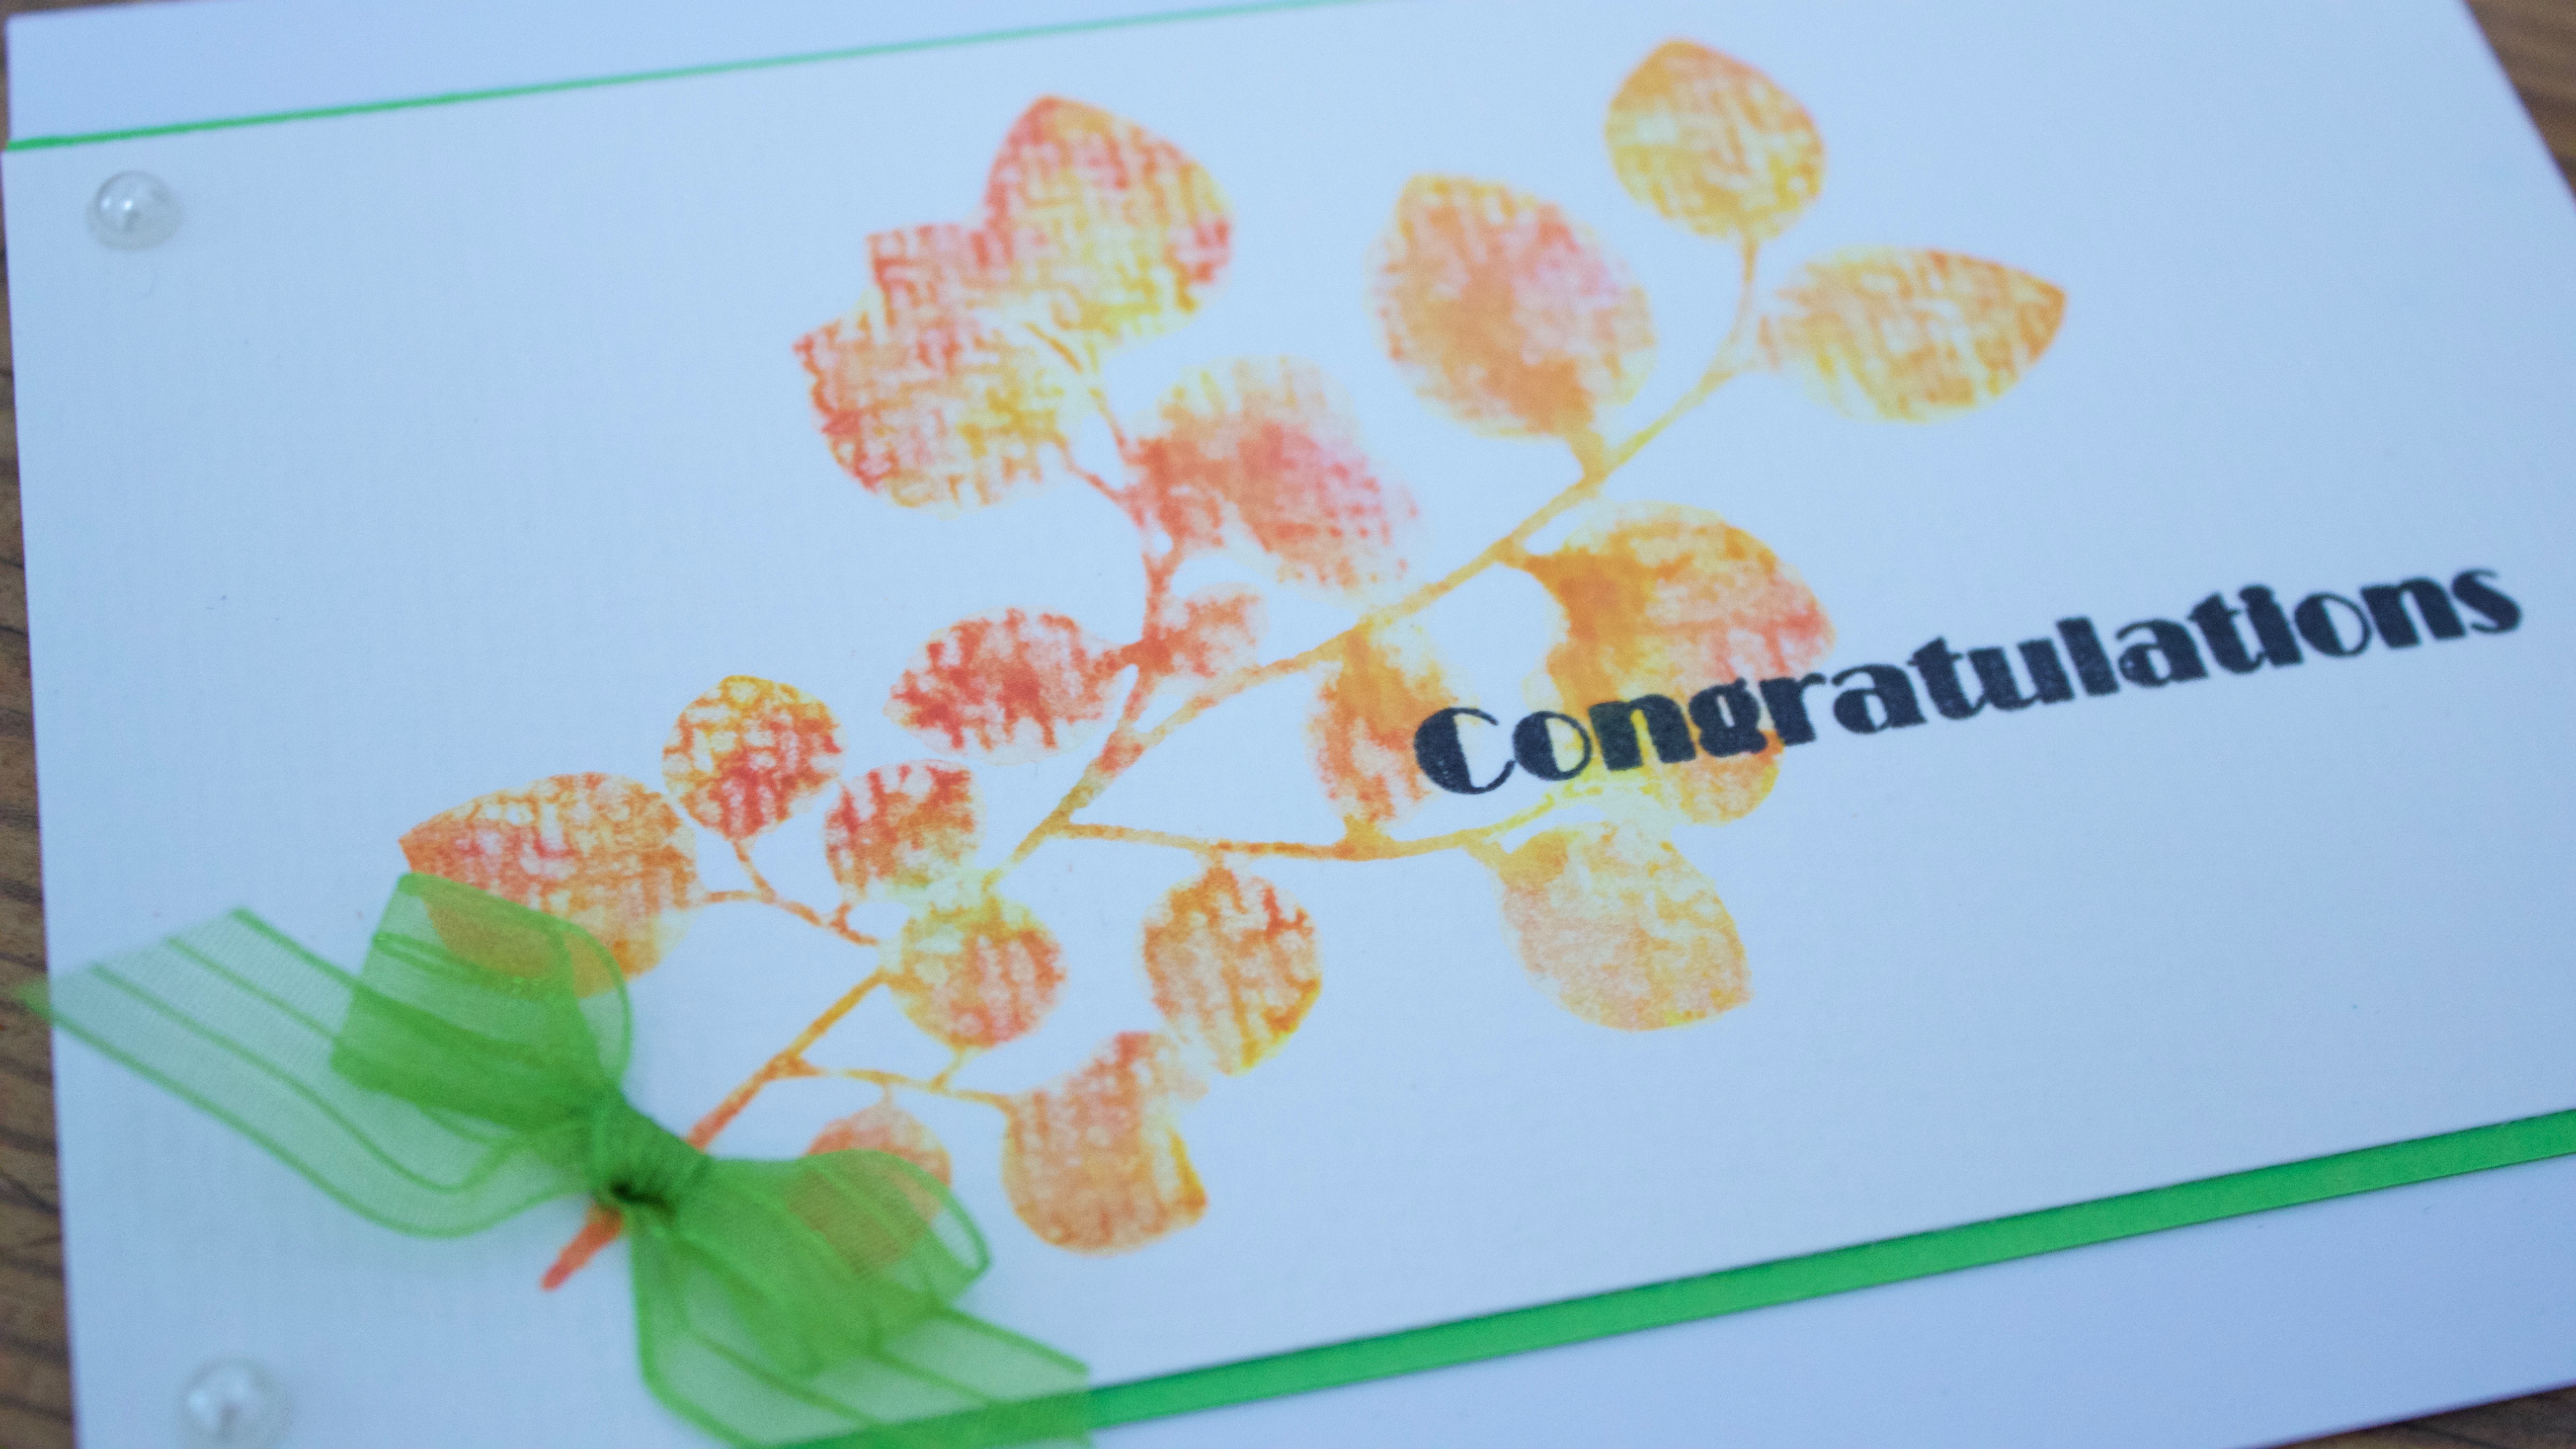
And the un-embossed version, with a slightly different layout. (I like them both!) —
I hope you enjoyed the post and the video!
PS. For more stamping ideas, be sure to check out my latest instruction book, Sara’s Stamping Techniques. It’s available as an e-book (with videos!) or printed copy. Visit Bella Crafts Publishing to find out more!


