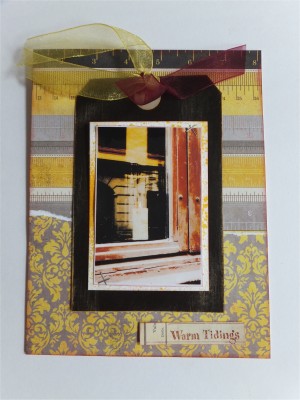
I’m kind of a Lazertran junkie…I love how easy it is to transfer photos, and incorporate them into handmade cards. I was working on some Christmas projects and thought this was a fun twist on the traditional Christmas design. (Change the stamp sentiment and you can use it for a different occasion!)
Lazertran Basics:
1) Print your photo onto Lazertran. (I usually print 4 photos on one 8 1/2×11” or A4 size sheet.) Let the ink dry.
2) Place the image in a shallow pan of warm water for about a minute. The image will curl up, then relax and begin to separate from the liner.
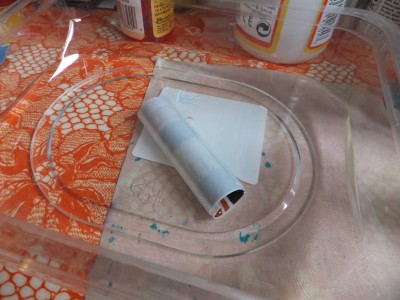
3) Remove the piece from the water, slide off the liner and pat dry with paper towel.
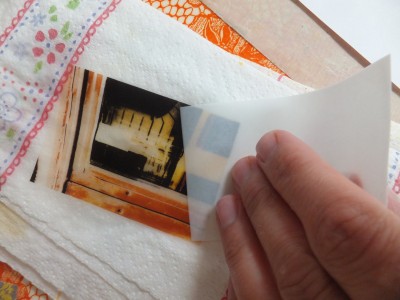
4) Apply a thin layer of gel medium or Mod Podge to your paper, place the Lazertran image on top and smooth out any air bubbles. Let dry.
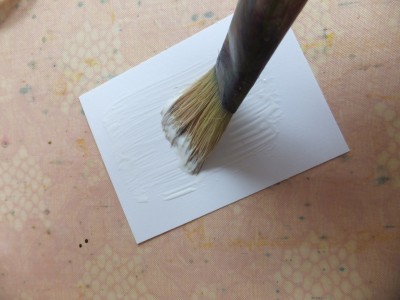
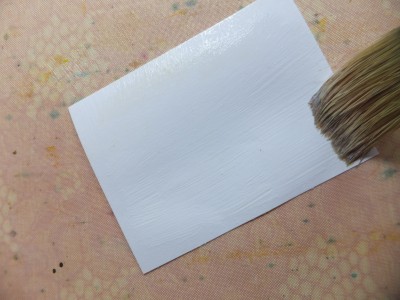
Note: The photo doesn’t have to be bone-dry for you to glue it. I actually find it works best if the photo is a bit damp.
Supplies
• Lazertran Waterslide Decal Paper for Inkjet Printers; shallow pan of water, paper towel
• White cardstock
• Black tag
• Blank white card
• Yellow and burgundy sheer ribbons
• Authentique Blissful 6×6 paper pack
• Stamps: Christmas Art (Hot Off The Press)
• Aged Mahogany Distress inkpad
• Tiny Attacher or mini stapler
• Matte Gel Medium or Mod Podge
• Pure Sunshine Dylusions Ink Spray
• Sanding tool
Here’s how
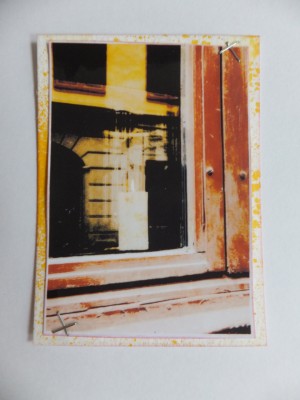
1) Print, soak and glue a Lazertran photo to a piece of white cardstock.
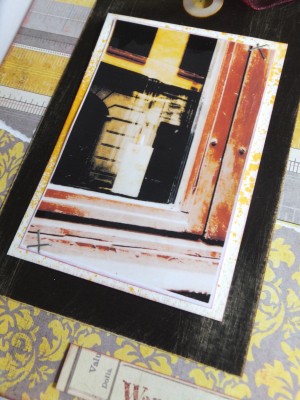
2) Spritz an ATC-sized piece of white card with Pure Sunshine. Cut the Lazertran photo to slightly smaller and glue to the ATC. Staple top and bottom opposite corners.
3) Sand the edges and part of the front of the black tag, then spray with Pure Sunshine. Thread sheer ribbons through the tag top and add the photo.
4) Cover the blank white card with patterned paper: Glue the ruler paper at the top, then tear one edge of the floral paper and glue slightly overlapping. Add the tag.
5) Stamp “warm tidings” in Aged Mahogany on a strip of patterned paper, ink the edges and glue to the tag.
Enjoy, and happy Wednesday!



hi sara,,thanks for reminding of this process with your nifty little tutorial here. I have some of this paper in my stash but never used it…till NOW….thanks!!
really cool